
Fluent Forms brings you another brilliant Product Field, the Recurring Payment Item. With this field, you can make payments on a pre-arranged schedule. Follow this simple guide to learn how to apply this feature in your Pay form.
Fluent Forms is the most advanced WordPress form plugin and includes a drag-and-drop form builder. Once you’ve installed and activated Fluent Forms, creating a recurring payment form takes just a few minutes.
Don’t forget to enable the Payment Module before creating the payment form.
In order for Stripe/PayPal to function completely for subscription/recurring payments, you must configure your IPN by following Stripe IPN and PayPal IPN docs.
Create a new payment form
- First, go to the new Fluent Forms menu that appears in your WordPress dashboard’s left sidebar. Once you are there, you will find there are two buttons available to create a new form.
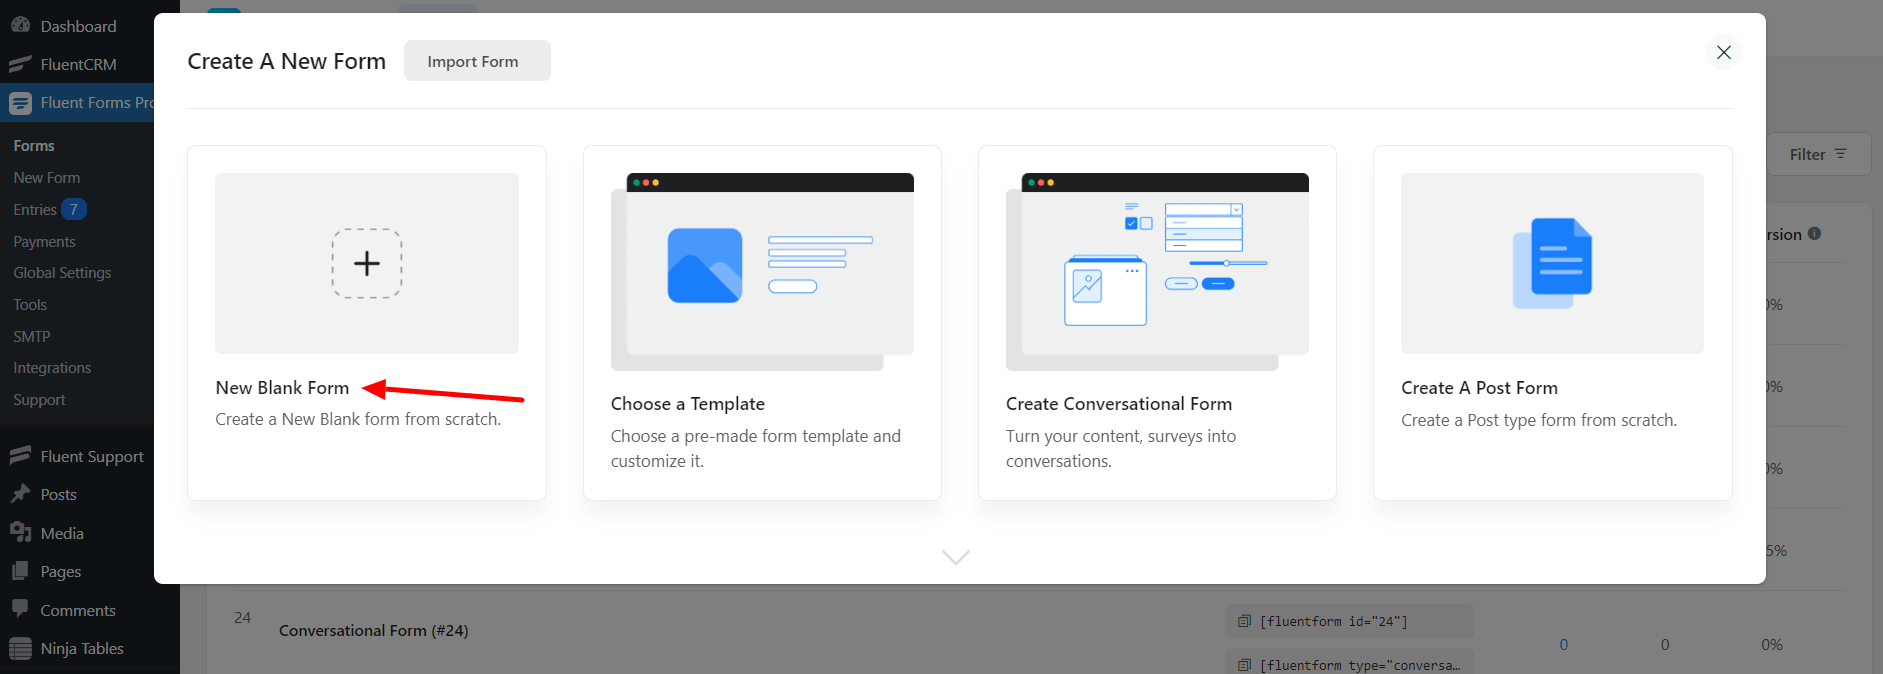
- After clicking the add new form button, a pop-up will select any form template already created so that you can start immediately. You can choose any form from the templates. For demonstration purposes, I will choose a blank form for this article.
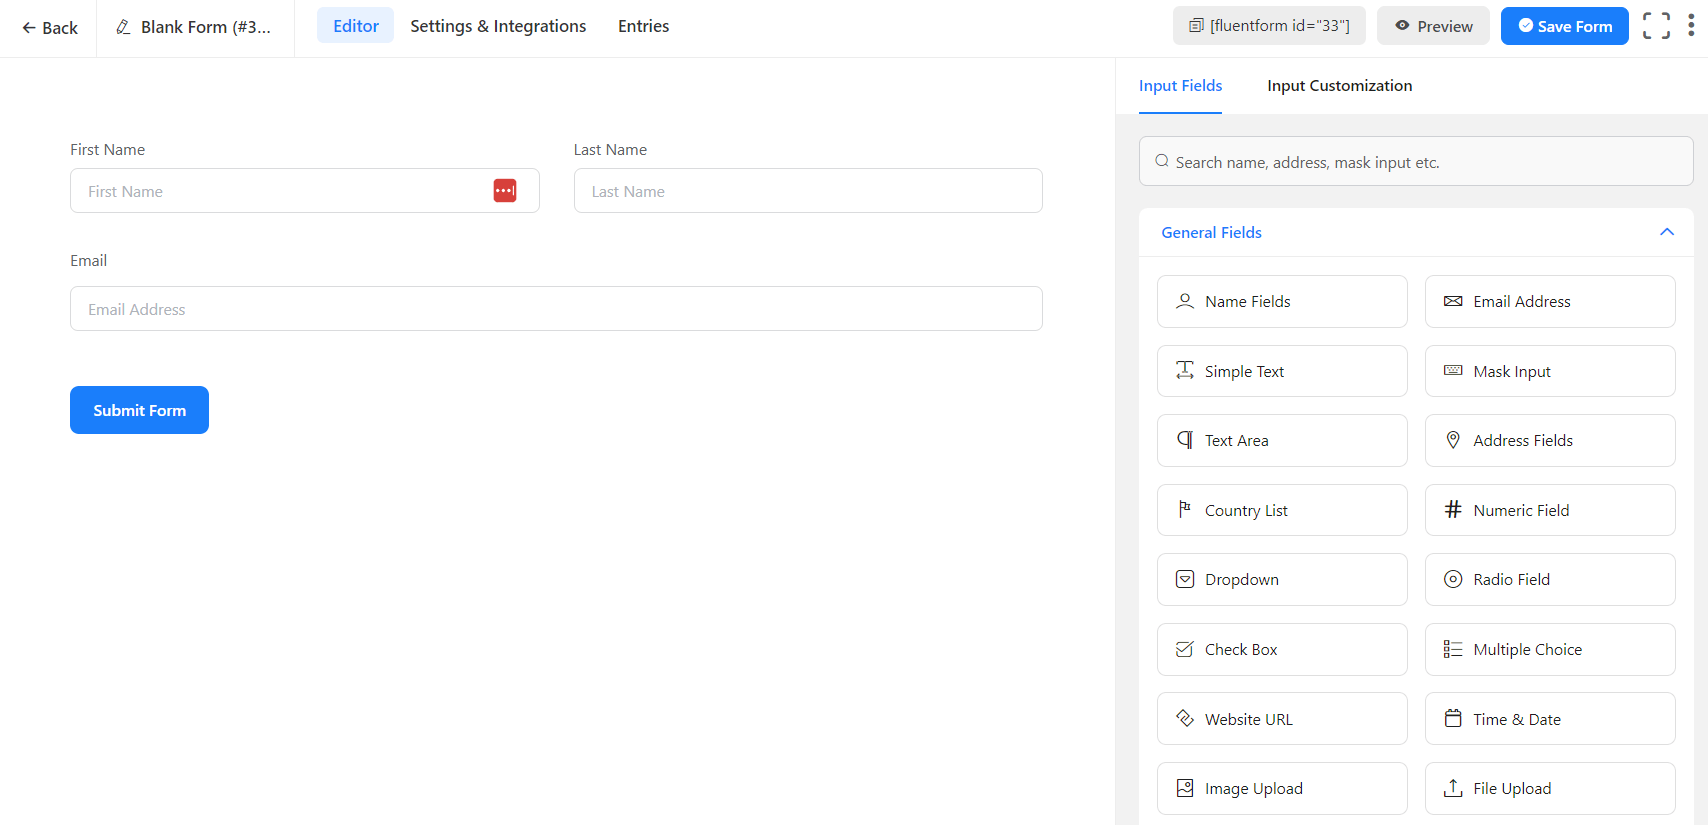
- Quickly add the name and email field into the form, just like creating any other form. You can learn more about how to create a simple contact form with Fluent Forms here.
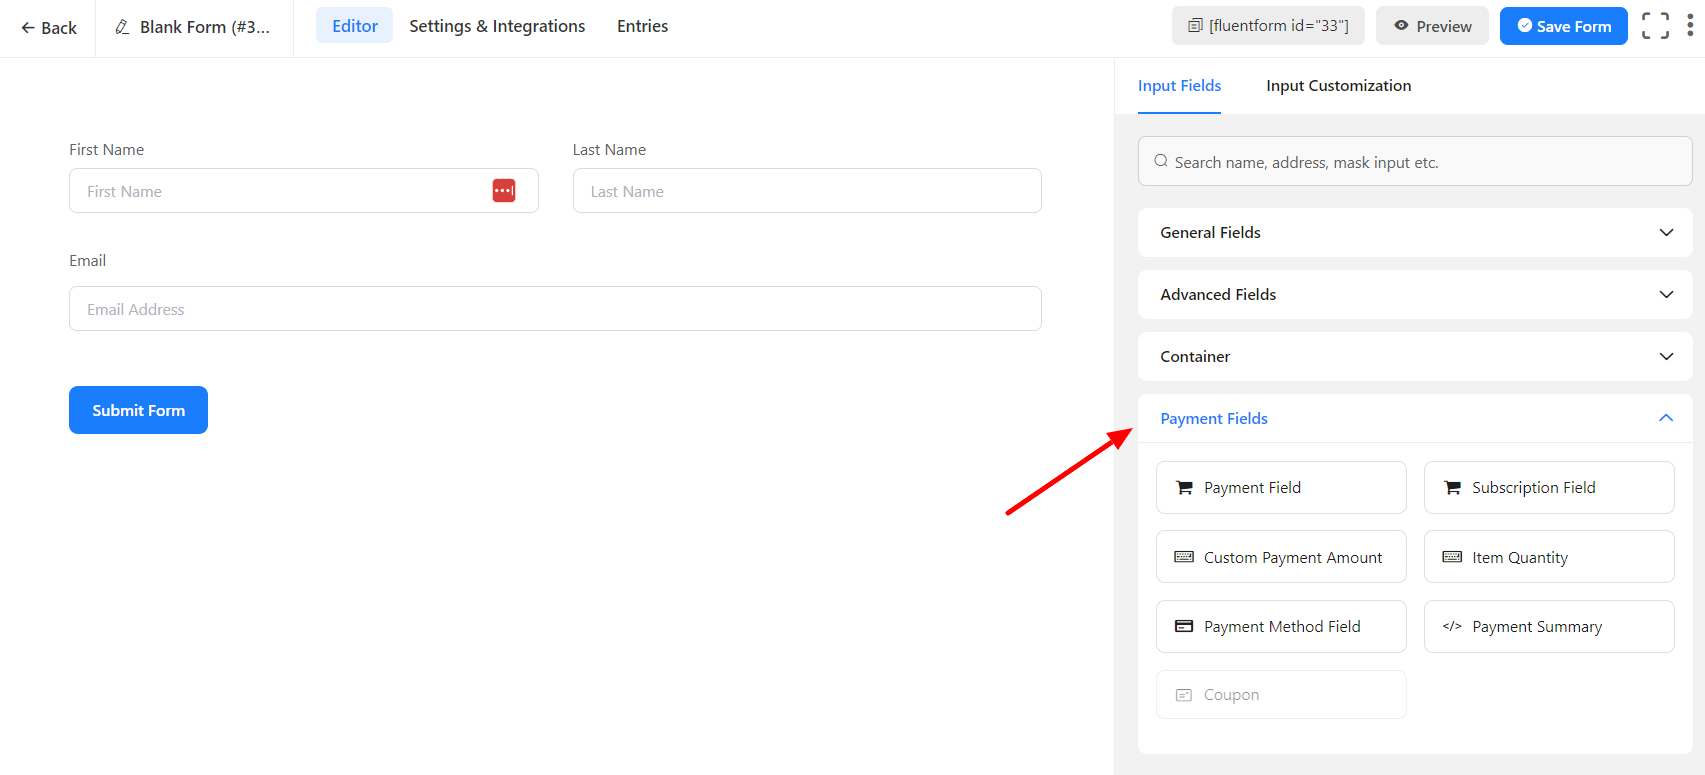
Add the payment fields to the form
- The payment field is located on the right sidebar of the form consisting of seven fields – Payment Field, Subscription Field, Custom Payment Amount, Item Quantity, Payment Summary, Coupon, and Payment Method Field.
- Now add the Subscription Field to the form. It specifies a recurring subscription amount per billing interval. Once you add this field, you will find some field options in the Right sidebar. These are as follows –
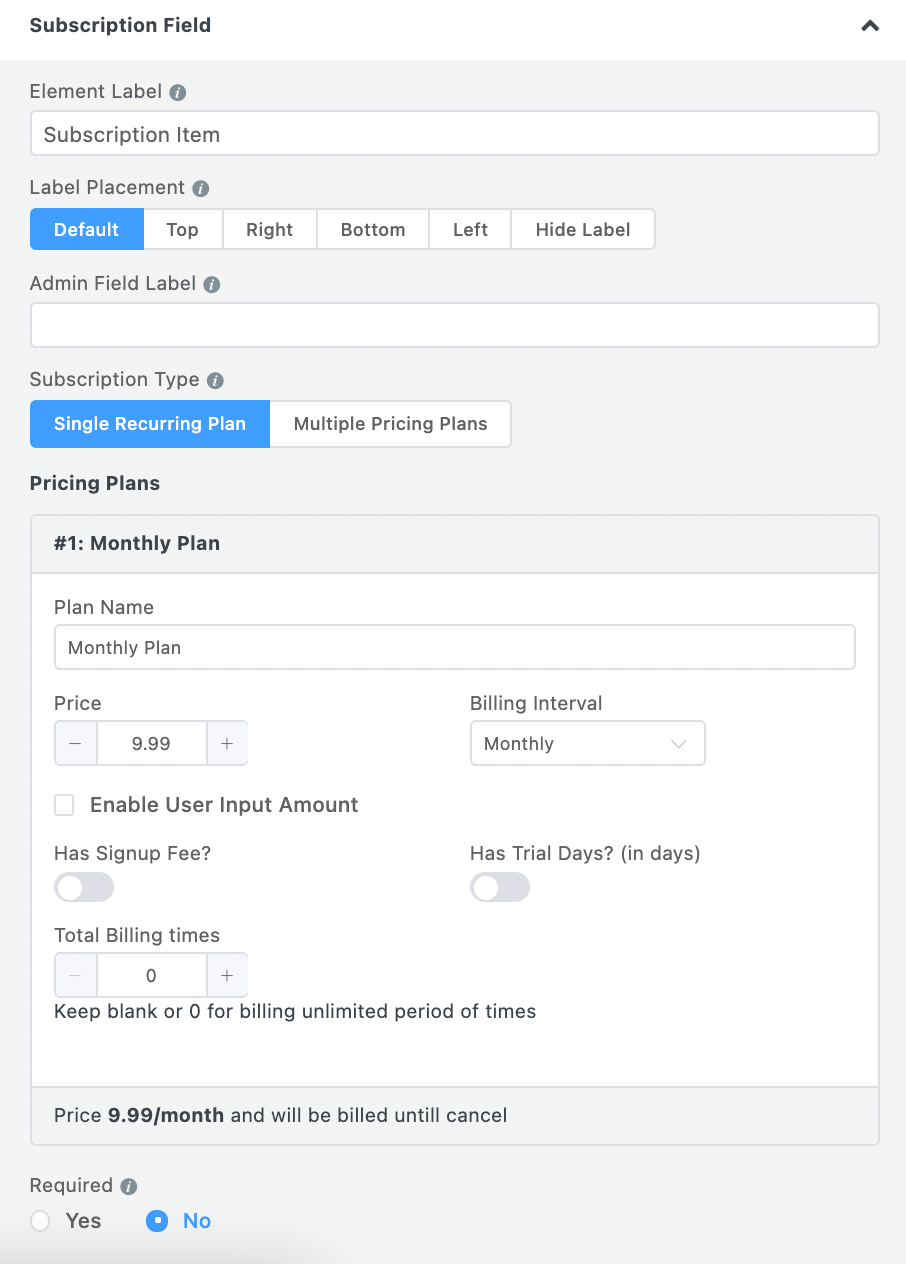
- Element Label: Give a name to the field, and it will be shown to your form visitor.
- Label Placement: You can change the Label placement here.
- Subscription Type: You can offer the user multiple or single subscription plans. You can choose a select field or radio field.
- Plan Name: The name of the Recurring Payment Item. For example, when offering a 4-month subscription plan, you might want to give a name like a 4-month subscription.
- Price: Give the amount you want to charge your client per billing cycle.
- Billing Interval: How often do you want to charge your user? Select between Daily, Weekly, Monthly, and Yearly.
- Enable User Input Amount: If you want your user to be able to add your own value, you can enable this option. This option is useful for taking donations, where clients can give the amount by themselves.
- Has Signup Fee: If you want to add a signup fee additionally, suppose you want to charge 30$ on each billing cycle but want to charge an extra $10 on the first payment. You can enable this option and add a value of $10. So on the first payment, they have to pay $10 + $30; from the next billing cycle, they will pay $30.
- Has Trial Days: If you want to charge the user after certain days, that means the user can submit the form without paying, and the charge will be taken automatically after certain days (given by you). They can cancel the payment from their charge from their PayPal or card dashboard if needed.
- Total Billing Times: How many billing cycles do you want to charge the user?
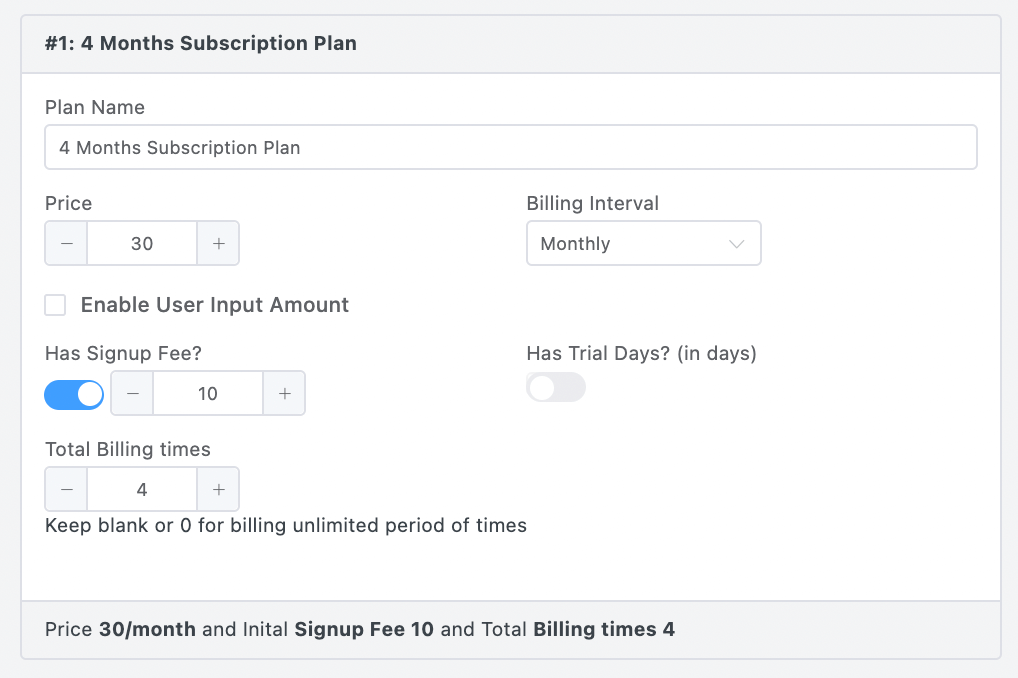
- For example, I want my user to pay $130, $30 each month (for 4 months), additionally $10 with the first payment as a signup fee.