

ACF is a WordPress plugin that allows you to add extra custom fields to your pages and posts. Fluent Forms ACF integration feature works only when a Post Form is created using Fluent Forms.
ACF aka Advanced Custom Fields helps to deal with the users’ custom field data and then make it visible for your site’s visitors.
Steps to integrate ACF in Post Creation with Fluent Forms
- Install the Advanced Custom Fields plugin
- Add New Field Groups in the plugin
- Activate the Post/CPT Creation Module
- Create/Use a Post Form with Fluent Forms
- Connect the ACF field in your Fluent Forms
- Advanced Custom Fields Mapping
This simple guide demonstrates how to apply this feature with Fluent Forms.
Installation of Advanced Custom Fields
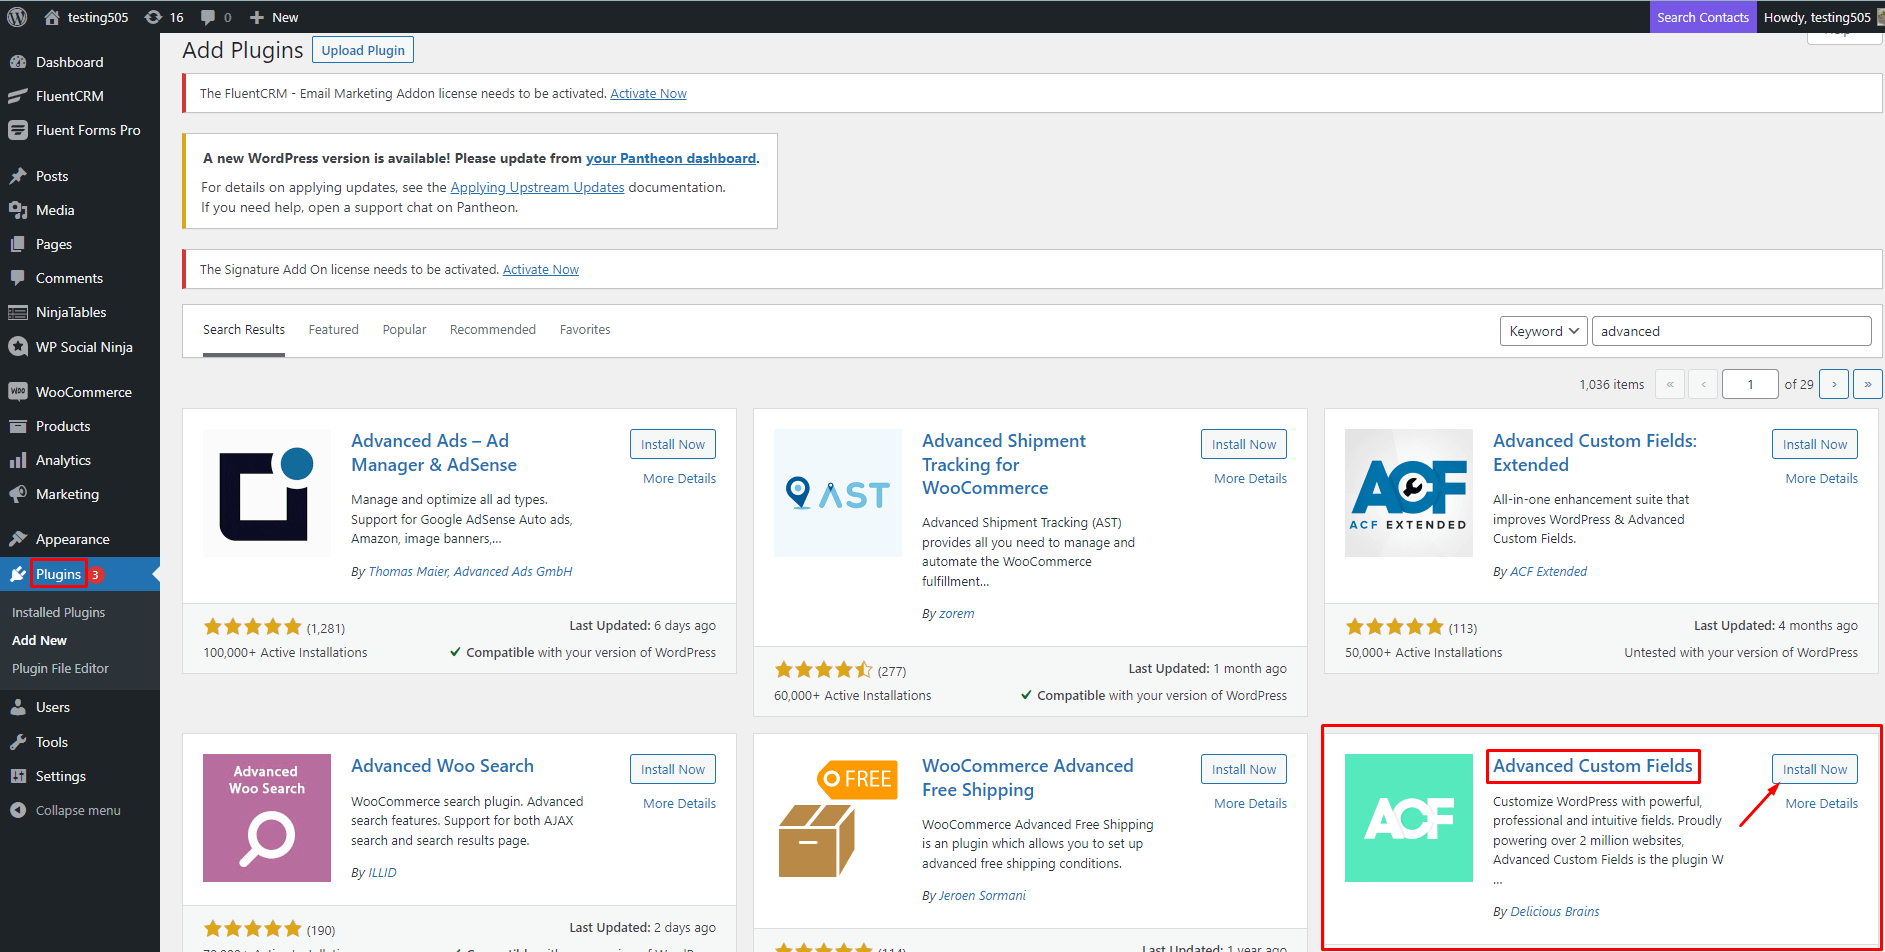
- The first step is to use the Advanced Custom Fields plugin to build Custom Fields.
- As a result, ensure this plugin is installed first.
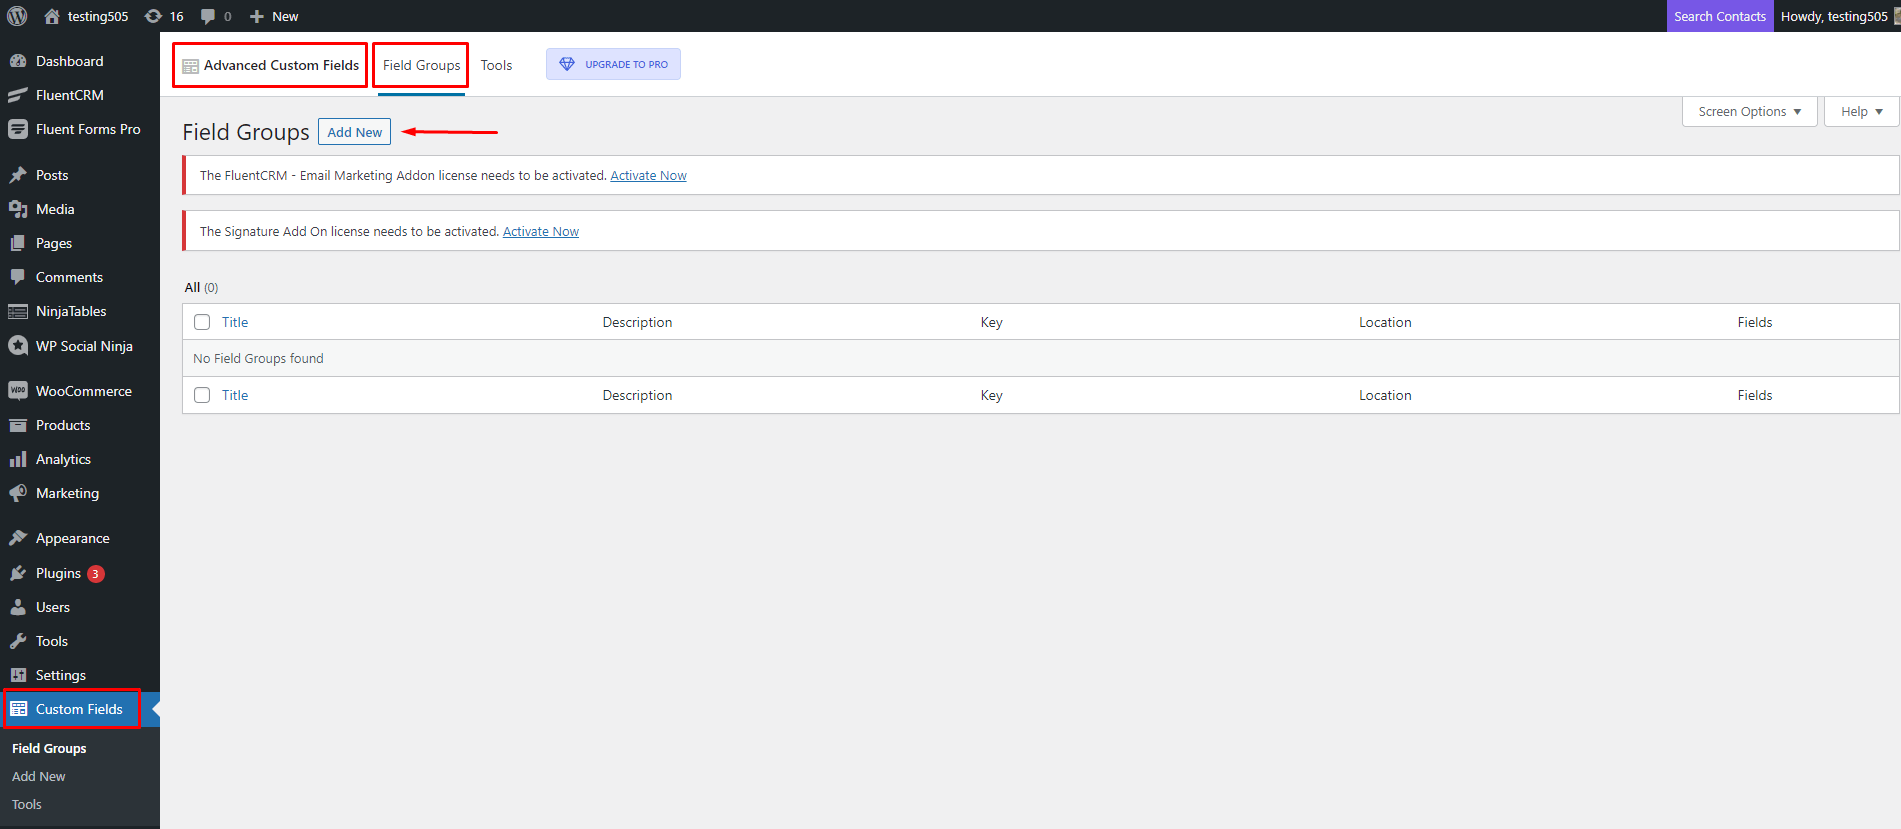
Adding New Field Groups
- To create a new Field Group, go to the plugin and click the Add New button.
- Then give your Field Group a suitable title.
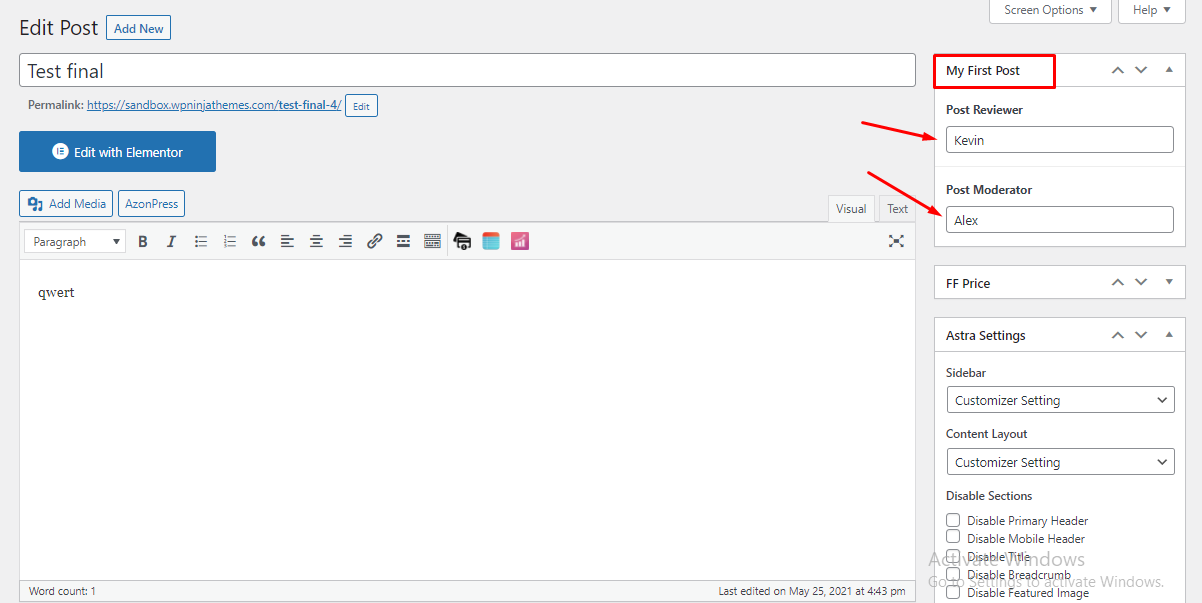
- The Field Group in this example is called My First Post.
- Post Reviewer and Post Moderator are two Text types of custom fields. These two fields are known as “General custom fields.”
- After you’ve entered your Field Label and Field Type, click the Add Field button.
- After that, simply click Publish/Update to save the fields.

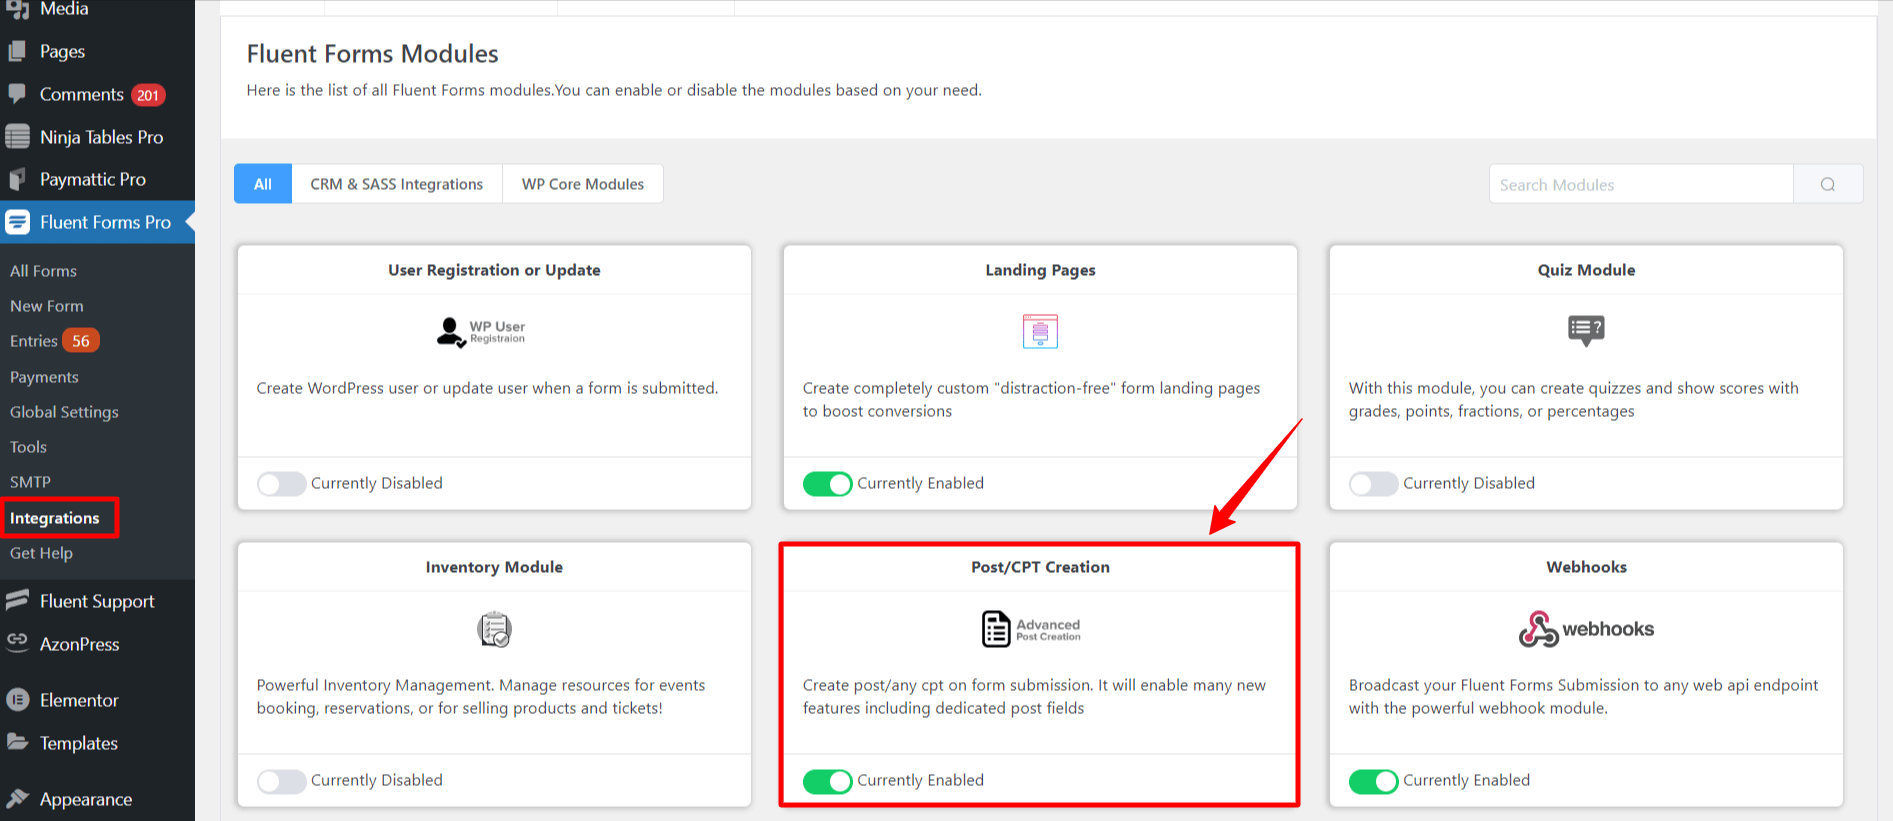
Activate the Post/CPT Creation
- Go to the Modules tab and enable Post/CPT Creation module. This will allow you to get an additional option to add a Post form like the snapshot given below –
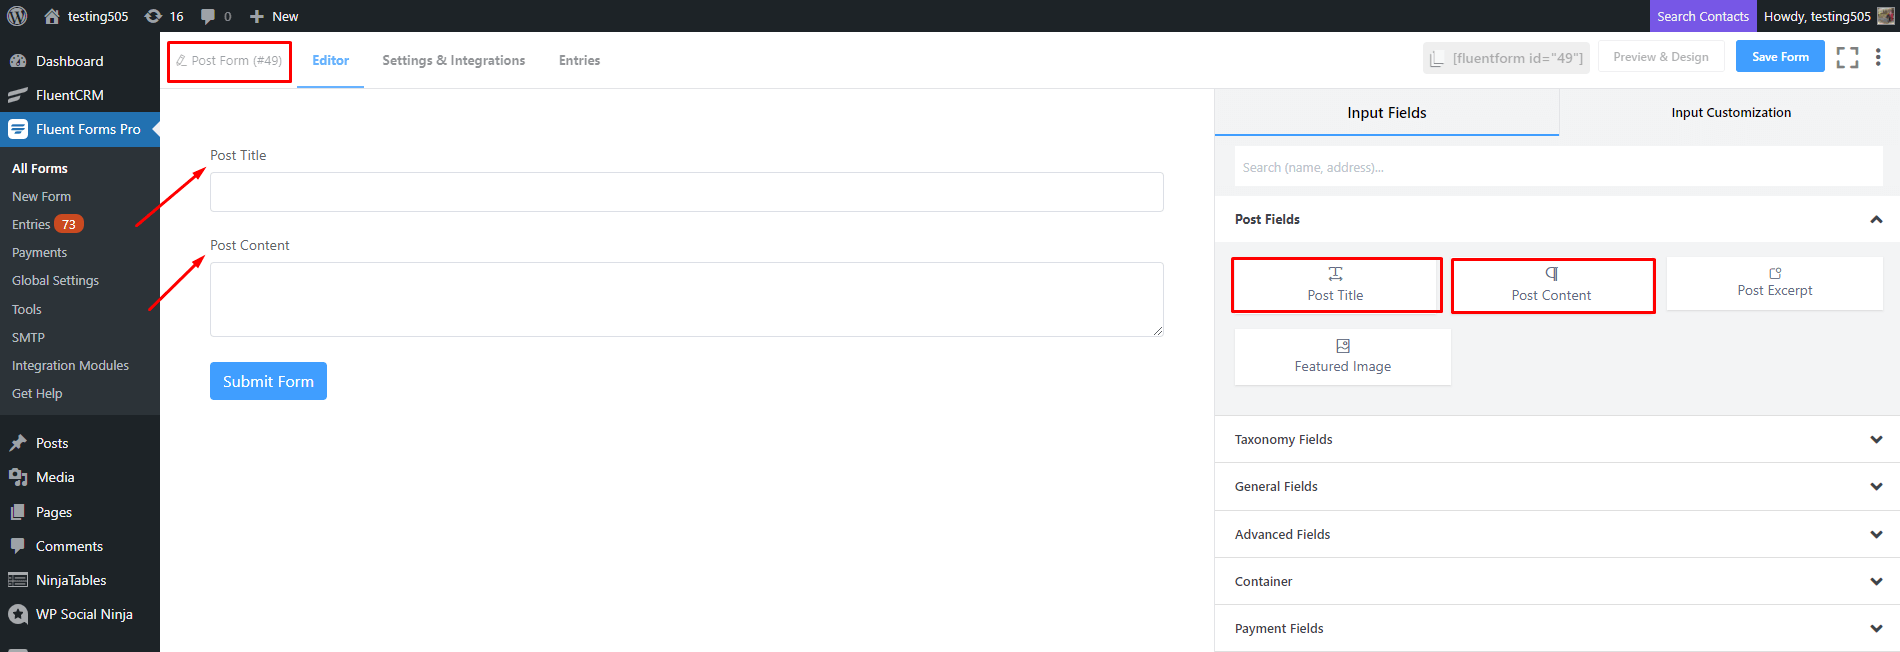
Create/Use a Post Form
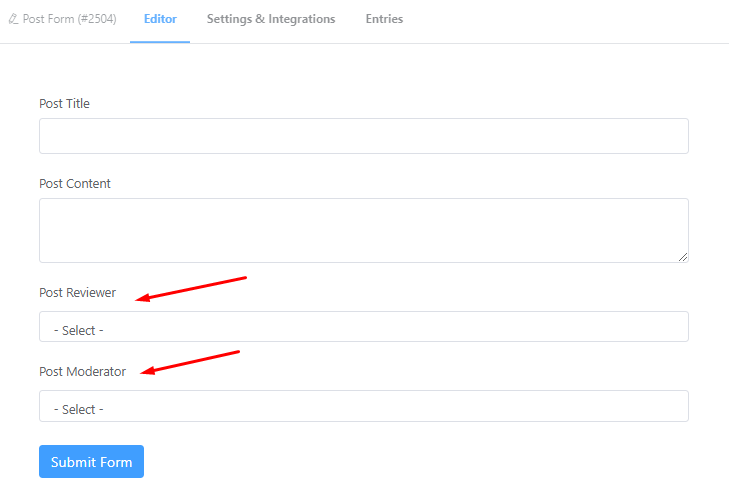
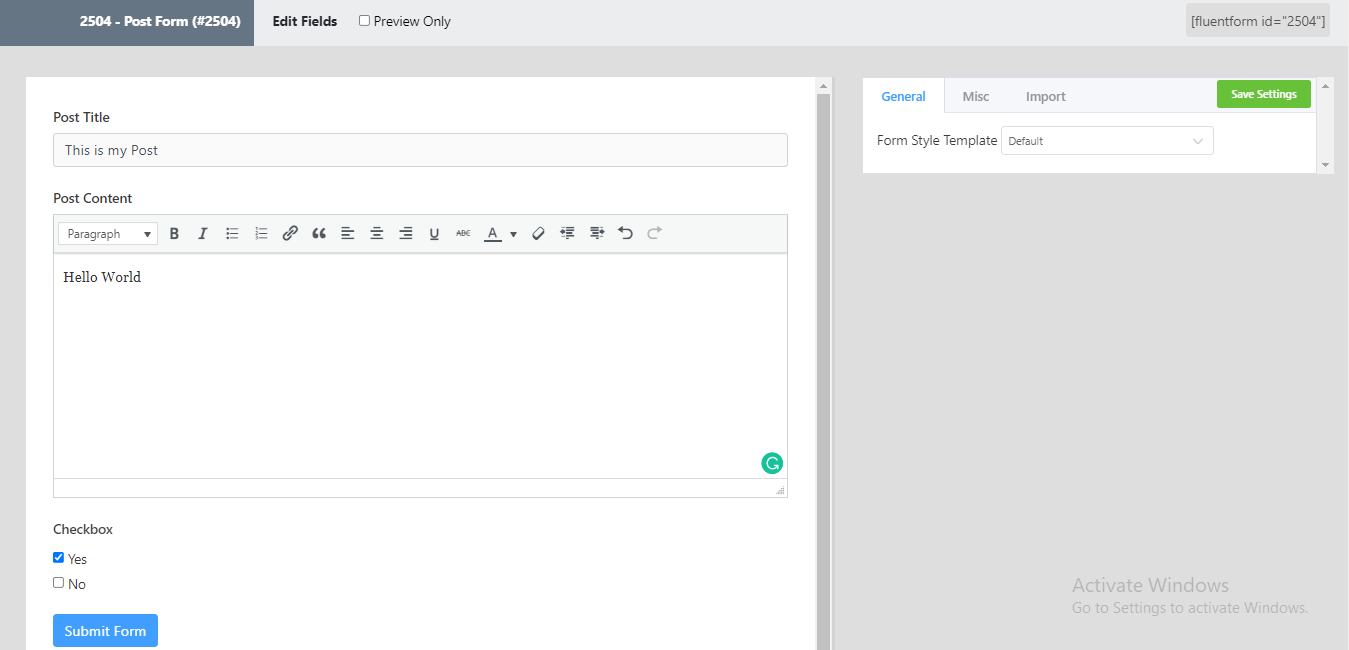
- Now you need to do is to create a Post Form how to create Post Form or you can use an existing Post Form that contains all the required Post Fields. The Post Form has two fields: Post Title and Post Content.
- Now, let’s go back to the Form that was created some time ago.
- In the ACF fields, you must add two fields with the appropriate Label & Form Type.
- As a result, you can choose the Dropdown, Simple Text, or any other Form Type.
- We used the Dropdown for both the Post Reviewer and Post Moderator fields for demonstration purposes and added the options for the fields.
- After that, don’t forget to Save the form.
Connect the ACF Field
- Here’s the interesting part, it’s time to connect the ACF fields into your fluent form.
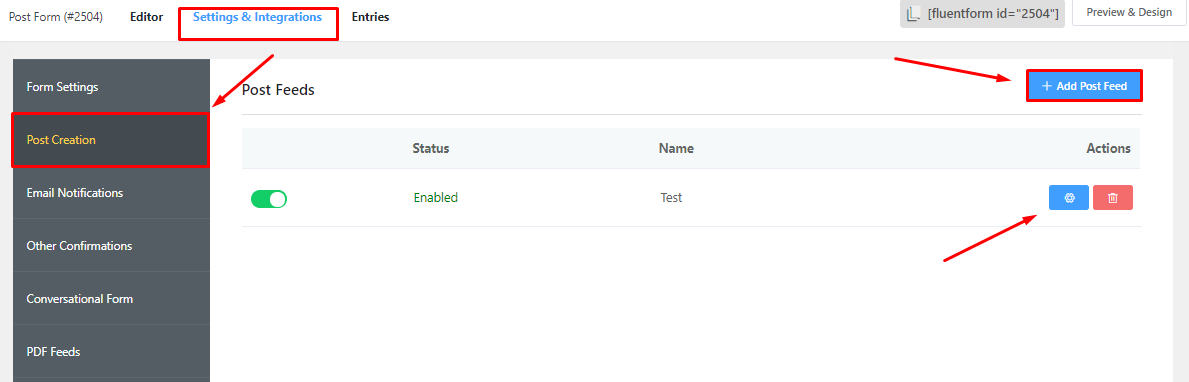
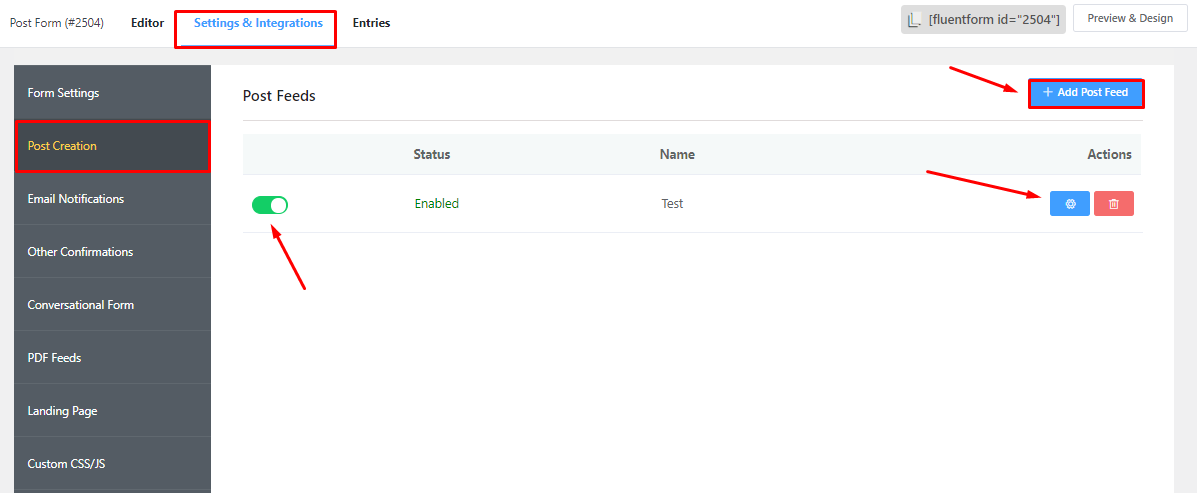
- To do this first, go to the Settings & Integrations tab and select Post Creation.
- By clicking Add Post Feed button, you may add your feed.
- Otherwise, if you already have the Post Feed created, you can click the Settings icon on the right.
- After that, a bunch of Post feed options will appear.
- This is the section where you can map the Form Fields to the Post Fields.
- To know more, check this Post Creation
Advanced Custom Fields Mapping
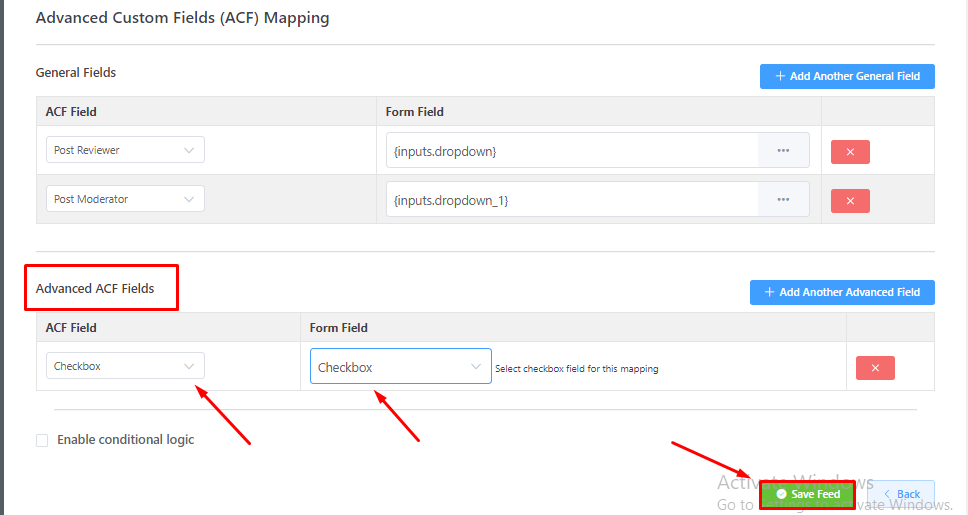
- Then proceed to the Advanced Custom Fields (ACF) Mapping section.
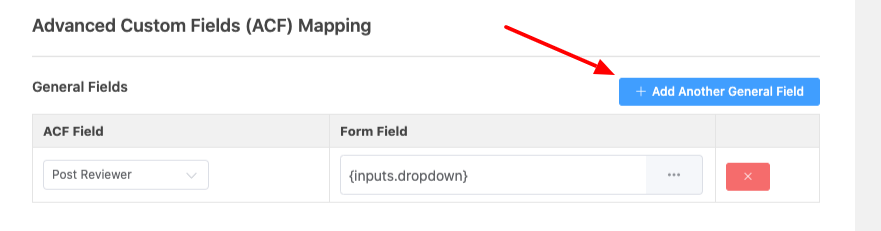
- On the left side of the General Fields section, there is an ACF Field, and on the right side, there is a Form Field.
- The ACF Field shows the possible ACF Fields, while the Form Field specifies the Form’s specific field.
- First, choose the Post Reviewer field & then select the Post Reviewer’s shortcode in the Form Field.
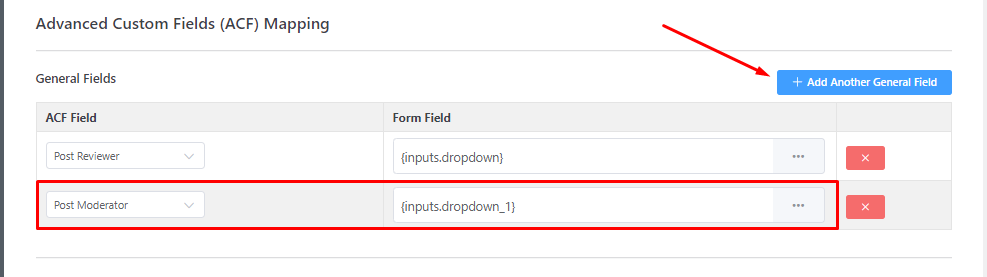
- Click the Add Another General Field button to add another row for a new field.
- Then just add the ACF Field & Form Field in the same way as before. And click the Save Feed button.
- Now let’s create a new post on the form & submit it.
- Then go back to the post that was added after the form submission.

- You will notice the Custom Post Fields with the Field Values appearing in your Post editor. Look at the screenshot below to get a better idea.
Advanced Field
Now let’s show you how to integrate an Advanced custom field into your Fluent Form post.
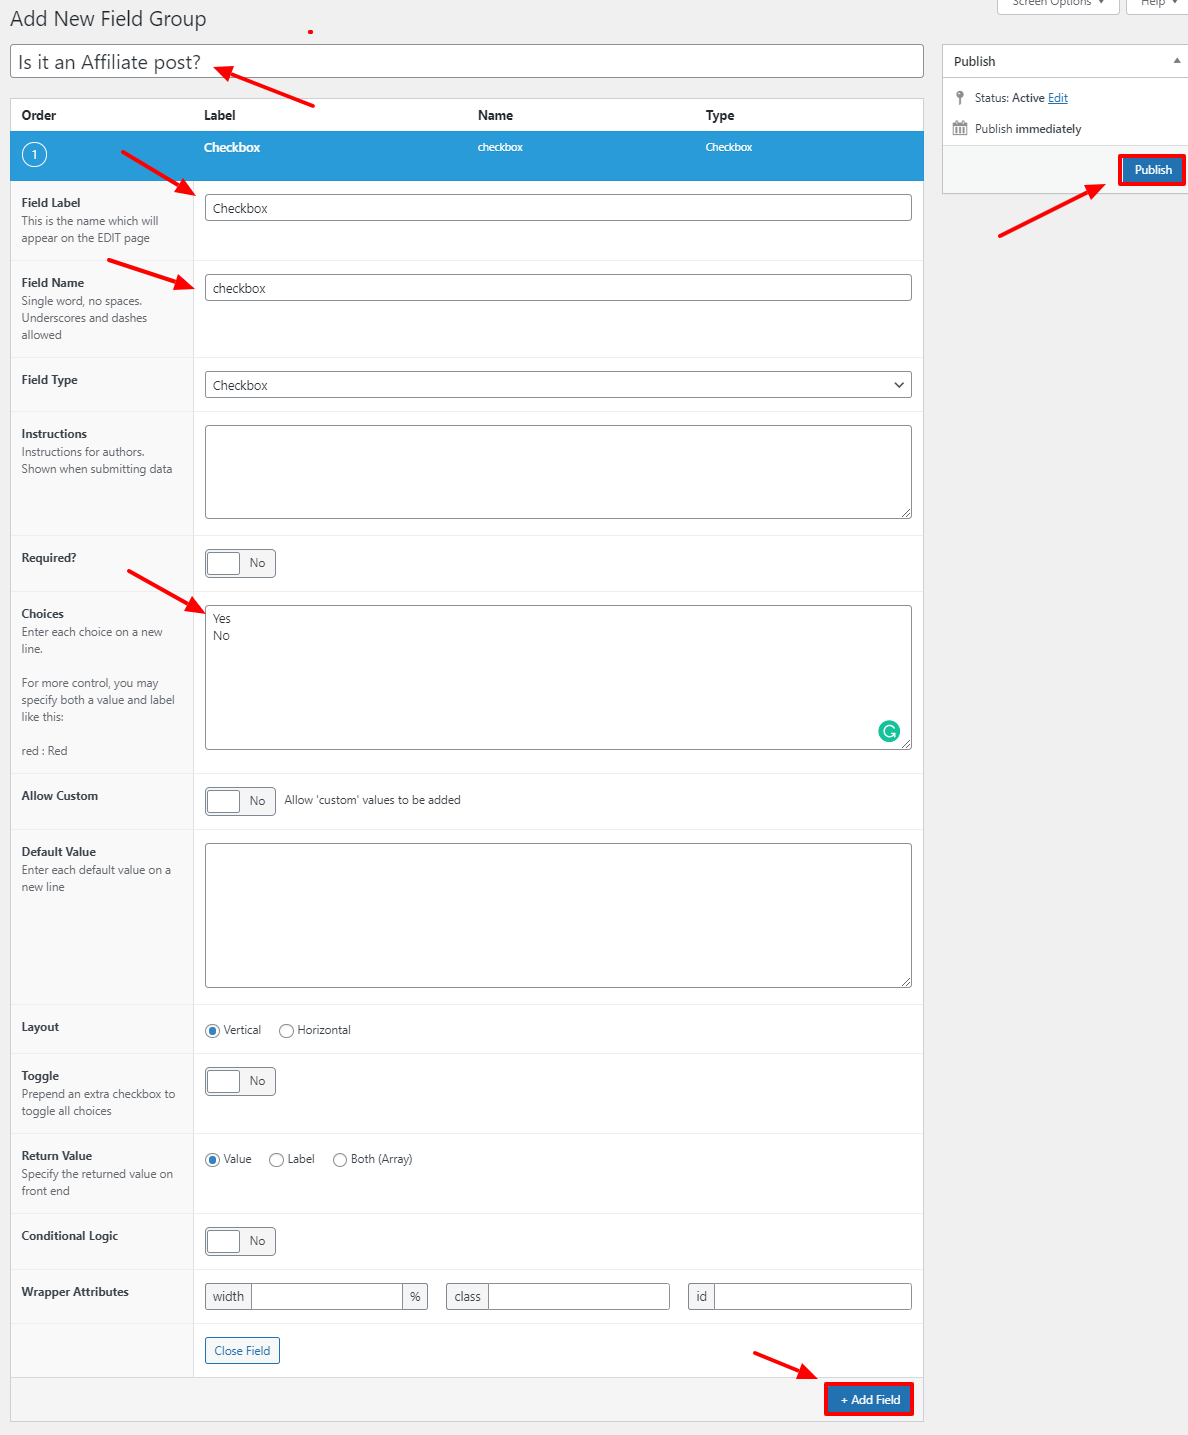
- Go back to the Custom Fields and create another Custom field. The field label Is it an Affiliate post? is used as an example & the Field Type is Checkbox.
- Then in the Choices option, two options i.e., Yes and No, have been added. Click the Add Field button to save this field.
- Lastly, click the Publish button.
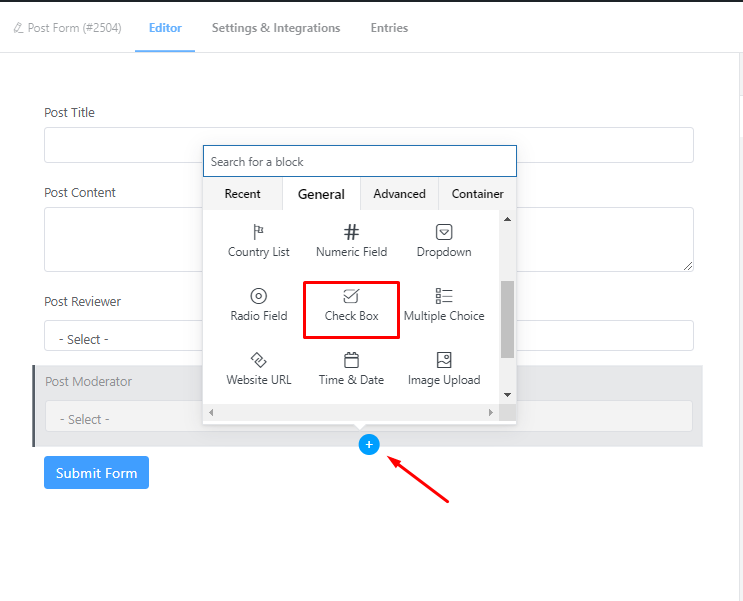
- Next, go back to the Post form and create a checkbox field there.
- Select the Checkbox Field from the General Fields section.
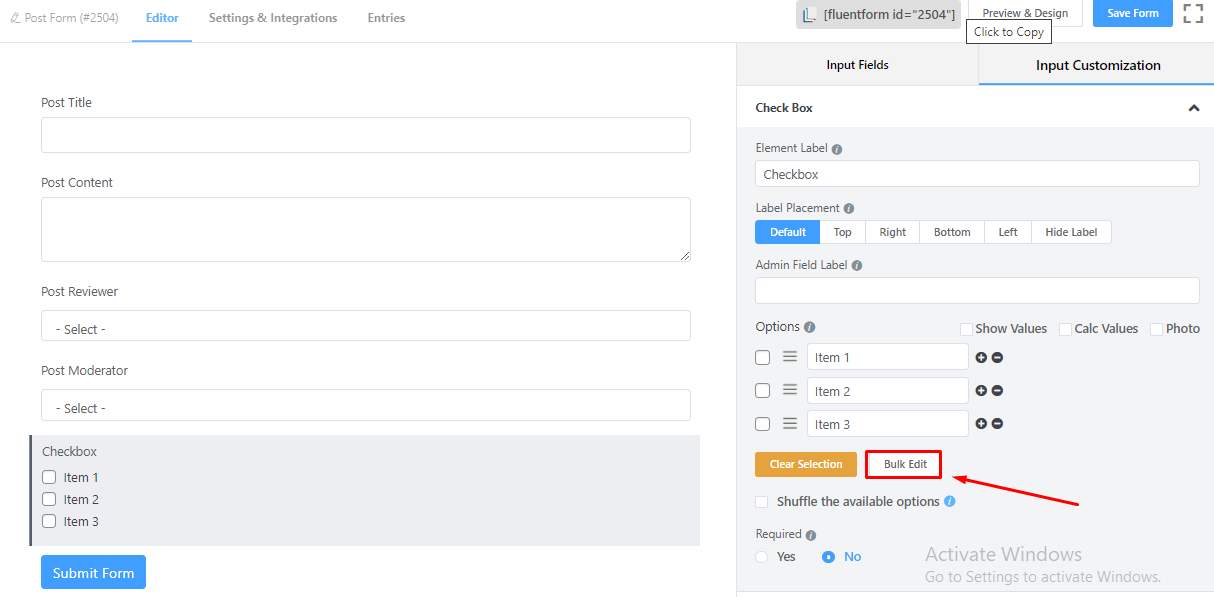
- Add a label that is the same as the Advanced field’s label.
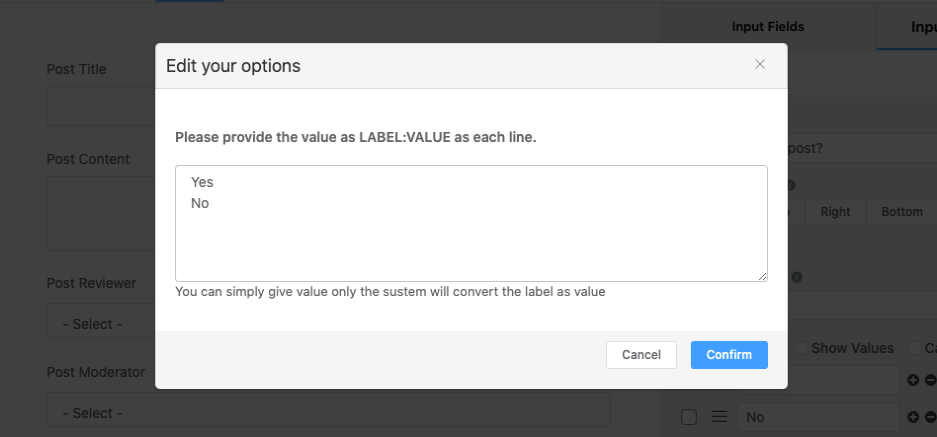
- In the Options part, click on the Bulk Edit button.
- Here you have to copy the choices that were added in the custom field & then paste them into the Options editor.
- Now after saving the form settings, go to the Settings & Integrations tab to connect the Advanced Fields to the form.
- Then click on the Post Creation option on the left sidebar.
- You can see that the Post Feeds is already Enabled, here click on the Settings icon to set the Advanced Field.
- Then scroll down to the Advanced ACF Fields section.
- Here you can select the ACF Field from the left side & Form Field from the right side of the section.
- After that, click the Save Feed button.
- Now, let’s go to the Post Form, create another post, and submit it in the Preview Mode.
- Then go to your Posts and click on the post that you just created.
- You can see the checkbox field with the value at your post’s bottom.
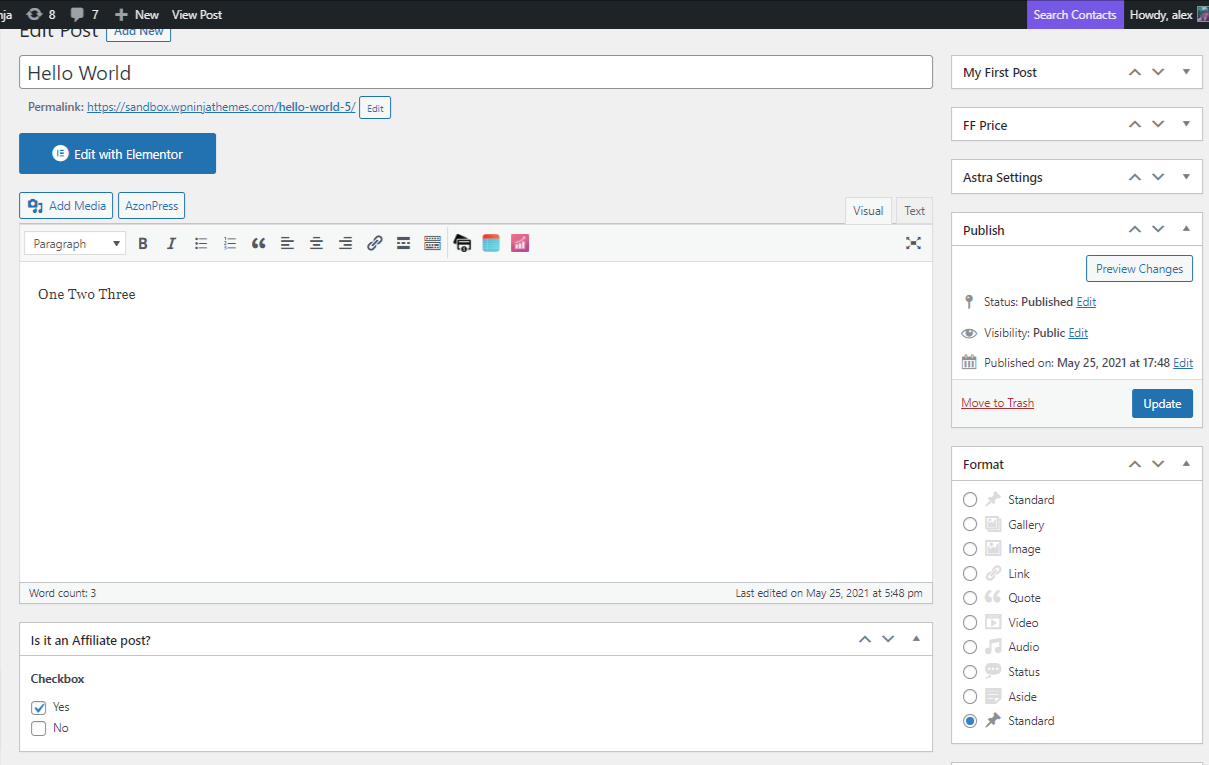
- Remember to click on the Update button.
So, this is how you can use ACF Fields with Fluent Forms.