When the user submits their email to your list, a double opt-in email is then required to confirm their email. So they have to click on an email with a confirmation link to confirm the validity of their email address when they subscribe to your newsletter.
Fluent Forms offers another dynamic feature and that is built-in Double Opt-in Email Confirmation. Follow this simple guide to learn how to apply this feature in your form.
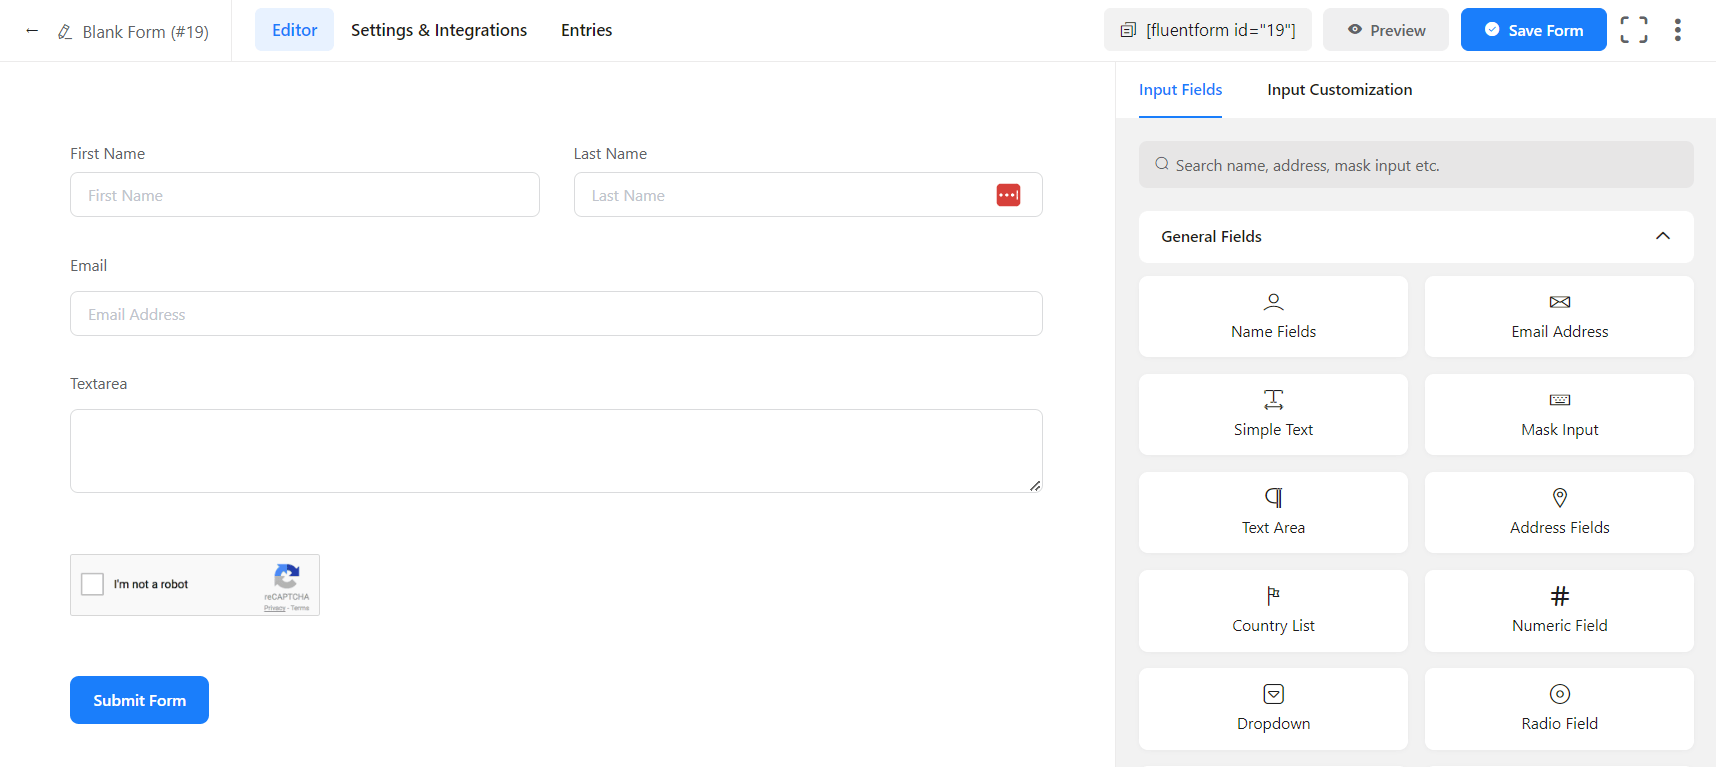
- The first step is to create a form, or you can also you any existing form. In this example, a simple Contact form has been used.
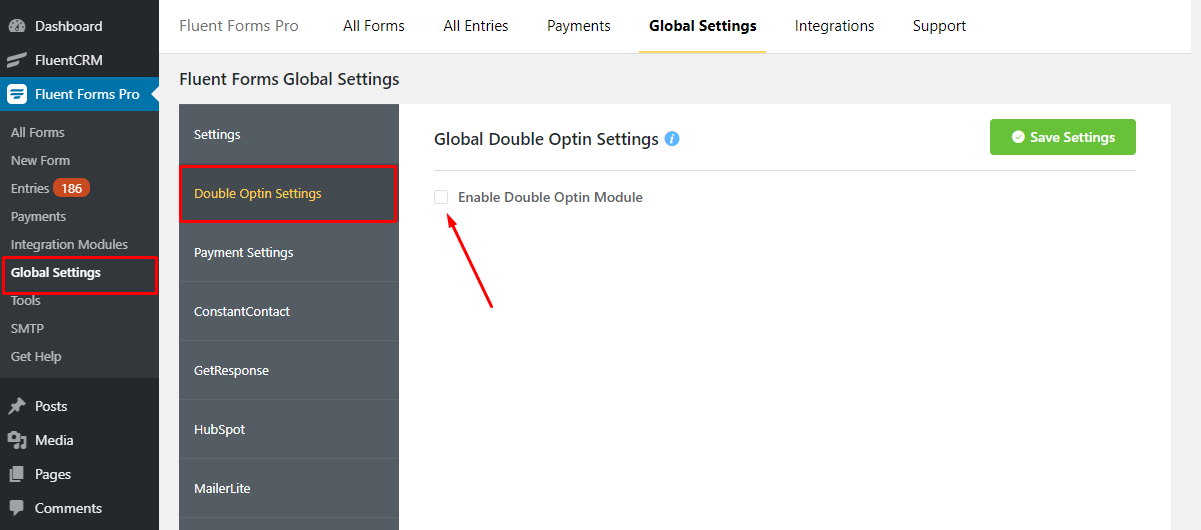
- In order to apply the Double Opt-in option, you first need to go to the Global Settings of Fluent Forms from the left sidebar of the dashboard.
- Right under the Settings tab, you will find the Double Optin Settings tab. Click on that, and here you have to check the Enable Double Opt-in Module option.
- In this setting, you can configure the Email Subject for a double opt-in email with the Global Email Subject option.
- In the Global Opt-in Email Body, Enter the content you want the user to send via email for confirmation. You send very simple or rich design emails for double opt-in confirmations.
- By checking the Send Email as RAW HTML Format option. You can paste your full design HTML email, and Fluent Forms will send exactly the same markup emails. This will give our customers great flexibility in designing emails.
- Then you can also enter the name you would like the notification email sent from & the email address too.
- In the Reply to option, you can add the email address you would like to be used as the reply-to address for the notification email.
- The confirmation message will not work if your outgoing email and reply to an email address are already set to a different one than the one you set in fluent forms. So make sure they match.
- And if the Reply to the field is empty, then the email sent by your domain’s SMTP will work by default.
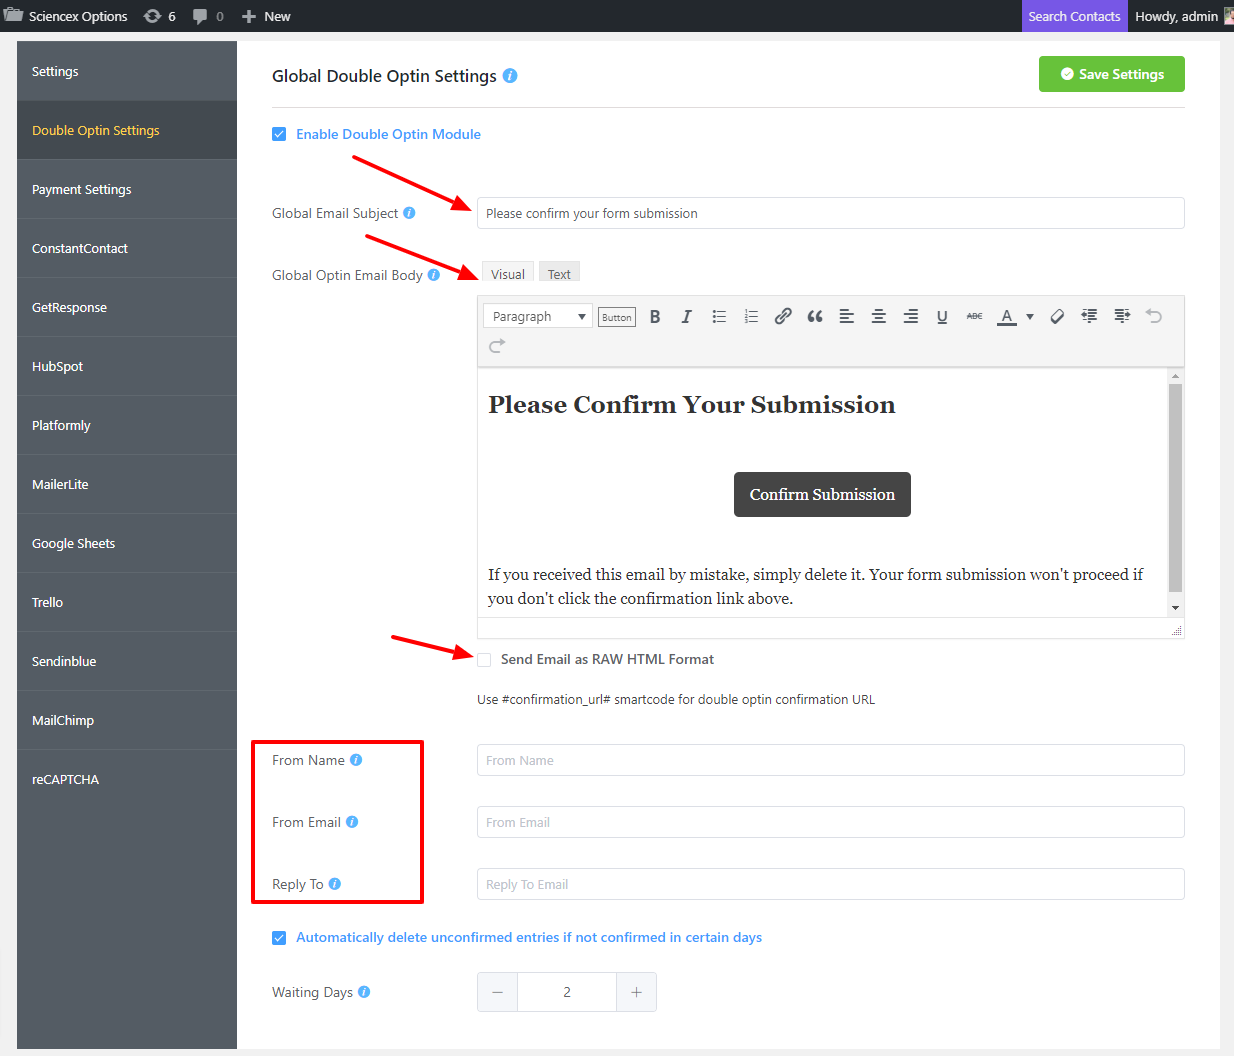
- Check the box if you want to delete unconfirmed entries if not confirmed on certain days Automatically. Select how many days it will wait before deleting the unconfirmed entries in the Waiting Days option.

- Then go to your form’s Settings & Integrations tab, here scroll down to Enable Double Optin Confirmation before Form Data Processing and check this option.
- After this, you can see a few options where you need to set the Primary Email Field. The double opt-in email will be sent for verification in the selected email field.
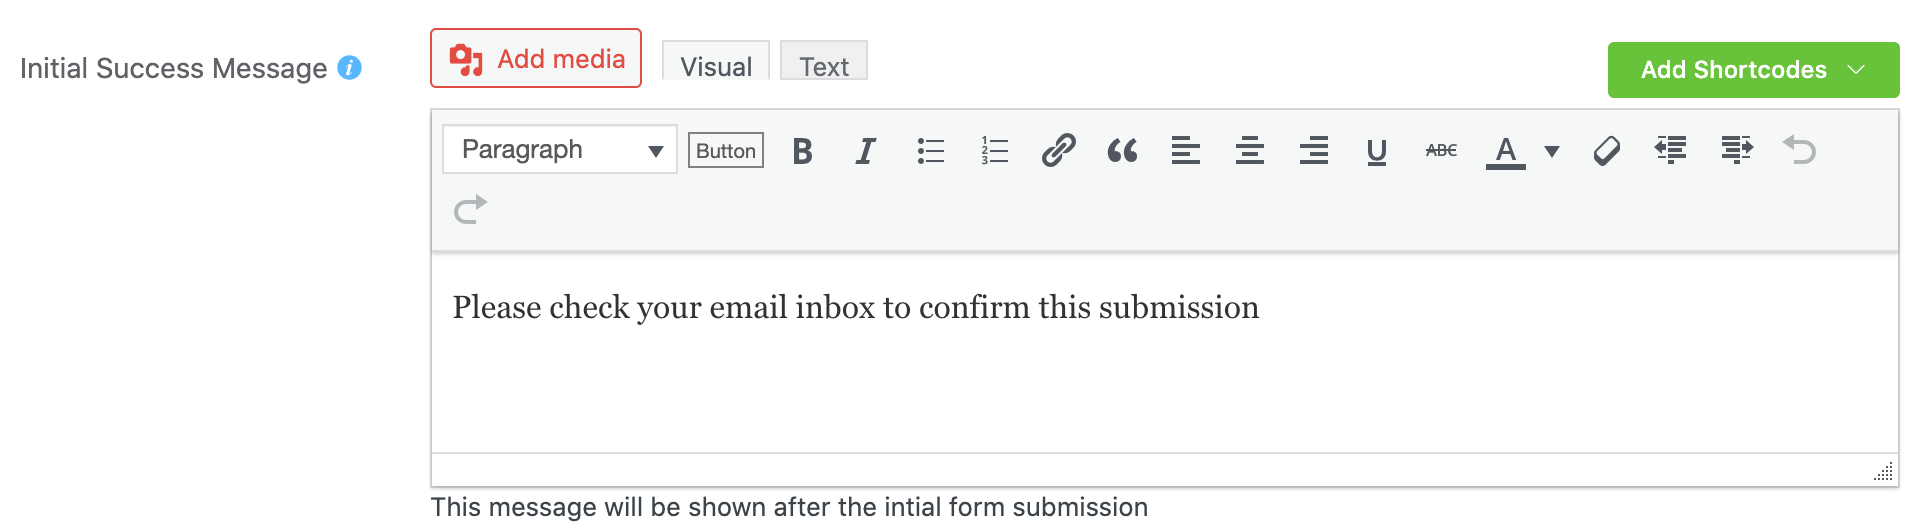
- Enter the text you want the user to see just after the initial form submission in the Initial Success Message option.
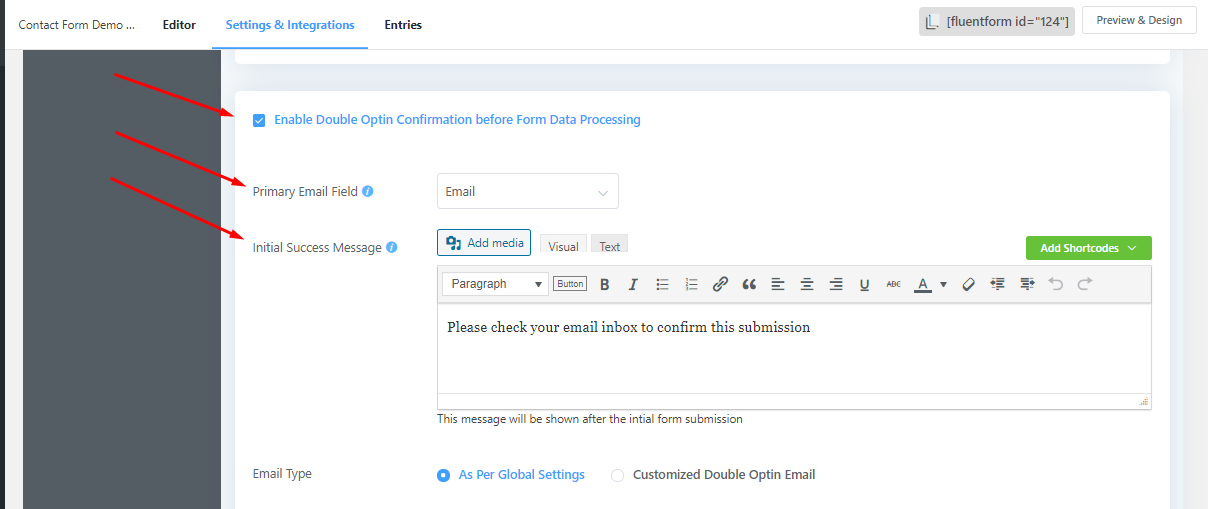
- Now you can either keep the Email Type, As Per Global Settings or choose the Customized Double Optin Email option.
- Here you can add the Optin Email Subject and also customize the Optin Email Body. Enter the content, you would like the user to send via email for confirmation.
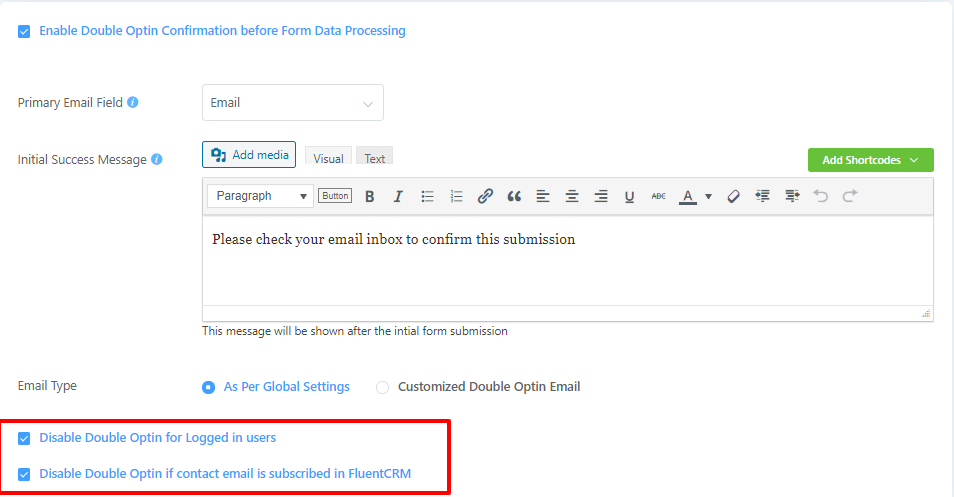
- Then you can check the Disable Double Optin for logged-in users if needed.
- And you can also check Disable Double Optin if the contact email is subscribed in FluentCRM.
- Then make sure to save your settings.
- Then the initial confirmation will show upon form submission, like the example given below –
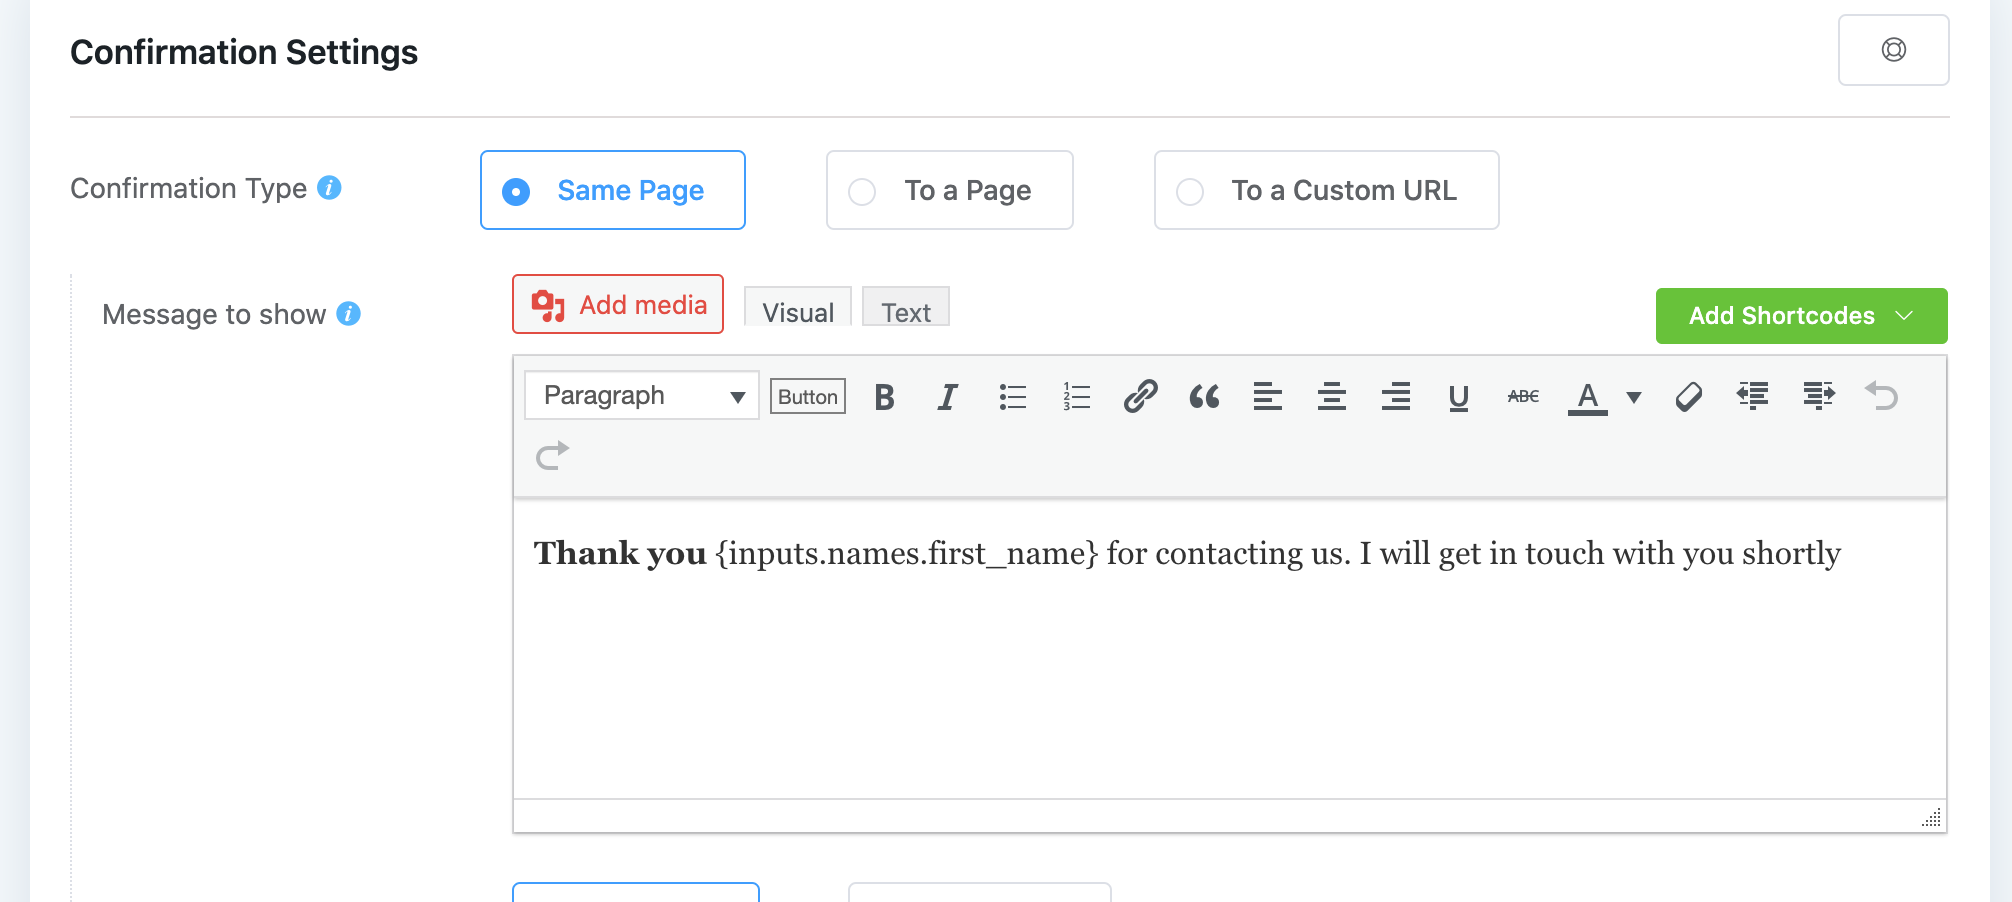
- After the user confirms their subscription from email the form confirmation will be displayed; see the example below where you can edit the Confirmation Message.
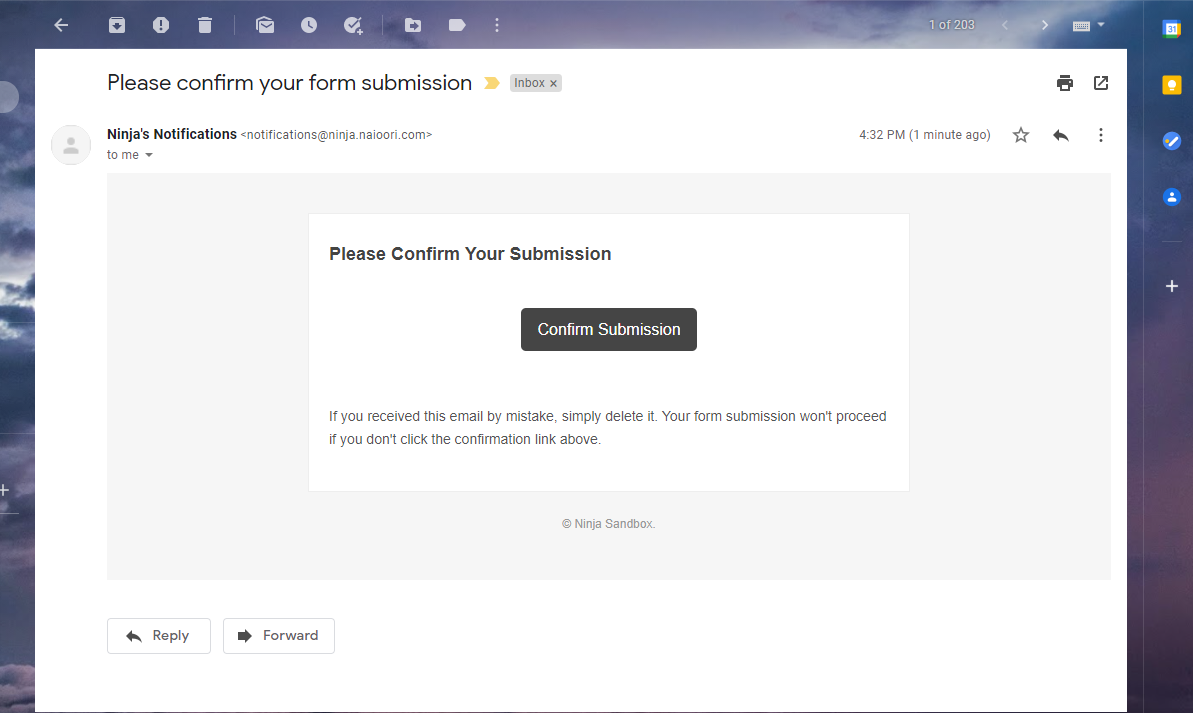
- The Email Notification gets triggered when the Double Opt-in is confirmed. This is what the confirmation email looks like –