
Fluent Forms comes with many pre-built Quick Forms to save you time. Here is how you can deploy and customize them.
- First, you need to create your Form with Fluent Forms. Click here to learn how to create a form.
- Clicking on the New Form/Add a New Form button opens a pop-up that allows you to choose from many pre-built Quick Form templates:
- Contact Form
- Support Form
- Newsletter Form
- Conversational Form
- Optin Form
- Browse through categories or search, then click on the Quick form you need to use.
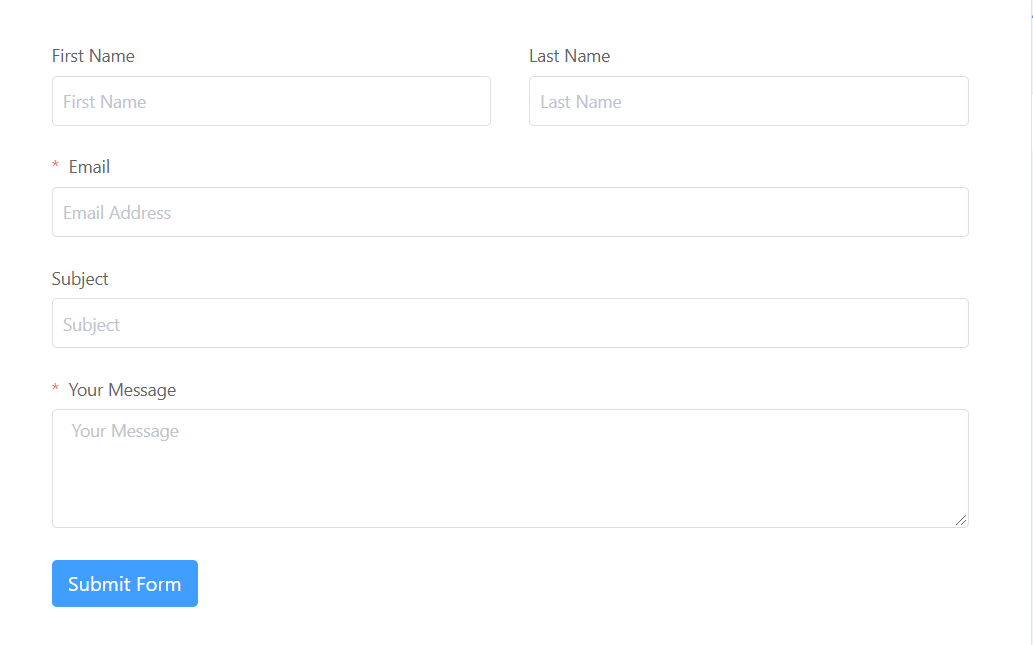
- If required, Customize the Fields. Fluent Forms comes with various options to enable you to customize the fields you intend to use.
- To customize an added field, hover and click on the Edit icon. You can also click on the Input Customization tab on the right sidebar.
- These customizations offer you various options starting from renaming a field, defining a placeholder, and positioning a field label to define the maximum size of an uploaded file.
- Are you done with the customization and everything? Click on the Save Form button on the top-right corner of your screen.
- Now copy the Shortcode and paste it onto the page you want your form to be visible.