Fluent Forms brings you another exciting feature that is, RazorPay Payment Gateway support. RazorPay offers fast, affordable & Secure ways for users to accept and disburse payments online & own a fully functional current account.
Just go through this simple guide to learn how to integrate RazorPay with Fluent Forms.
- To integrate RazorPay with Fluent Forms, you must first have a RazorPay account. If you don’t have a RazorPay account, you should sign up once now.
- In order to set up RazorPay with Fluent Forms, go to the Global Settings from your dashboard & select Payment Settings from the sidebar.
- Next, go to the RazorPay tab. You will have to check the Status to Enable the RazorPay Payment Method.
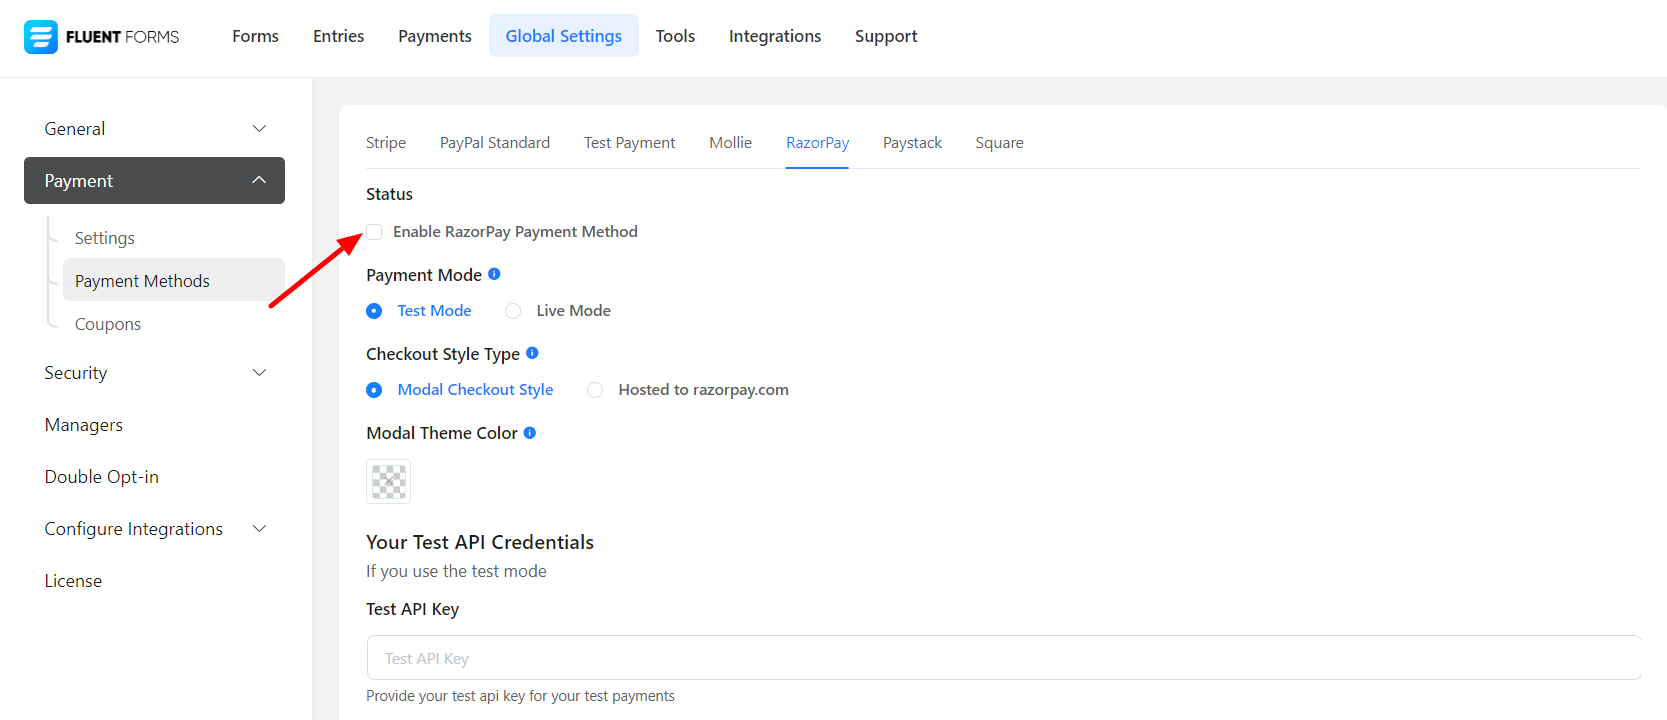
- After enabling the RazorPay Payment Method, some options will show up. Here, you have to choose a Payment Mode. There’s a Test Mode and a Live Mode.
- Let’s set up the Test Mode for Razorpay. Keep in mind that the Live Mode can be enabled the same way as the Test Mode was set up.
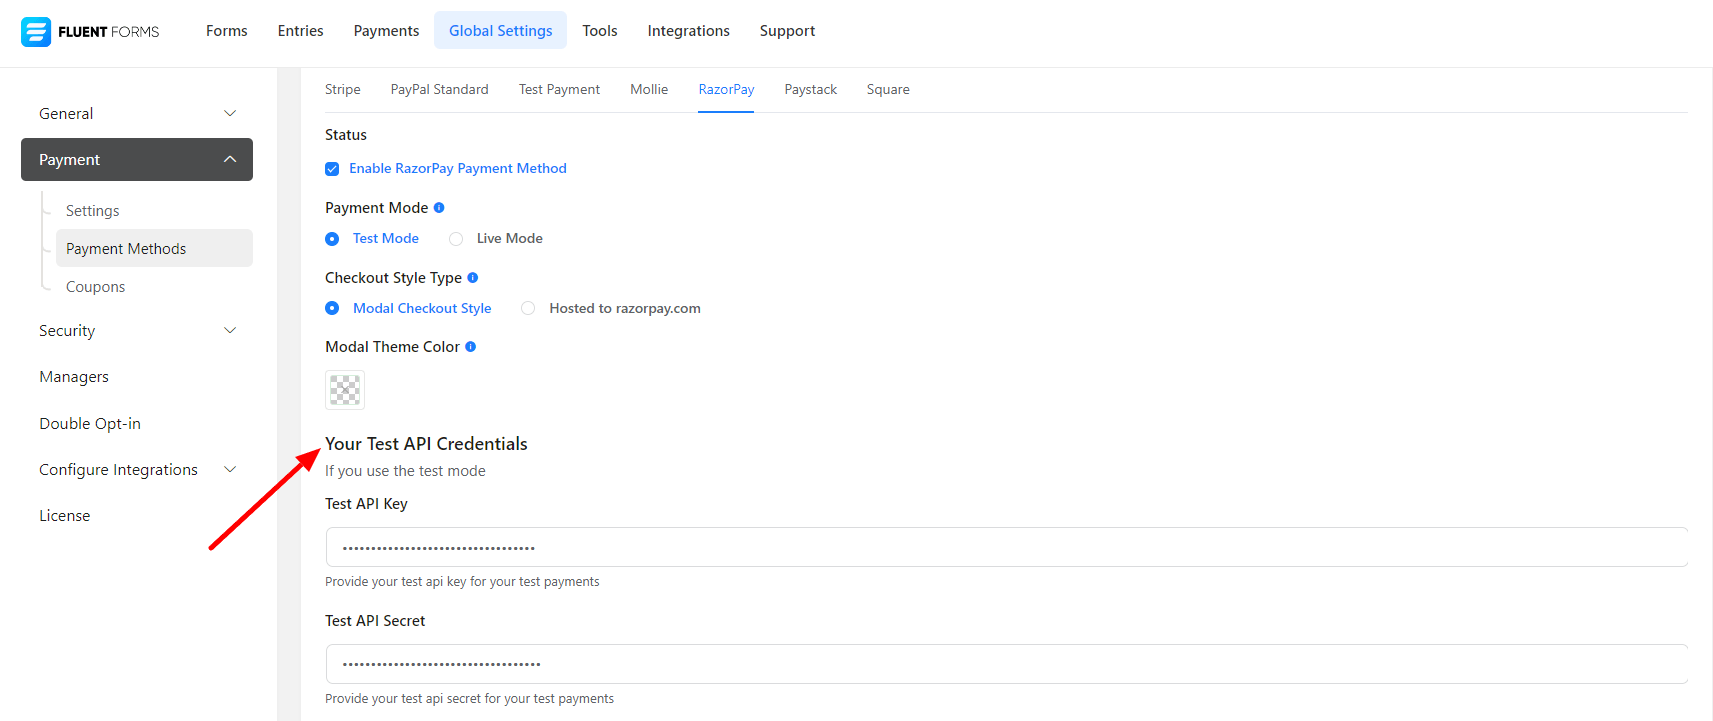
- Now you can also choose the Checkout Style Type according to your choice. If you choose the Modal Checkout Style, the checkout page will be displayed in a pop-up format. Selecting the Hosted to razorpay.com will display the checkout page in the default Razorpay style.
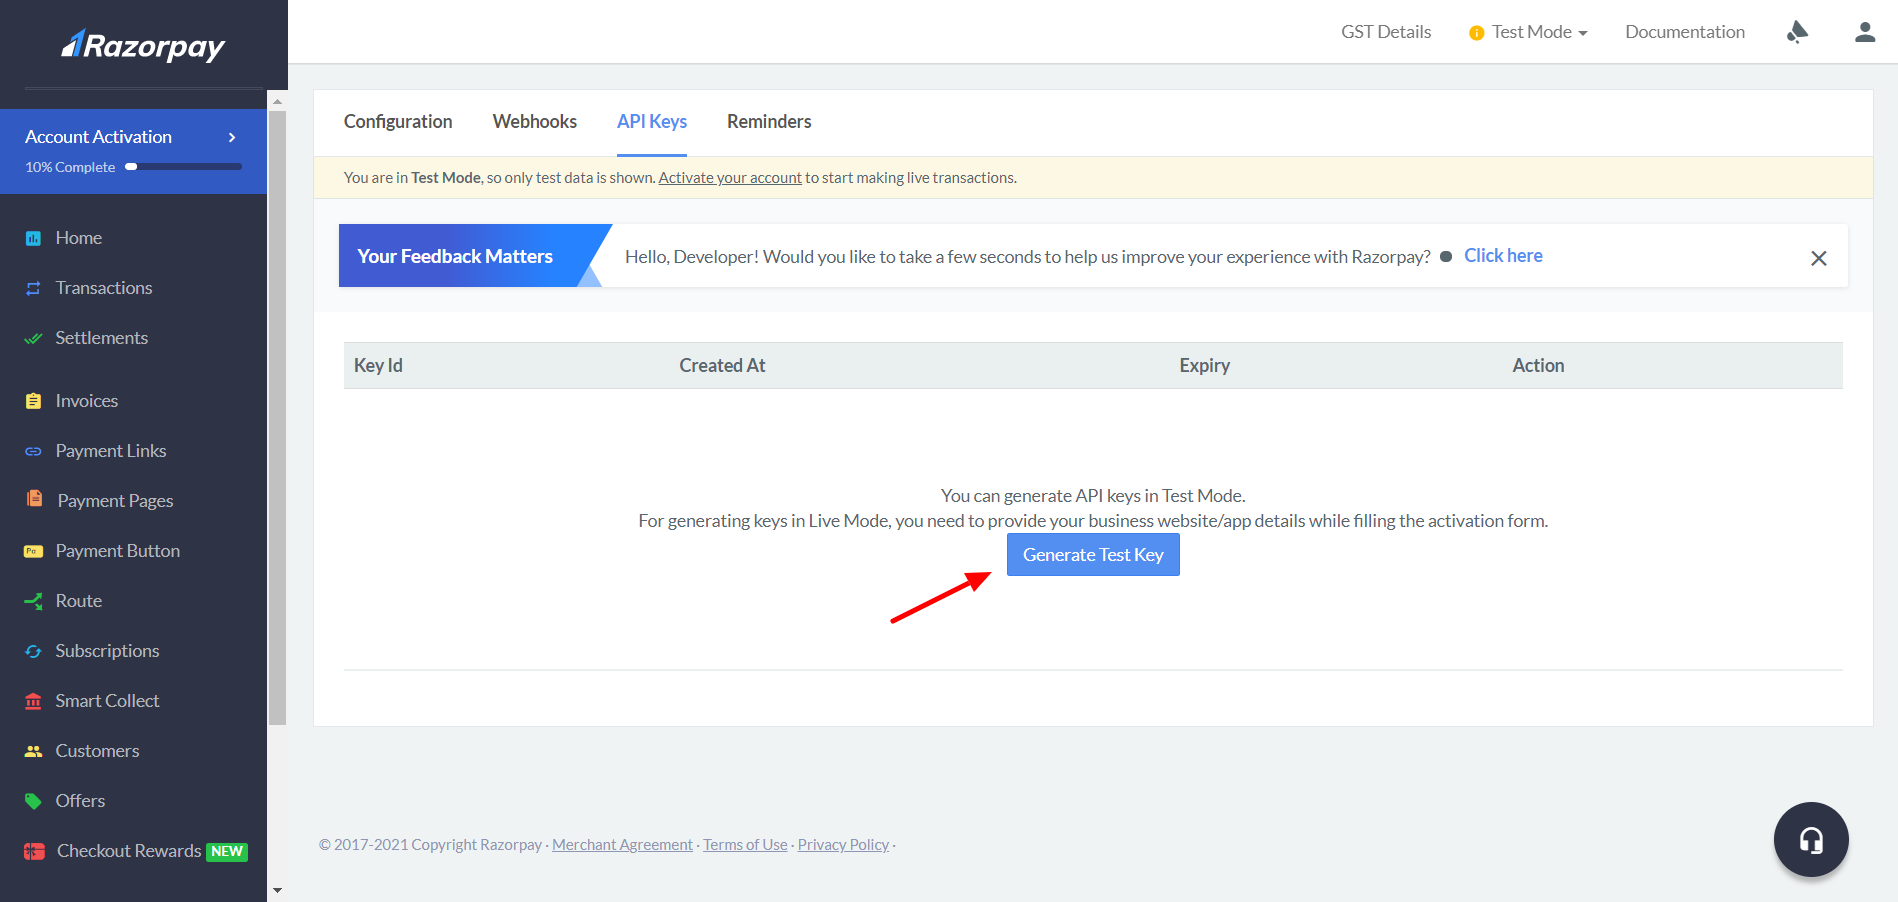
- Next, you will need to provide some test API Keys first. Login to your RazorPay account to obtain these keys. Click on Generate Test Keys.
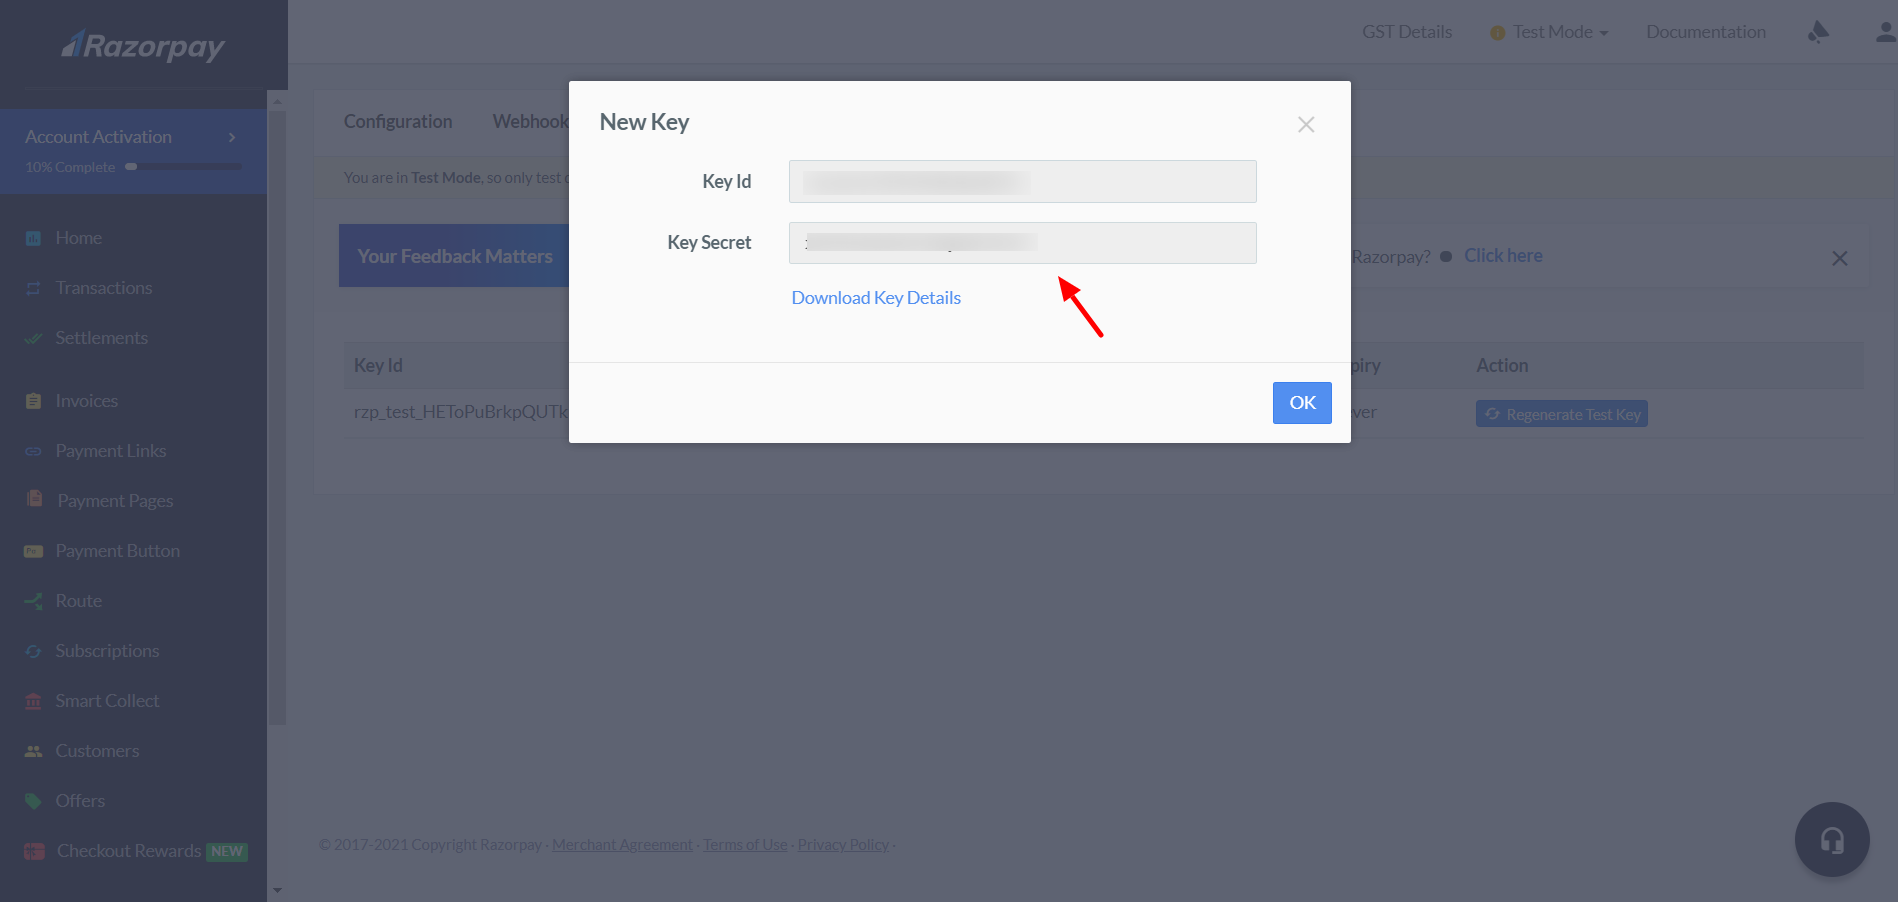
- Once you click on the button, a set of keys will appear. There will be a Key Id and a Key Secret. Simply click to copy to use them in a further step.
- Then go back to the Fluent Forms dashboard, and paste the keys into their respective fields. And click on Save Settings.
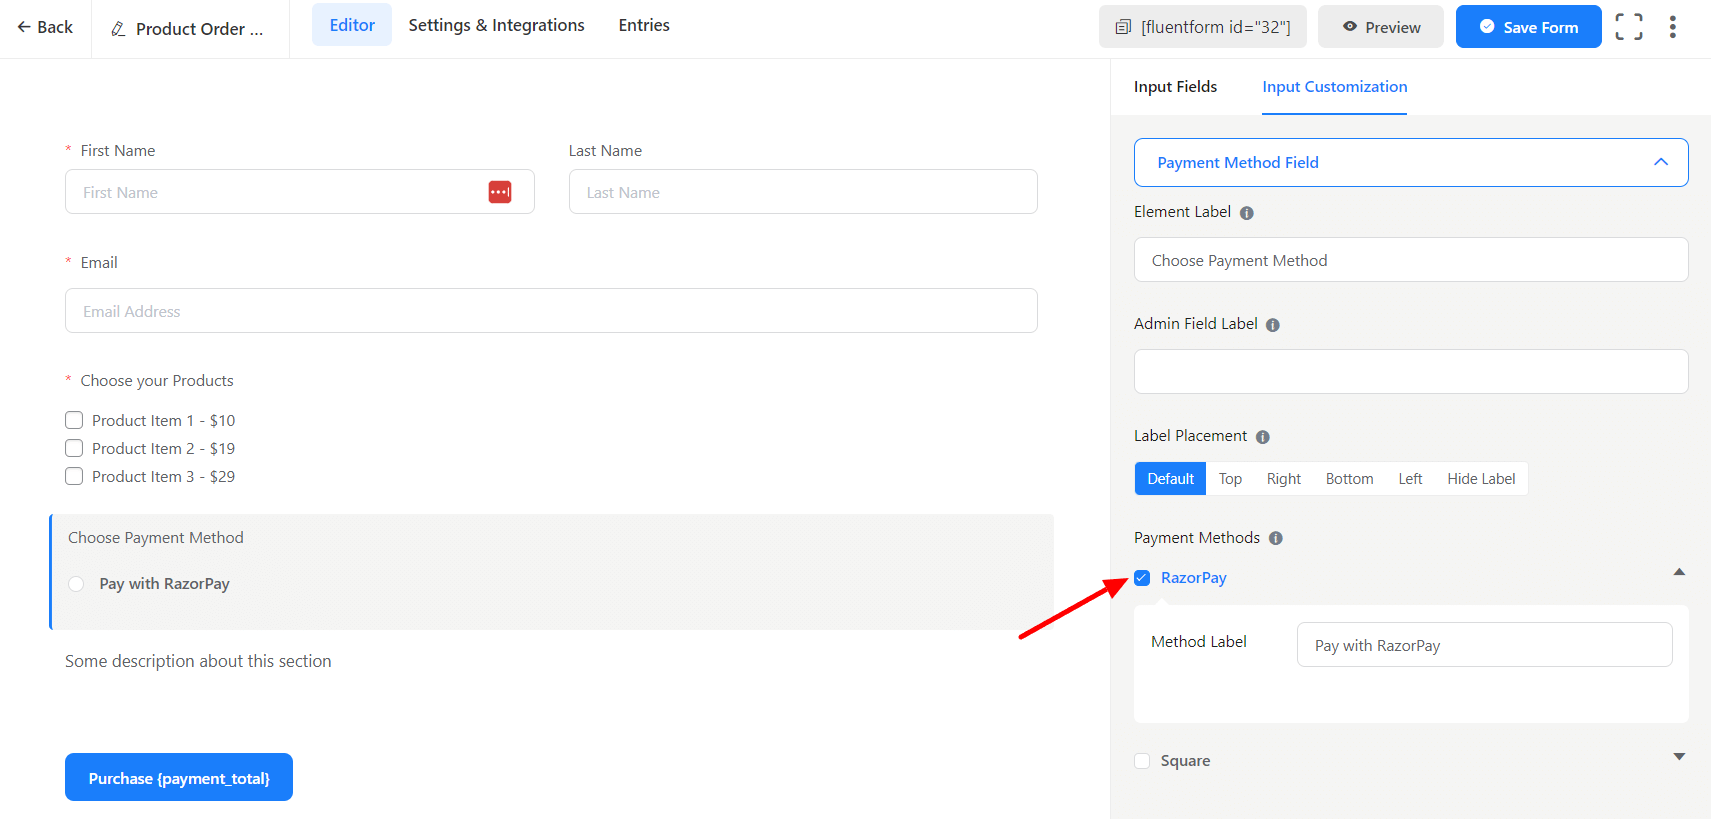
- Now you have to create a form & add your required fields. Include a Payment Item and a Payment Method field and add your desired labels for them.
- On the Payment Method field, make sure you Check the RazorPay option to let your users pay through this Payment method.
That’s it!