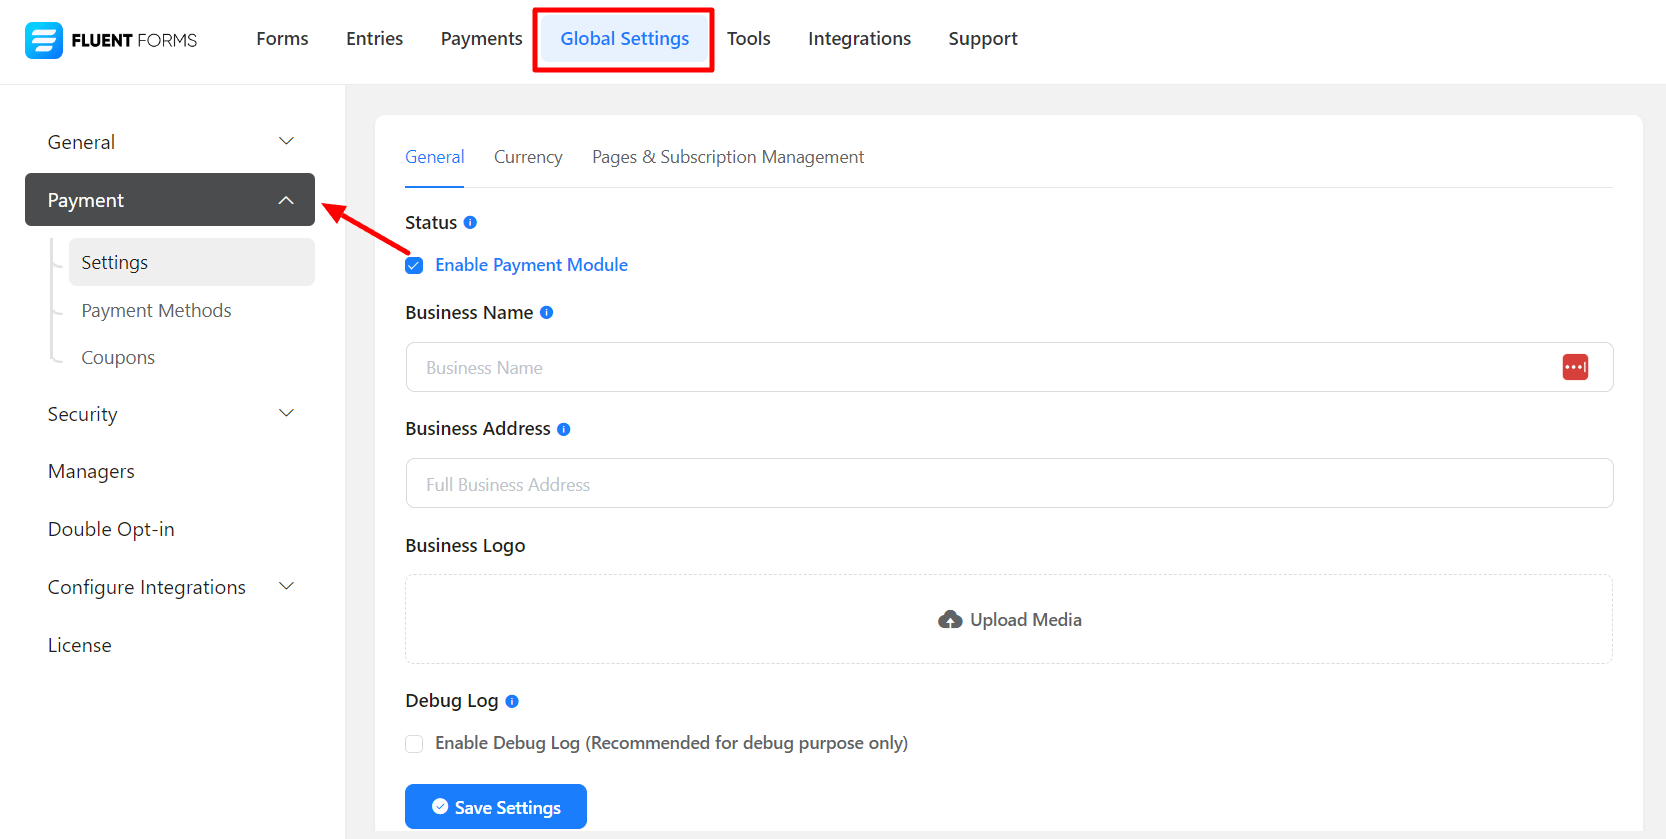
- To configure payment settings, go to your dashboard’s Global settings. Next, from the left sidebar, select Payment Settings.
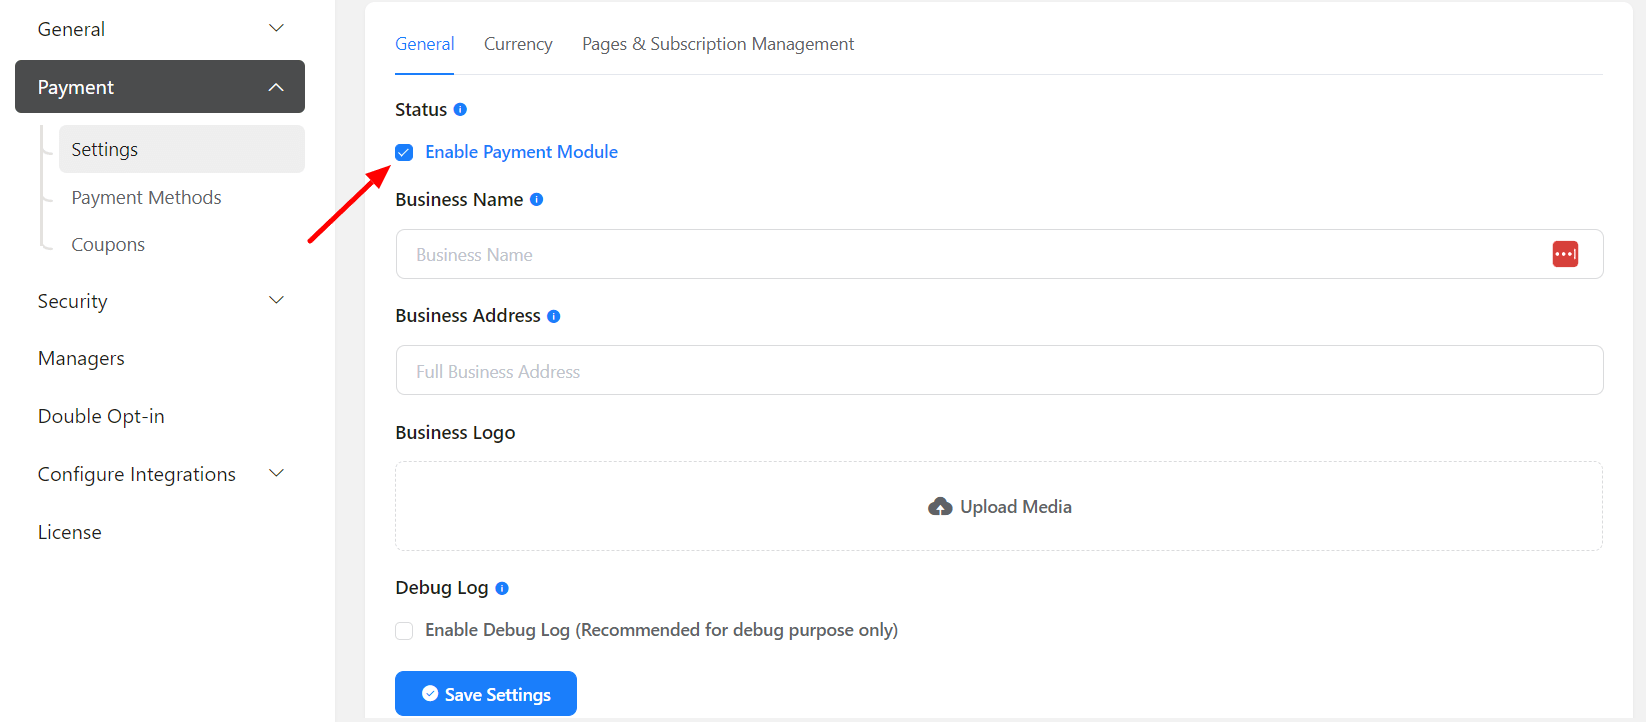
- Check the Status box to Enable Payment Module. Now set your Business Name and Business Address. Then click on the arrow to upload your Business Logo.
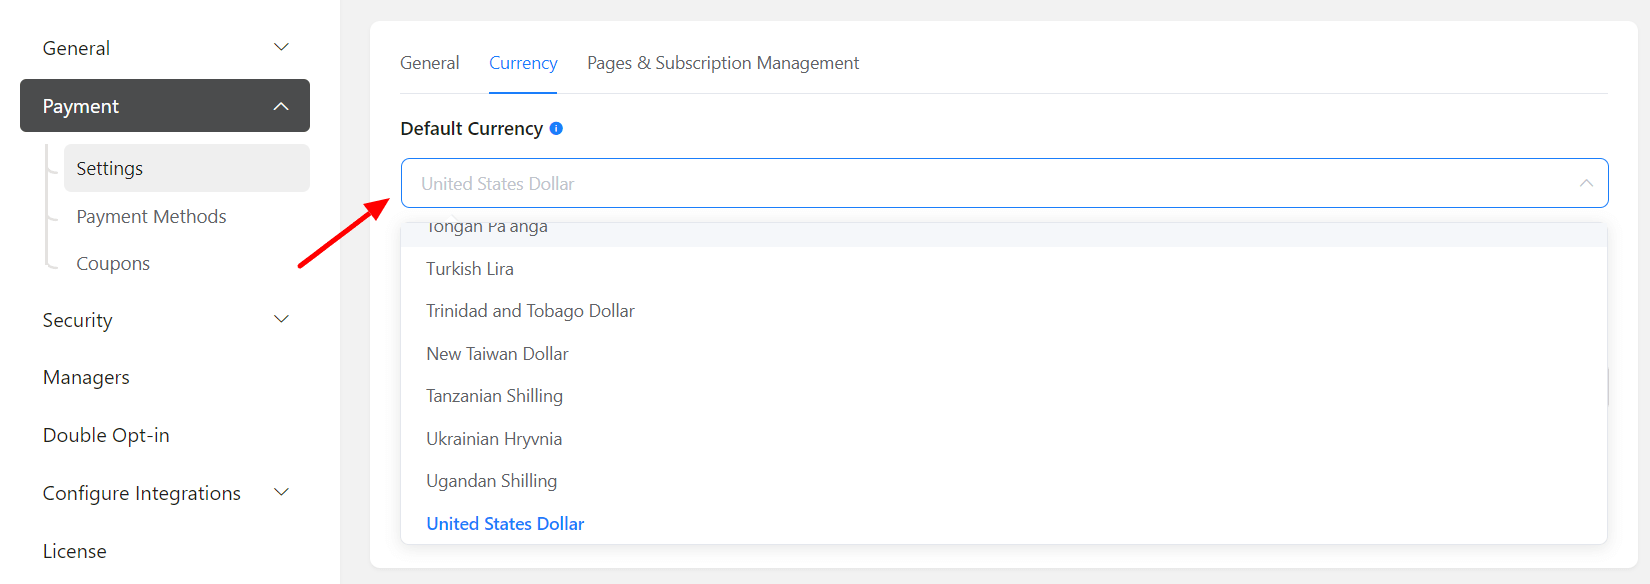
- Next, go to the Currency tab. Set your Default Currency using a dropdown menu.
- Then choose Currency Sign Position using the radio buttons. Now use the dropdown menu to select your Currency Separators.
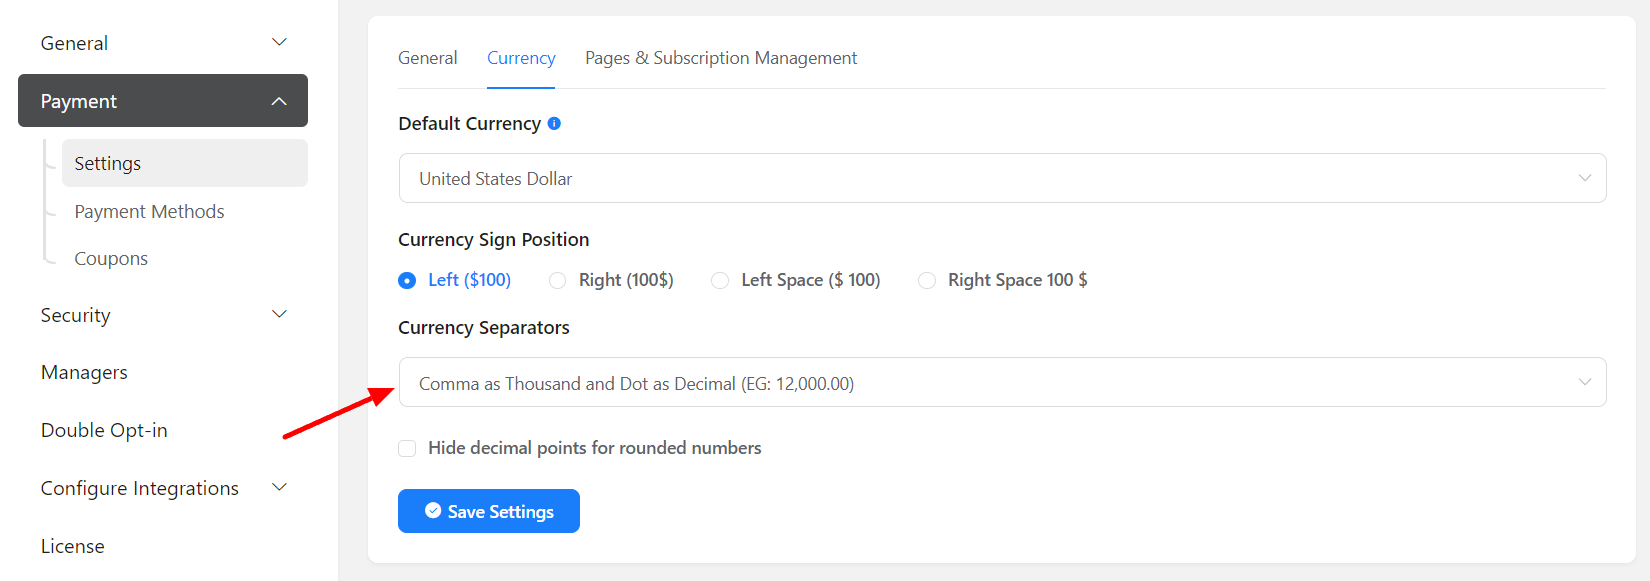
- Check the box if you want to hide decimal points for rounded numbers. And don’t forget to hit the Save Settings button.
