ChatGPT, developed by OpenAI, is an AI system chatbot trained to follow instructions in a prompt and provide detailed responses for various purposes, such as engaging in conversation, gaining insights, automating tasks, and so many more.
Fluent Forms now integrates OpenAI ChatGPT, making it easier for users to create Forms effortlessly with simple commands and set up AI-generated confirmation messages or emails and even PDF feeds for form submissions.
This article will guide you through integrating OpenAI ChatGPT with Fluent Forms.
Integrate OpenAI ChatGPT with Fluent Forms
To learn how to integrate OpenAI ChatGPT with Fluent Forms, follow the steps with the screenshots below —
Before starting the process, ensure you installed and activated the FluentForms plugin’s Latest (Version 5.1.18) and Pro (Version 5.1.18) versions on your WordPress site.
Enable OpenAI ChatGPT Module
First, go to Integrations from your Fluent Forms Dashboard, search for OpenAI ChatGPT, and click the Toggle button to enable the integration.
Then, click the Gear Icon to make the integration functional.
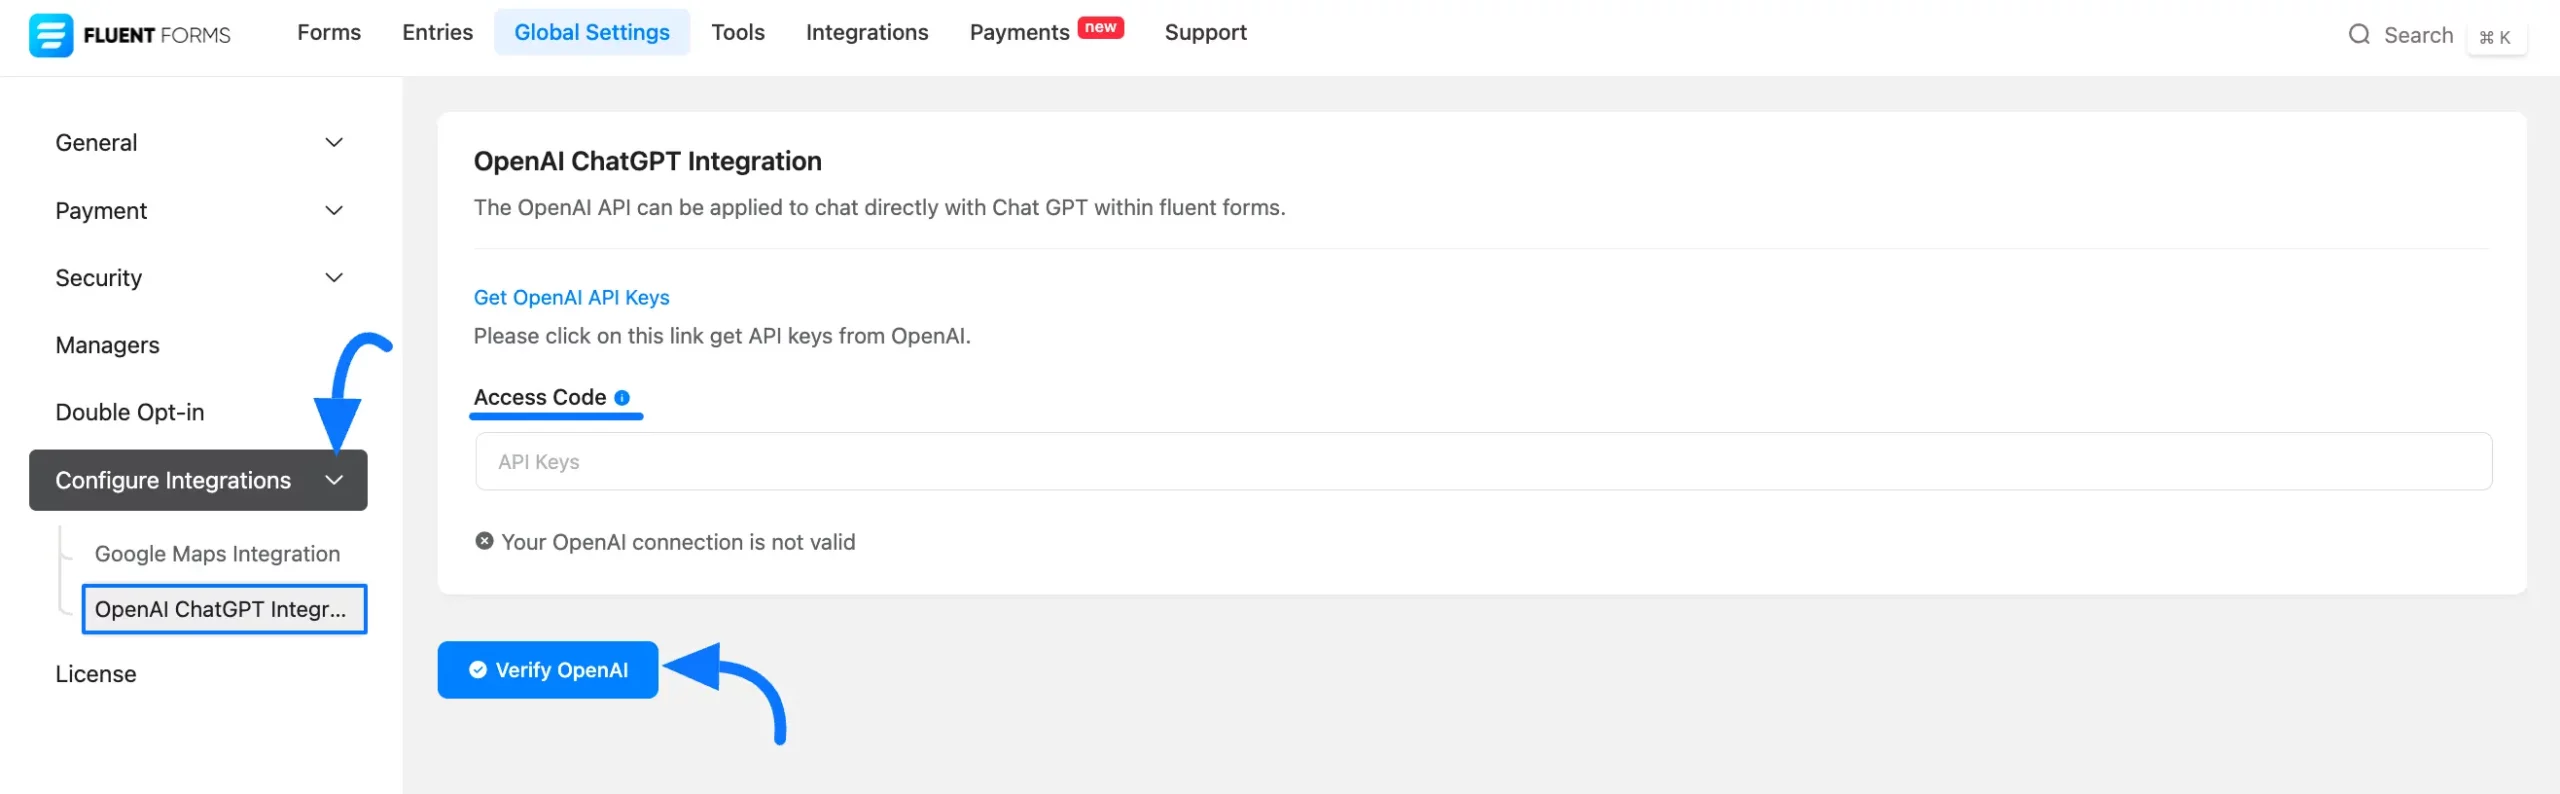
Now, provide the API keys of your OpenAI ChatGPT under the Access Code field. Then, click the Verify OpenAI button, and your OpenAI ChatGPT will be Integrated.
Get the OpenAI API keys
To learn where you can get the OpenAI API keys, follow the steps with screenshots below —
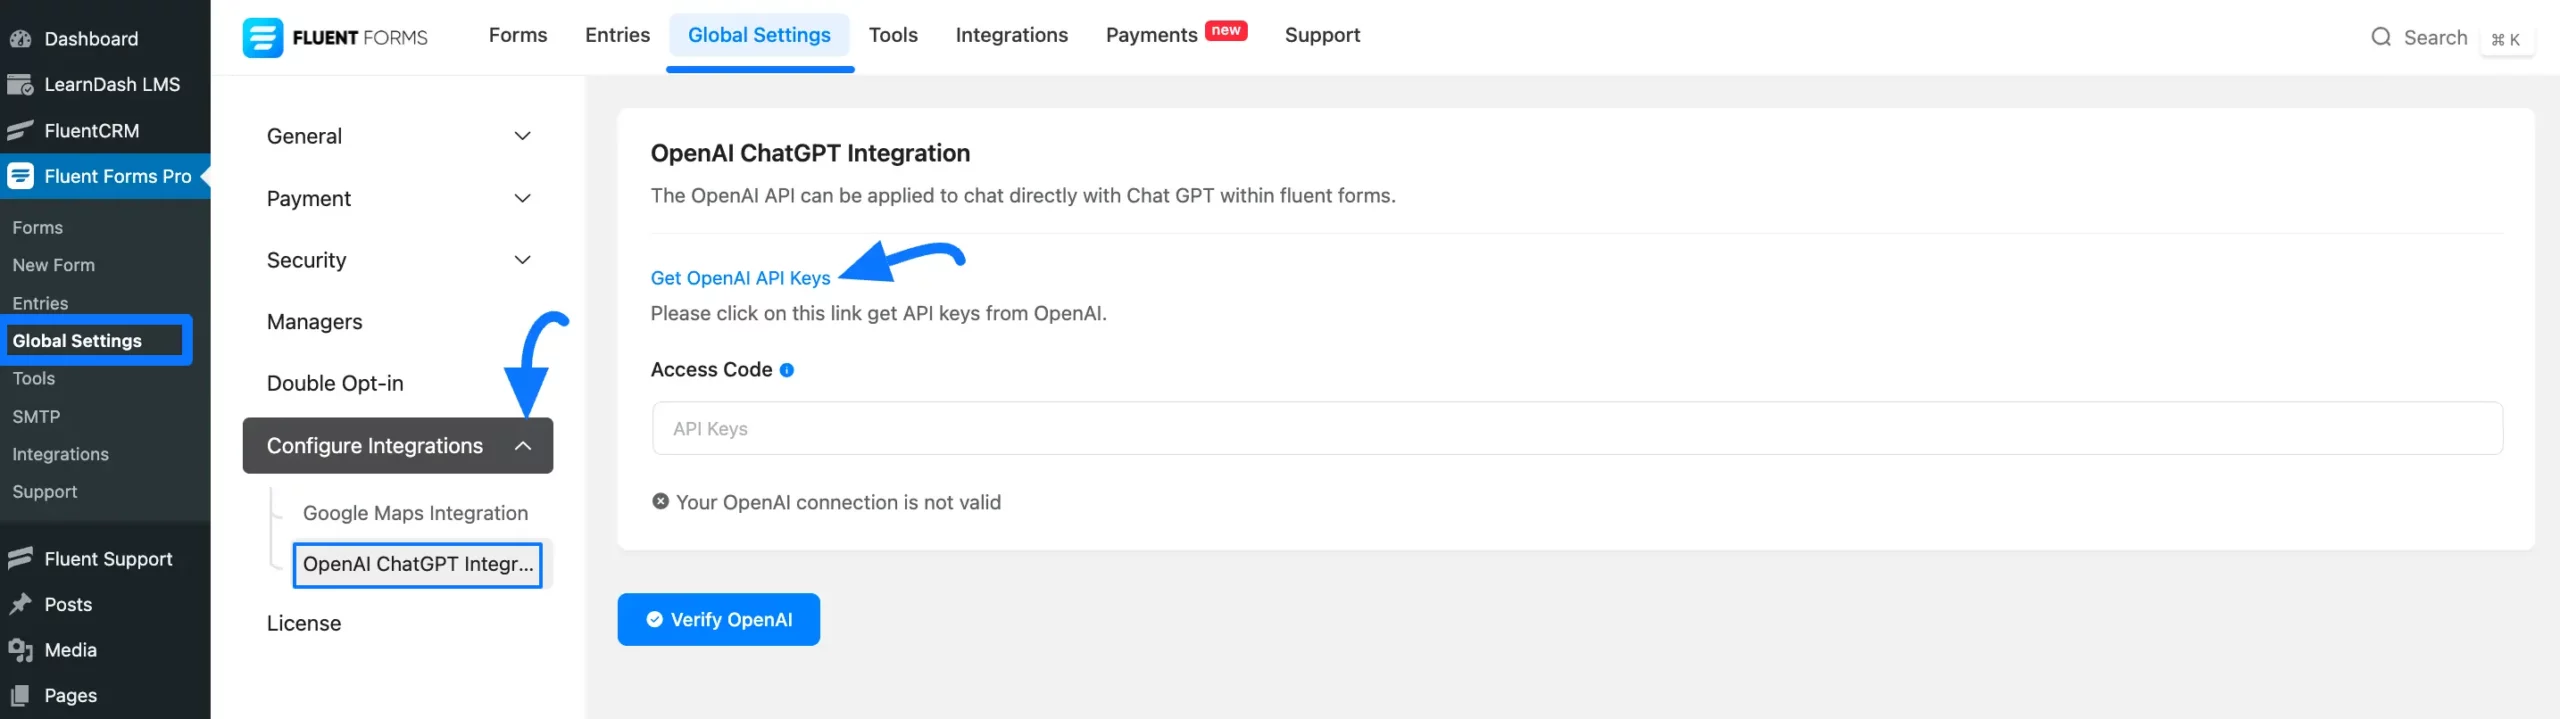
Go to Global Settings from the Fluent Forms Dashboard, expand Configure Integrations dropdown & select OpenAI ChatGPT Integration, and click the Get Open API Keys link.
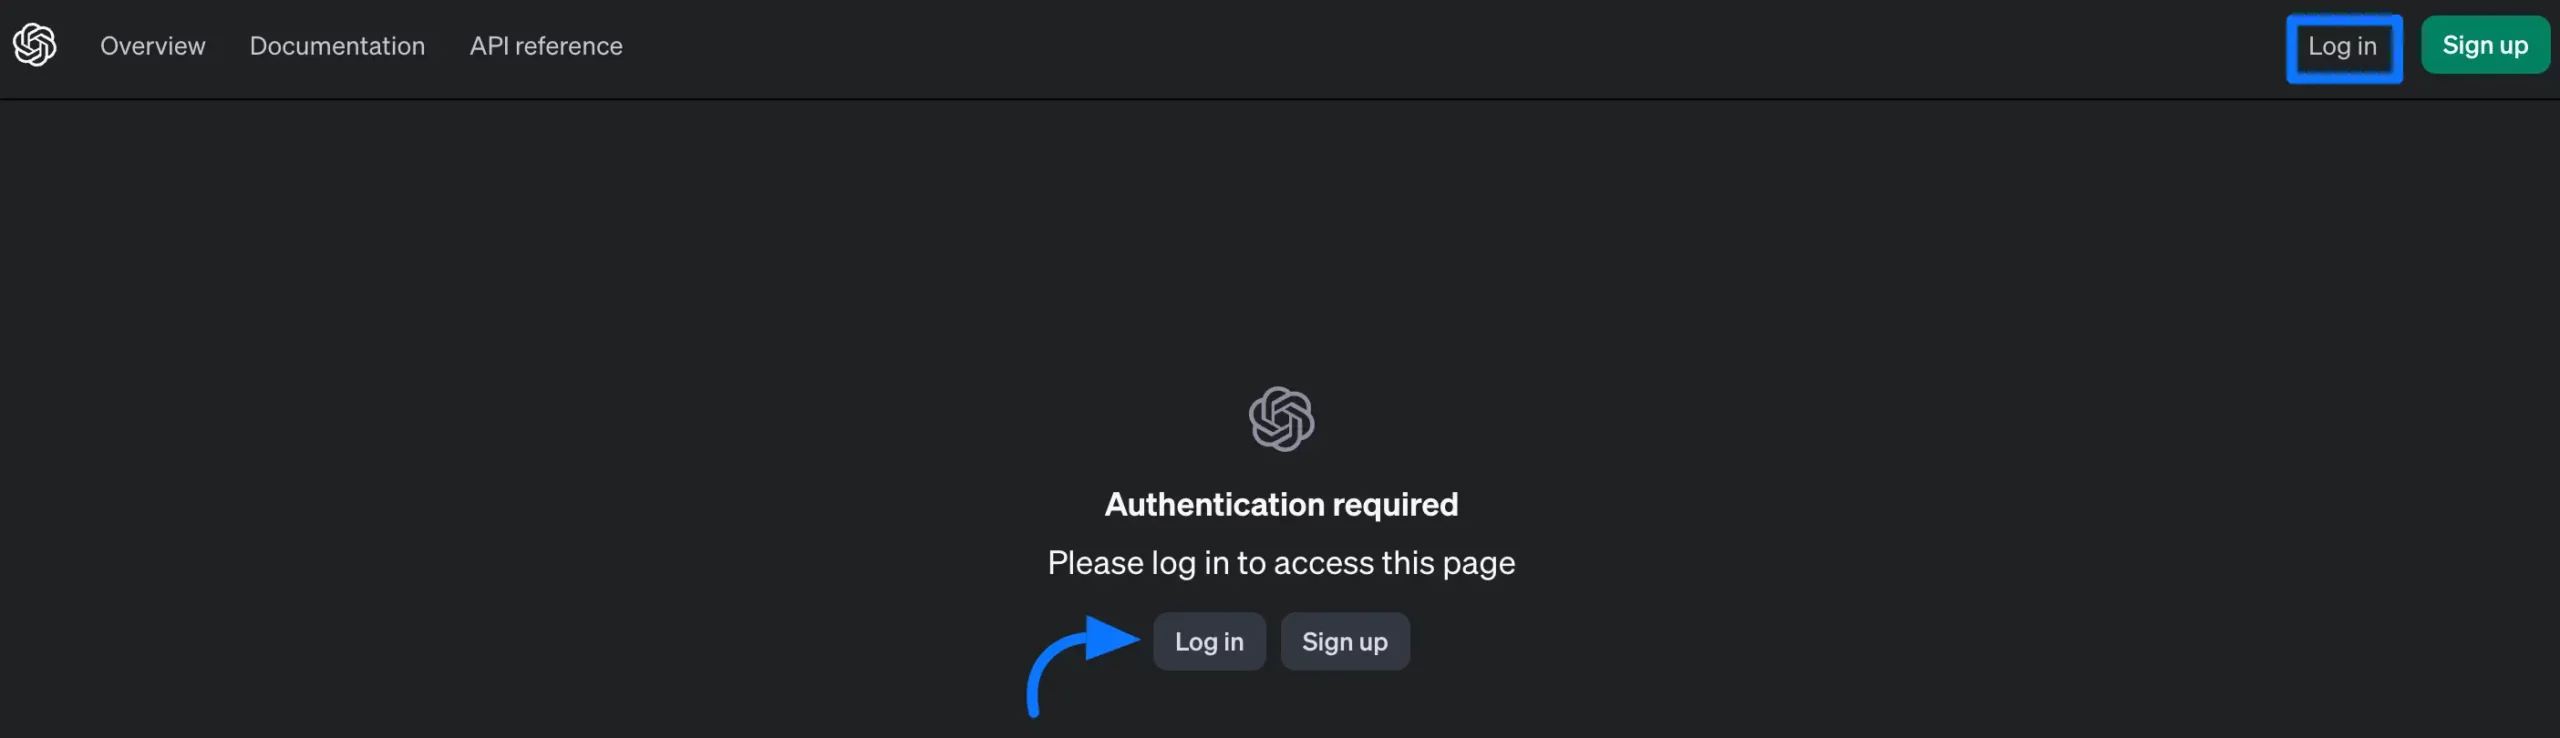
Now login to your OpenAI ChatGPT account and click the continue button.
Then, click on + Create new secret key and a popup will appear.
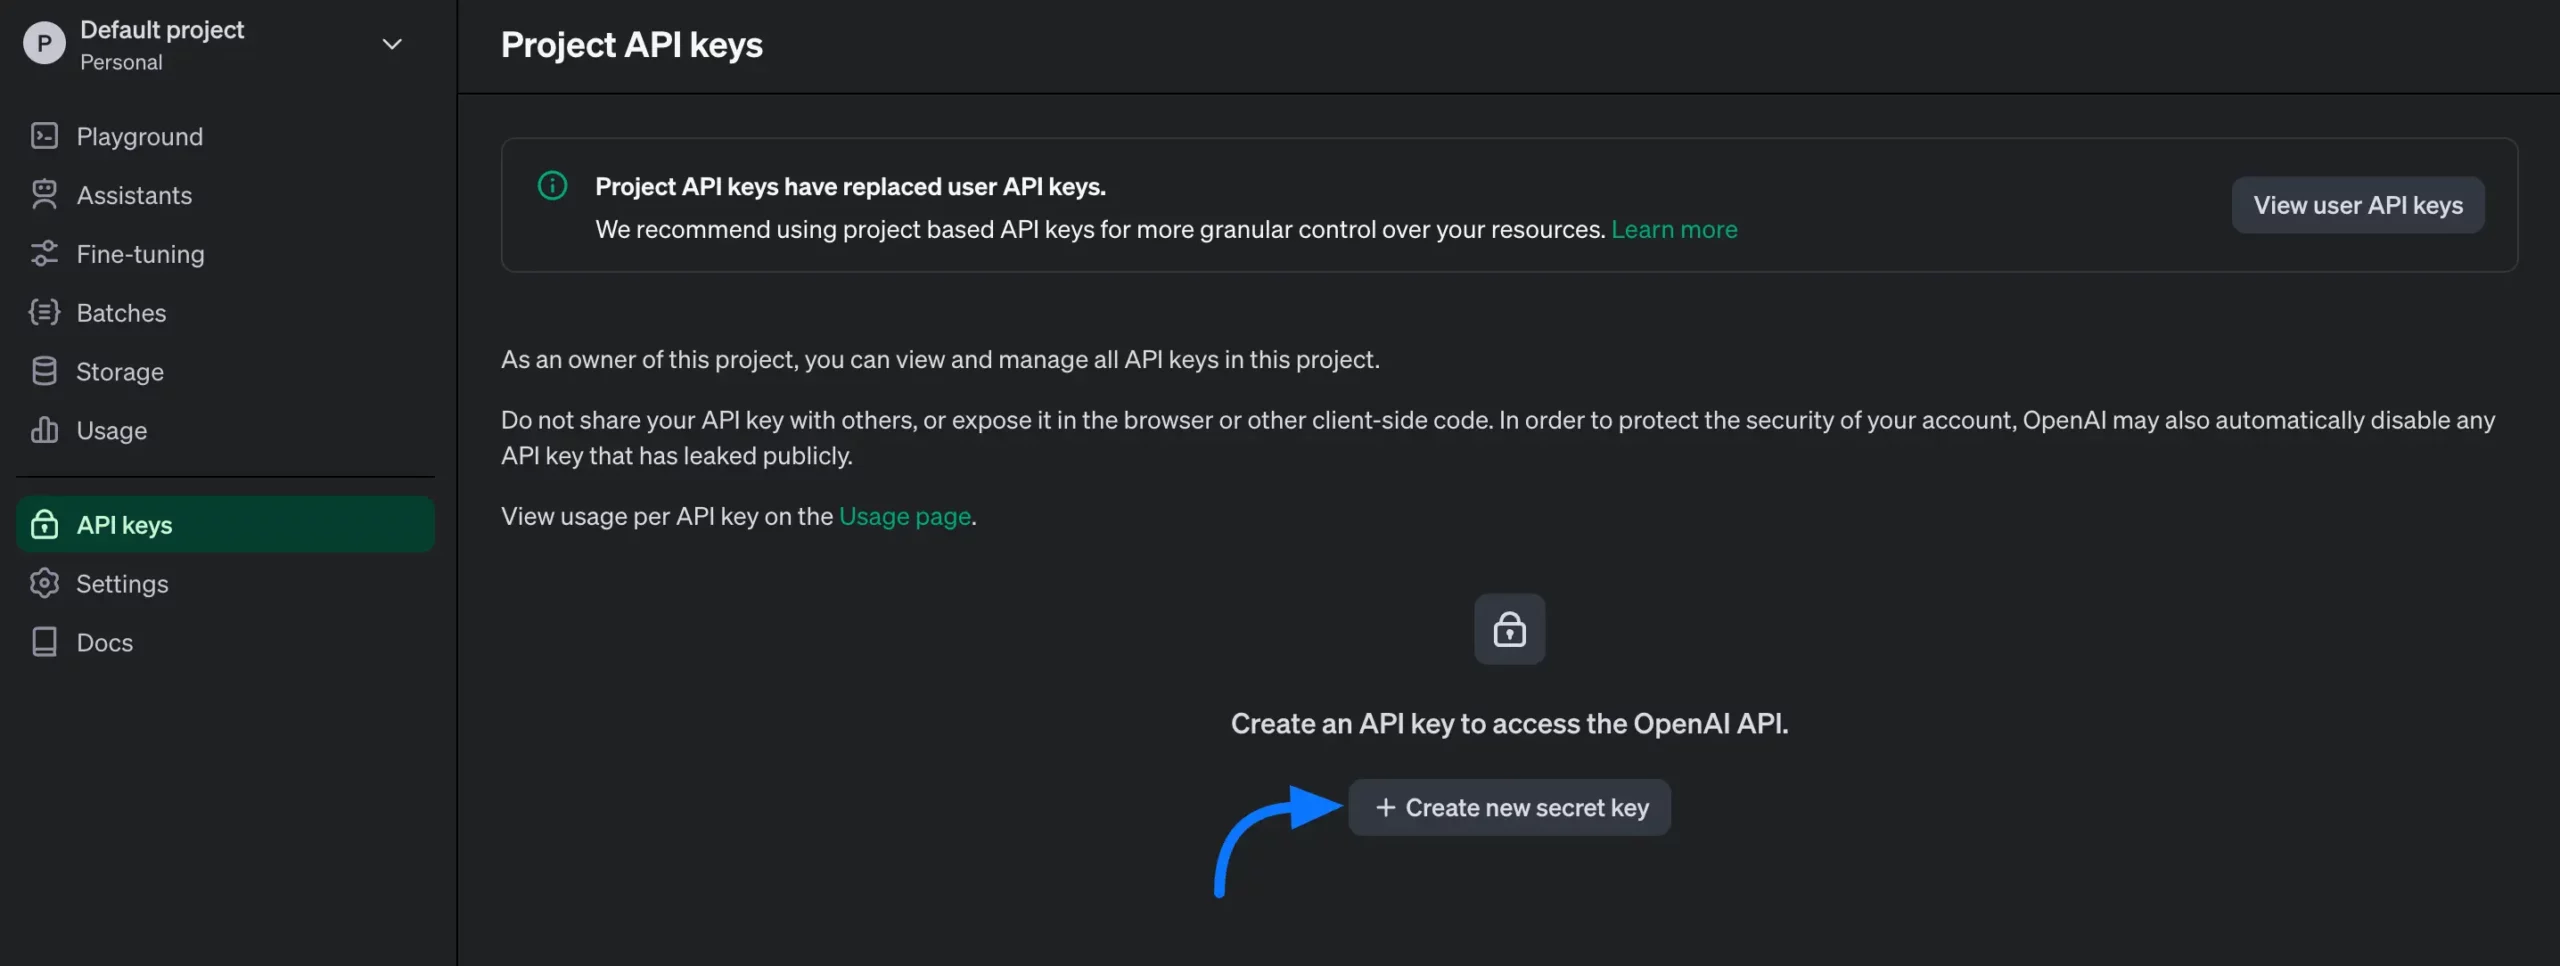
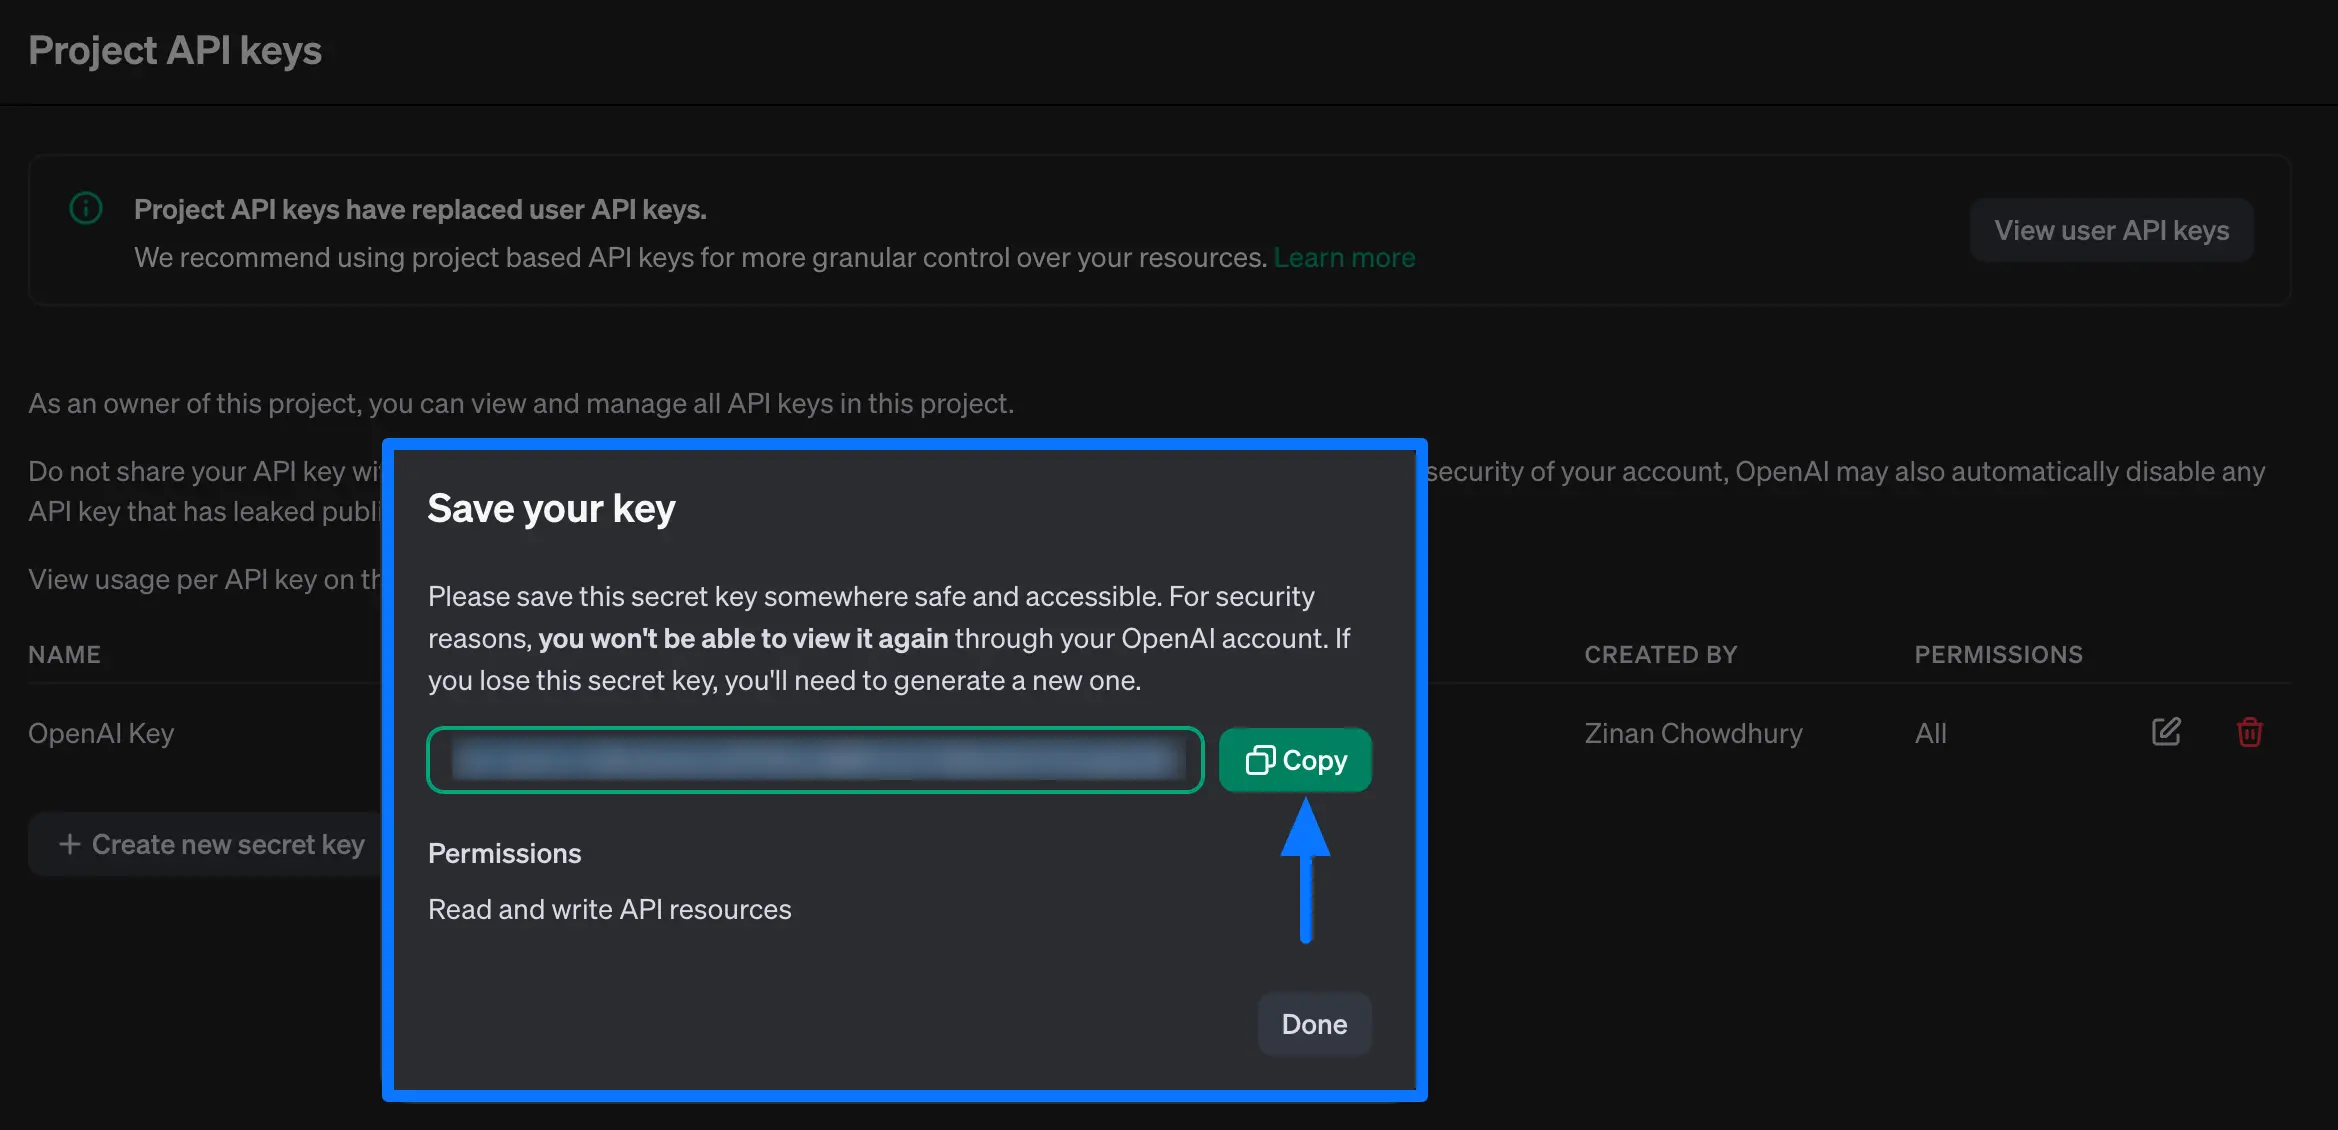
Now, fill in all the fields with the necessary information and click the Create secret key button.

Finally, you will get the OpenAI API key. Copy it to integrate the OpenAI ChatGPT with Fluent Forms.
Create Forms with OpenAI ChatGPT
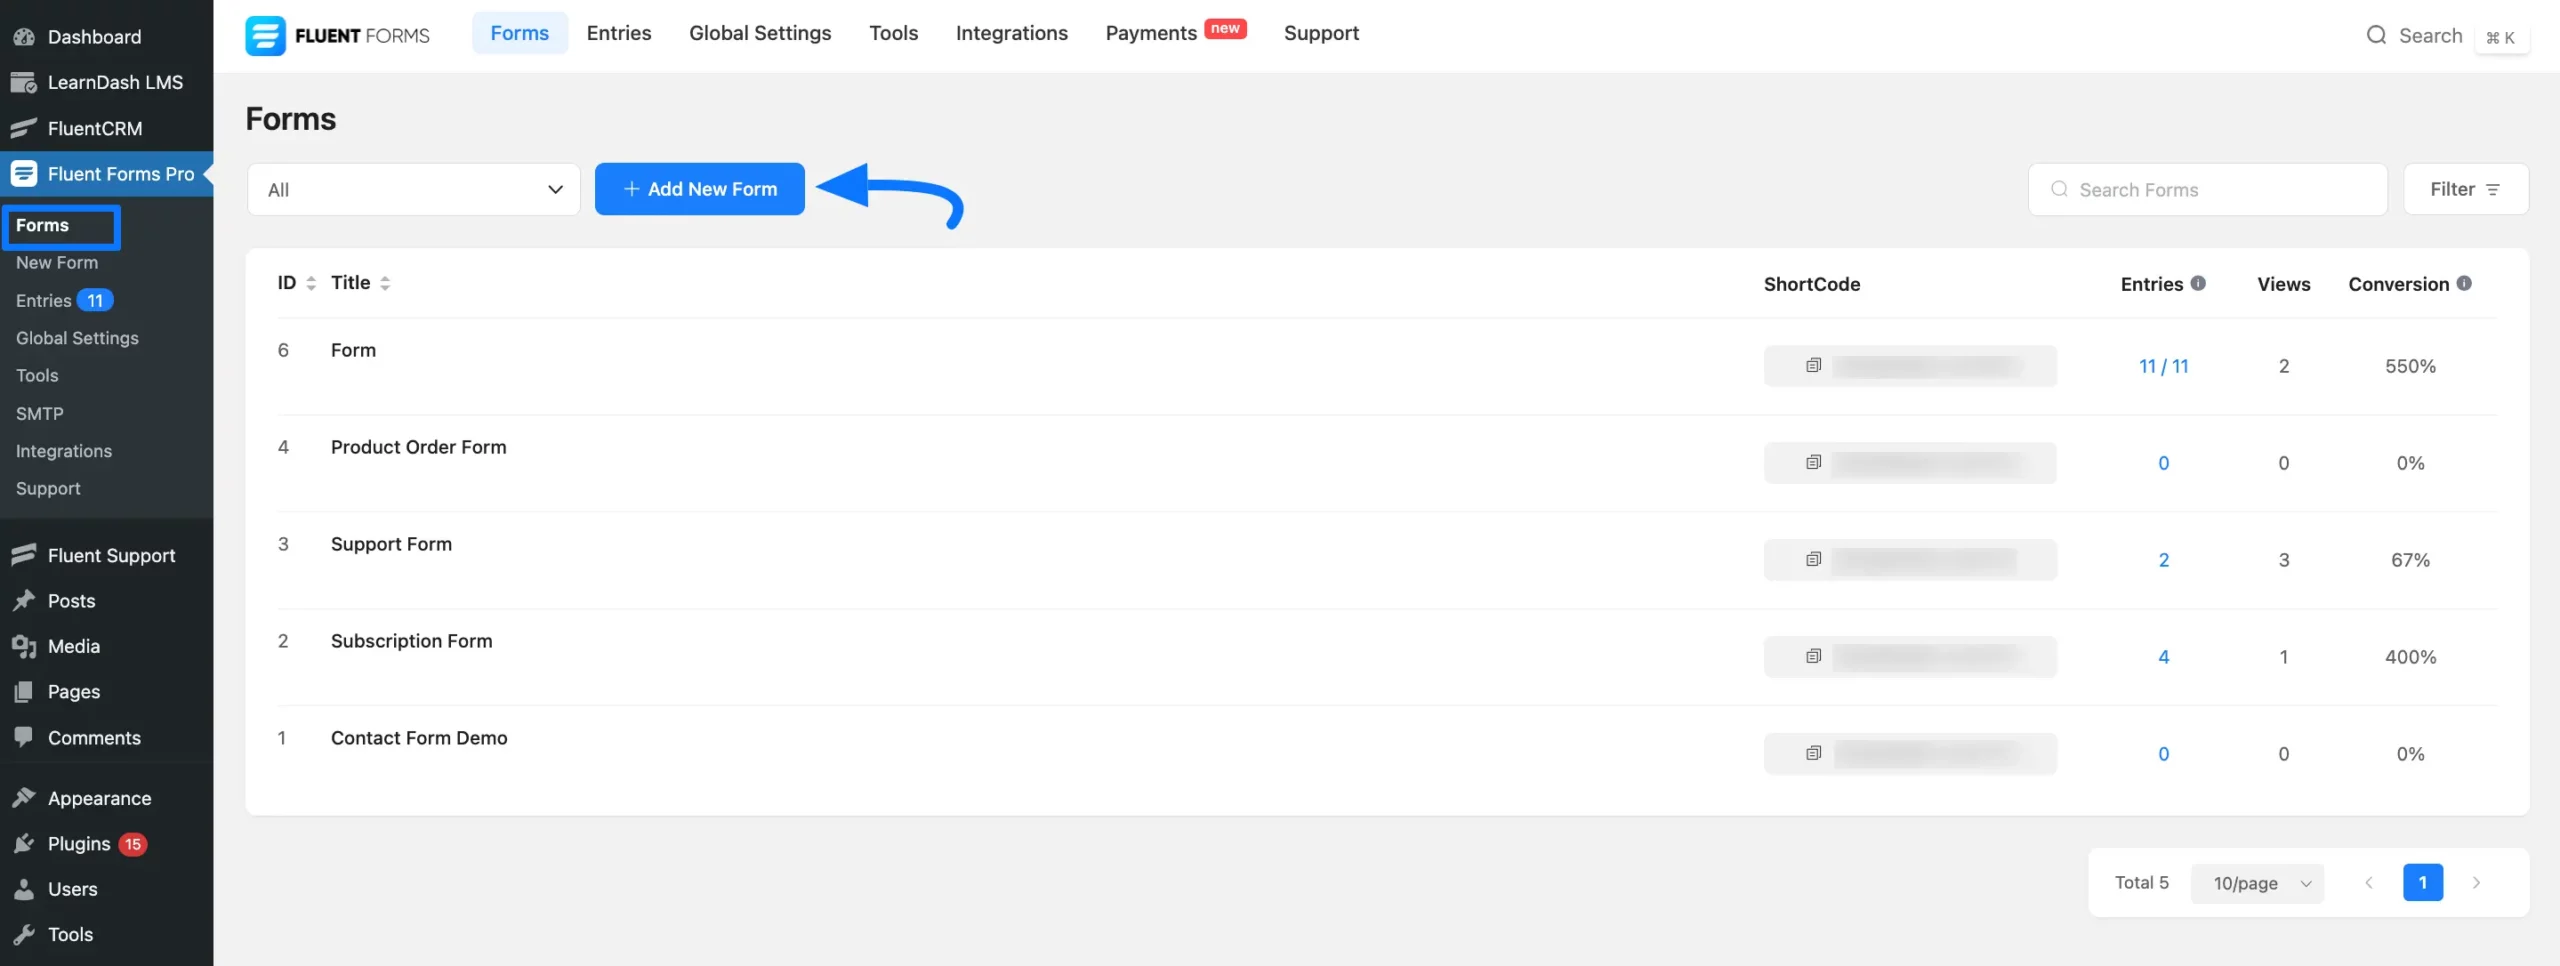
- Go to
Formsfrom the Fluent Forms Dashboard, click on+ Add New Form, and you will get the ChatGPT modal.
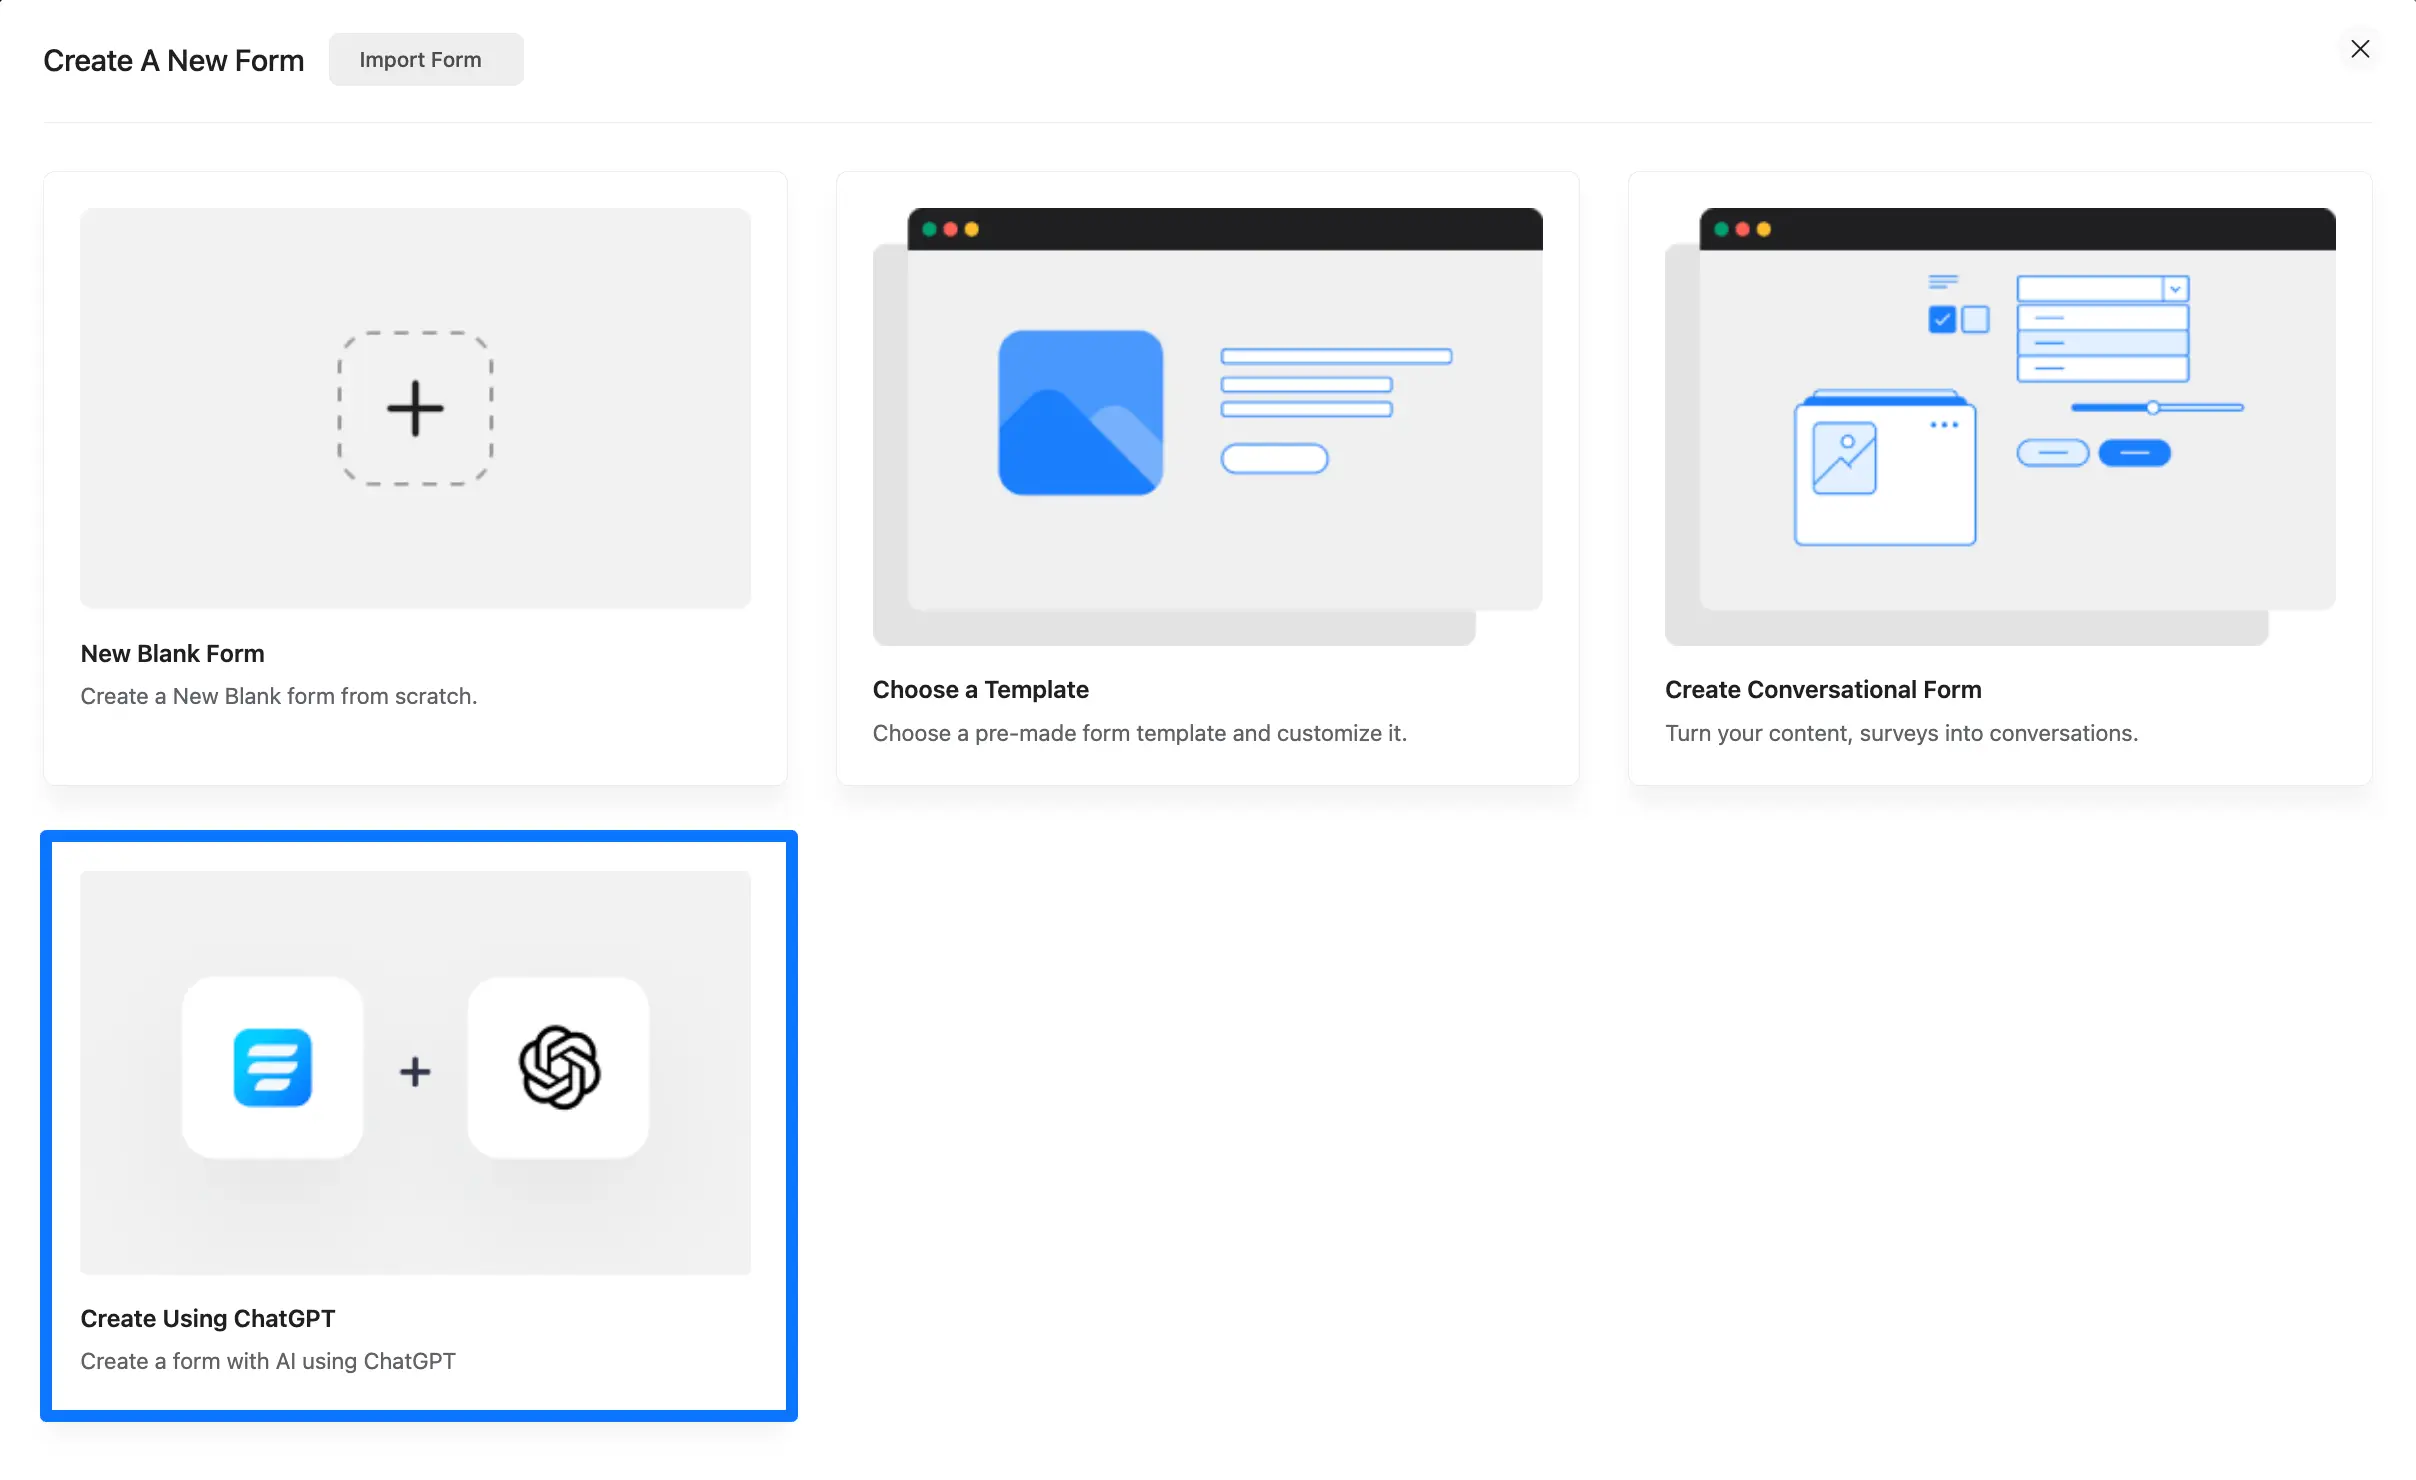
- Now, click on the
ChatGPTmodal to create a new form.
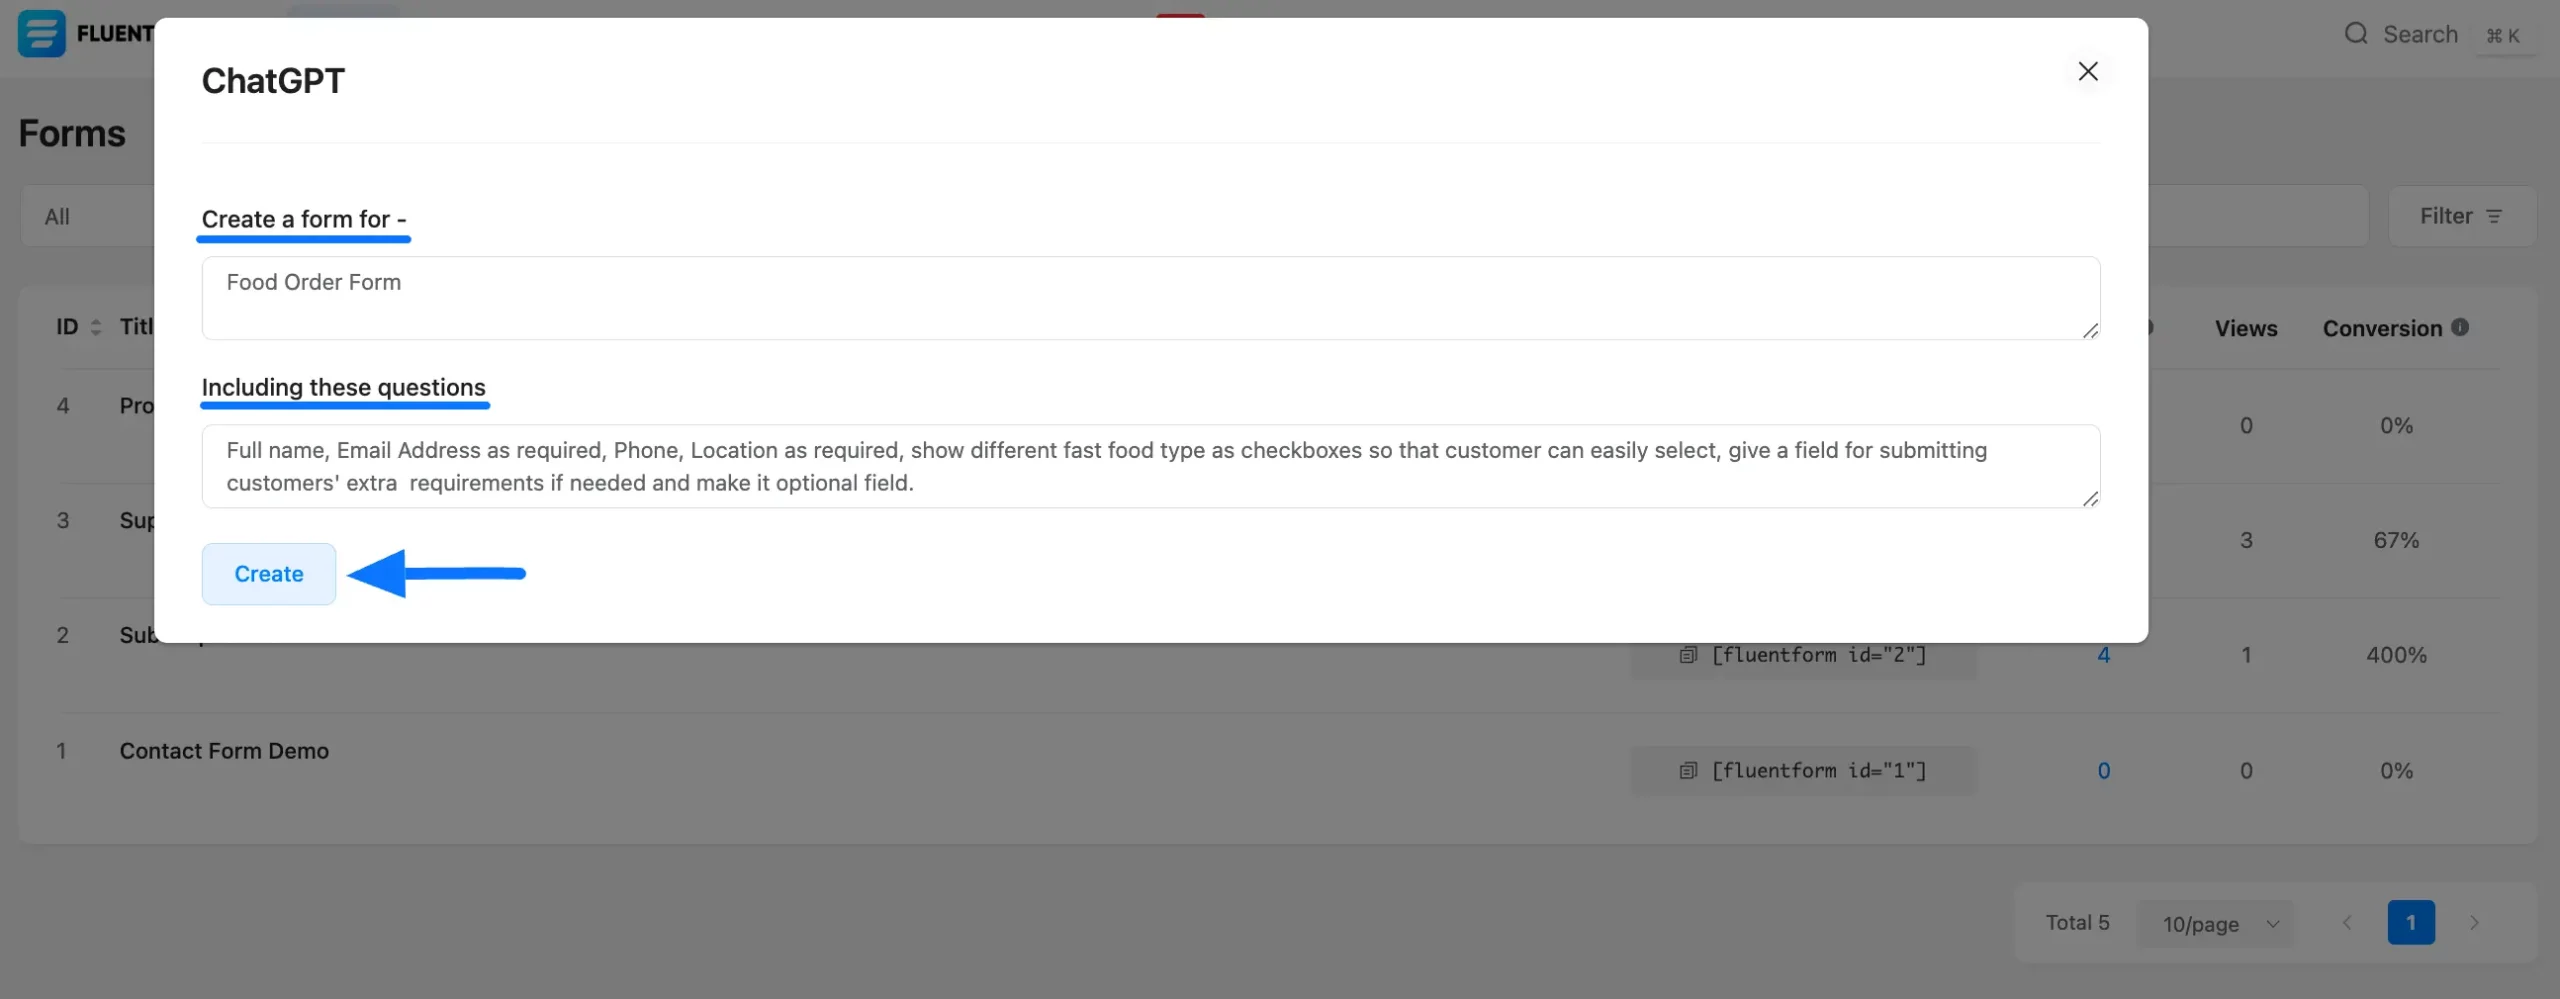
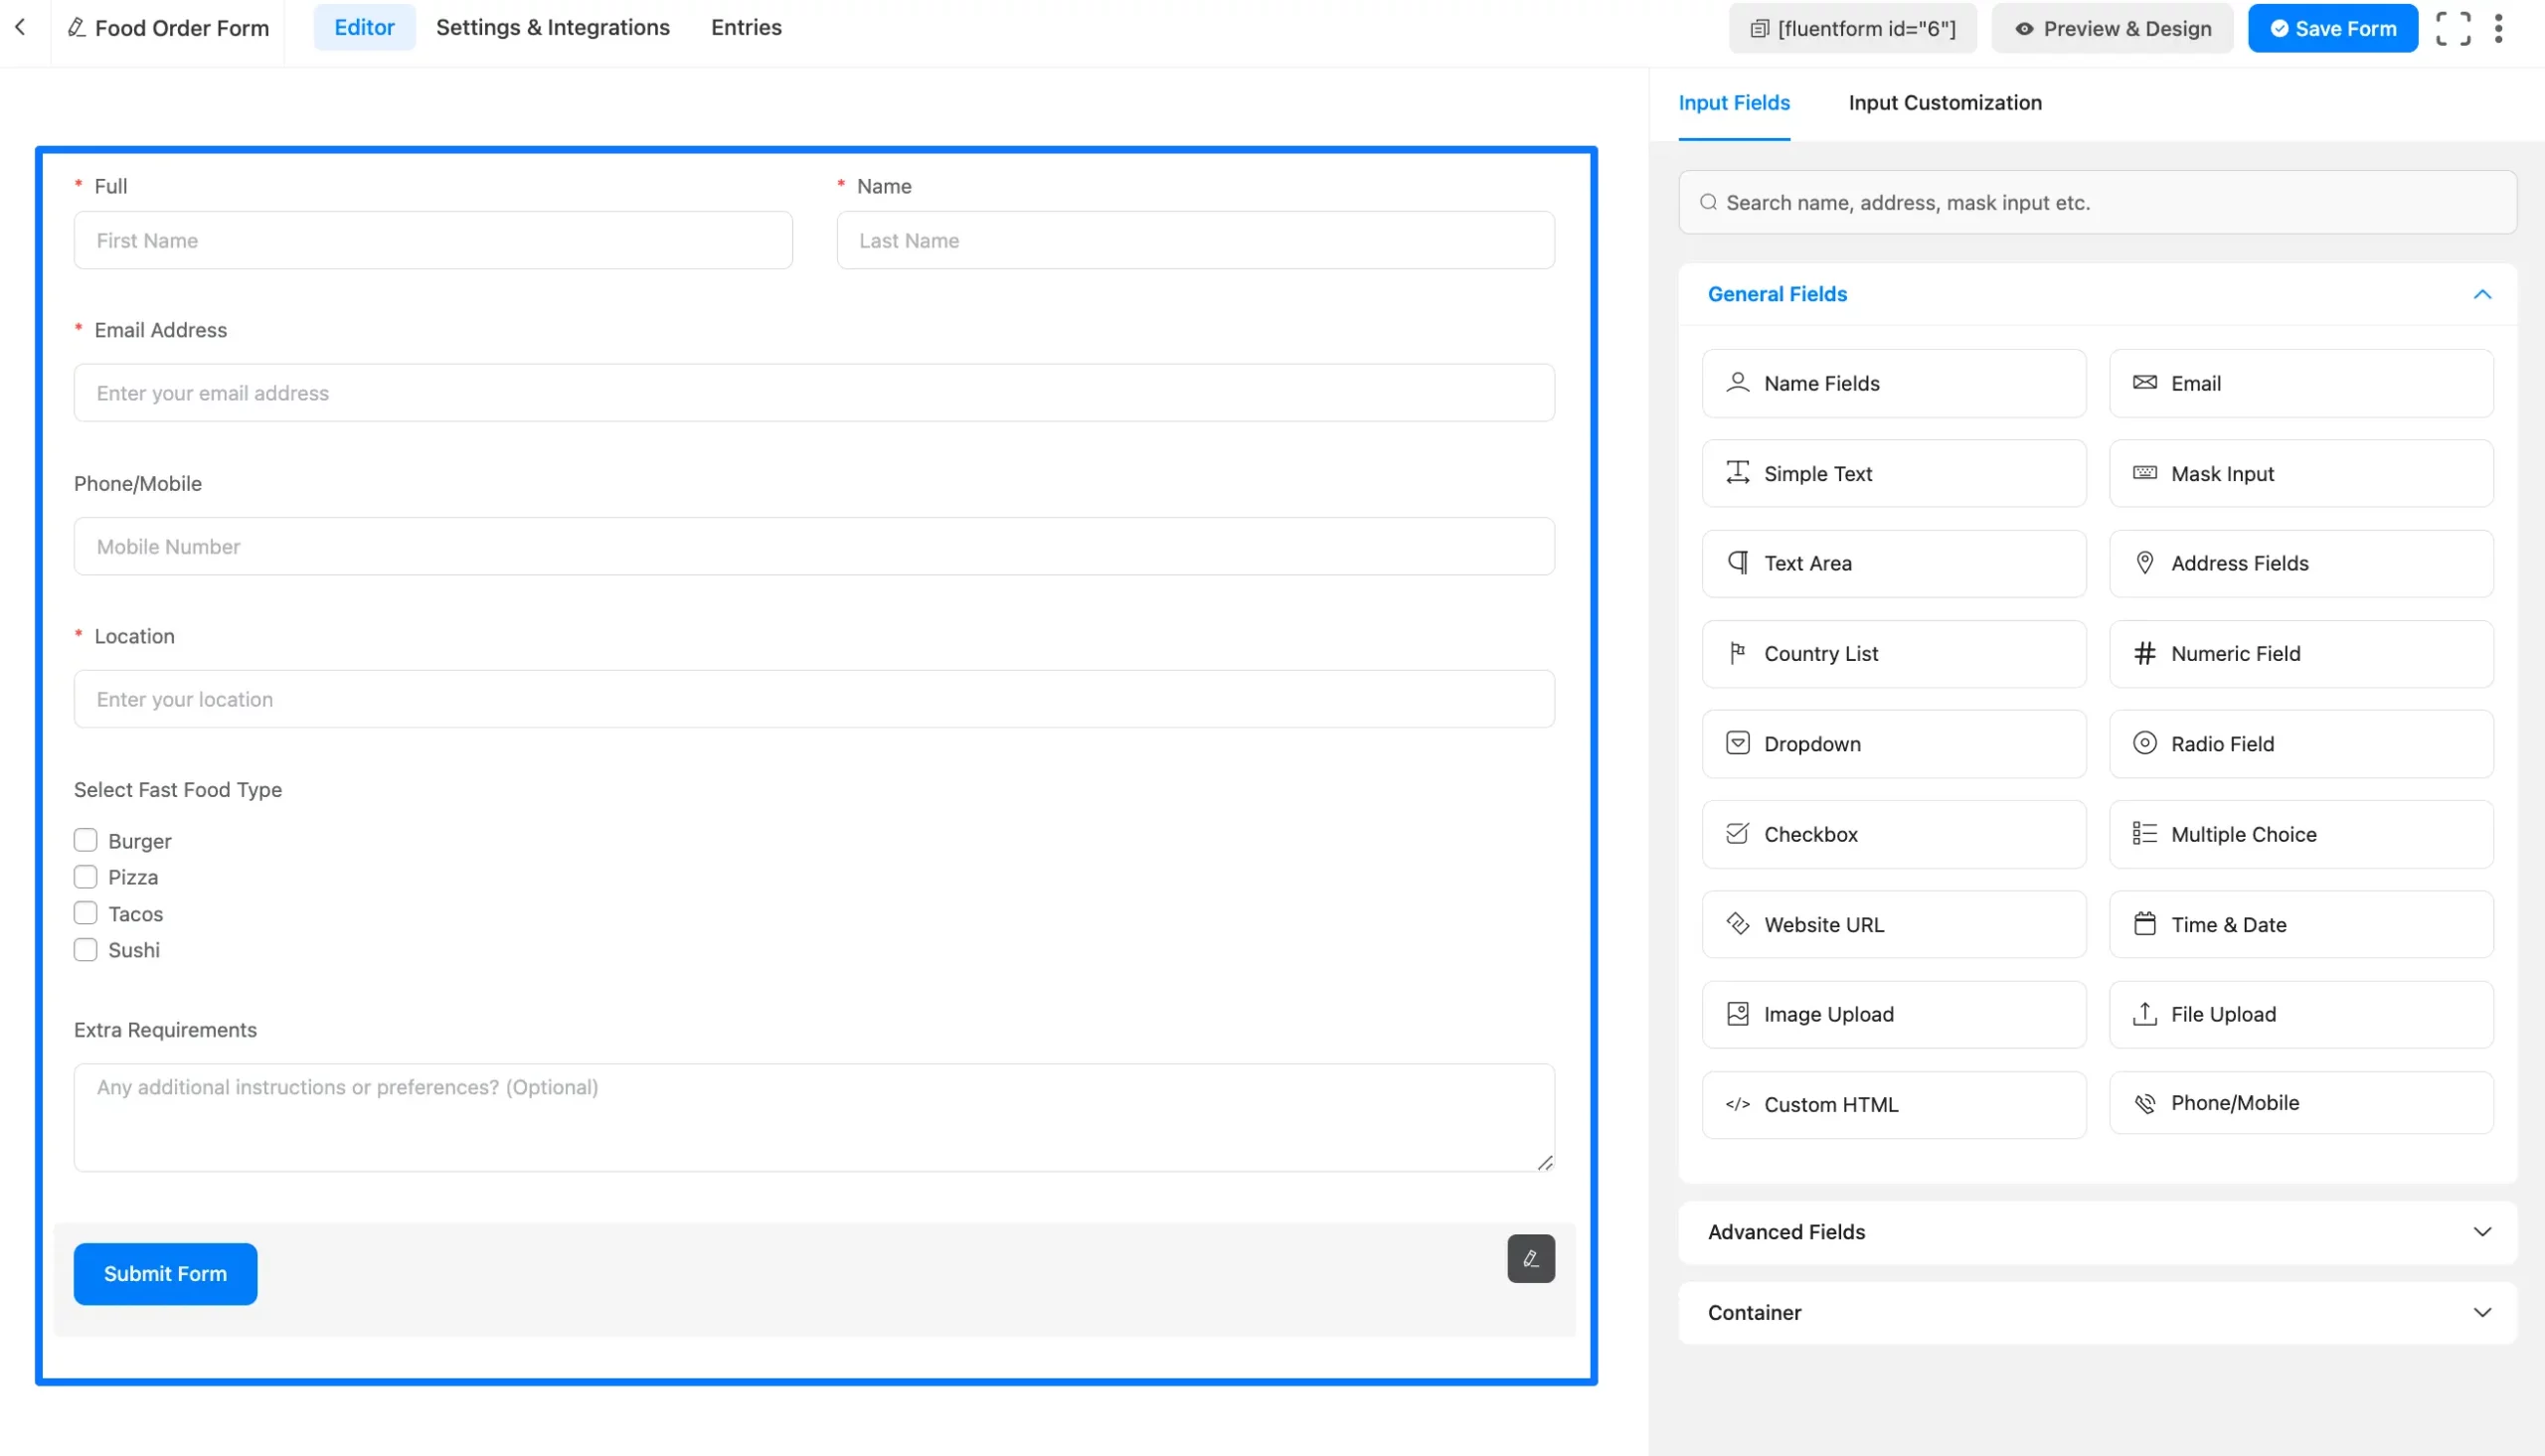
Give your form a name and provide detailed instructions for the information you want to include in your form.
For example, here I am creating a form for ordering fast food. So, the instructions are provided related to it. You can give instructions according to your necessity.
Here you can see, the Form is fully ready with less time and effort!
Configure OpenAI ChatGPT Integration Feed
To send a Confirmation message or email immediately after form submission, you have to create the OpenAI ChatGPT Feed for a particular form and create Shortcodes.
You can create OpenAI ChatGPT Feeds as many as you want according to your needs by following the process shown below.
Plus, you can configure OpenAI ChatGPT Feeds in any Existing Form (i.e., the form doesn’t need to be created through ChatGPT.
To do this follow the steps with the screenshots below —
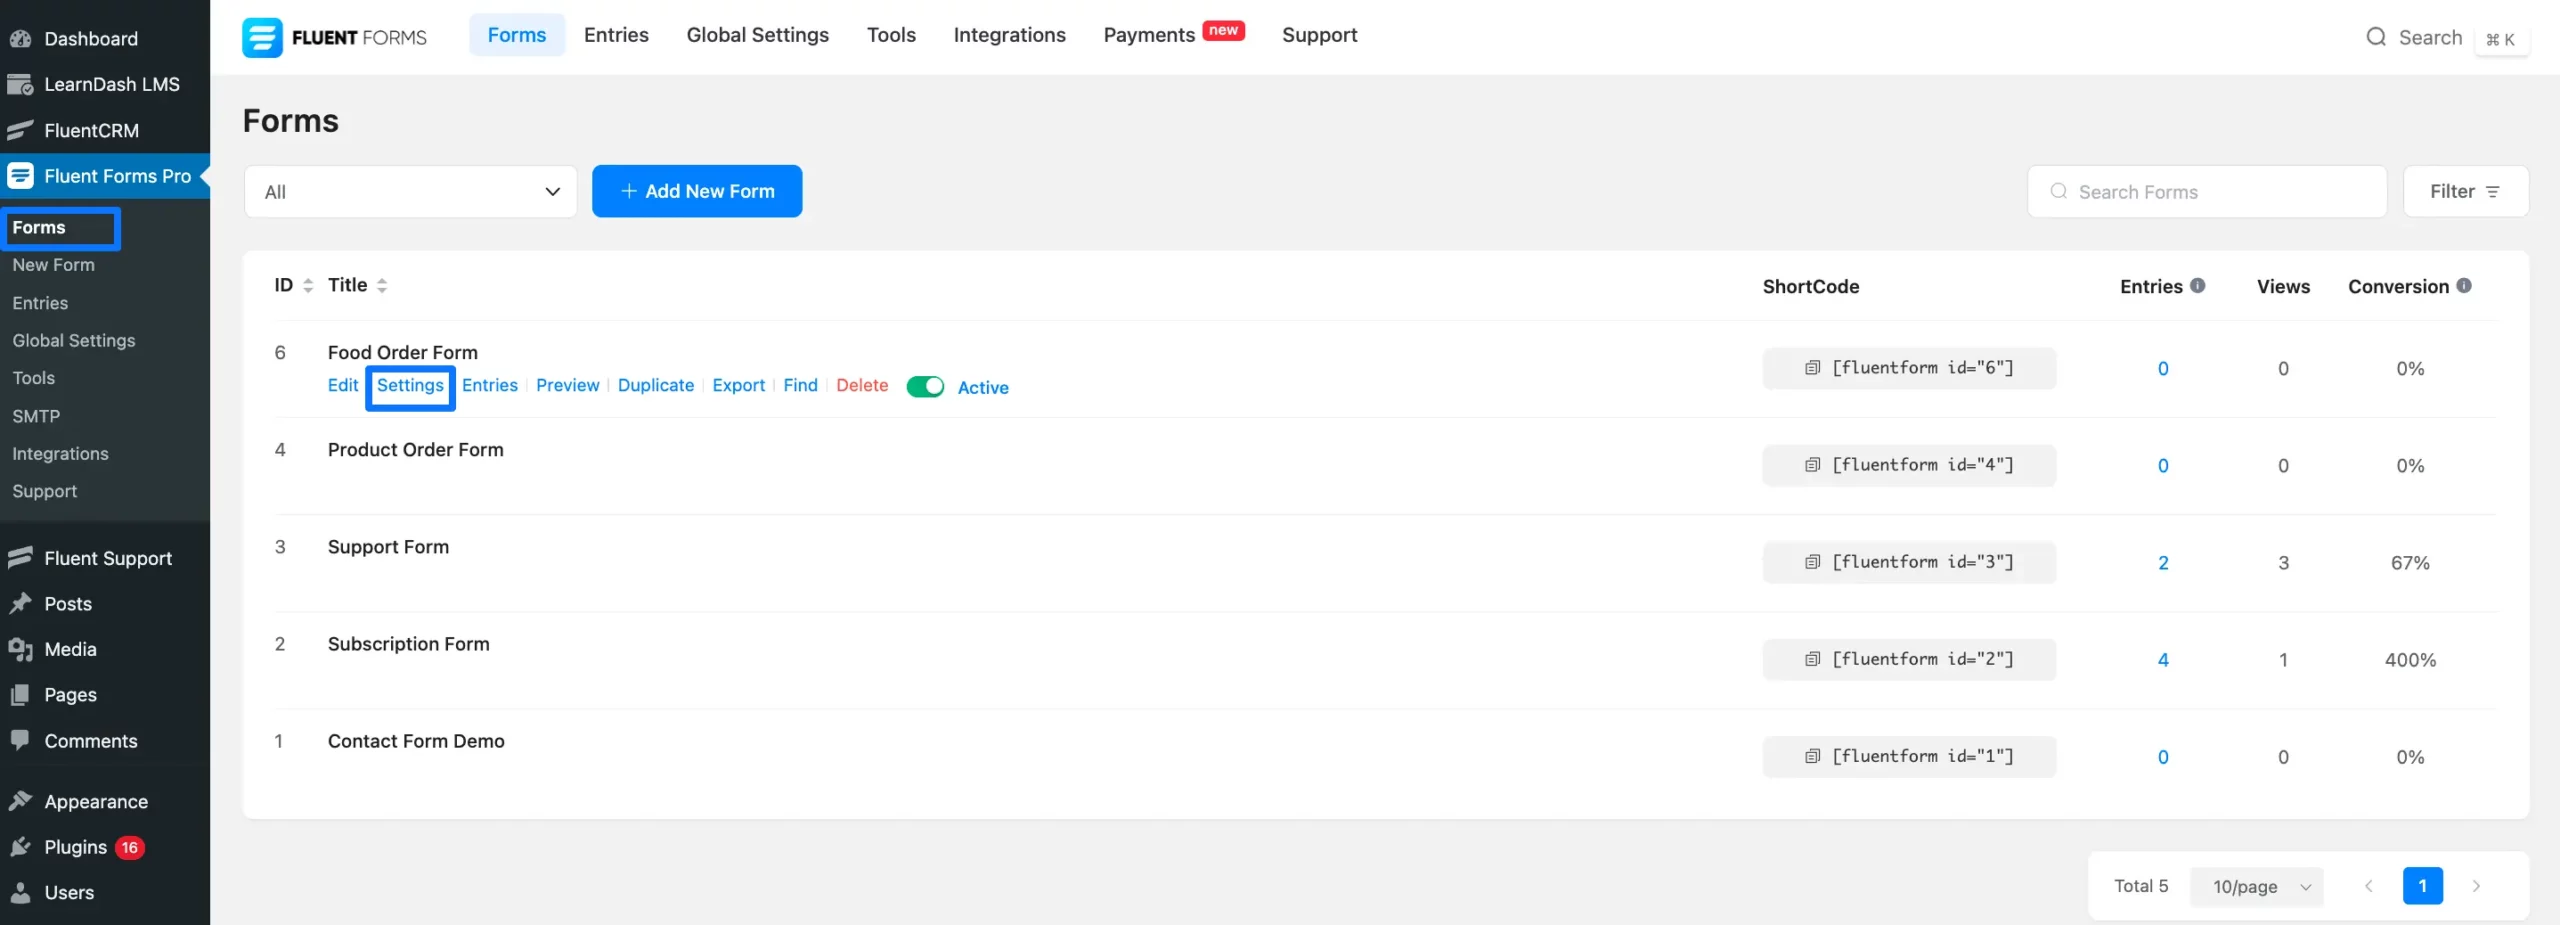
Go to Forms from the Fluent Forms Dashboard, select a specific Form, and click Settings for the entries you want to create OpenAI ChatGPT Feed.
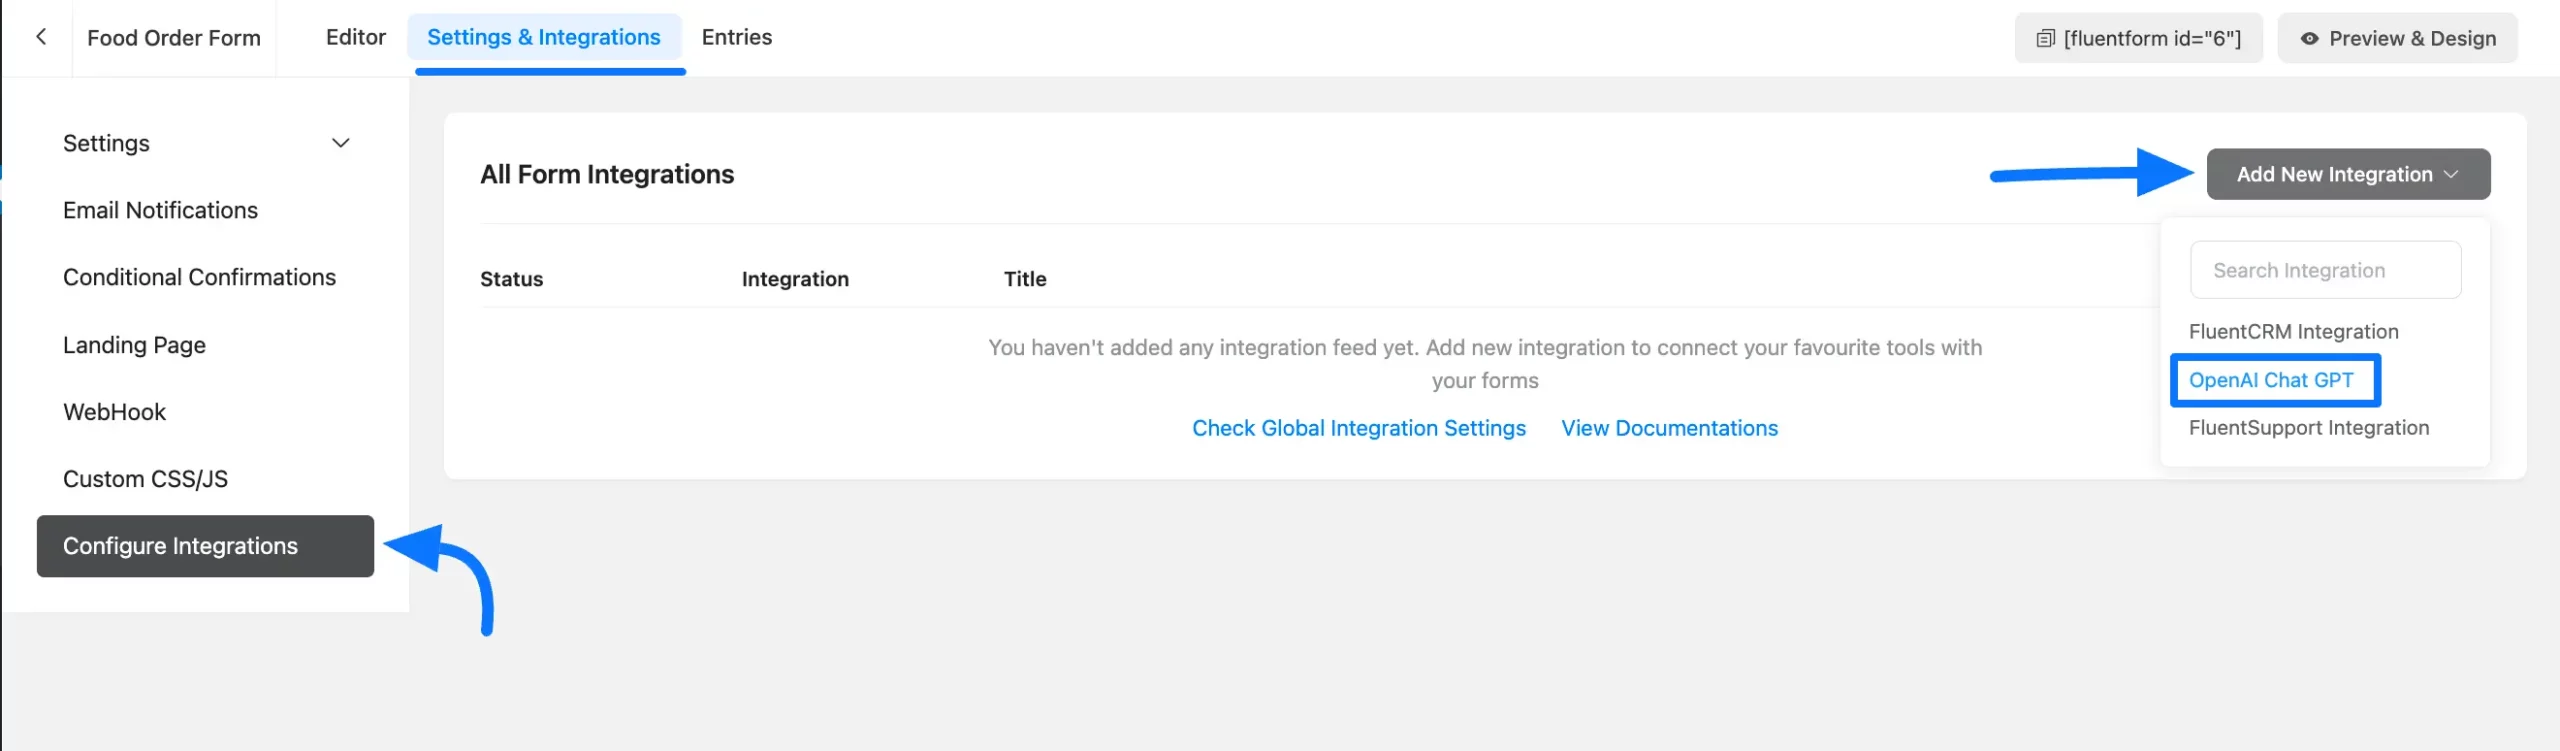
Click on Configure Integrations, press the Add New Integration dropdown, and select OpenAI Chat GPT.
Create OpenAI ChatGPT Feed for Creating Shortcode
To do this follow the Steps with Screenshot below —
- Feed Name: Give a name to your feed so that you can find it later easily.
- Select Role: Select a role from the dropdown list as per your needs to set the writing tone of your AI-generated confirmation texts.
- Write Query: Here, provide the proper instructions of how you want ChatGPT send confirmation message to your customers after each form submission.
- Conditional Logics: Enable this option if required. To learn more about Fluent Forms Conditional logic click here.
- Status: Uncheck the Enable This Feed checkbox if you want to save this feed as Draft. Otherwise, enable this checkbox to make this feed functional.
- Save Feed: Don’t forget to click the
Save Feedwhen the configuration is done. Then you will find the feed as Shortcode in Confirmation Settings page.
Remember, never pass any sensitive information on Query instructions given for ChatGPT.

Add Shortcode for Submission Confirmation
After creating the OpenAI ChatGPT Feed, you will get this shortcode.
Now again go to the Form you added OpenAI ChatGPT Feed and click on Settings

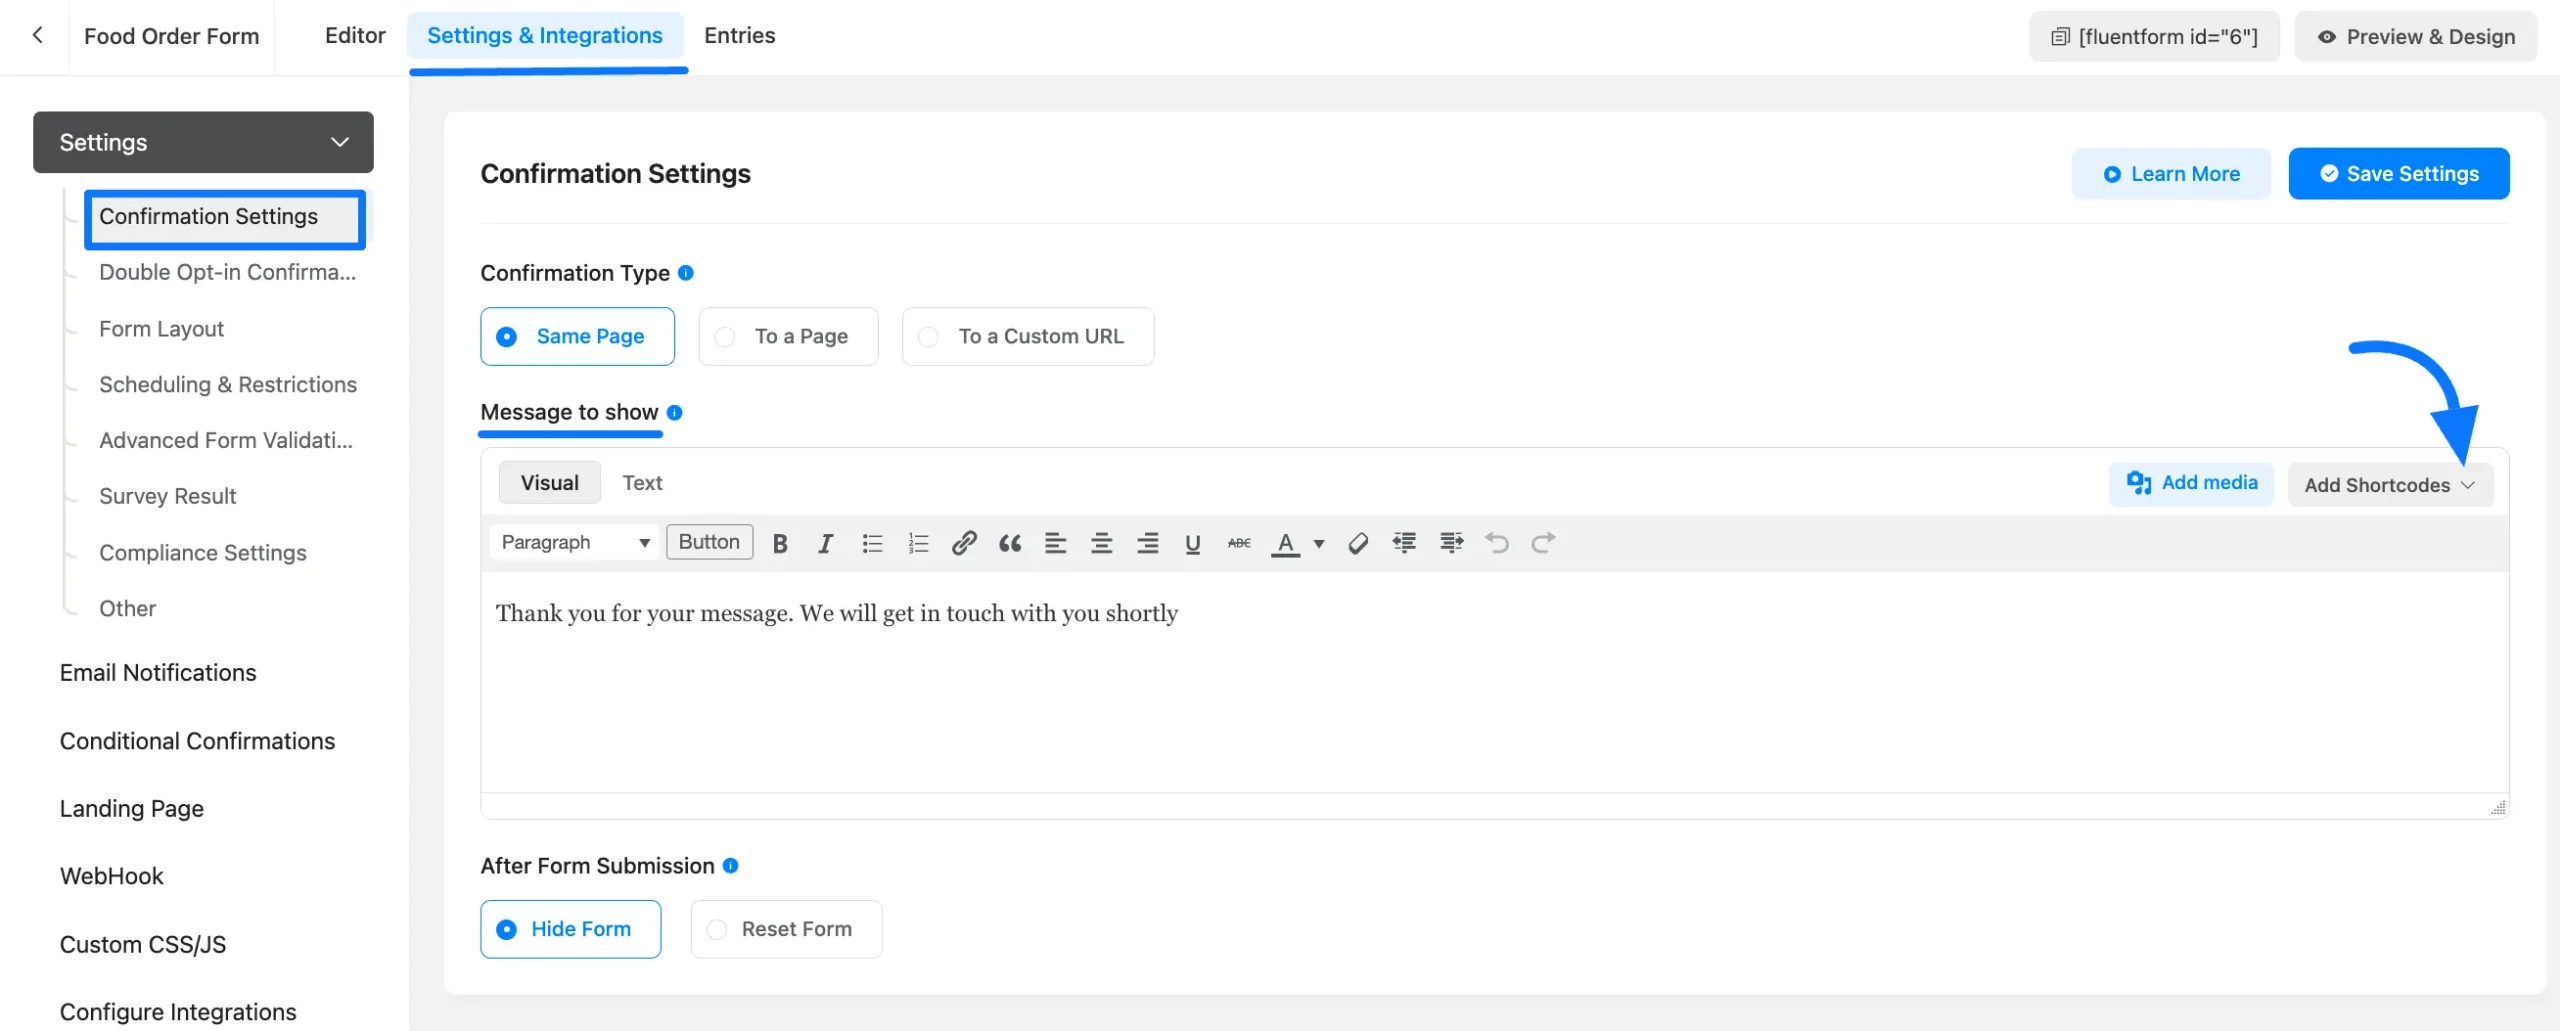
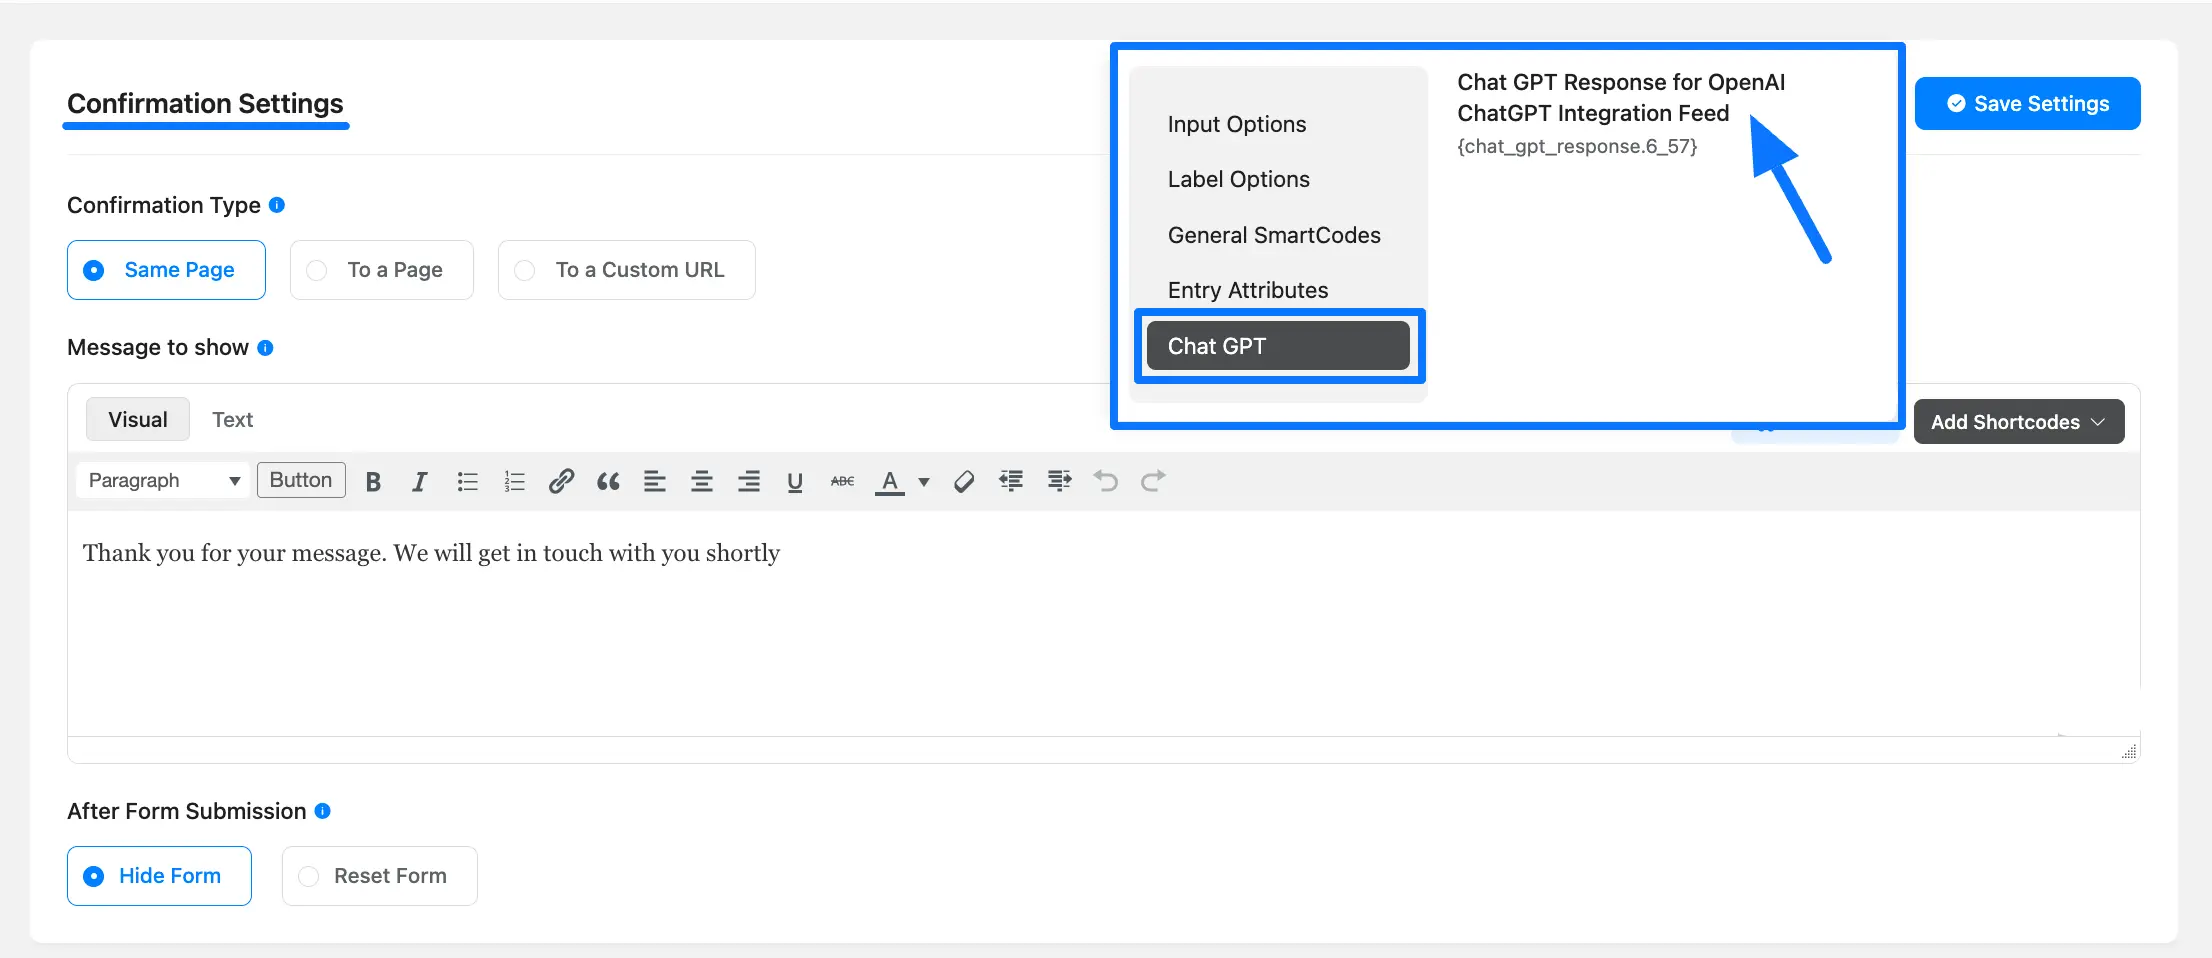
Open the Confirmation Settings section from the Settings page and click on Add Shortcodes Dropdown.
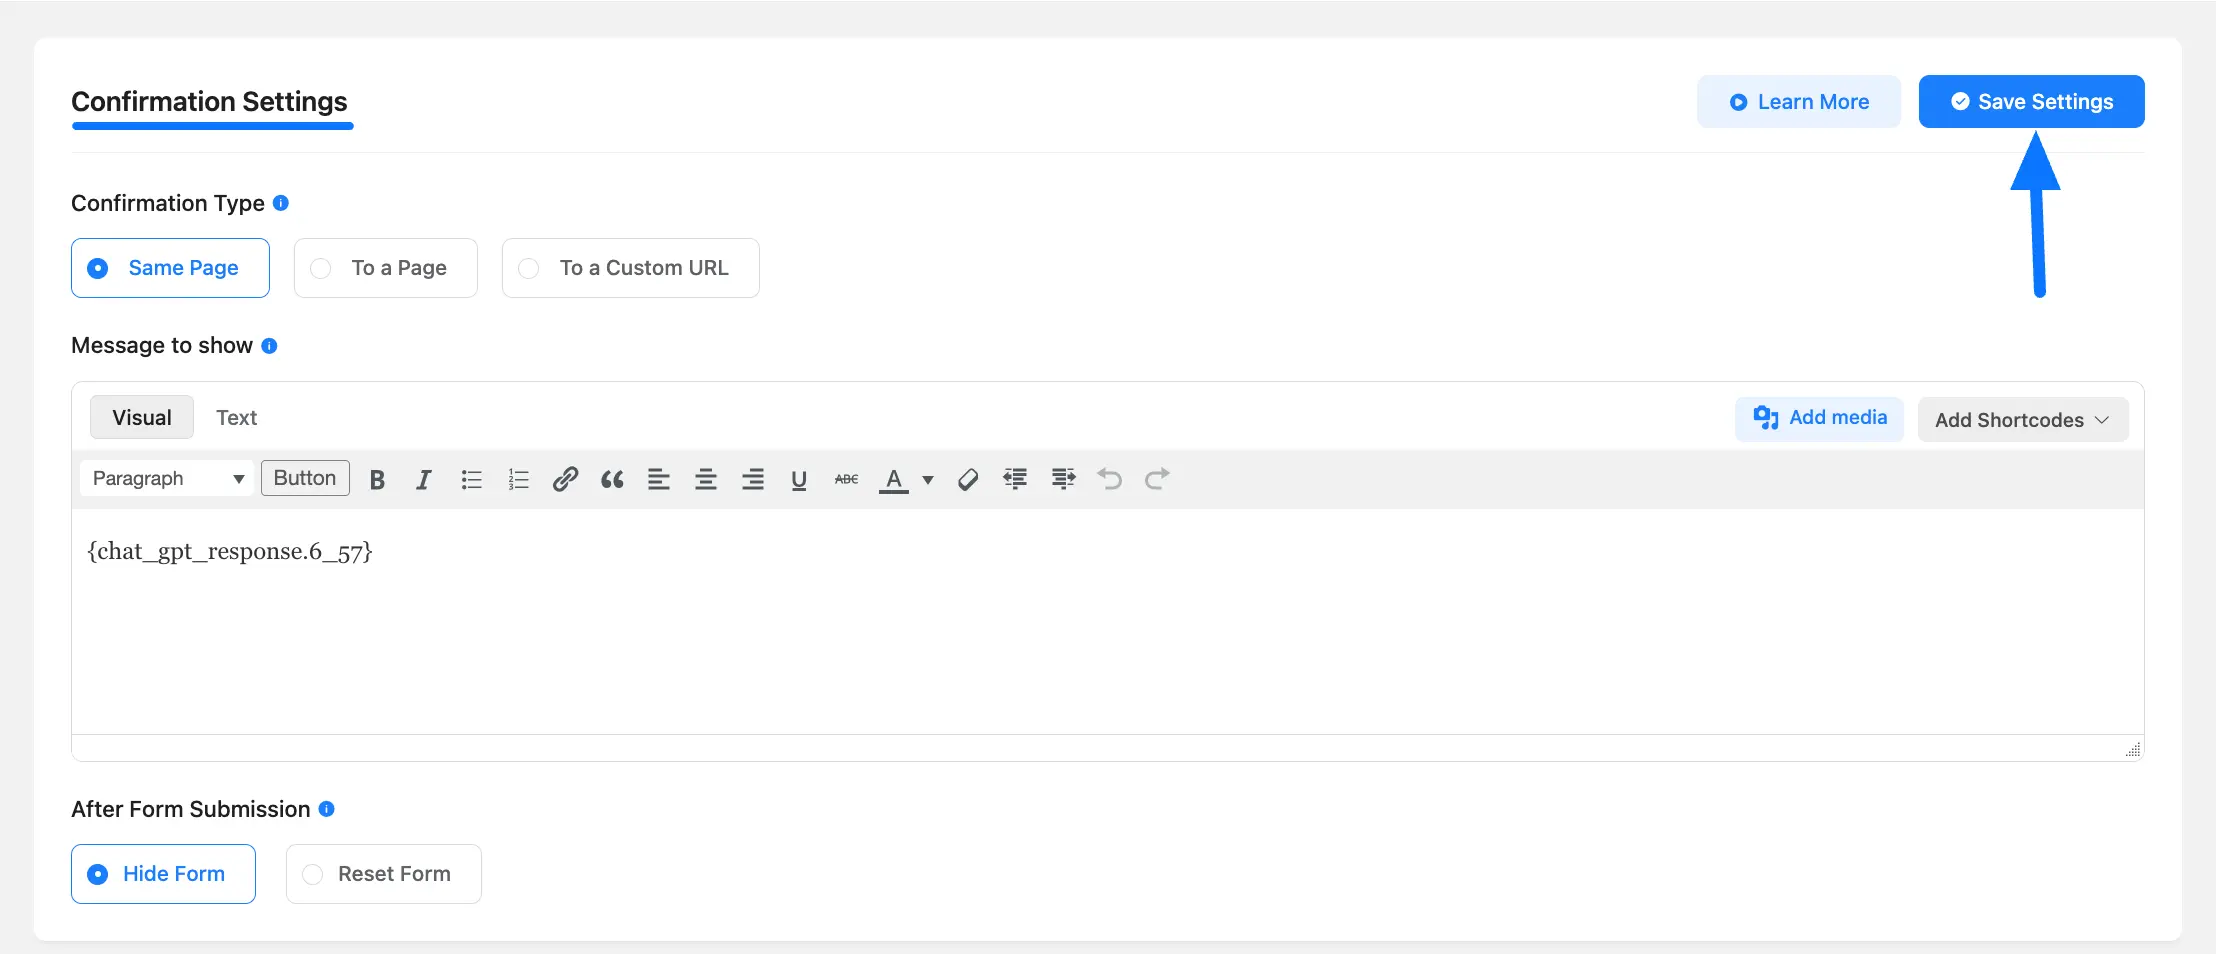
Now, select Chat GPT and click the feed you created a while ago.
Once you are done, don’t forget to click Save Settings.
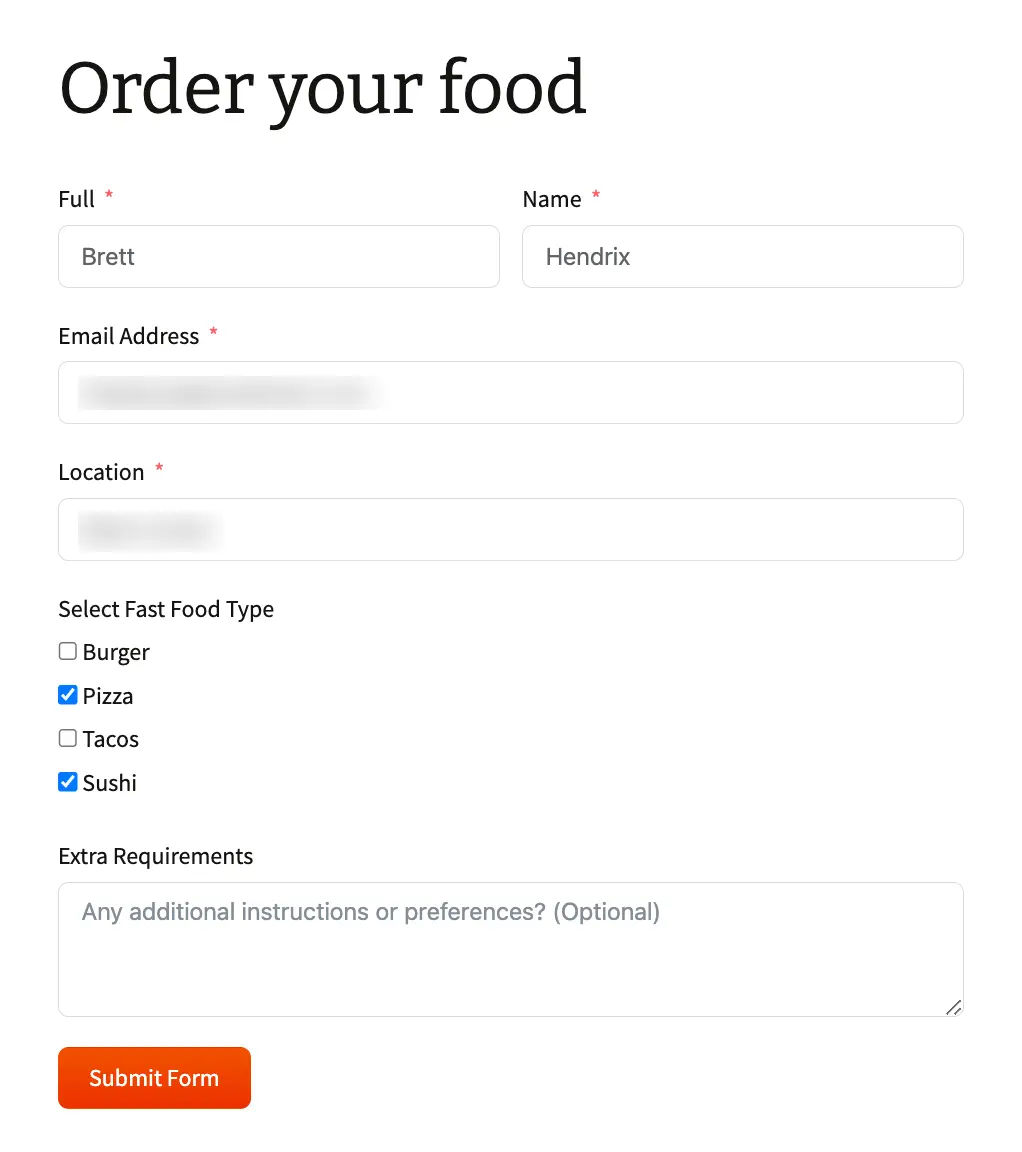
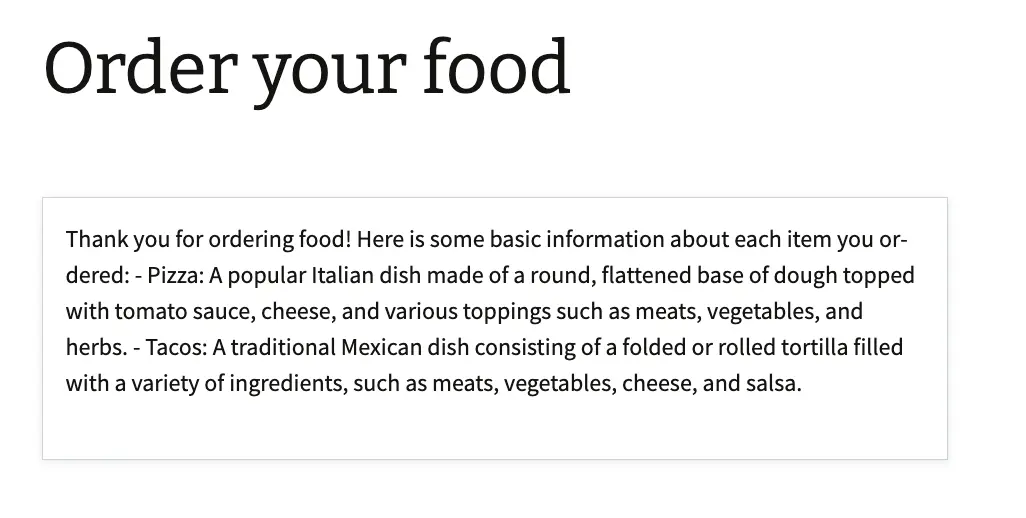
Now, when a customer orders food and submits the Form he/she will get the confirmation message as shown below.
Using the Shortcode of Chat GPT Feed, you can send the Confirmation message after Submission through Email Notification or PDF Feed as well.
This is how you can integrate OpenAI ChatGPT with Fluent Forms!
If you have any further questions, concerns, or suggestions, please do not hesitate to contact our @support team. Thank you.