With Fluent Forms, you can create beautiful and responsive online forms with just a few clicks. Go through the following steps:
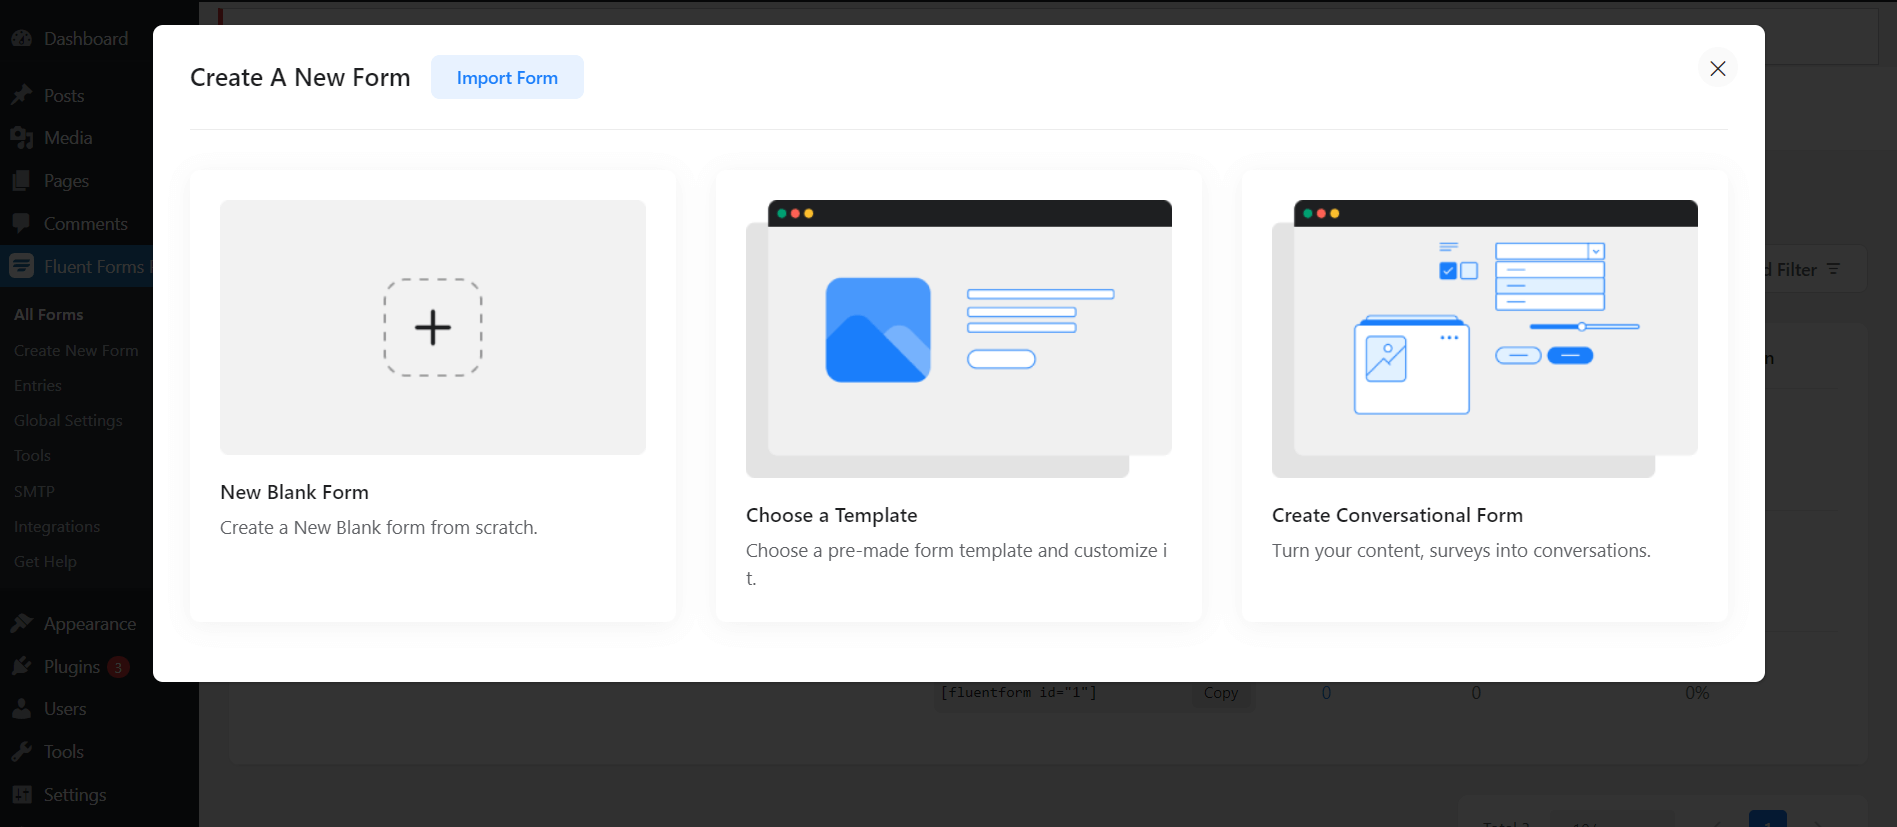
- On the Fluent Forms menu in your WordPress admin panel, go to the Fluent Forms → click on the New Form option.
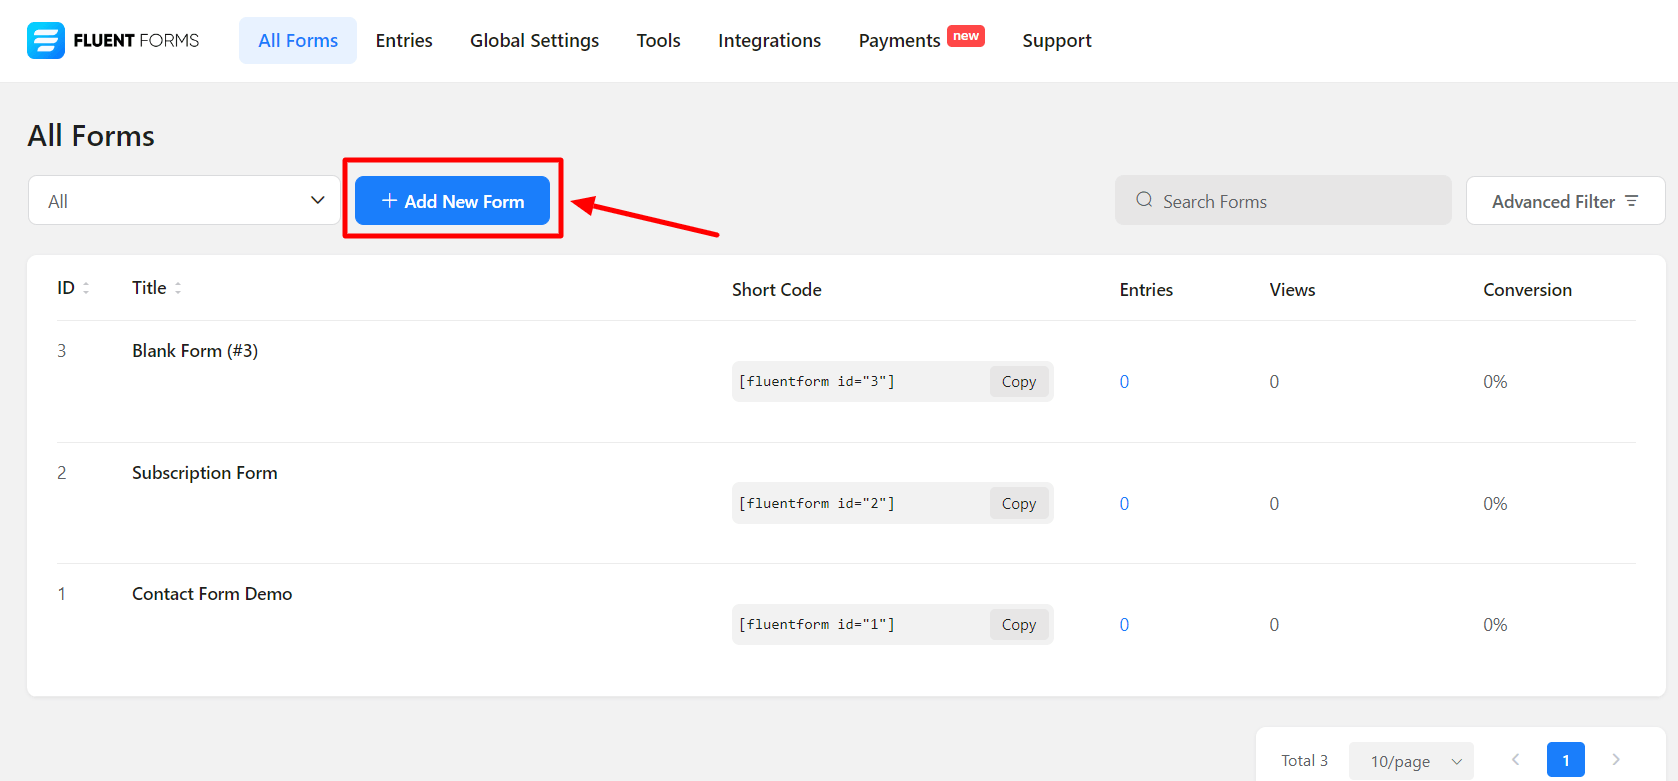
- Or you can also create a new form by clicking on the Add a New Form button from the All Forms dashboard.
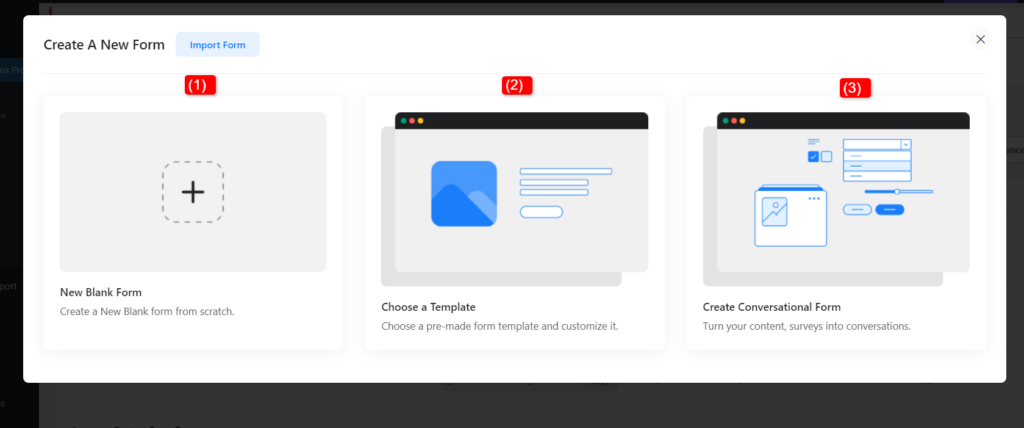
- Clicking on the New Form / Add a New Form button opens a pop-up that allows you to choose a form type that is displayed as categorized. Basically, there are three types:
- Regular Form: Beautifully designed pre-built form templates- Contact Form, Conversational Form, Newsletter form, Support Form, etc.
- Premium Form: Amazing pre-built templates available for Pro users. You can get Fluent Forms Pro Add-On and use them.
- Blank Form: Creating a Blank Form allows you to build a form from scratch. Here we will discuss how to create a form from scratch.
- In this screenshot here, [1] is the button for creating a blank form, [2] is for choosing a template according to different categories of form, and [3] is for creating a conversational form.
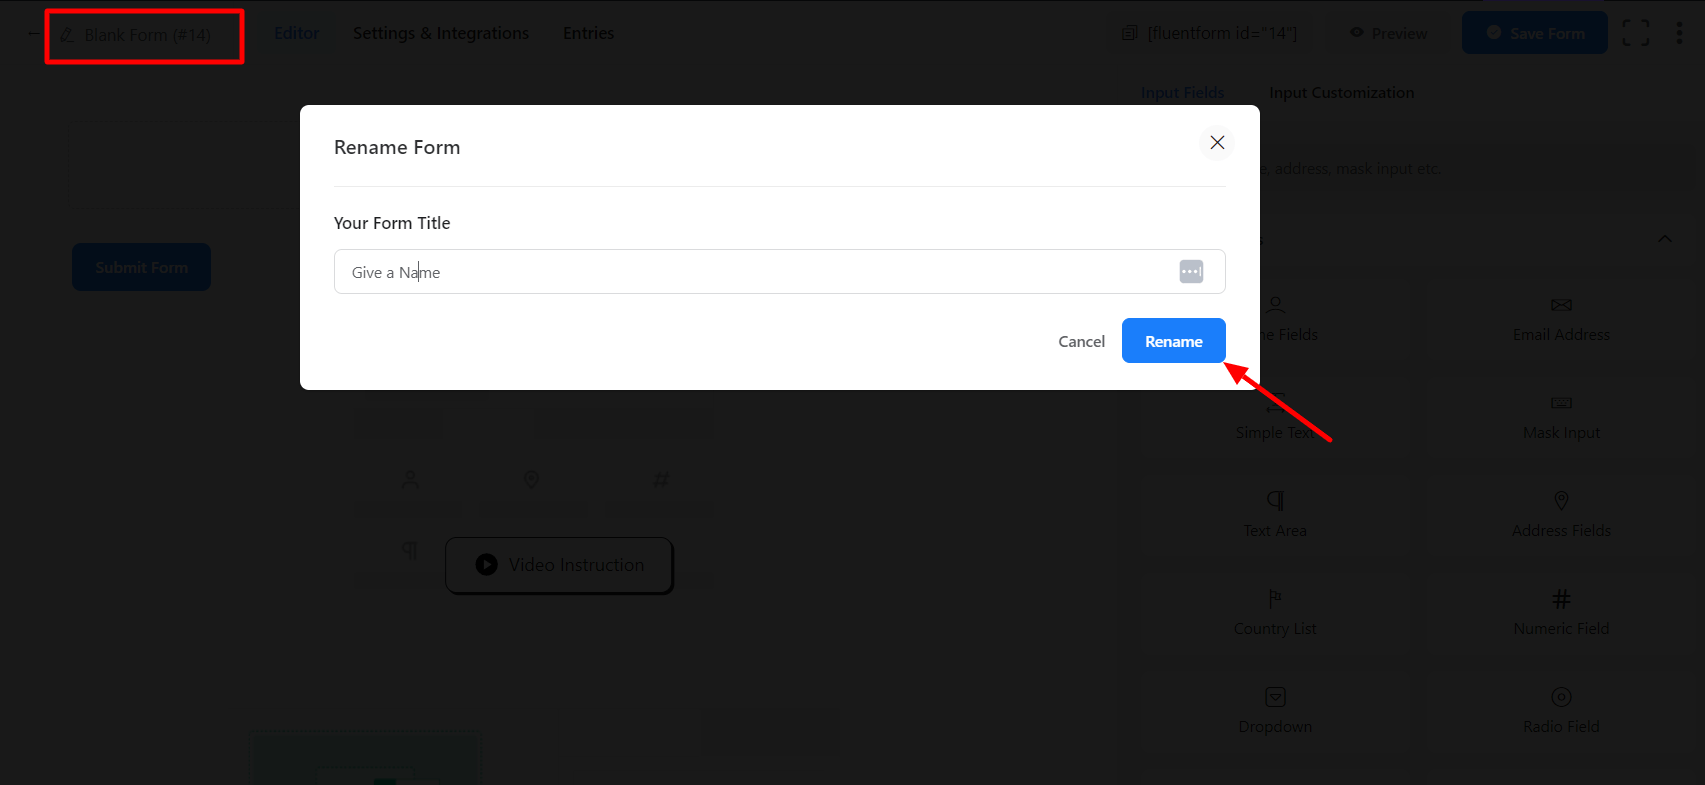
- Next, click on the top corner button shown below the screenshot Blank Form to give a name for your form.
- Add fields according to your requirements by clicking on the input field buttons or just drag and drop them into the Editor. To learn more about adding fields, you can check here.
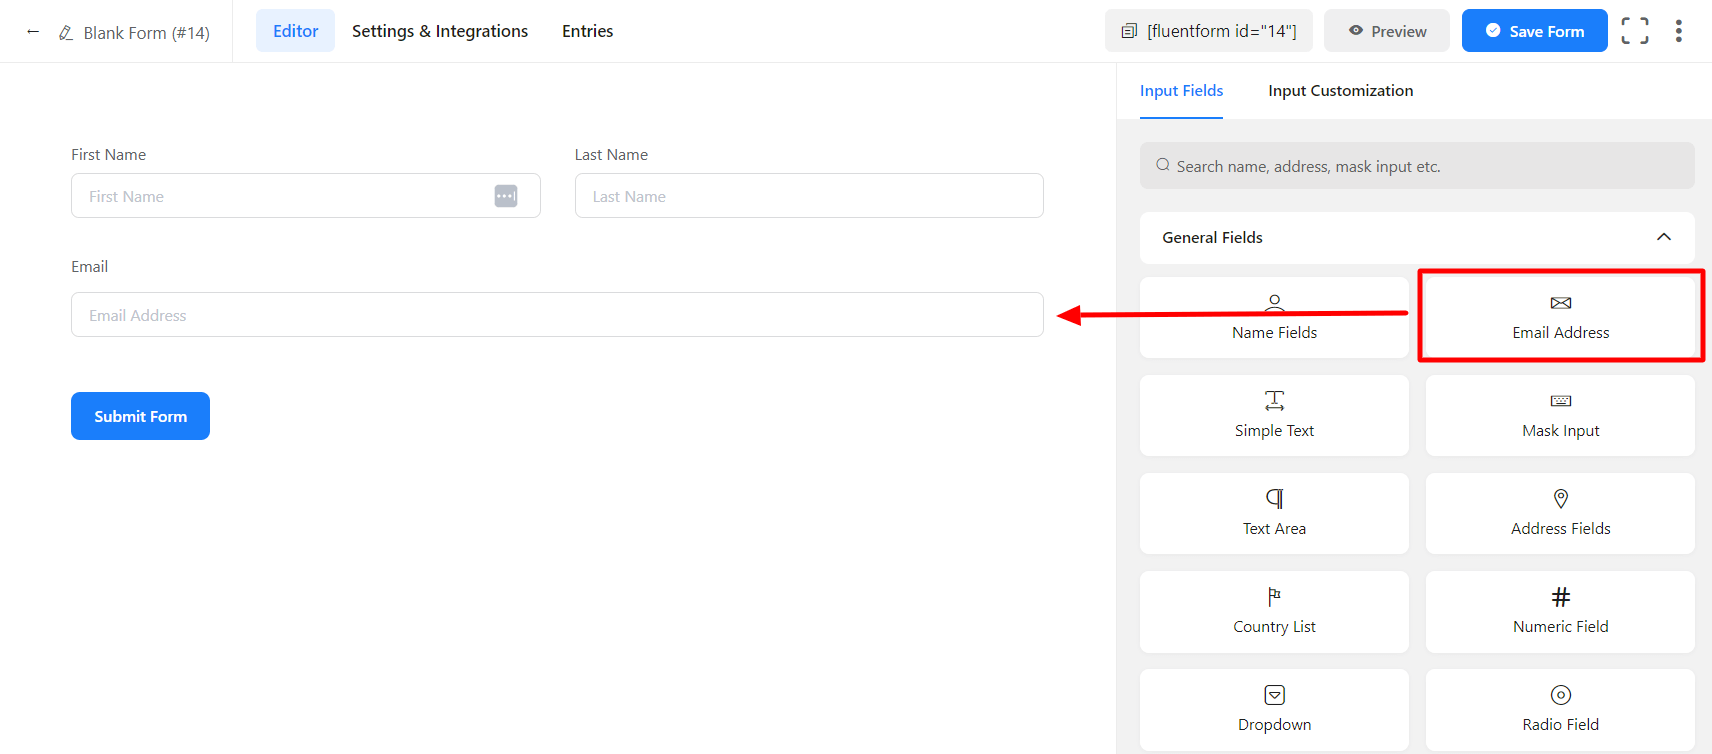
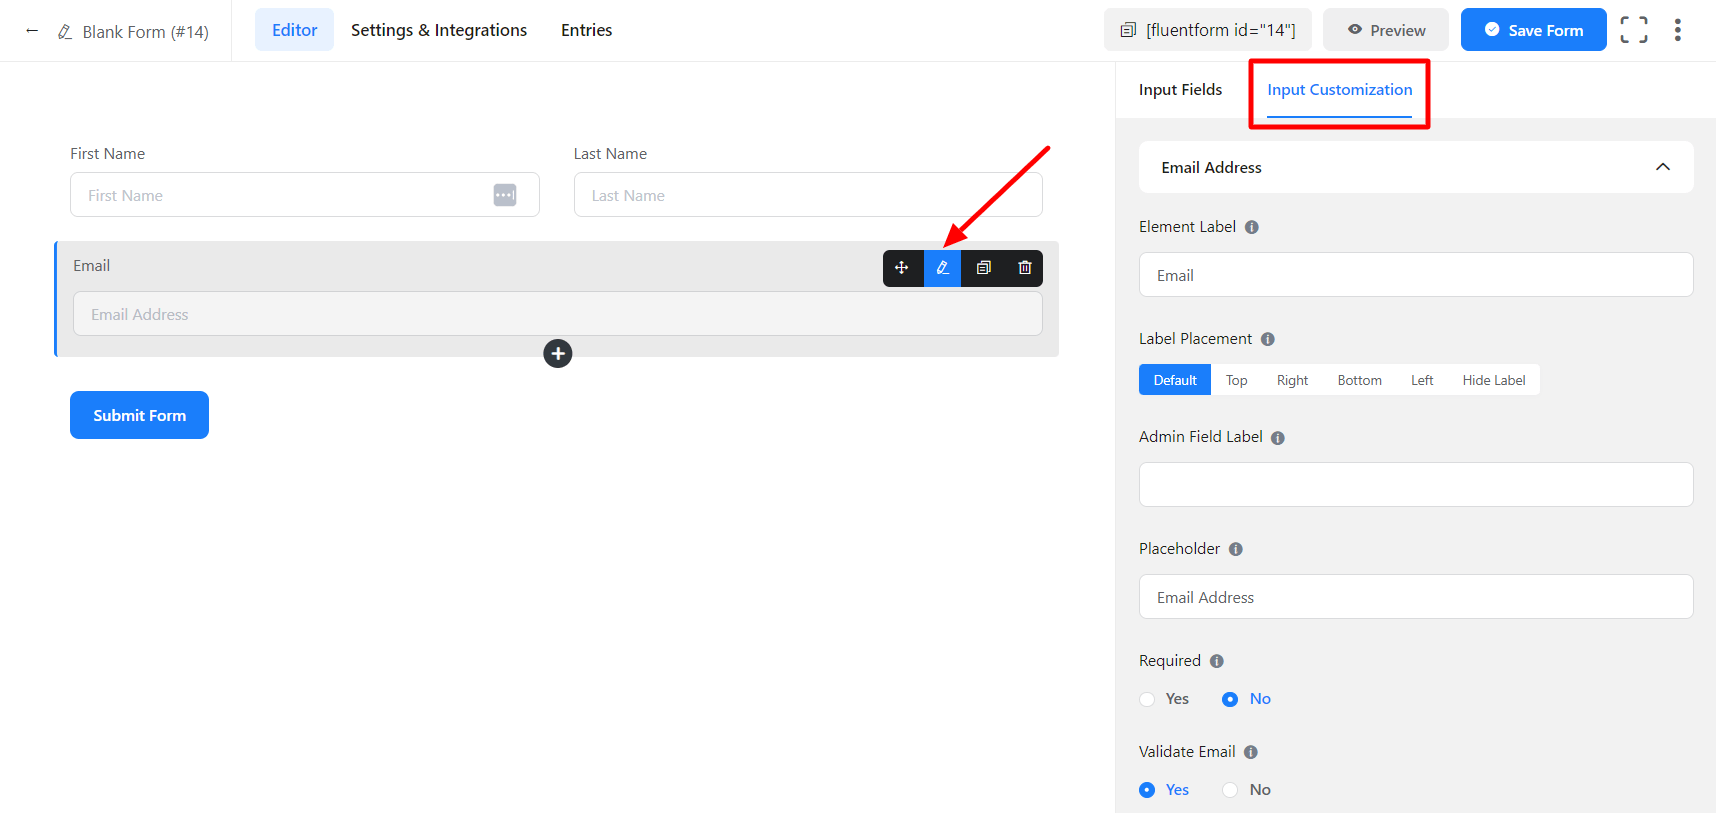
- Customize the Fields as required. To customize, hover on it and click on the Edit icon.
- You can also click on the Input Customization tab on the right sidebar.
- From renaming a field to defining the maximum size of a file input field, these customizations provide you with a lot of possibilities.
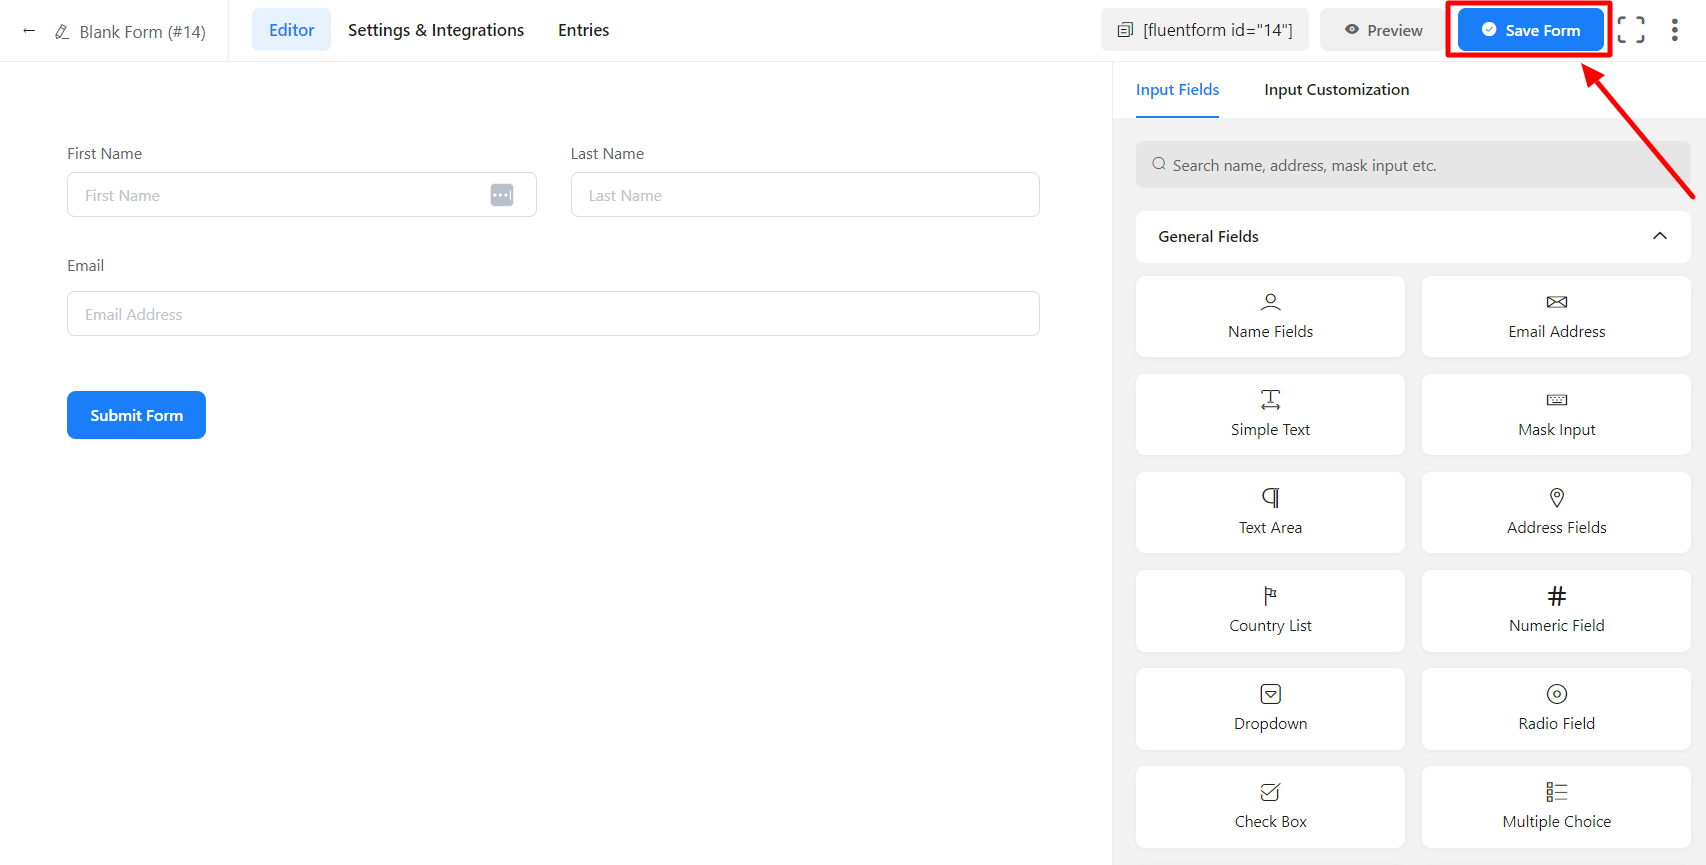
- Done with the customization and everything? Click on the Save Form button on the top-right corner of your screen.
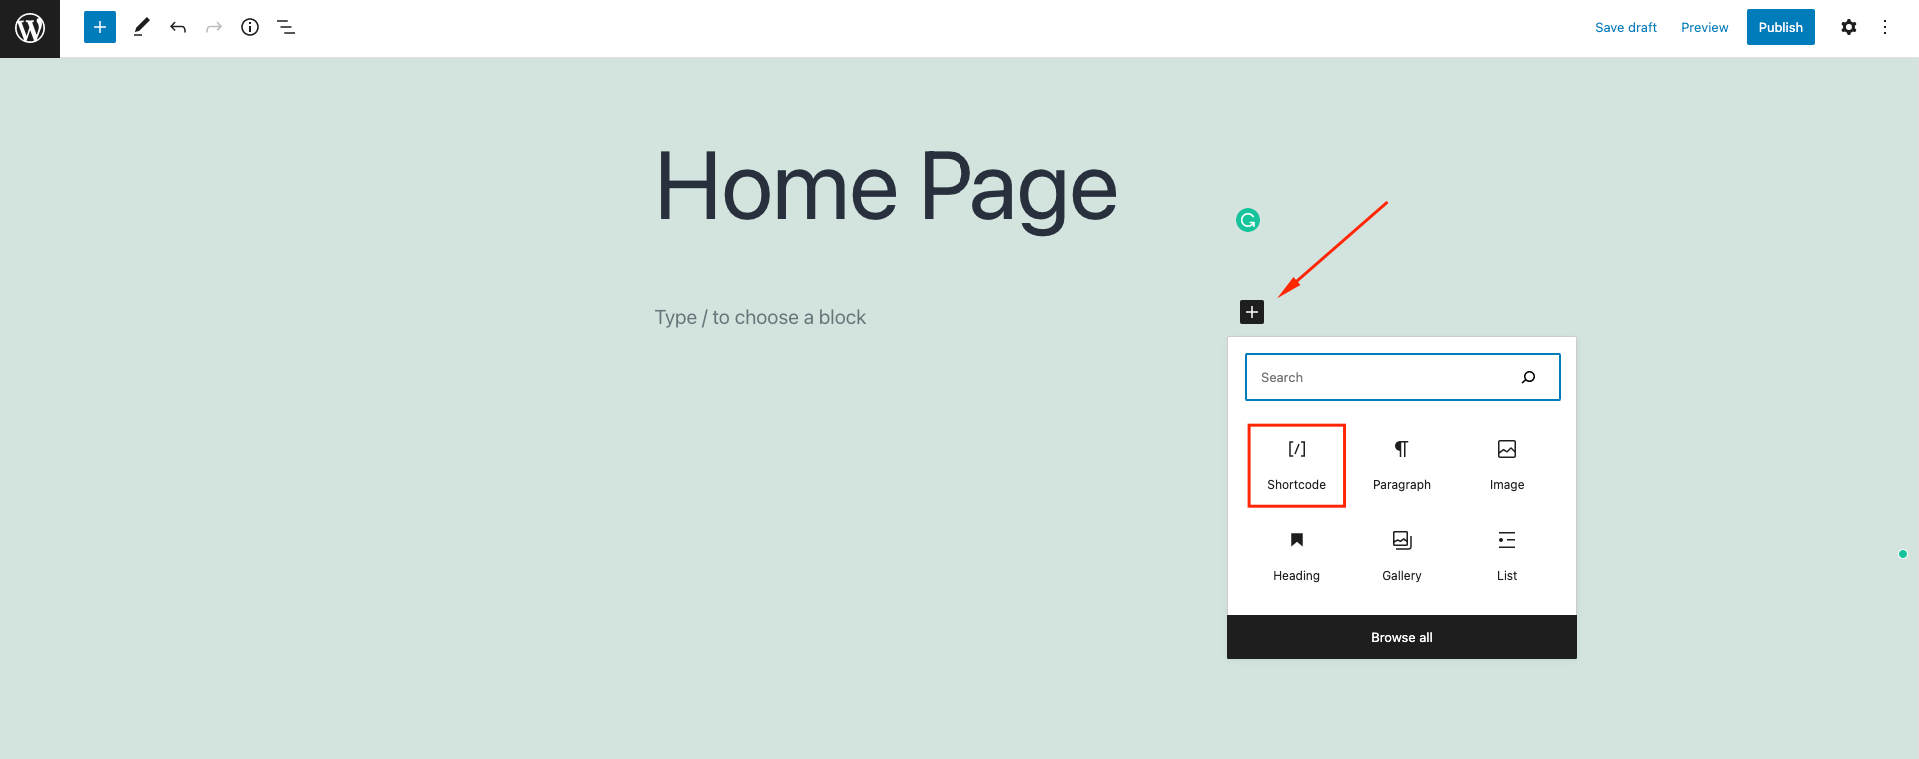
- Now copy and paste the shortcode onto the page where you want your form to appear.
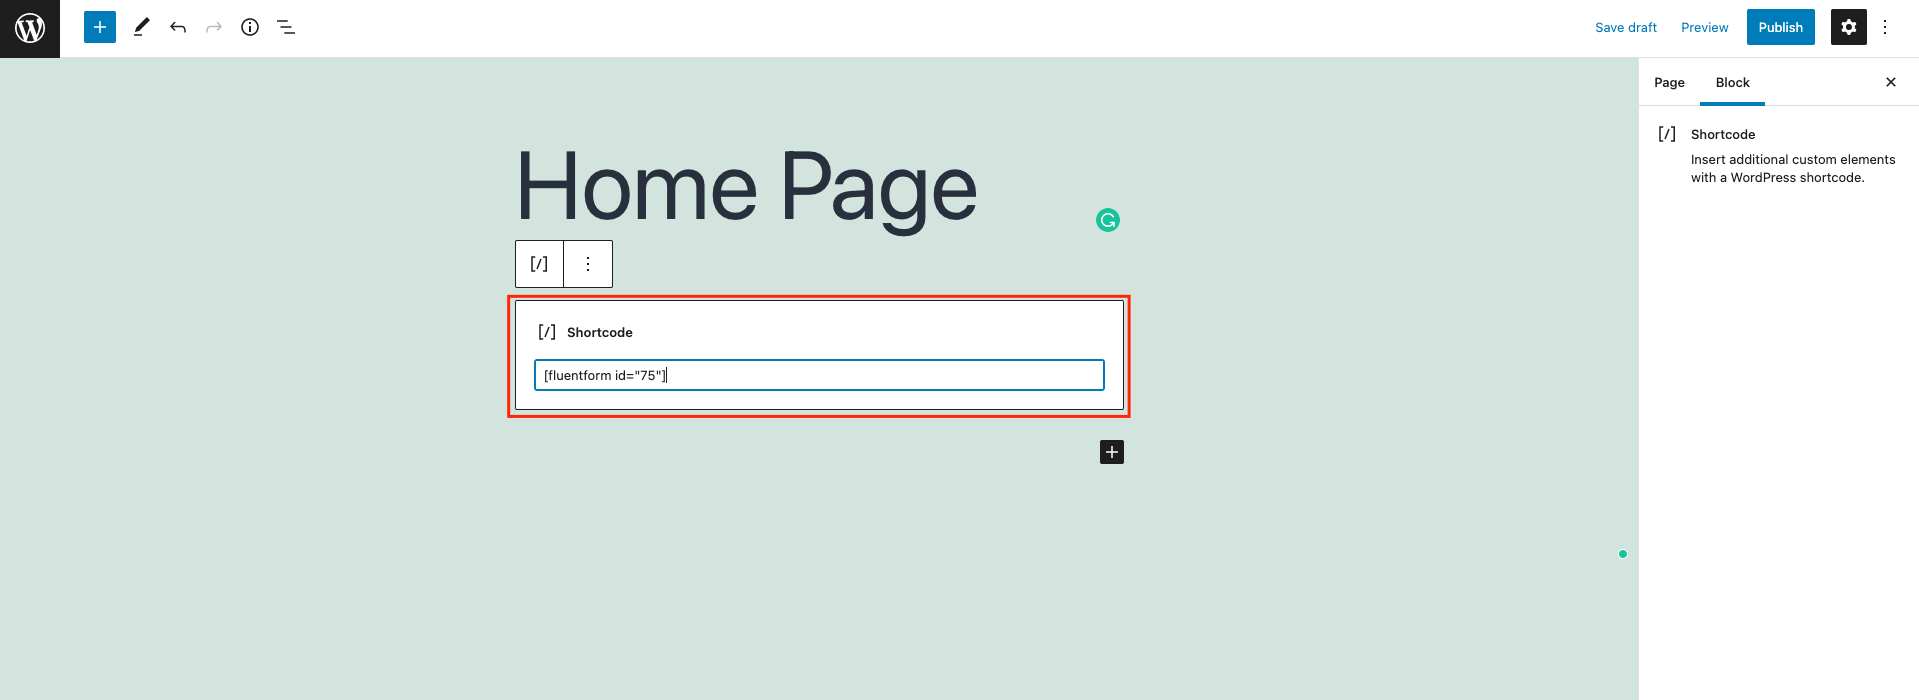
Congratulations! You have successfully created a new form with Fluent Forms.


