
Want your Fluent Forms entries displayed in a table format on the front end? Here’s how you can do this.
Fluent Forms is an amazingly dynamic plugin that includes loads of awesome features. You can implement 25+ form input fields, multi-column & required integrations.
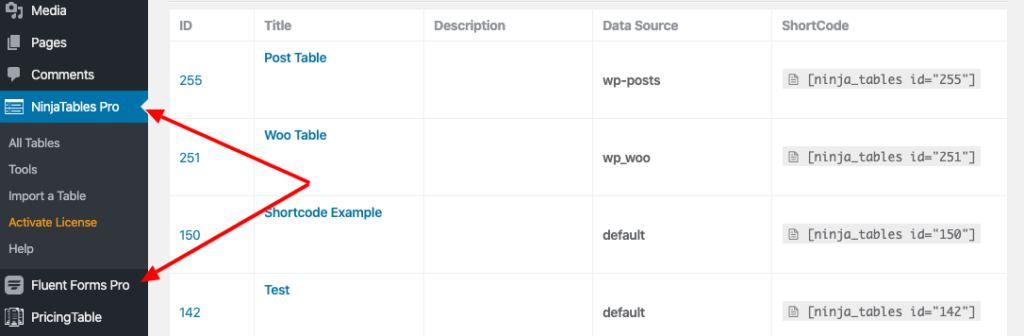
Concurrently Ninja Tables is one of the best WordPress table plugins. It provides fully responsive tables for your website.
In the dashboard being used for demonstration, both the Ninja Tables and Fluent Forms are installed beforehand.
A form is created called “contact form” using Fluent Forms as an example, and we will put some entries into it.
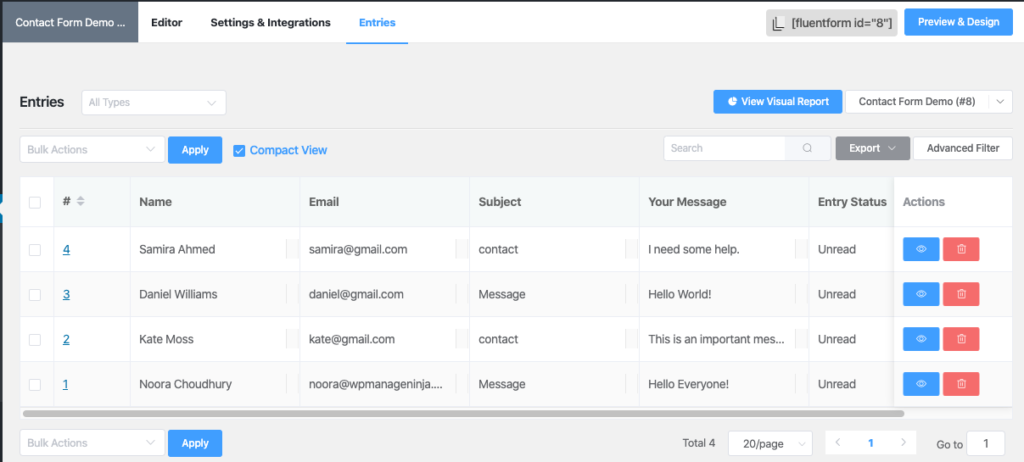
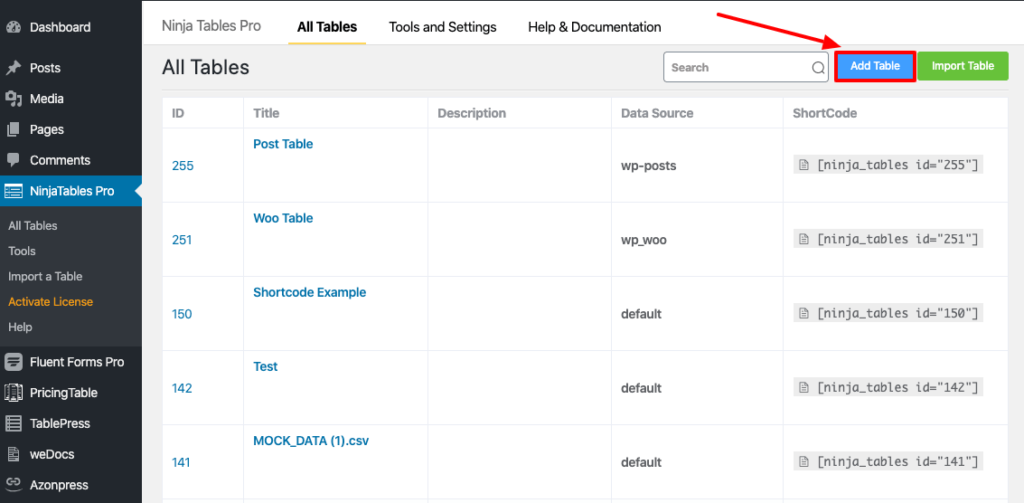
From the above image, you will notice that all the required data has been entered in the form. Then these entries will be displayed into the Ninja Tables. In order to configure the entries in the front-end, go to the Ninja Tables dashboard and click on Add Table.
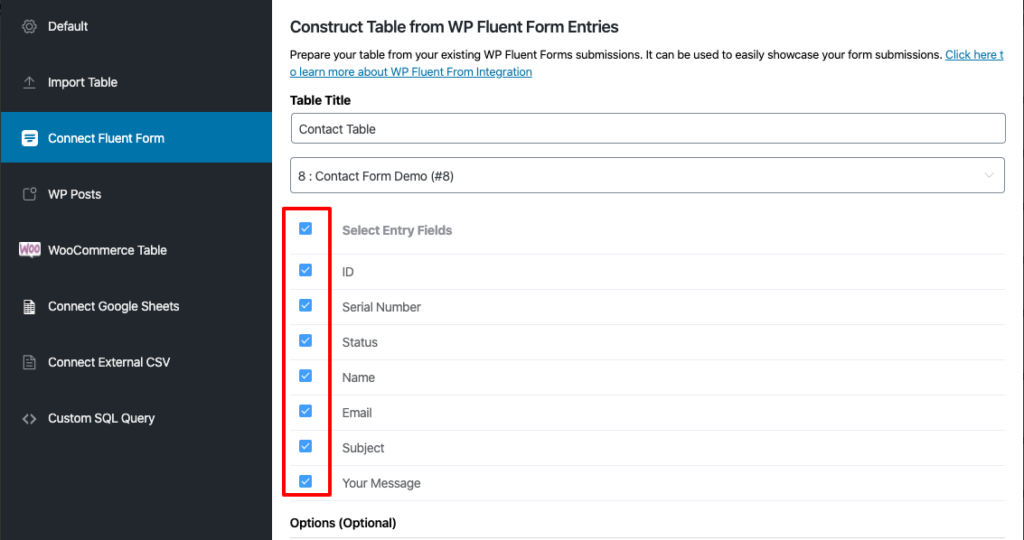
A pop-up box will show up on the screen after that. Click “Connect Fluent Form” from there, and give a title to your table. Then choose your preferred form using the box “Select a form” like the image below.
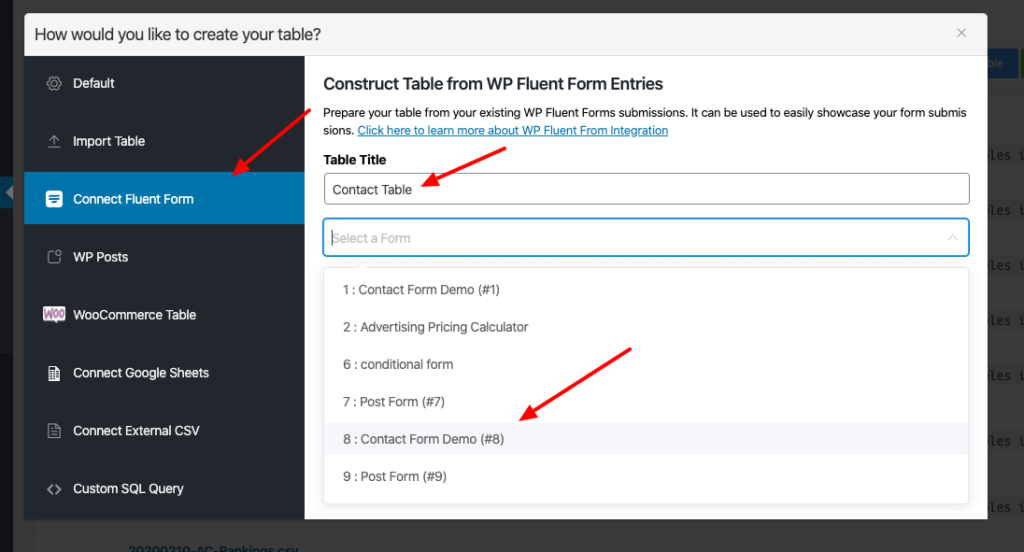
All fields of your selected form will now show just under the search box. From here, you can choose and save all fields or any unique field you wish to view in the table.
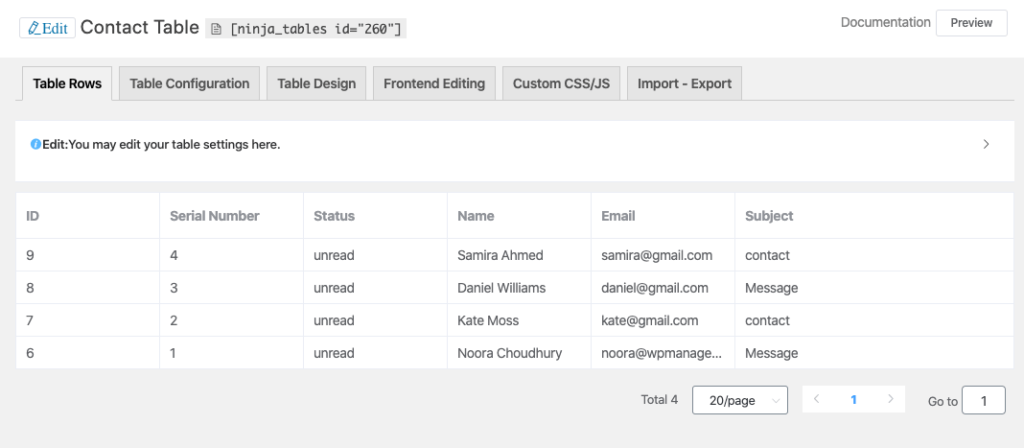
Then you will notice that all fields in your form are shown in the same column as the example below.
Edit the table’s name, data type & table style as well using Ninja Tables. Plus, Ninja tables also give you the option to customize table design, responsiveness, and table color.
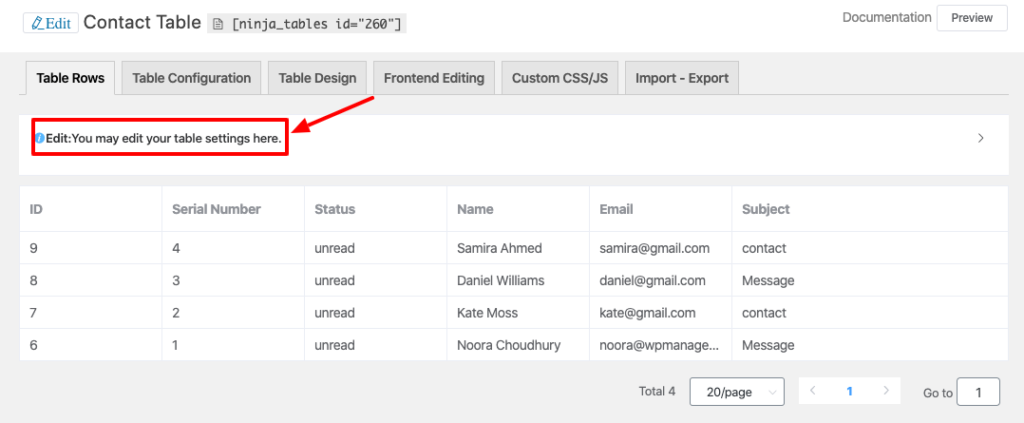
Further customization can be done, such as – add another “Your Message” column name. Select the “Edit” button that is just above the table.
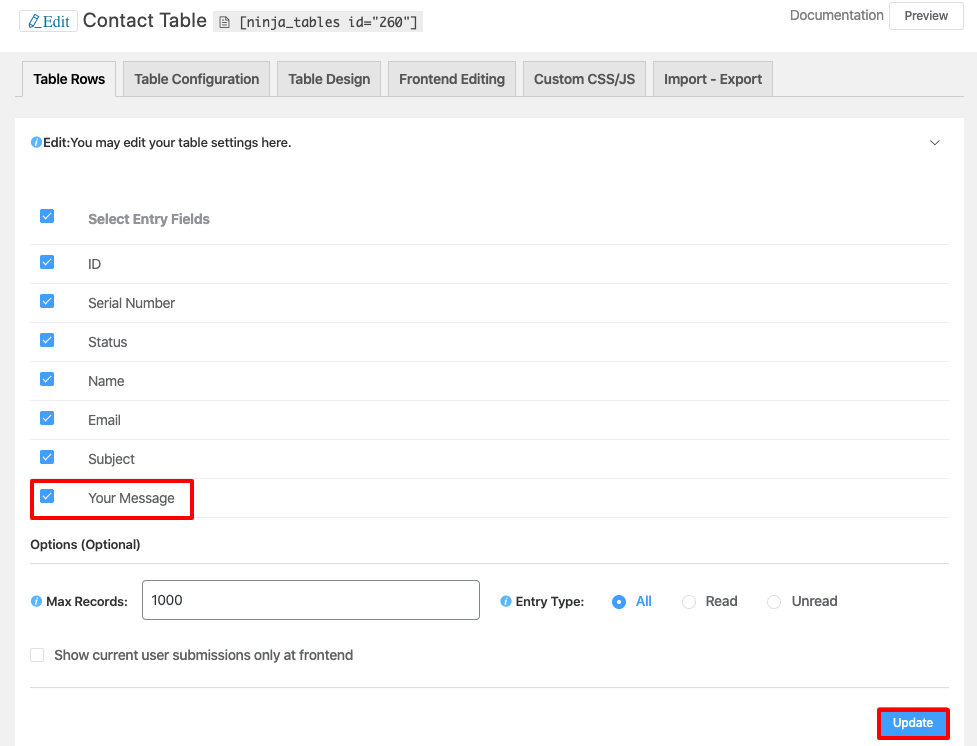
After clicking there, you can notice all fields of your form like the example below.
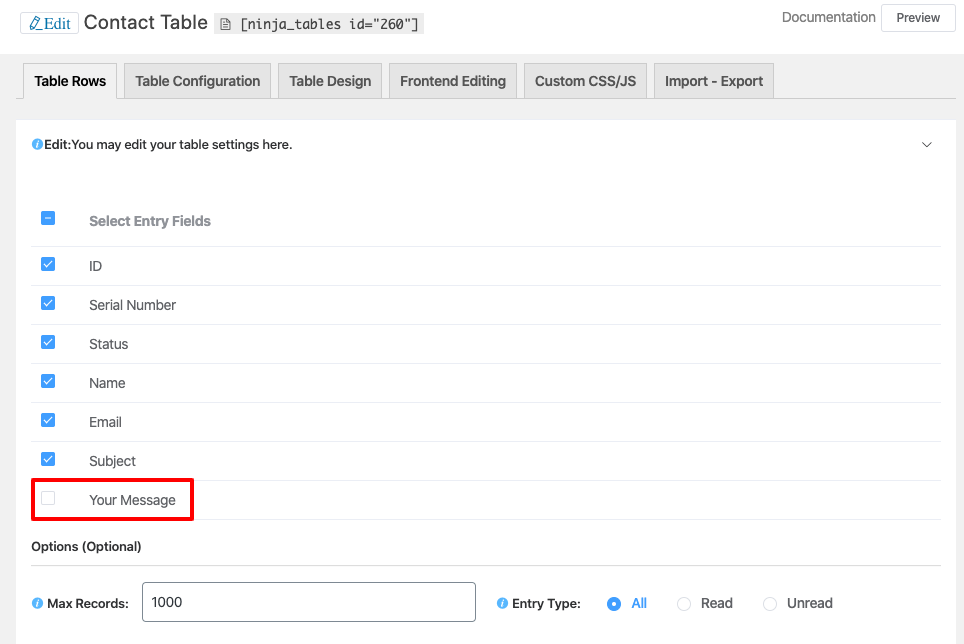
Update the setting after checking the “Your Message” box by clicking on the “Edit” button as shown below, and preview it.
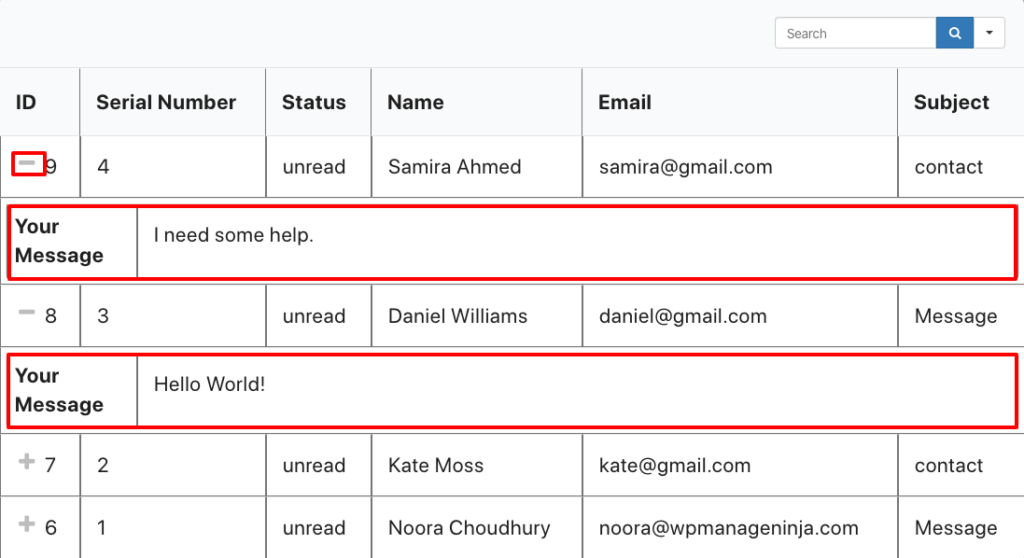
However, along with the “Your Message” column, it’s looking a little bit messy. Ninja tables have solutions for a cleaner look.
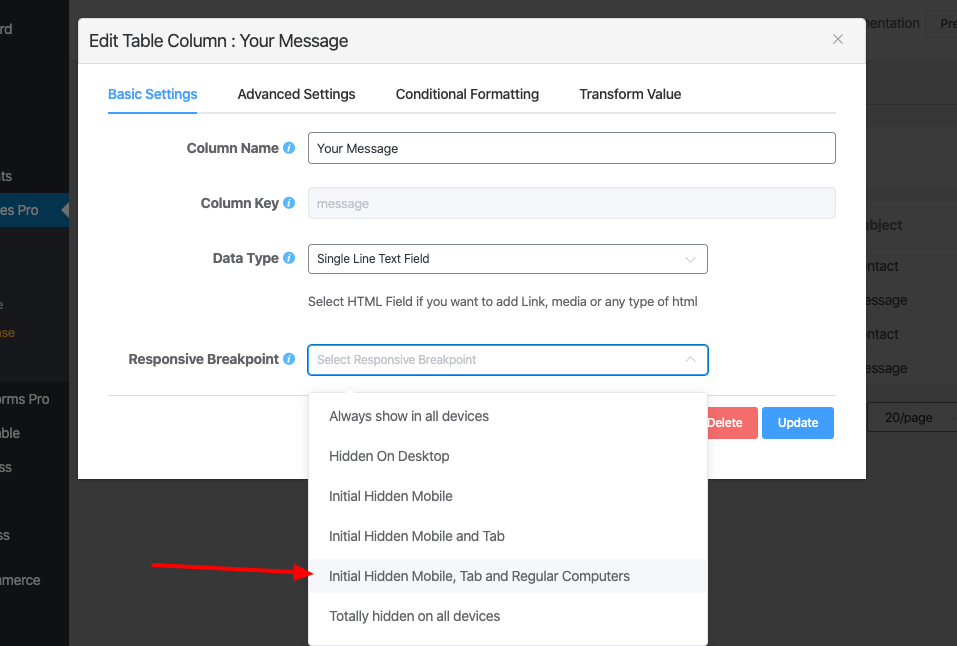
Click on the “Your Message” column button and there will be a new pop-up box on the screen.
Now in the “Responsive Breakpoint” box choose the option “Initial hide a mobile, tab, and regular computers.” Save your setting afterward, and reload the preview tab.
And then you can see all the fields of the form together in one place.
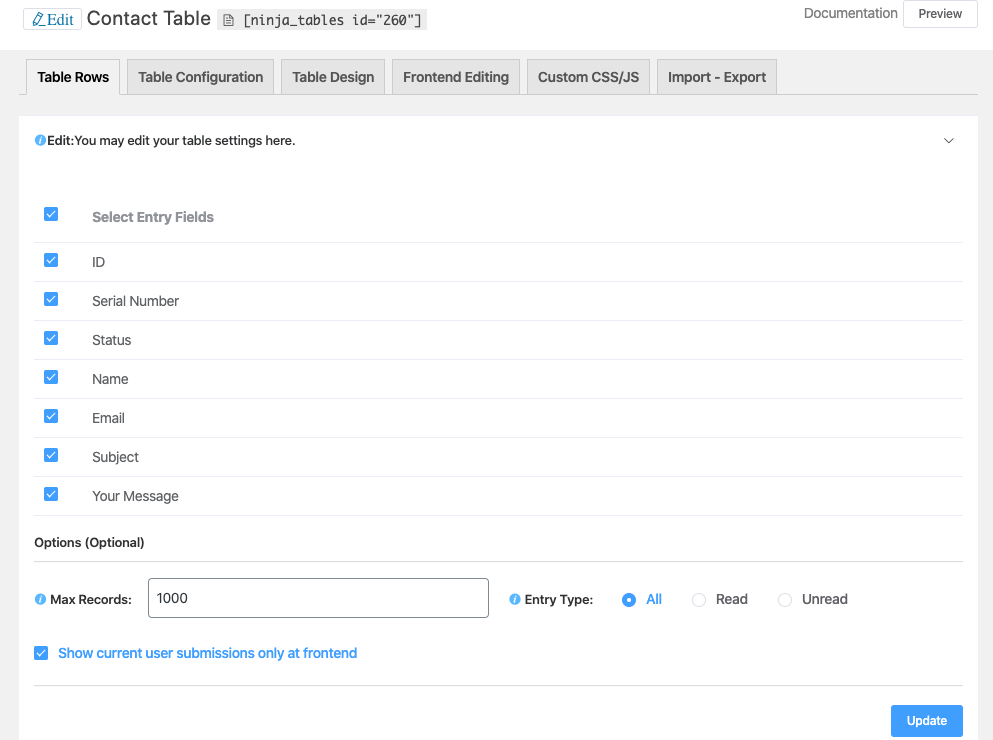
Displaying your own submissions form only
If you choose to use Ninja Tables just to display your own submissions. Just activate that from the configuration settings for Table Rows.
This is the most powerful combination of Fluent Forms and Ninja Tables and undoubtedly, it is very helpful for real life.