Ninja Tables brings you another powerful feature named Table Style Customization under the Table Design tab. Using this feature, you can quickly customize and configure your table in different ways.
This is a simple guide to help you get started with the Basic Styling of your table. To go to the Table Design tab, click on the table you previously created. There click on the Table Design tab beside the Table Configurations tab.
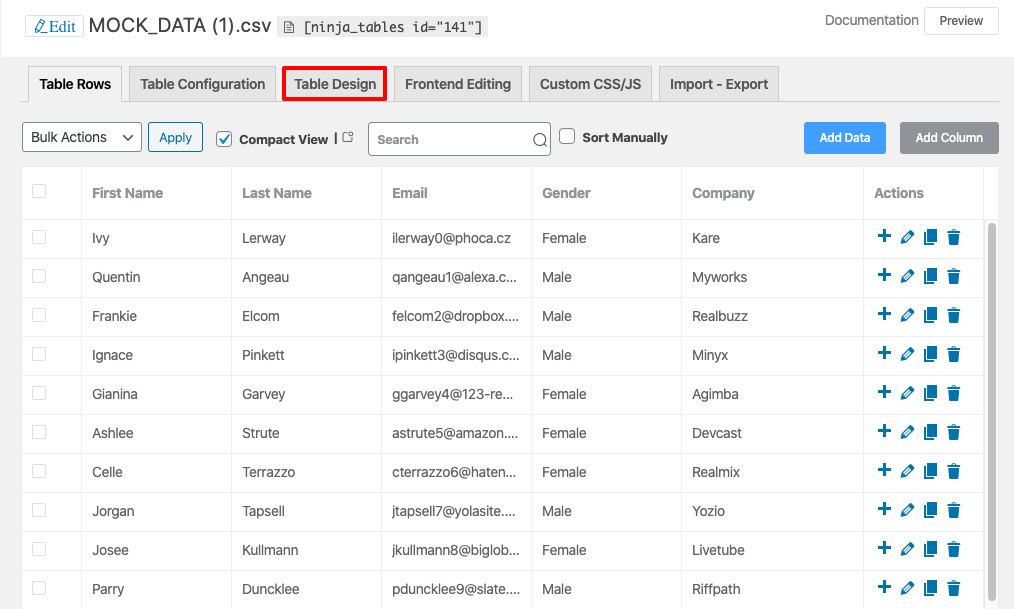
You will see a variety of design options that appear to choose from.
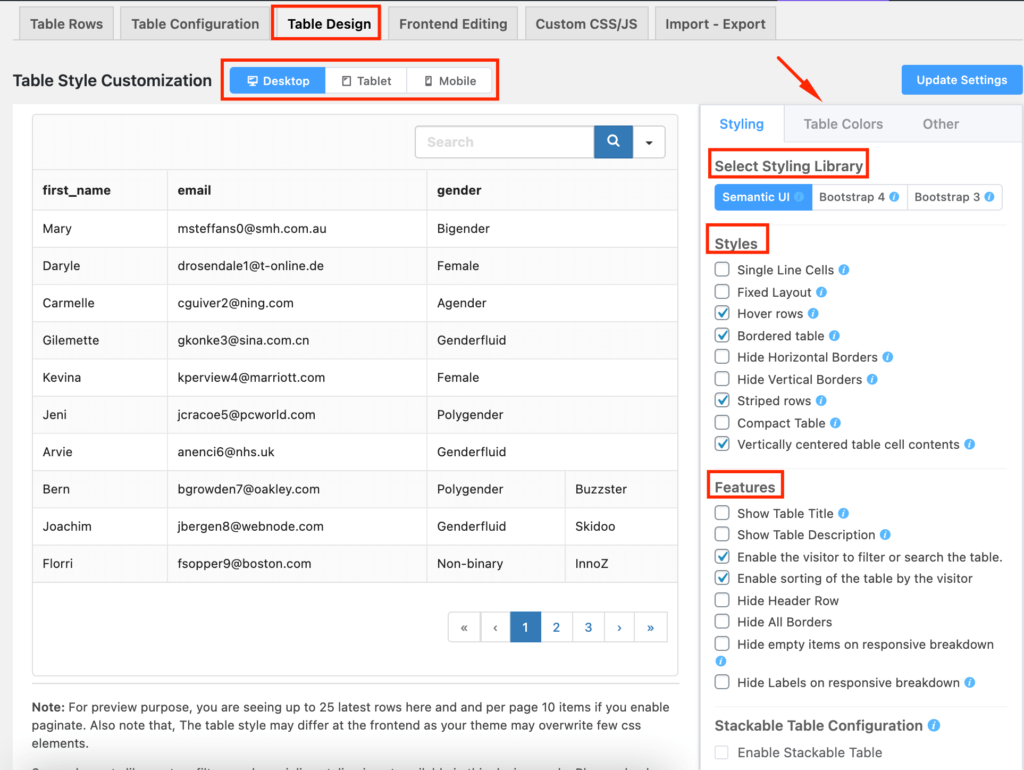
To begin with, it’s very helpful to know about the device segment. This segment consists of three device categories called Desktop, Tablet & Mobile.

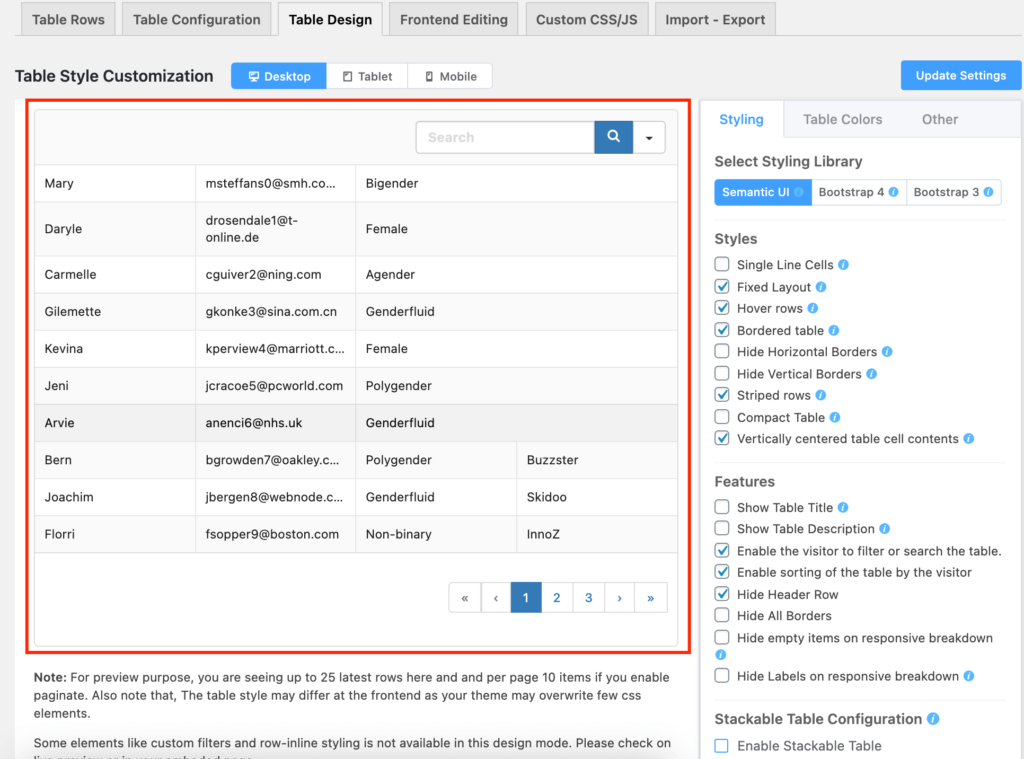
So let’s have a thorough look at these device options. From among the 3 device categories, pick one of them to decide on which device you want to see your preview. The view is configured to the Desktop view by default. See the example above.
You will see a preview section right under the previous section which shows the interface in real-time.
On the right sidebar, you will notice the first tab named Styling. This tab itself has three separate styling options. The first feature is the Select Styling Library, which manages the library you have to work with. Three different libraries are available in this segment such as Semantic UI, Bootstrap 4 & Bootstrap 3. Each of these libraries has various components once you select one of them.
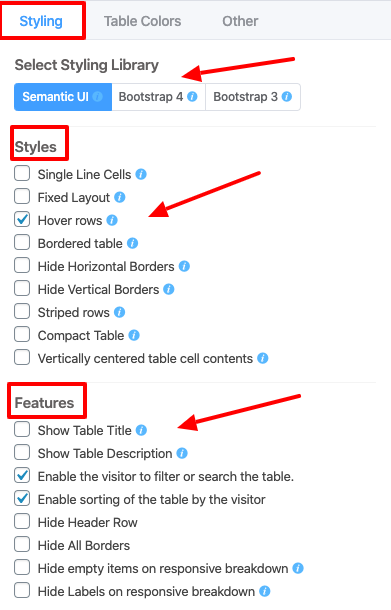
The second feature is the Styles option which offers several functions like Single Line Cells, Fixed Layout, Hover Rows, Bordered Table, and many more. Check these options according to your styling needs.
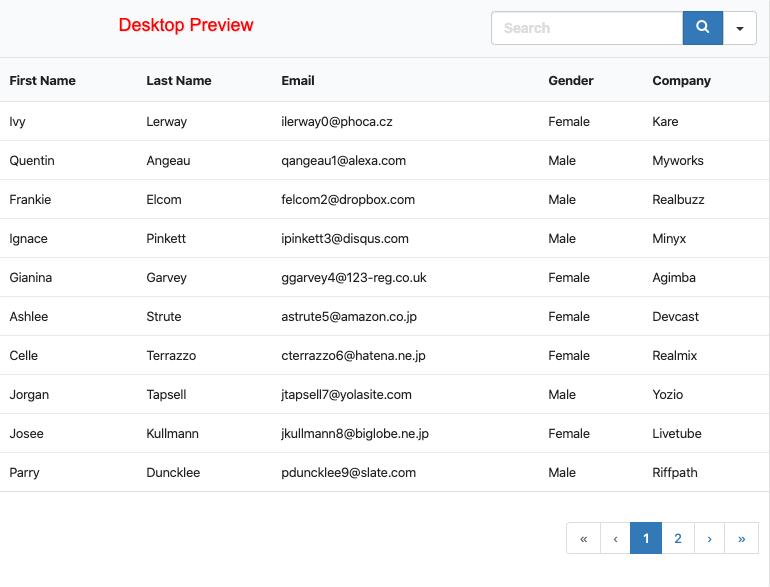
The last function is the Features which defines many components, all you have to do is to check the one you need for setting your table. Here is the final output of the table after selecting the styles and features’ components:
[ninja_table_banner]

