Using
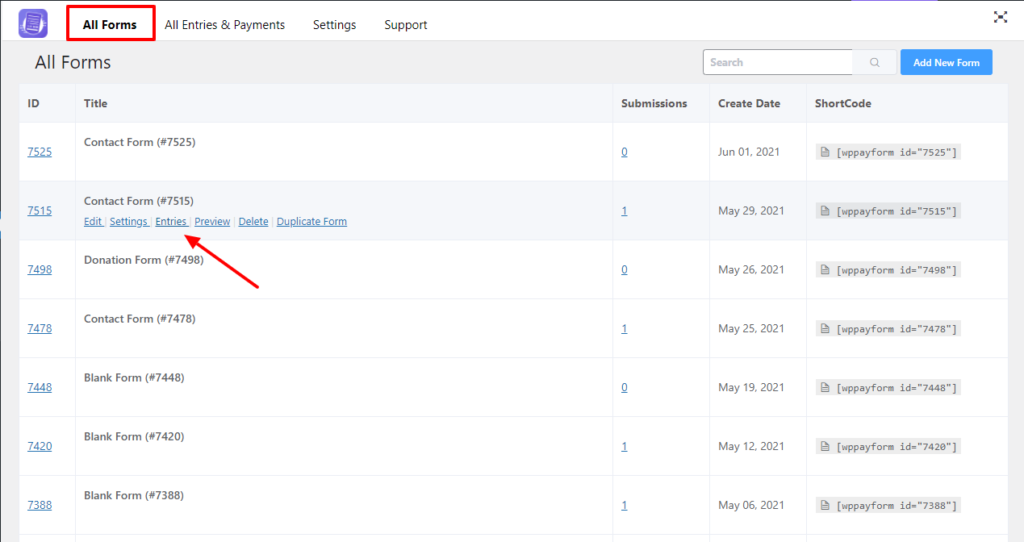
By clicking on the Entries, you will be taken to the entries page where you will find an eye icon for each form entry to view single submission.
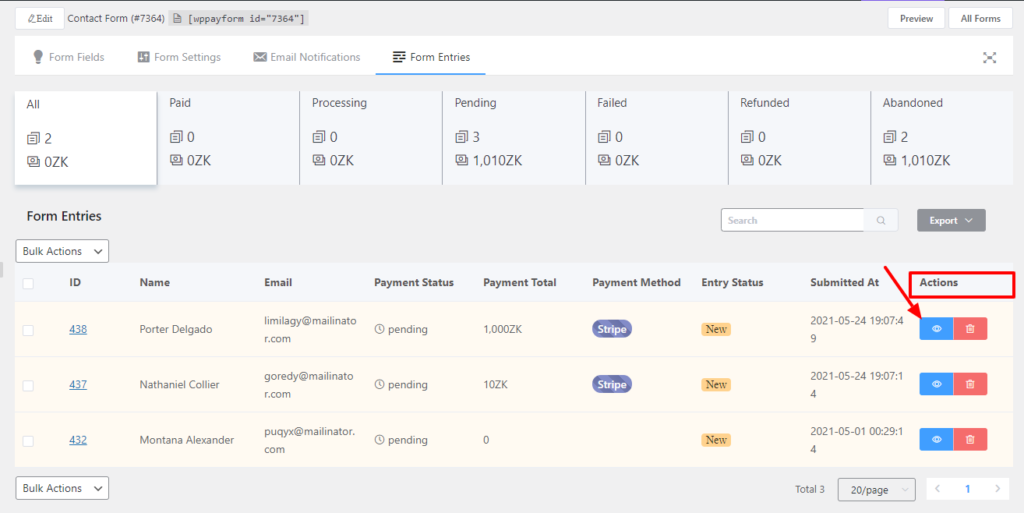
Clicking on the eye icon, you will find the submission page for each entry. You can see all the data that are submitted by each entry.
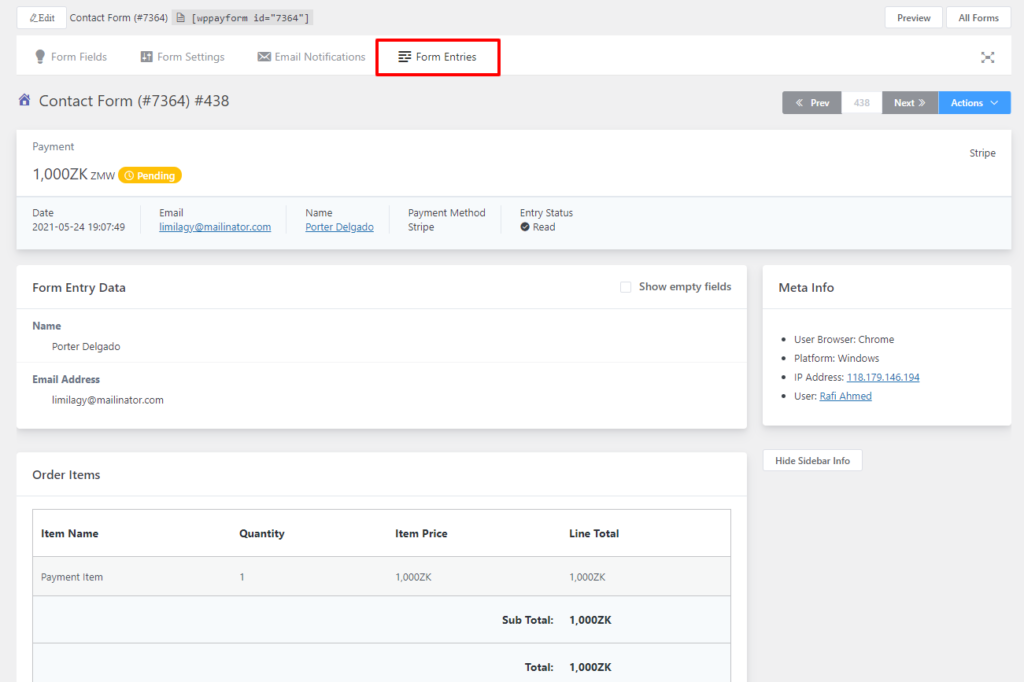
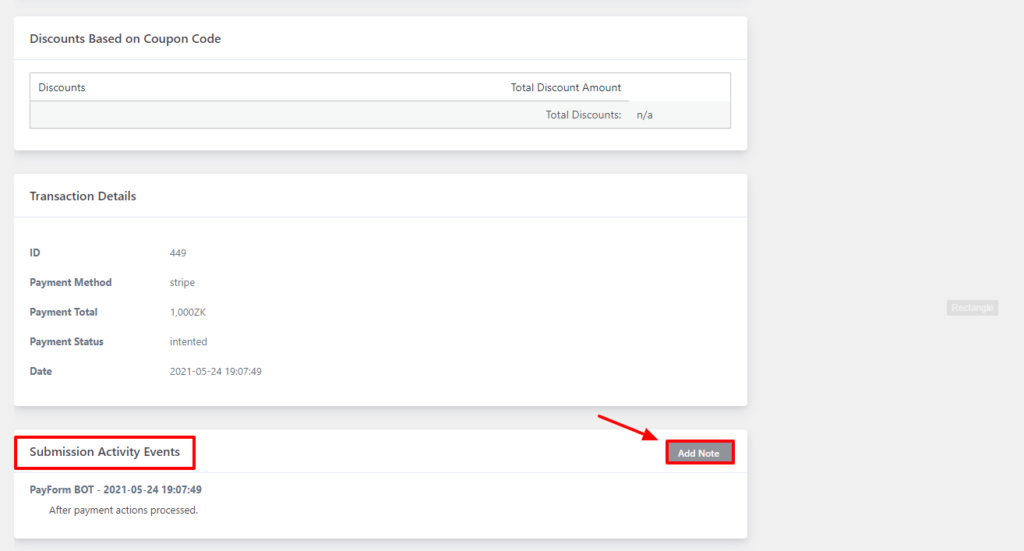
On this submission page, you will see the payment amount, order items, transaction details, submission activity. You can add a note for the submission activity.
If you want to print your form entry, you can do this by clicking the Print this entry button. You can also Export JSON data files and resend / manual email notifications. In the Mark Sections to hide from print screen, you can things like Hide Activities, Hide Transactions, Hide Input Items, Hide Header Bar, Hide Header Bar, etc.
Status Change
If any payment needs to be refunded, you can do such using the Change Payment Status option. To get the option, go to the entry submission page of a respective item. Hover over the Action button located in the top right corner of the page, then you will find the Change Payment Status option will appear in the form of a dropdown menu.
You also can use the Prev and Next button to switch over to the next item or move to the previous item without wasting time.

Next, a pop-up will appear with multiple options. You can change the current status into Pending, Processing, Paid, Failed, Refunded. All five options are given in a form of the radio button.
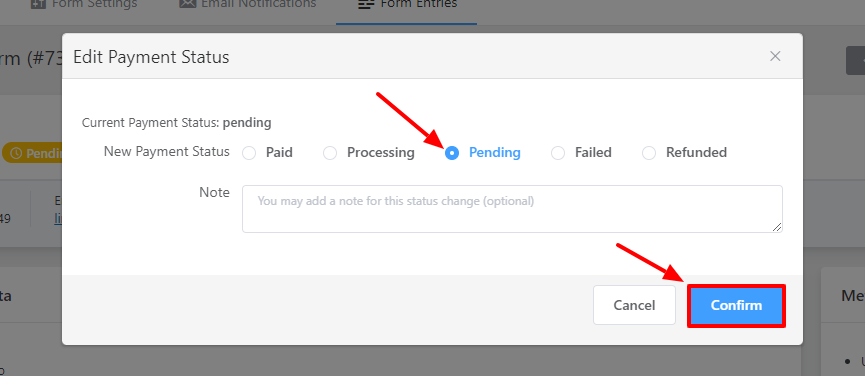
Moreover, you can make a note using the option. After selecting the expected option from the radio button, click on the Confirm button.

