
AzonPress offers excellent customization features, making it easy to customize according to your needs. This article will guide you through Customizing Product Tables with Azonpress for Amazon products on your WordPress website.
How To Customize A Product Table
To learn how to customize the information displayed in your Product table with AzonPress, follow the steps with the screenshots below –
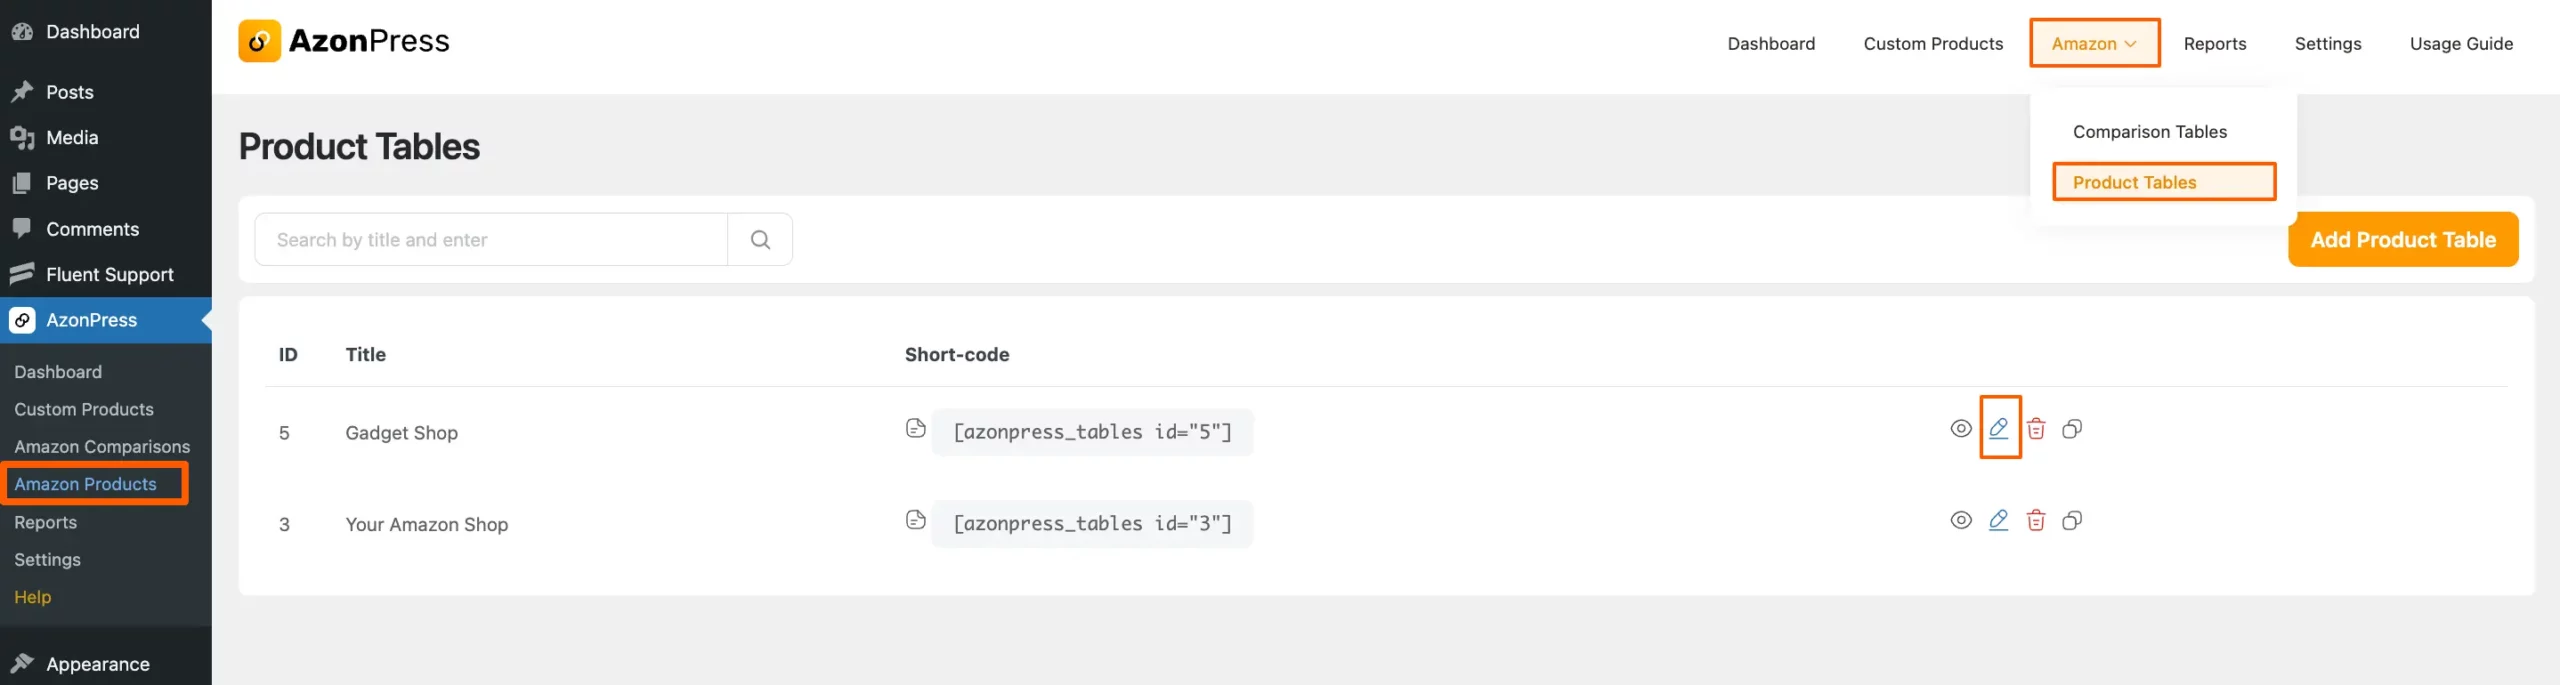
First, go to Amazon Products from the WordPress Sidebar or Product Tables from the Amazon dropdown in the top right corner of the AzonPress Navbar.
Now, select the desired Table where you want to add columns and click on the Pencil Icon.
If you do not have any existing Product Tables, you can create a new Product Table.
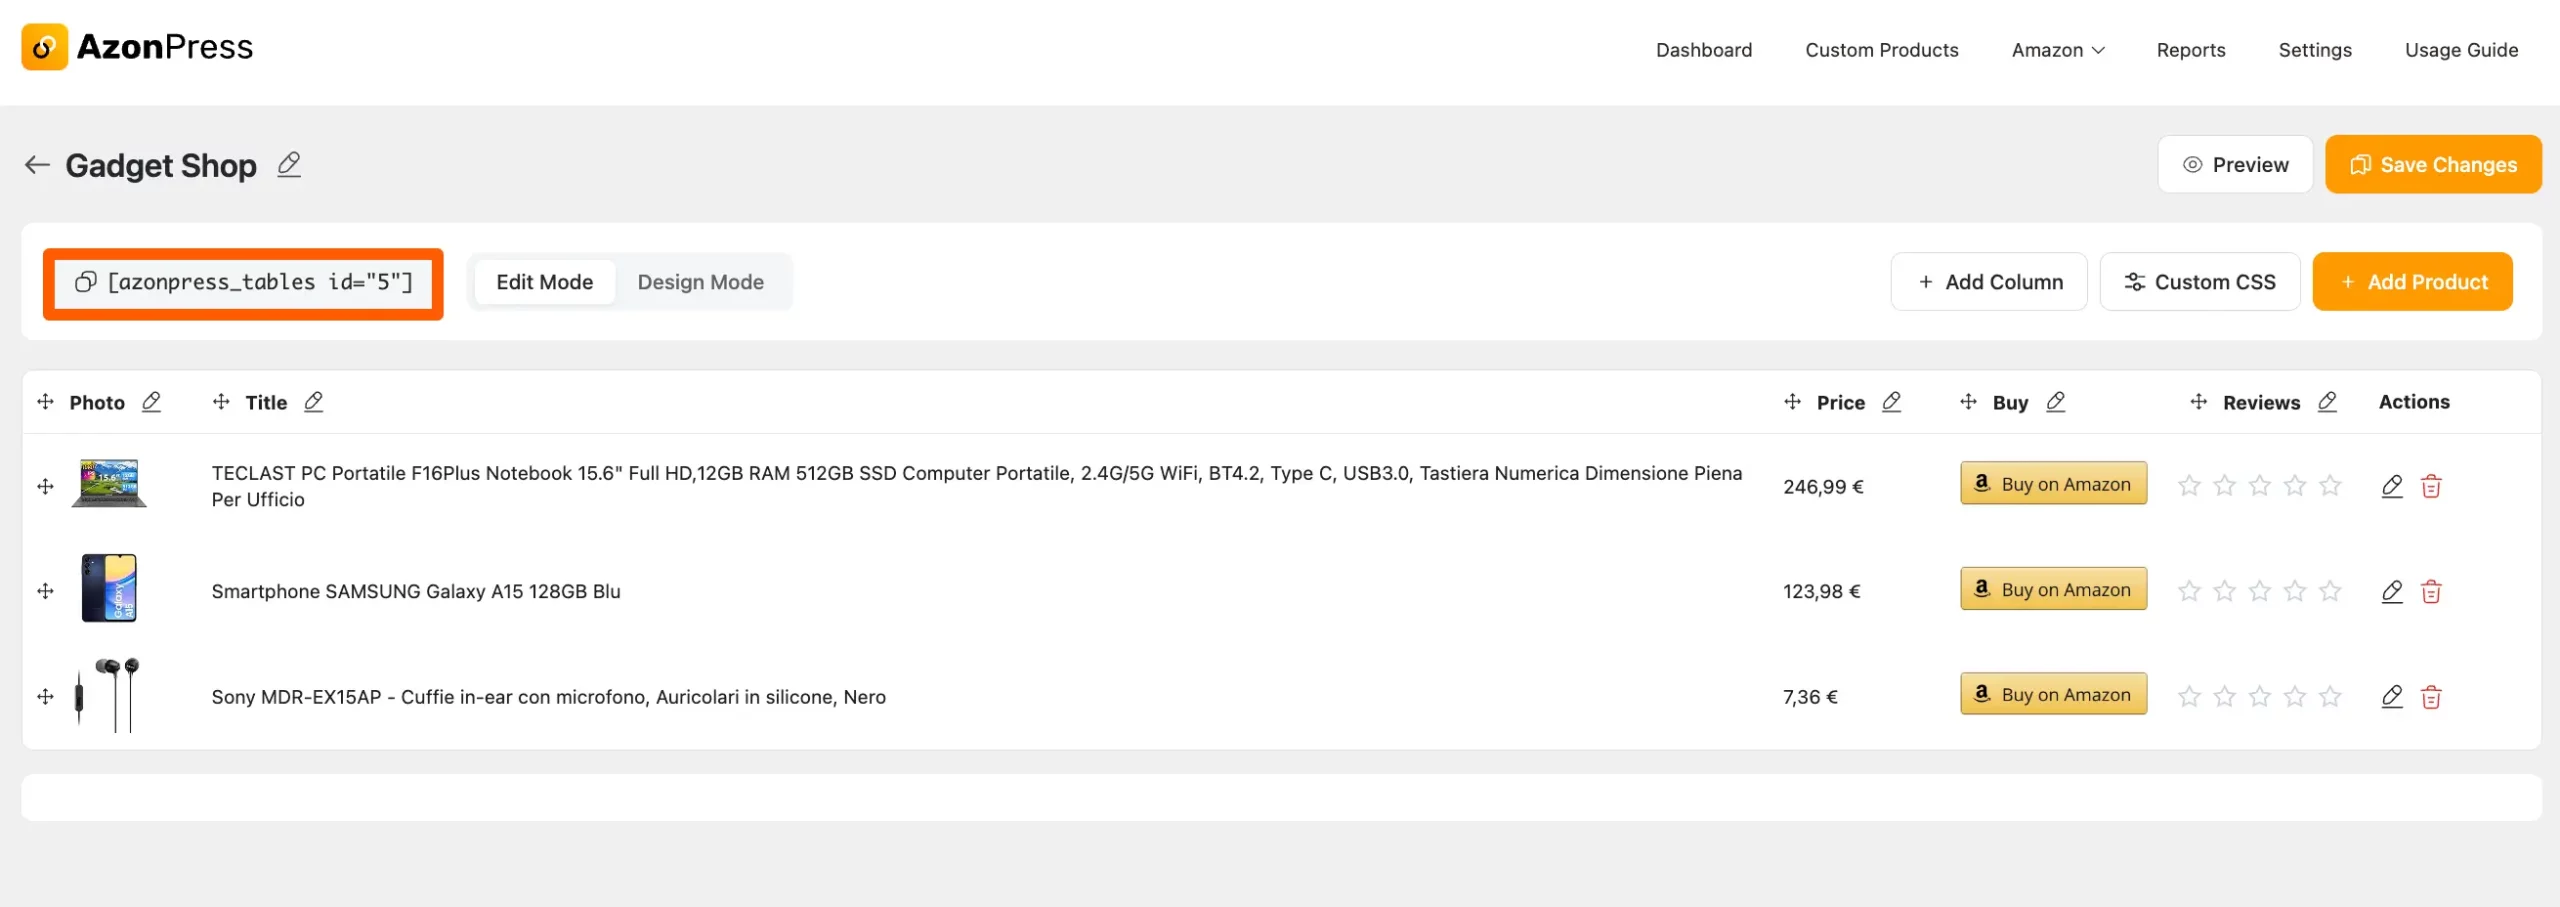
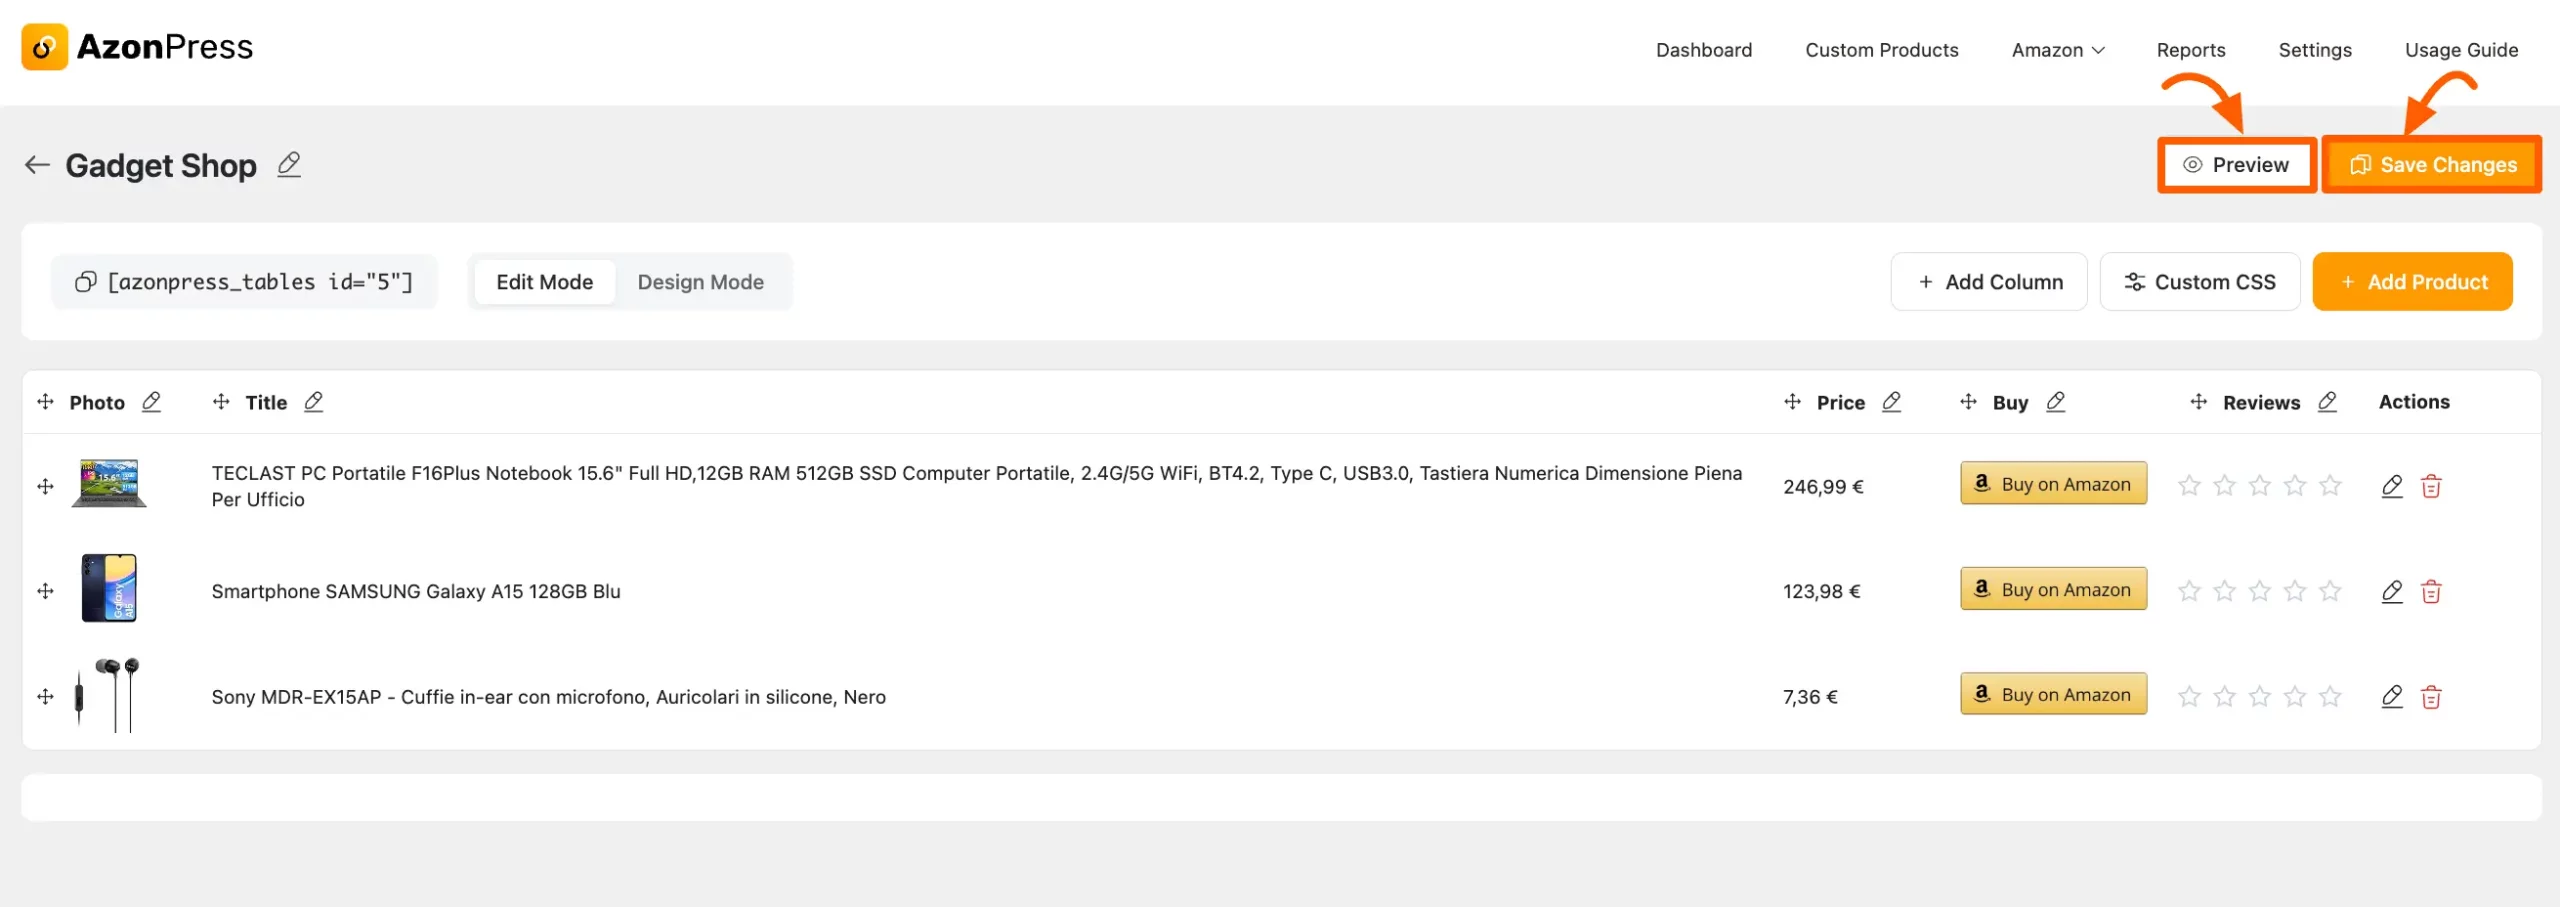
Now, you can see that your desired product table has been opened in your backend.
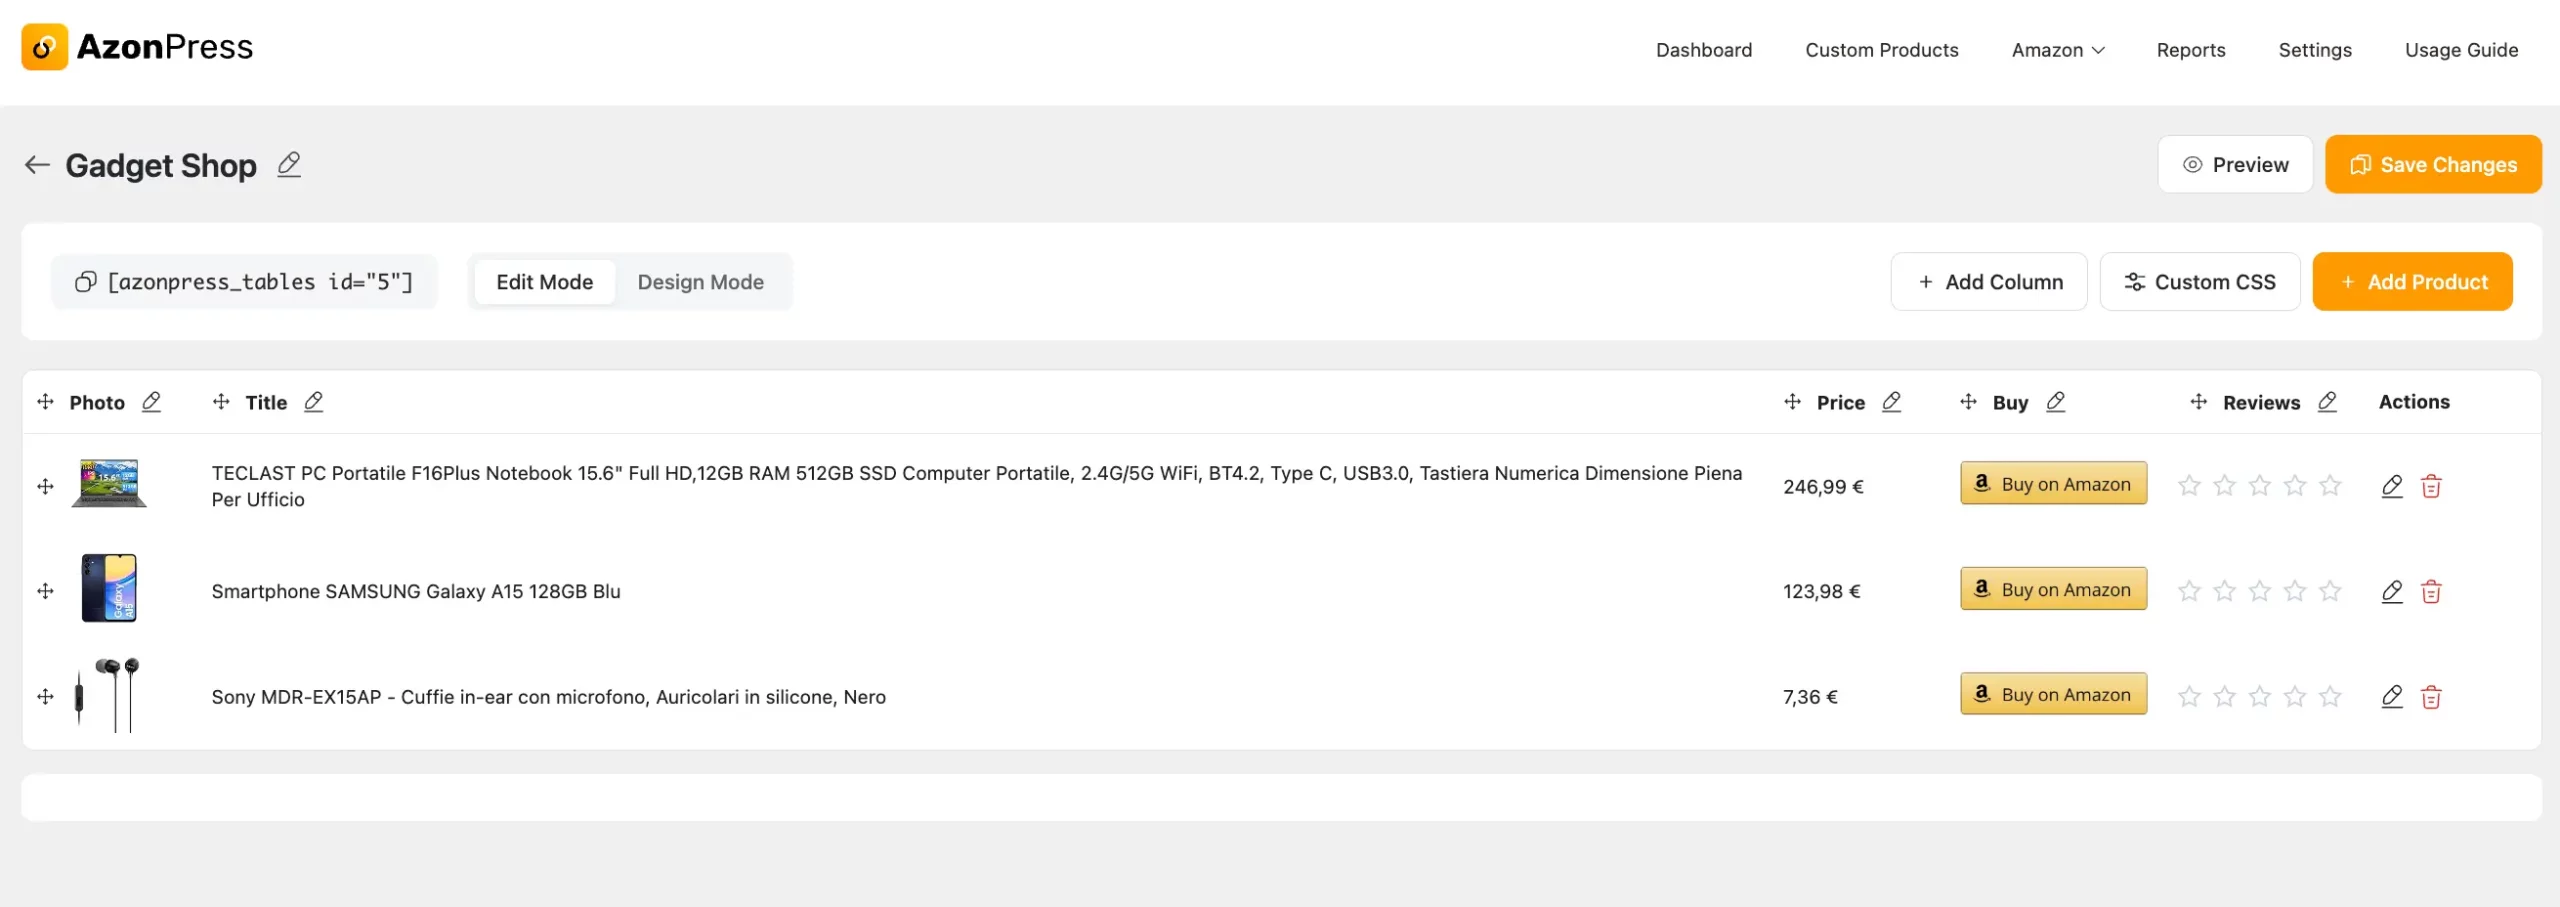
Here is a brief explanation of all the settings options on the pop-up page given below –
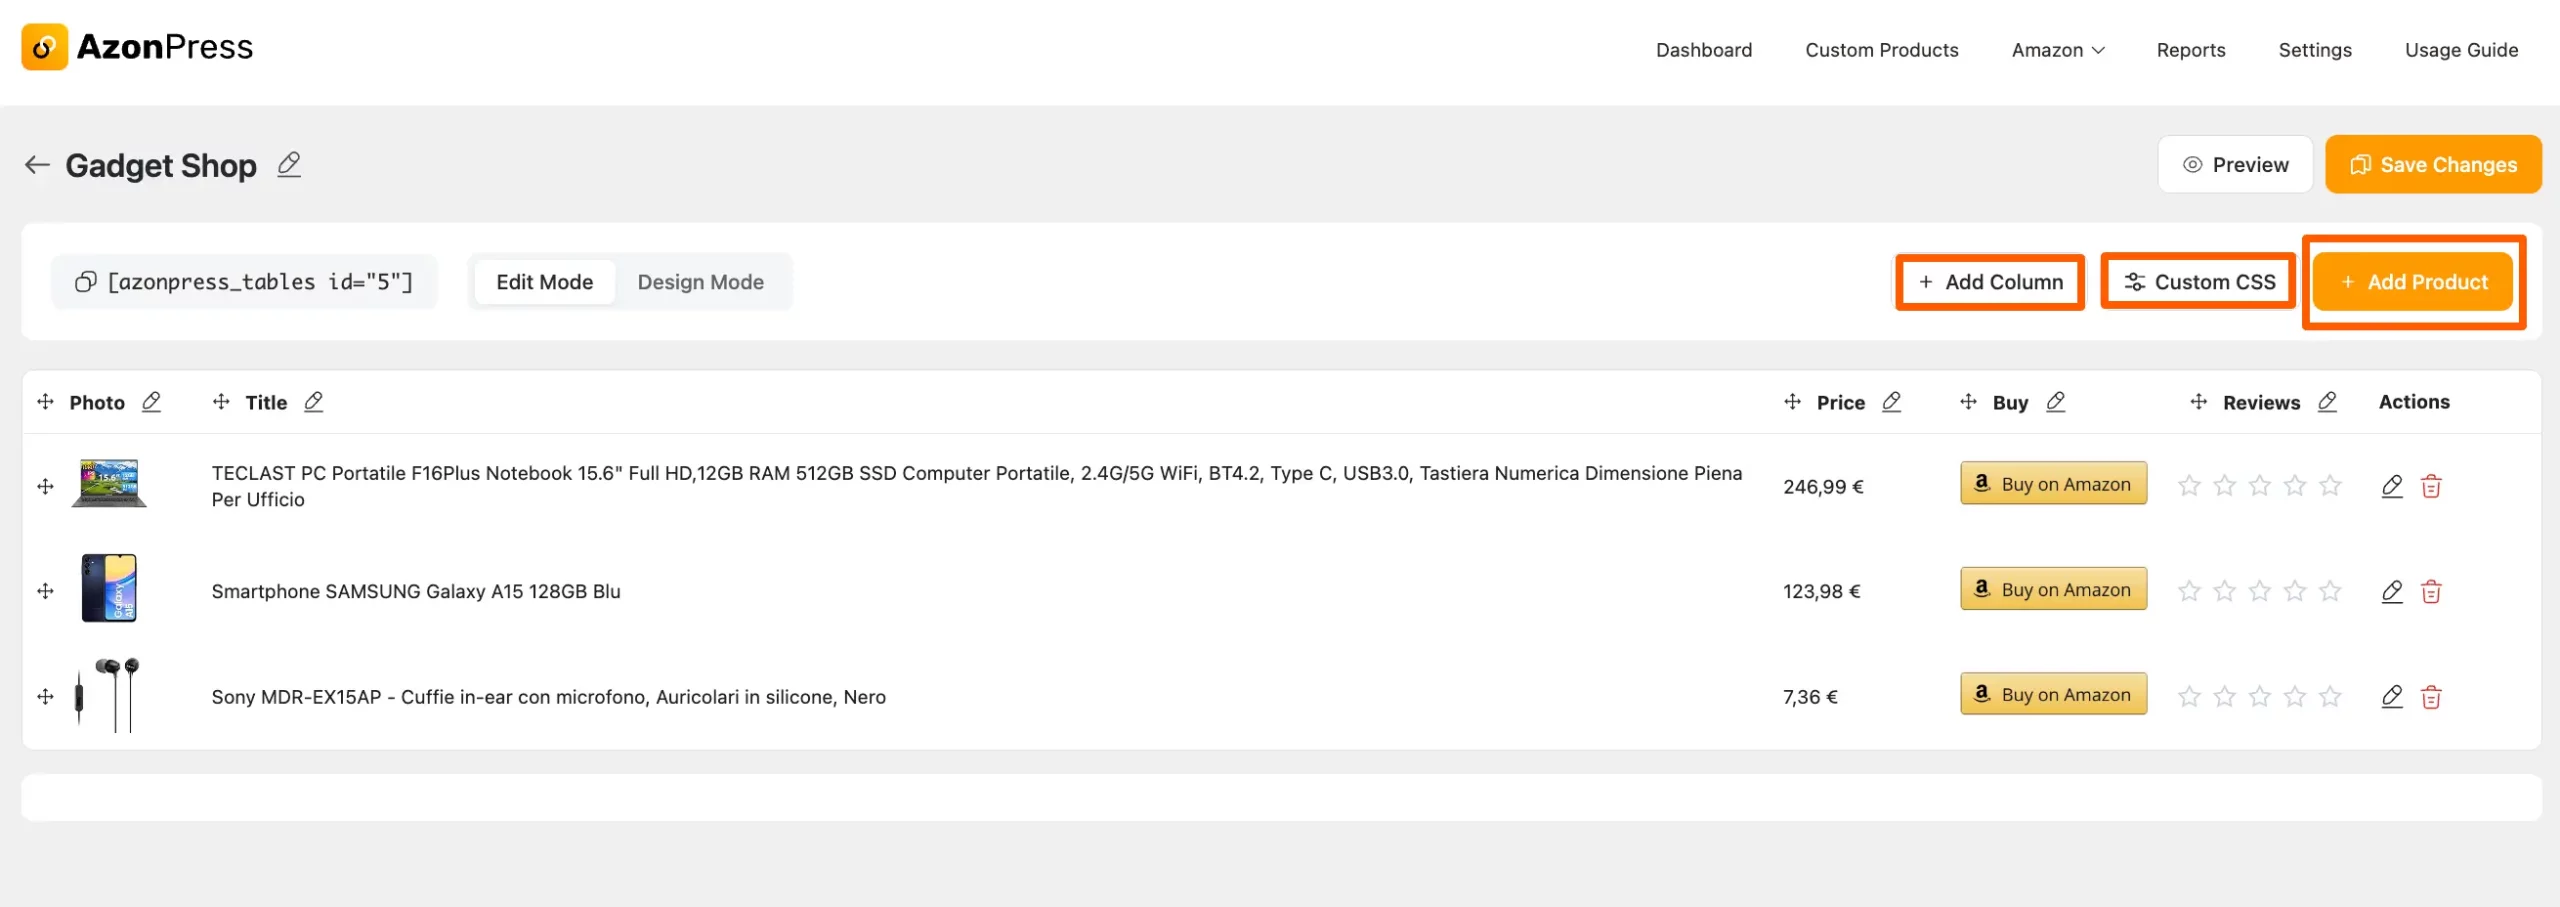
You can Add Columns by clicking on the + Add Column button.
You can do any custom design in your table, by pressing the Custom CSS button.
Also, you can add more products by clicking the + Add Product button and it will take you to the product search pop-up page again.
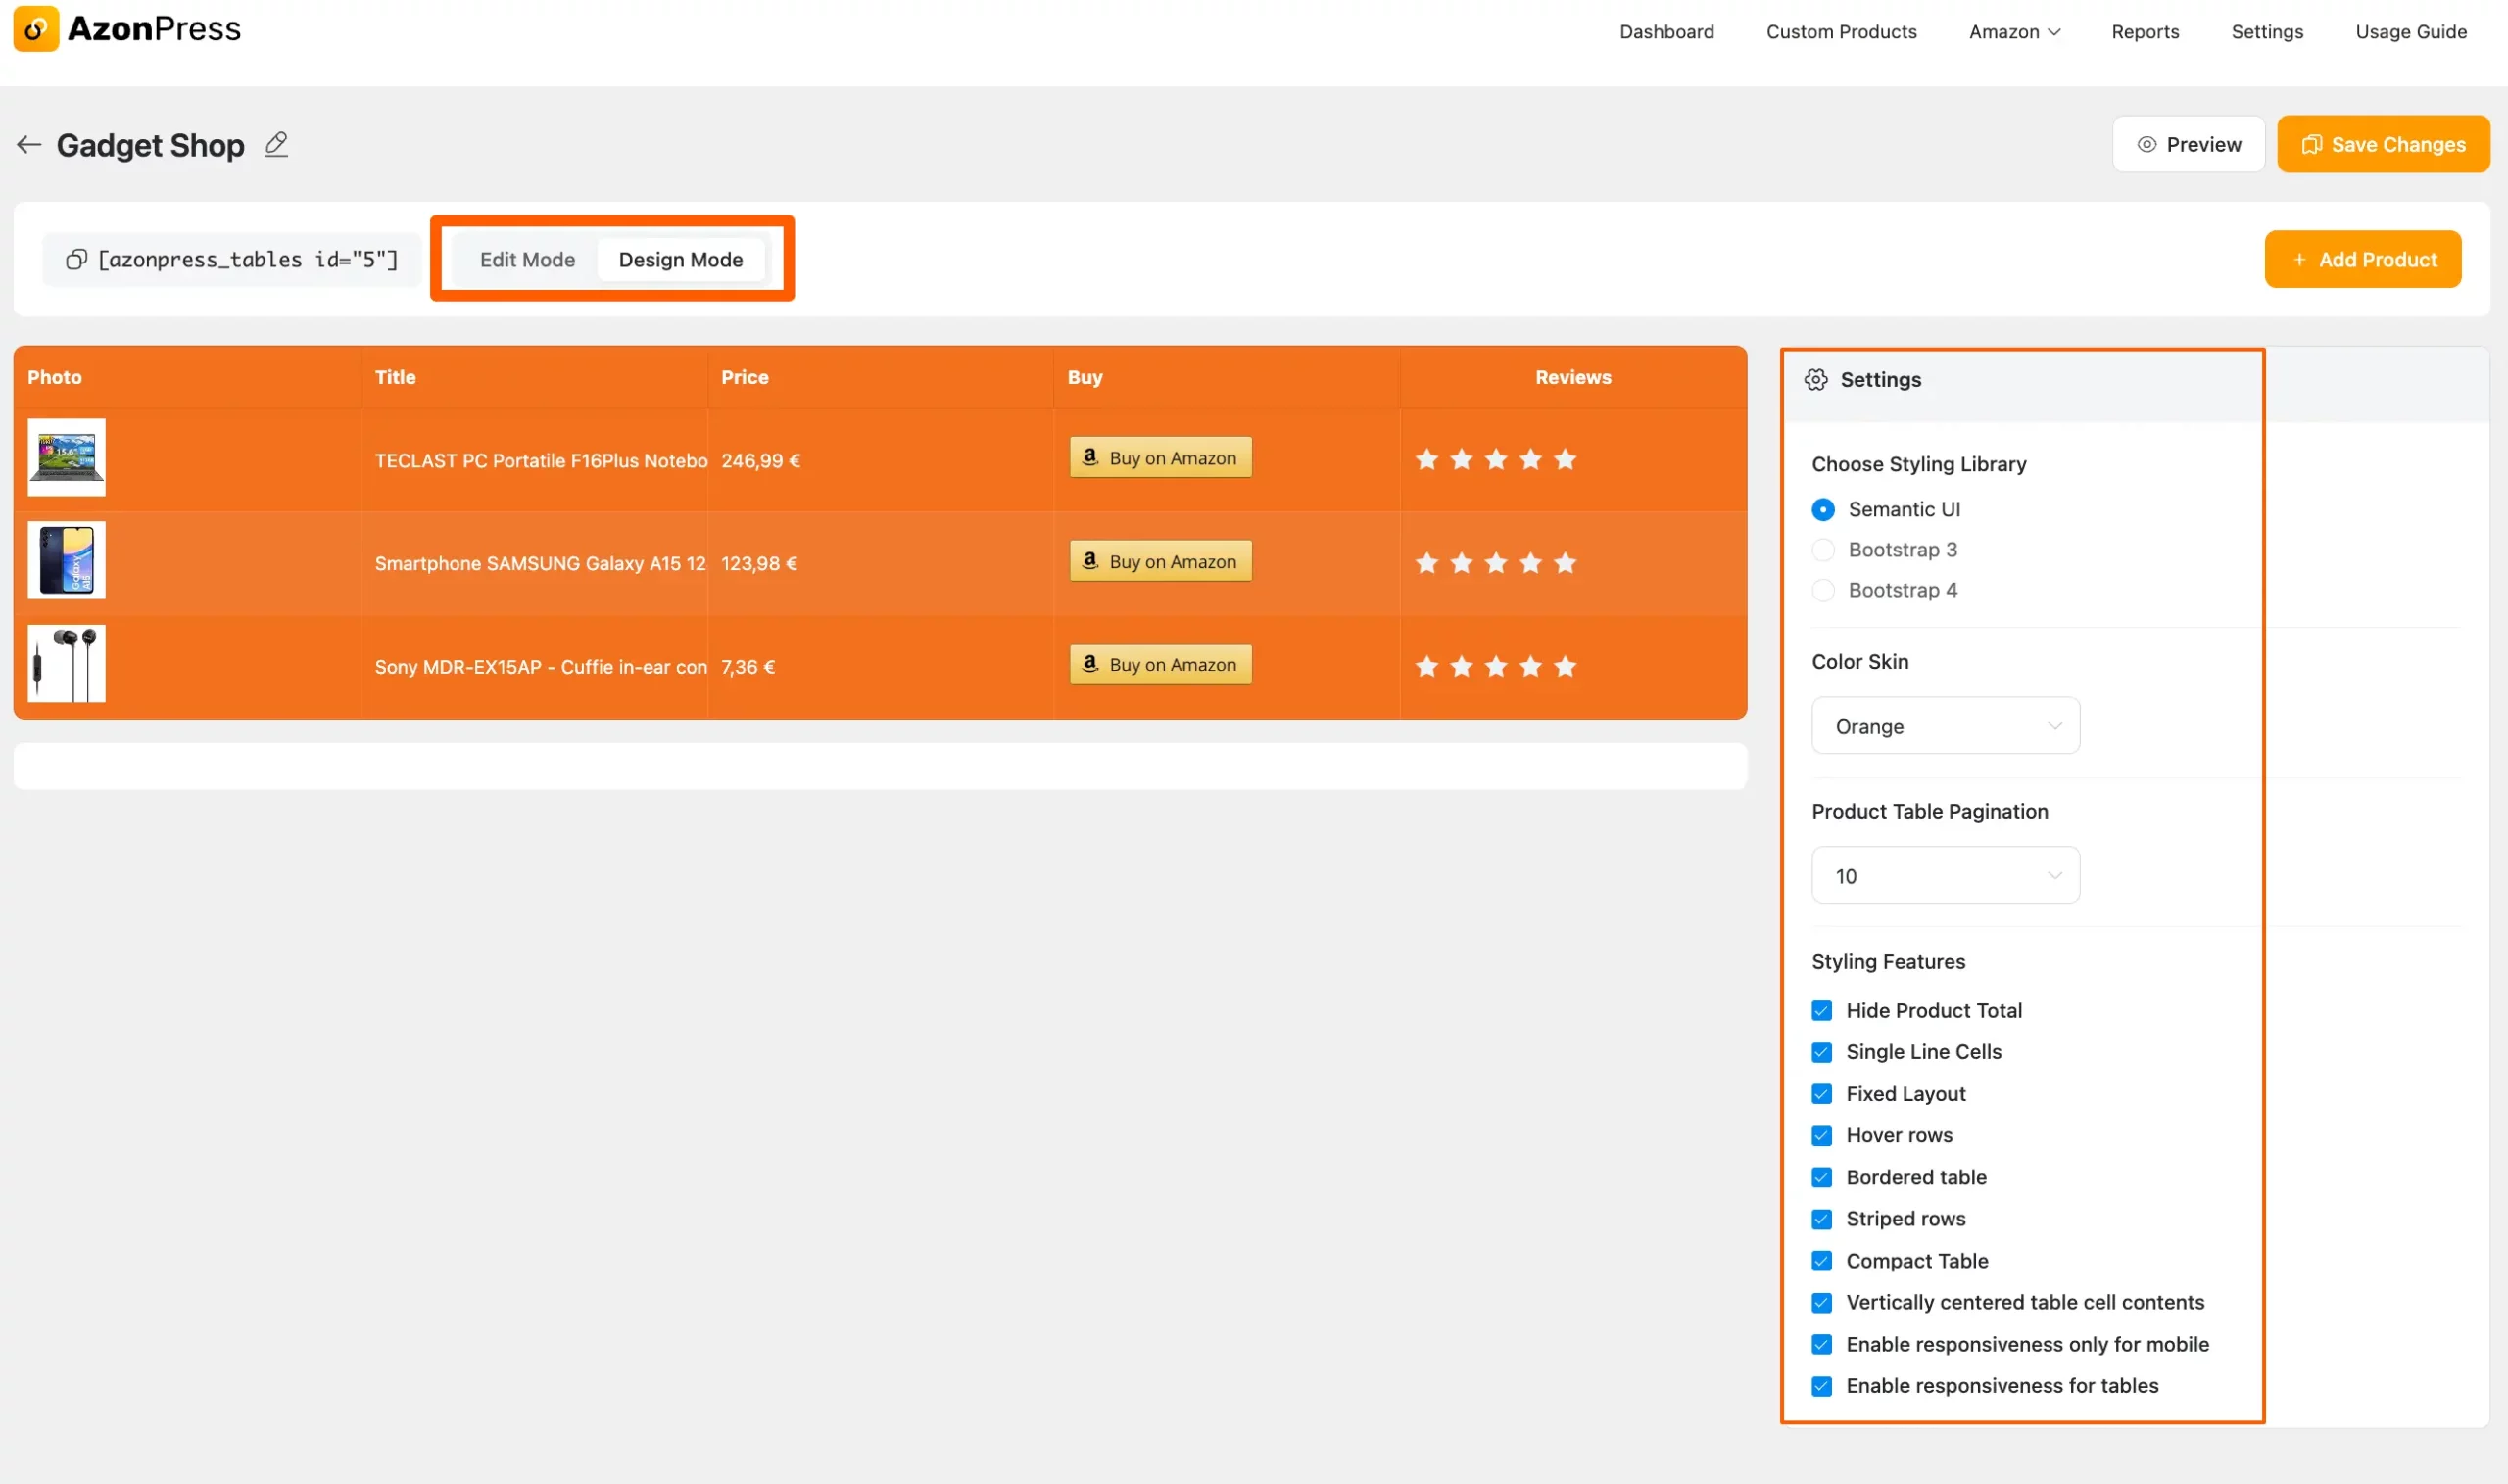
Two more options are available just above the left side of the page, and these are Edit Mode and Design Mode. You can use those options to change it anywhere or create a custom design for the table.
- To change the design of your table, click on the Design Mode button and the Settings bar will appear on the right side.
- Then, you can choose the library style, color, pagination number, and feature needed for your table from the Styling library, Color Skin, Product Table Pagination, and Styling Feature settings options.
“For example, you can see in the picture below that I have selected all fields of the Styling Feature and customized the table according to my choice using the settings options.”
You can use the Shortcode in the top left corner to use this Product table on any Post/Page in your WordPress site.
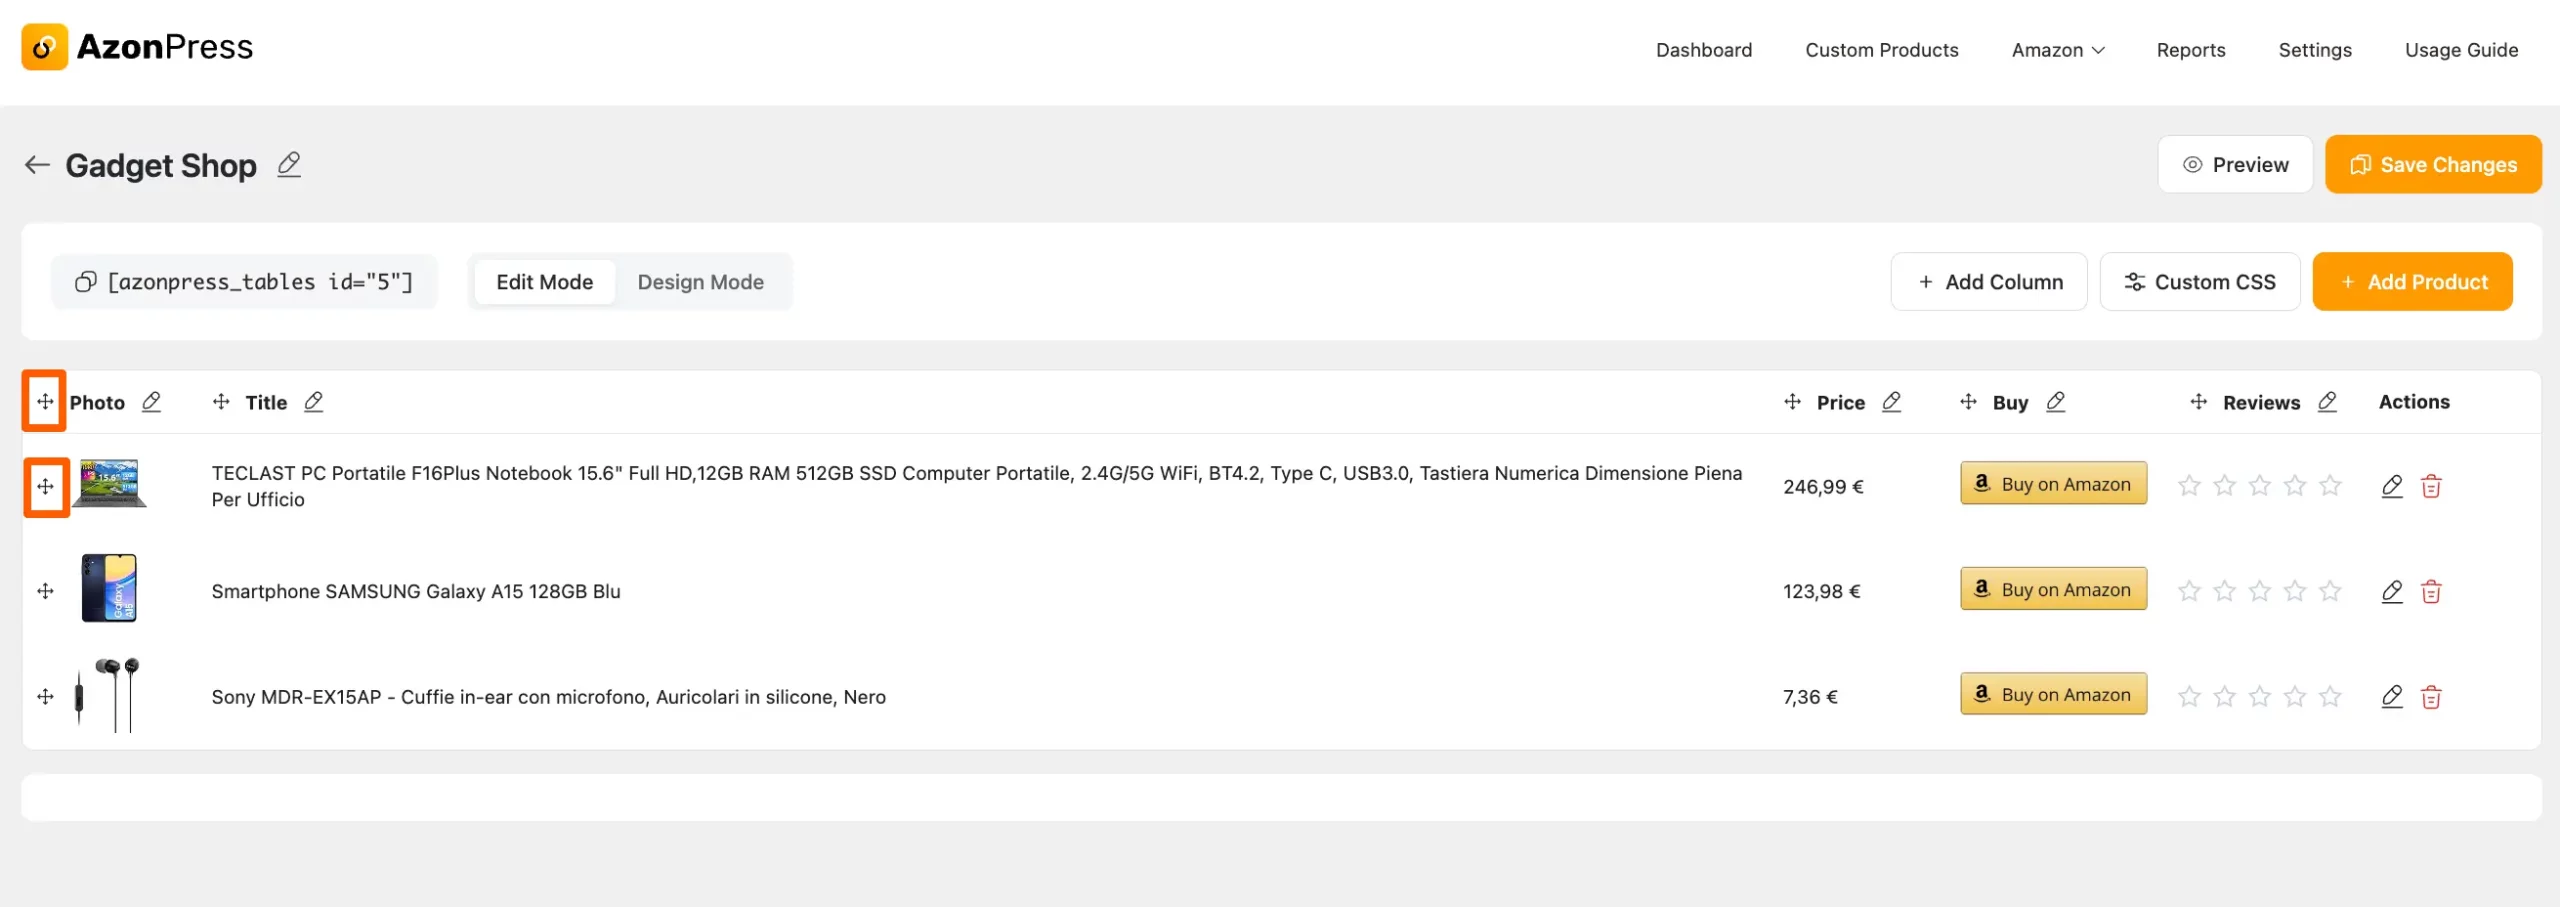
Plus, with the help of the Drag and Drop button, you can move your columns right and left, and rows up and down smoothly at any time.
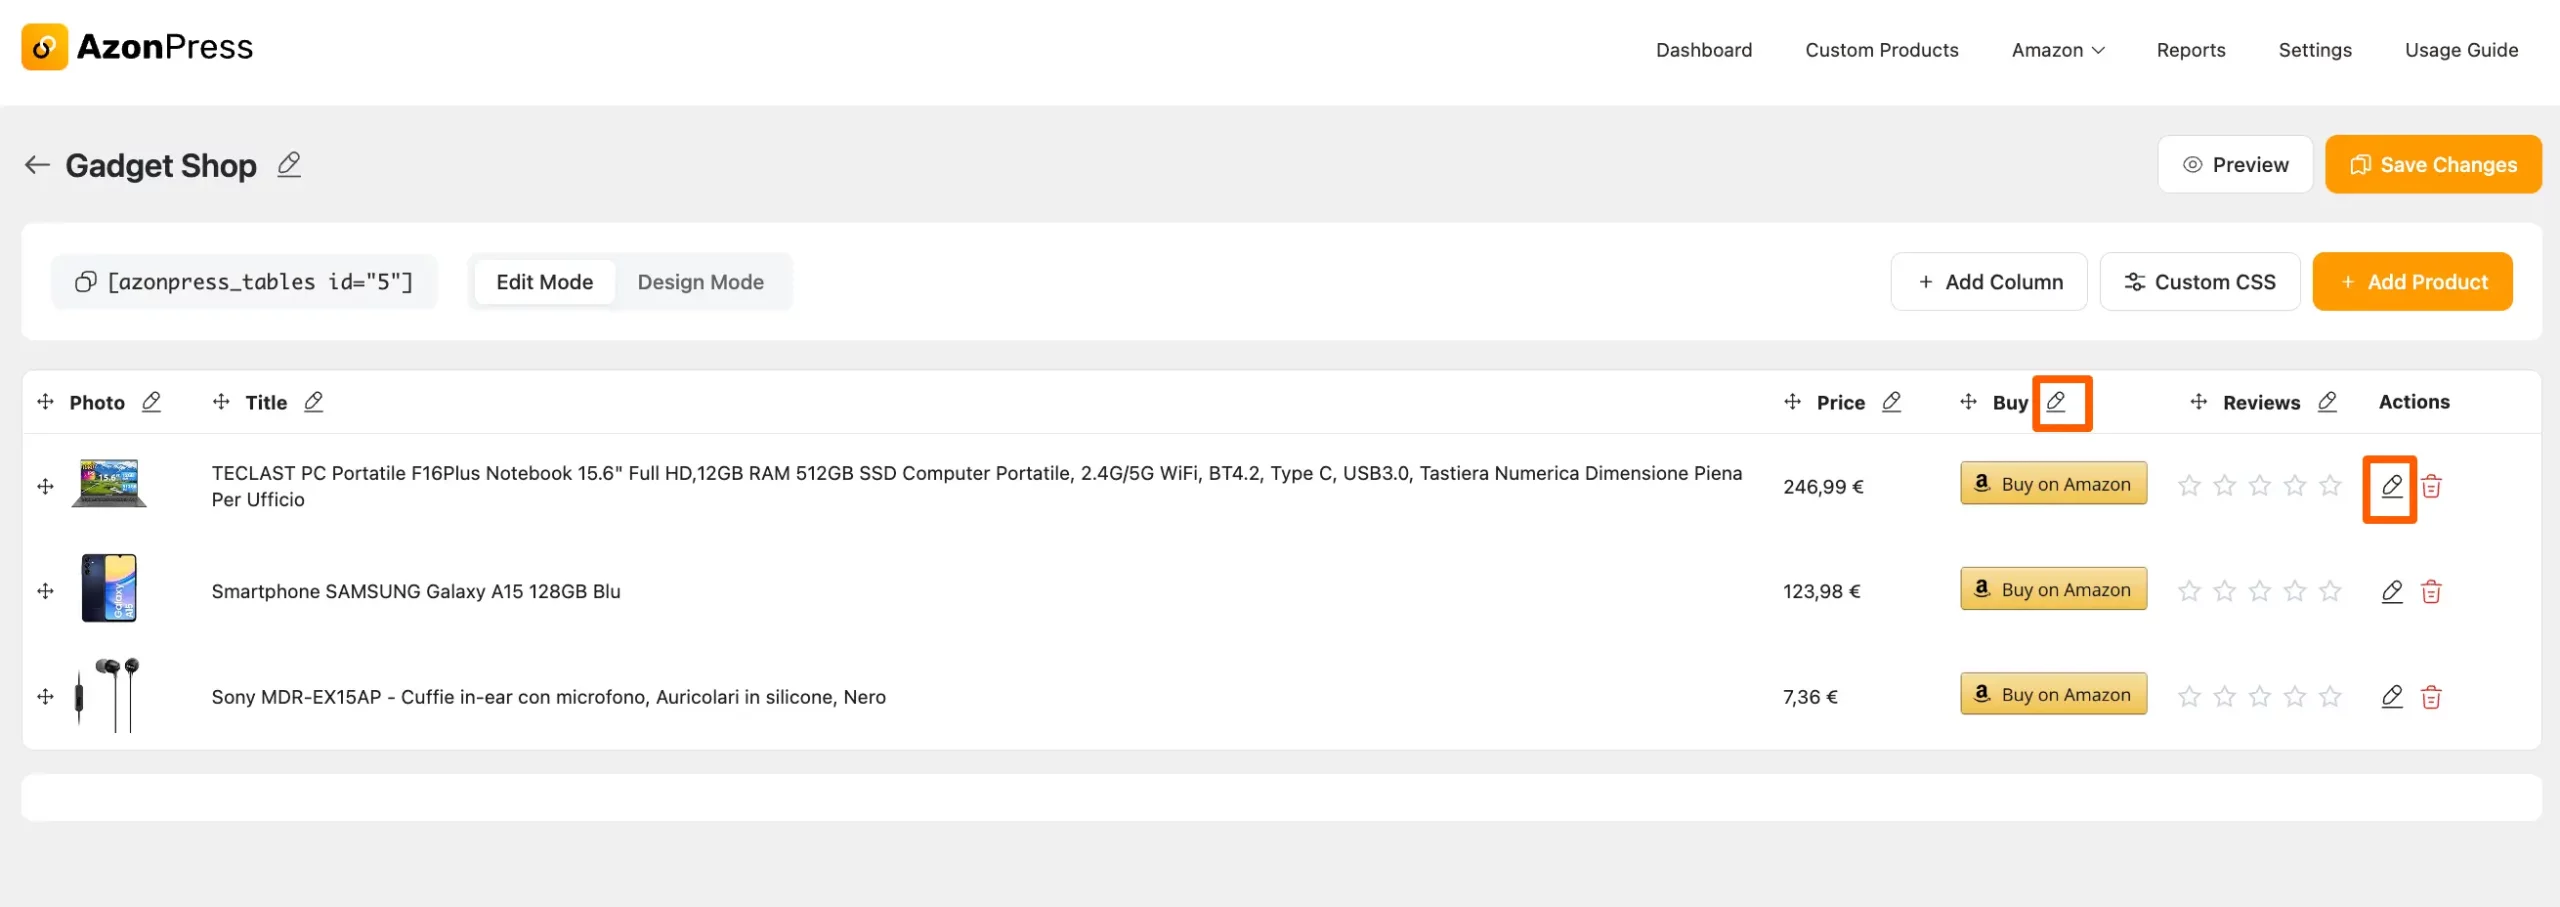
Also, you can edit the title and alignment of your columns and only the title for your rows by clicking the Pencil Icon right next to each column and row.
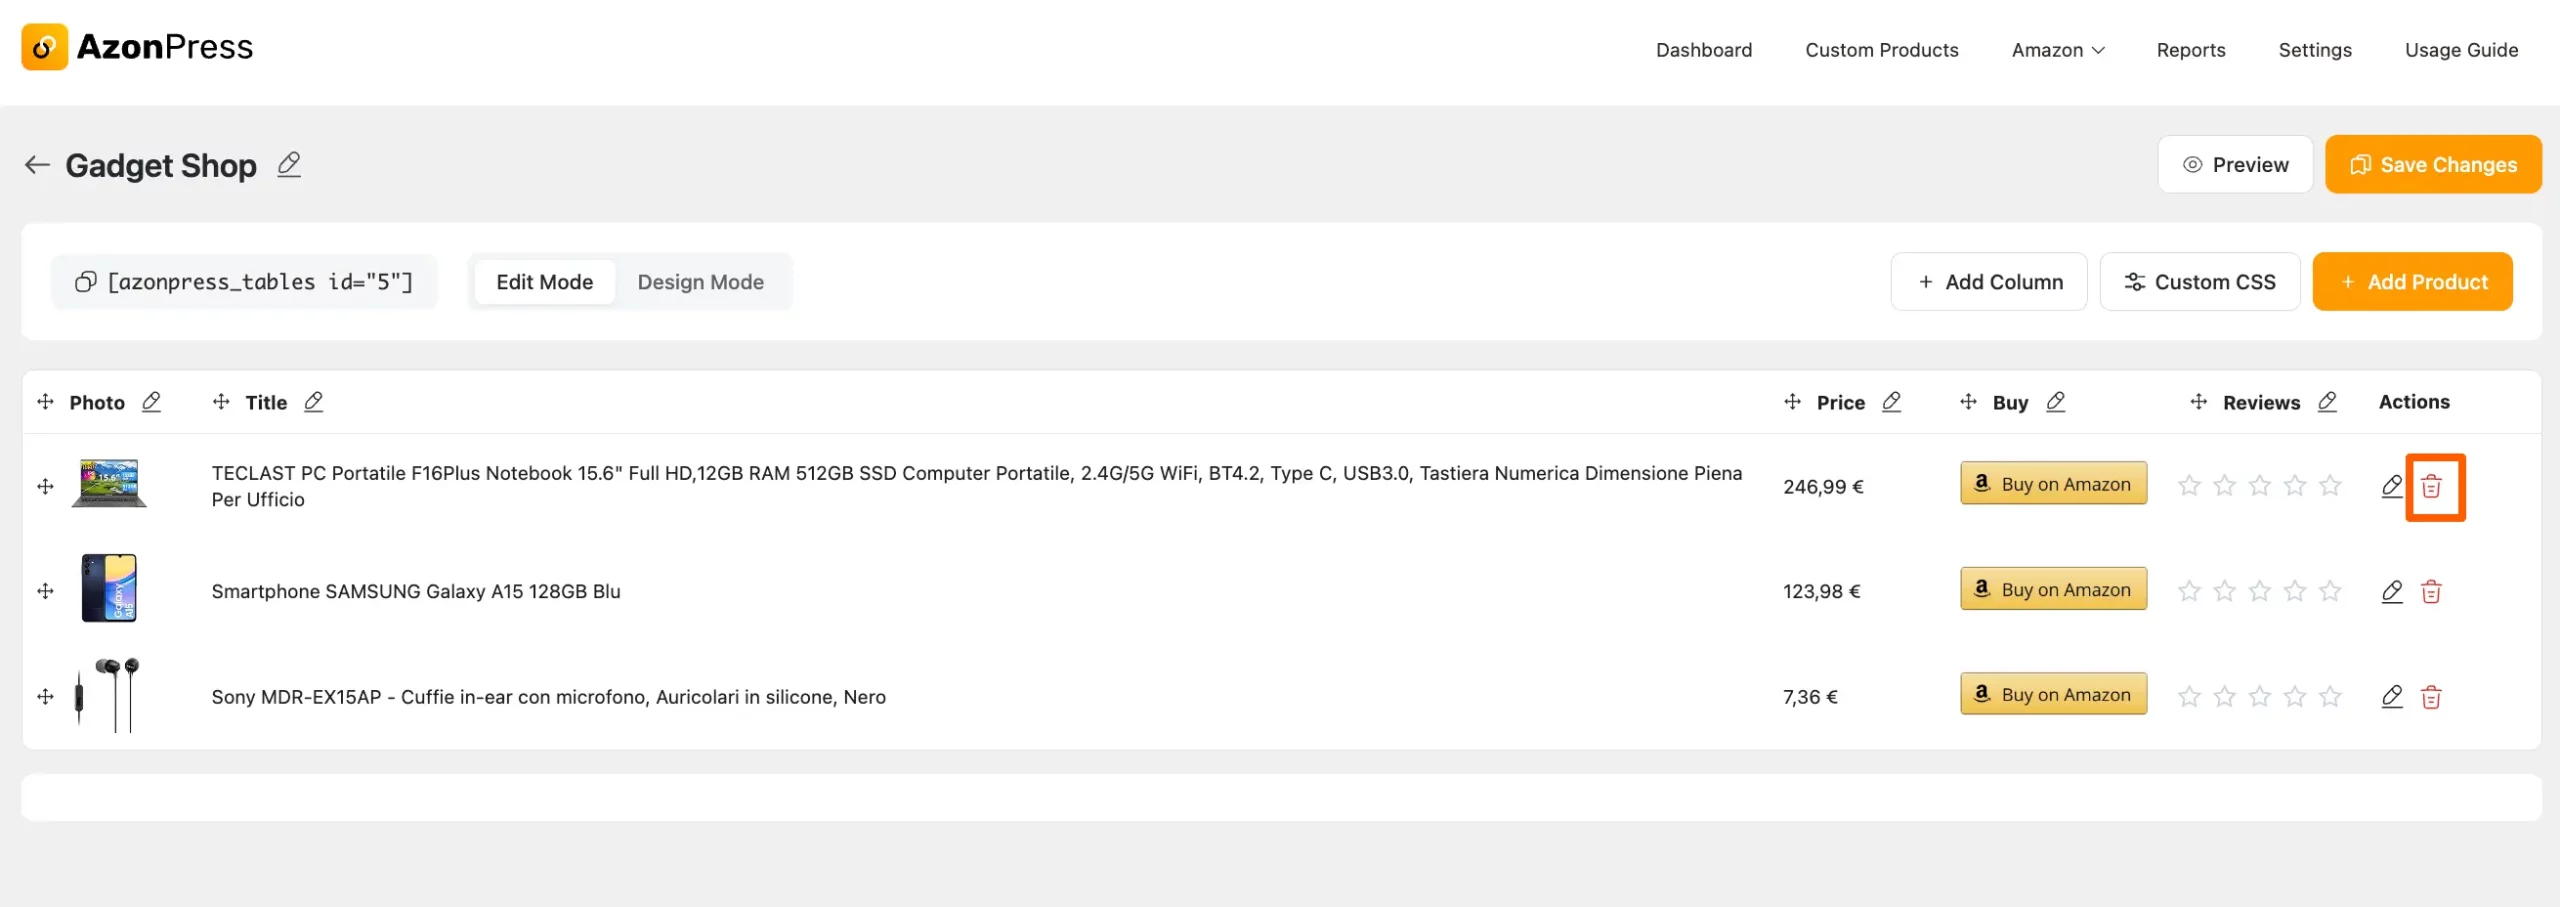
You can Delete any existing row by clicking the Trash Icon.
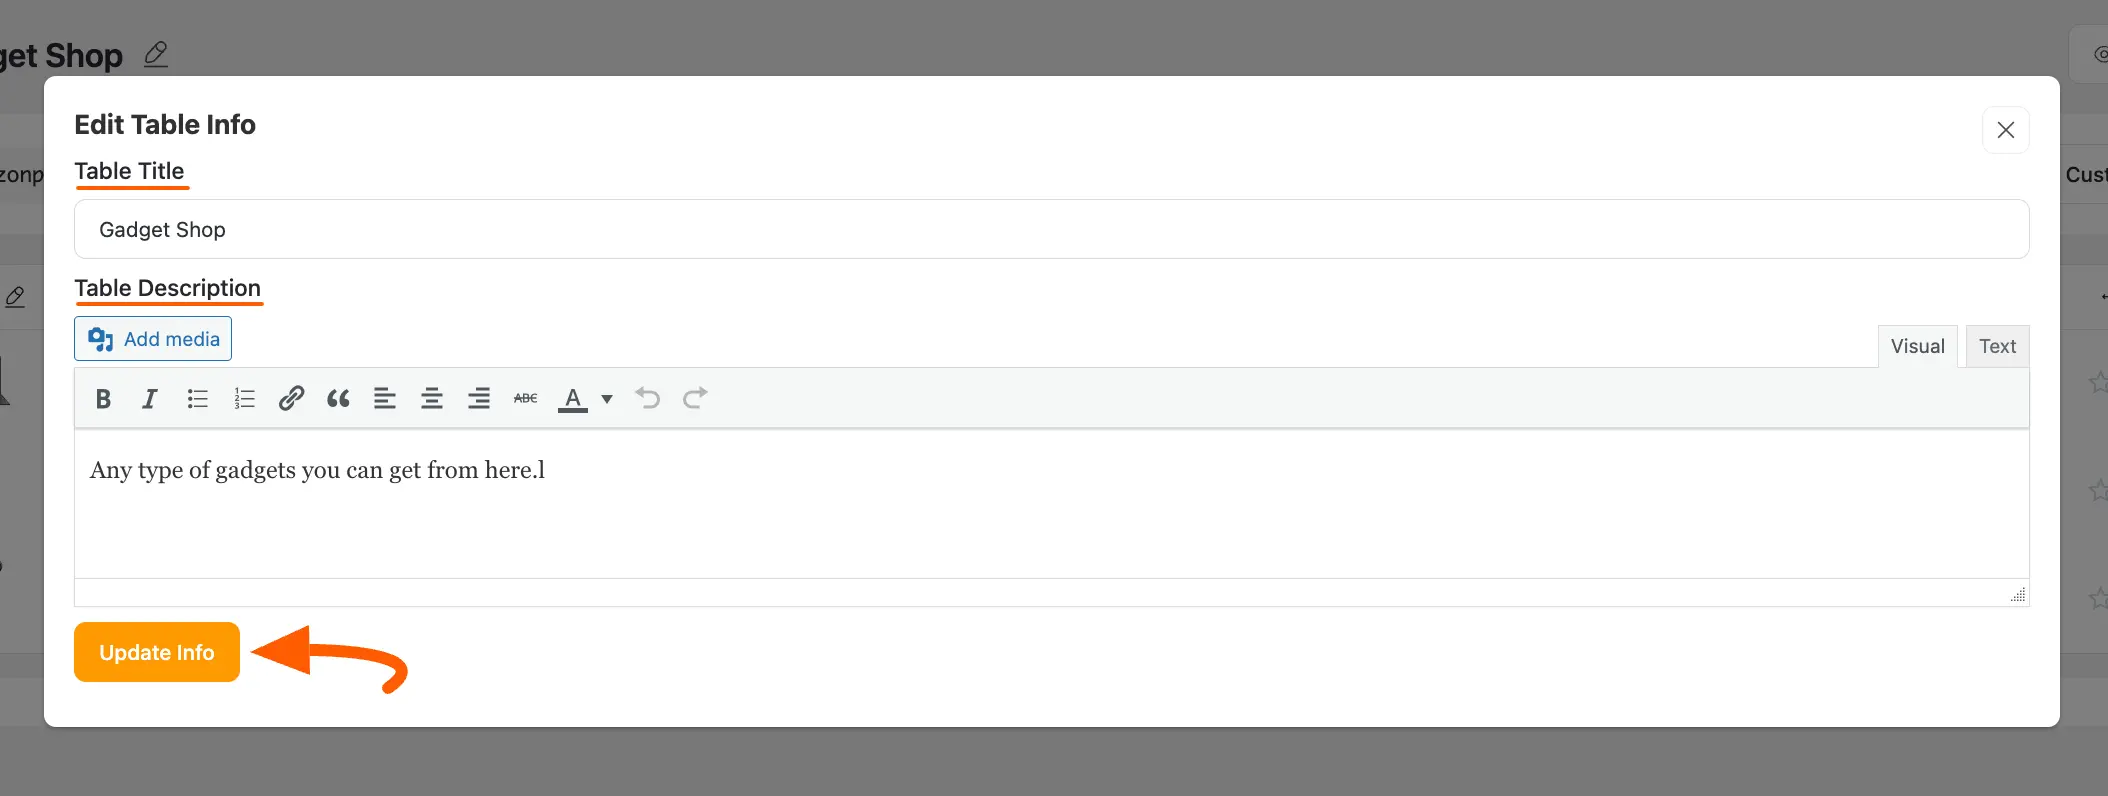
You can change the Title of Product Tables anytime by clicking on the Pencil Icon in the top left corner.

A new pop-up window will appear where you can change the Table Title and provide a Table Description. Then, click the Update Info button to save the changes.
Once you are done, click the Save Changes button, and your tables will be ready to display.
You can see the preview of your table by clicking the Preview button in the top right corner.
Customization Through Appearance Settings
To learn about customizing tables through Appearance Settings, read this Documentation.
This is how you can customize the product table as per your proper design!
If you have any further questions, concerns, or suggestions, please do not hesitate to contact our @support team. Thank you.