
AzonPress offers an advanced feature to display Amazon products using the WordPress Classic Editor. This article guides you through using the Product Elements of AzonPress in the Classic Editor of WordPress.
Product Elements of AzonPress
You can use the Product Elements to easily inform your consumers about your products. It is one of the important features so that a consumer can easily understand any product by using less time.
To learn how to use Product Elements options, follow the steps with the screenshots below –
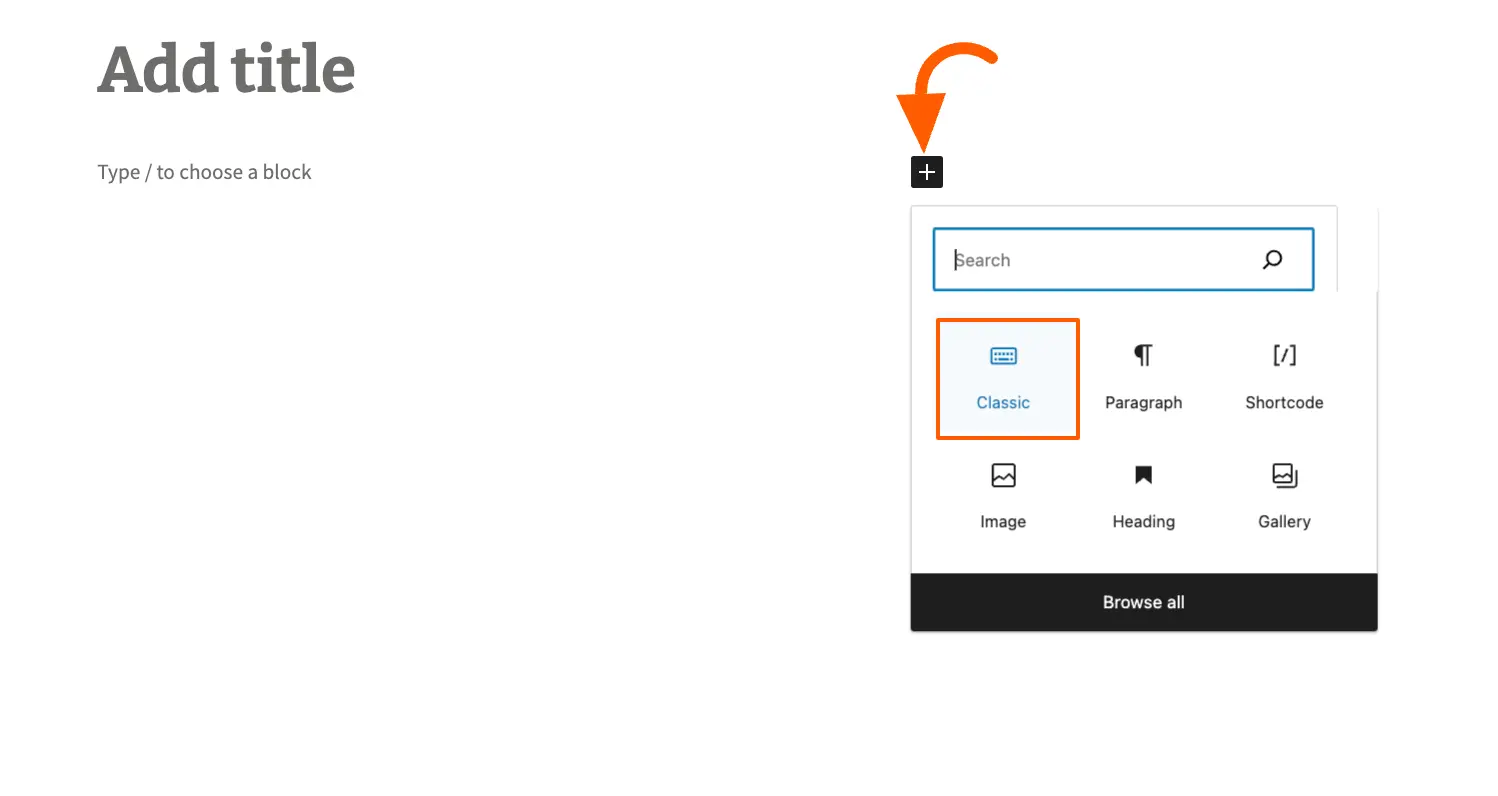
First, add the Classic Editor block on your desired Page/Post (e.g., I have added the classic editor to a new post).
Now, to add the Classic Editor, click the Gutenberg editor’s Plus (+) icon.
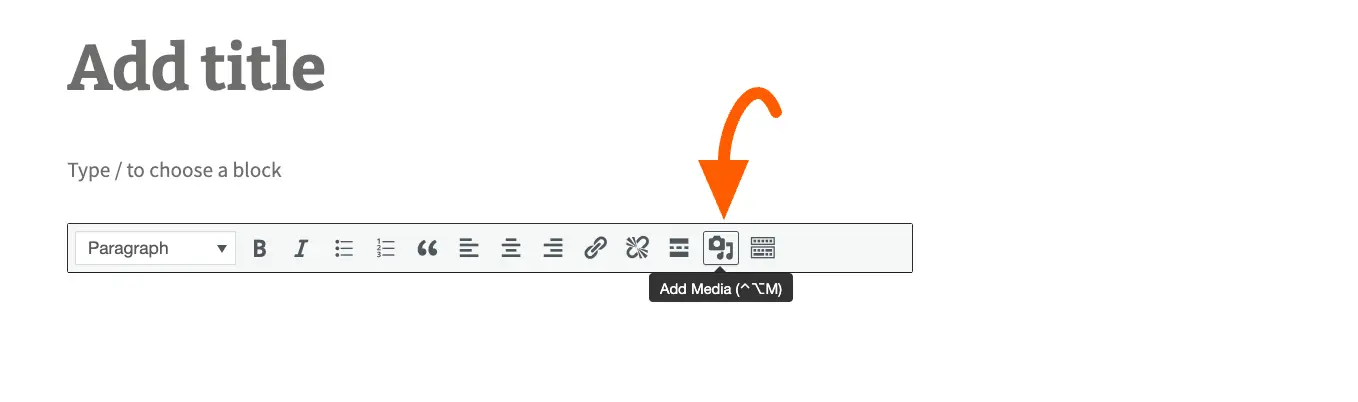
Next, click the Add Media option from the classic editor bar, and a pop-up window appears with a couple of options.
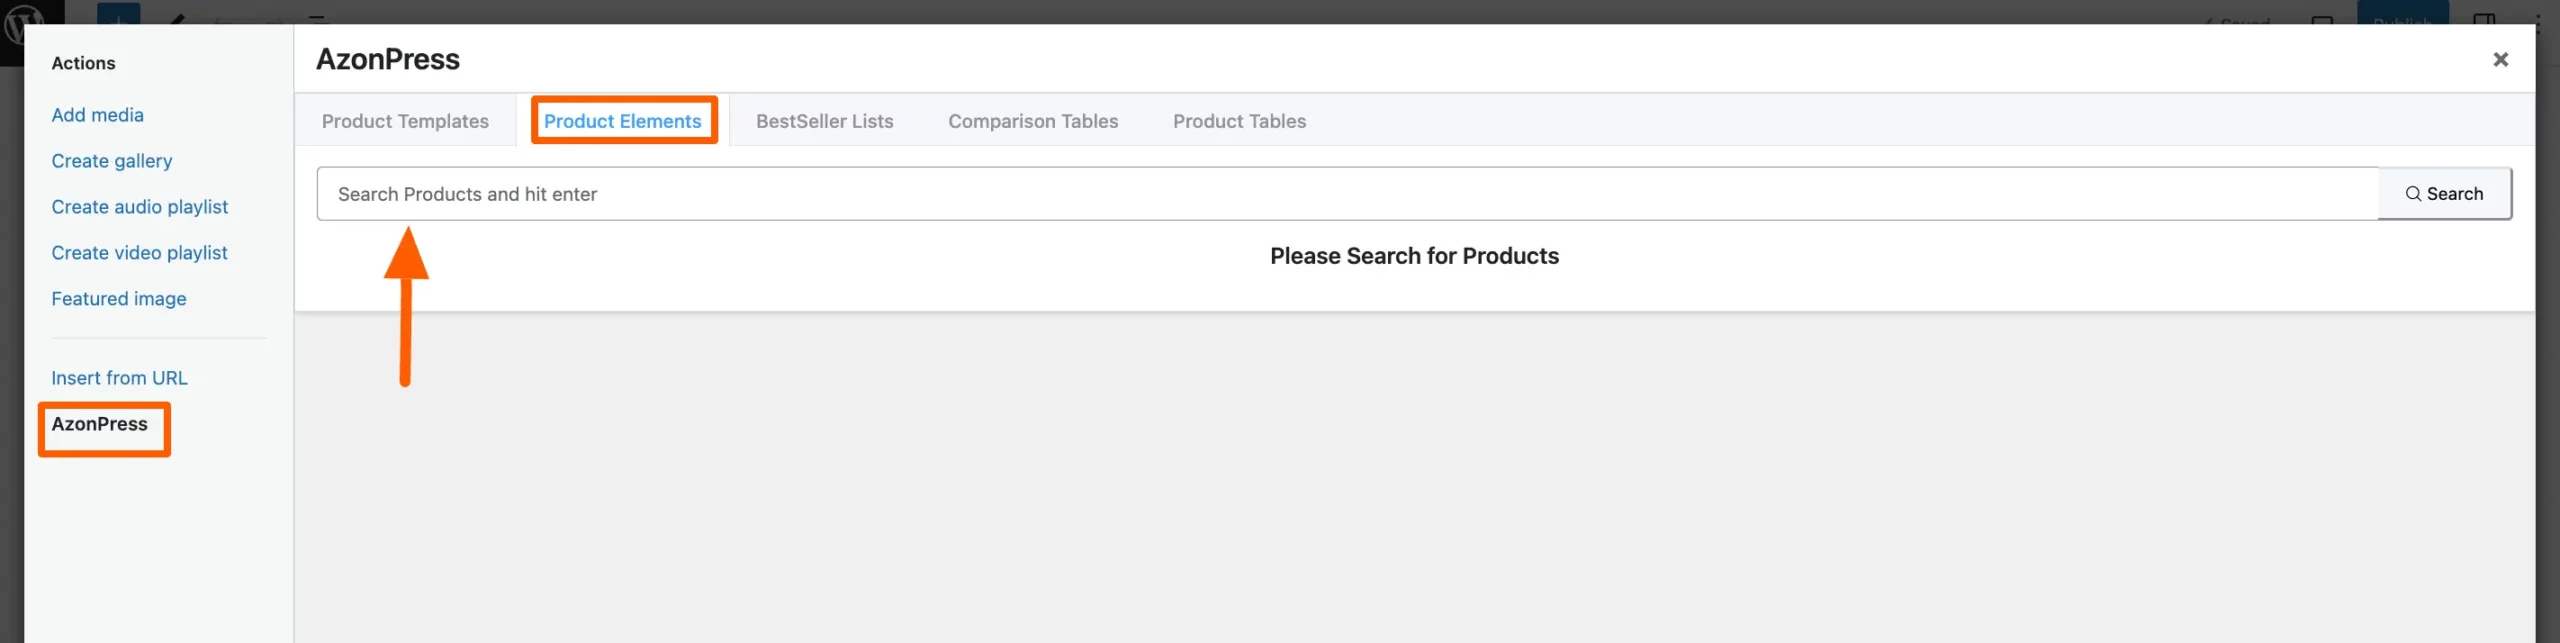
Now, press AzonPres from the left sidebar and you will get Product Elements tabs.
Here, you will get a Search Bar option form where you can get the Settings options of the products that you have searched through the search bar.
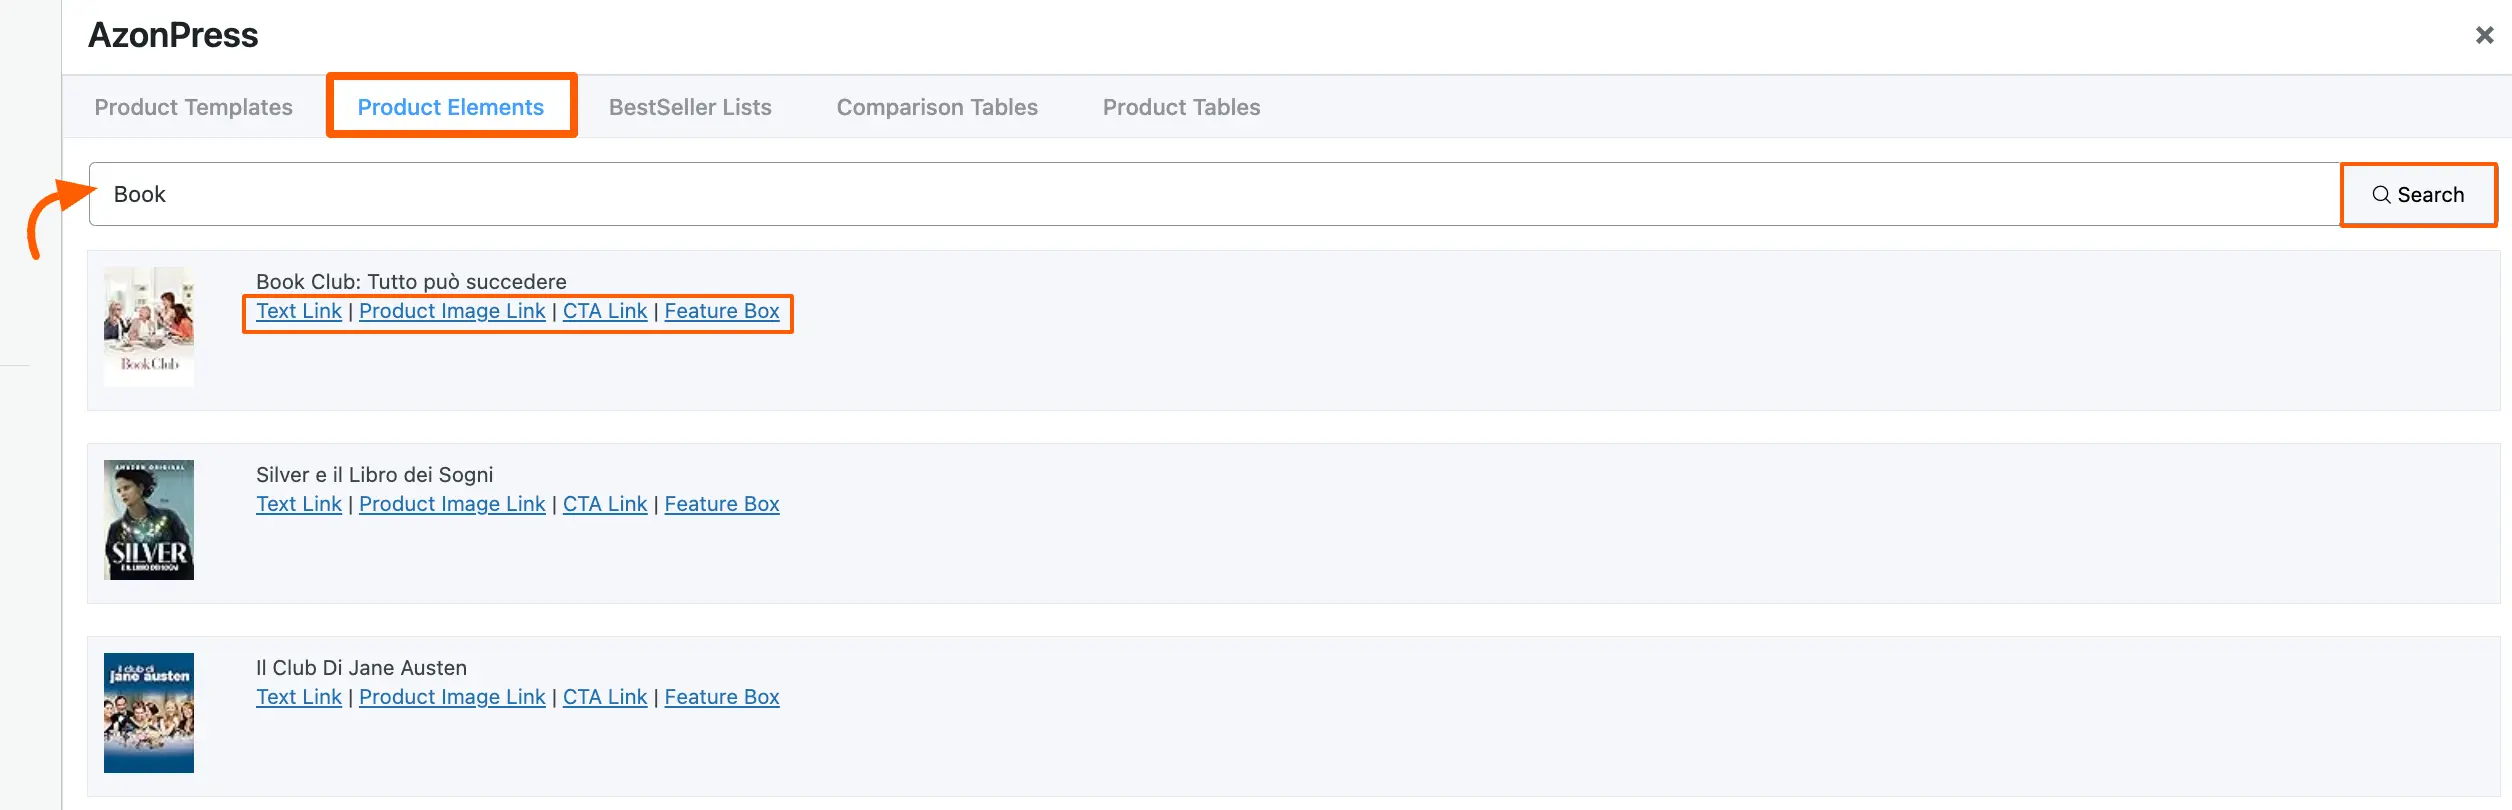
Now, enter the name of the products you want to change elements and click the Search button.
Once you search for your desired products, they will appear with Four major Settings options for showcasing your Amazon products. These are:
- Text Link
- Product Image Link:
- CTA Link
- Feature Box:
A detailed explanation of the Settings options mentioned above is given below:
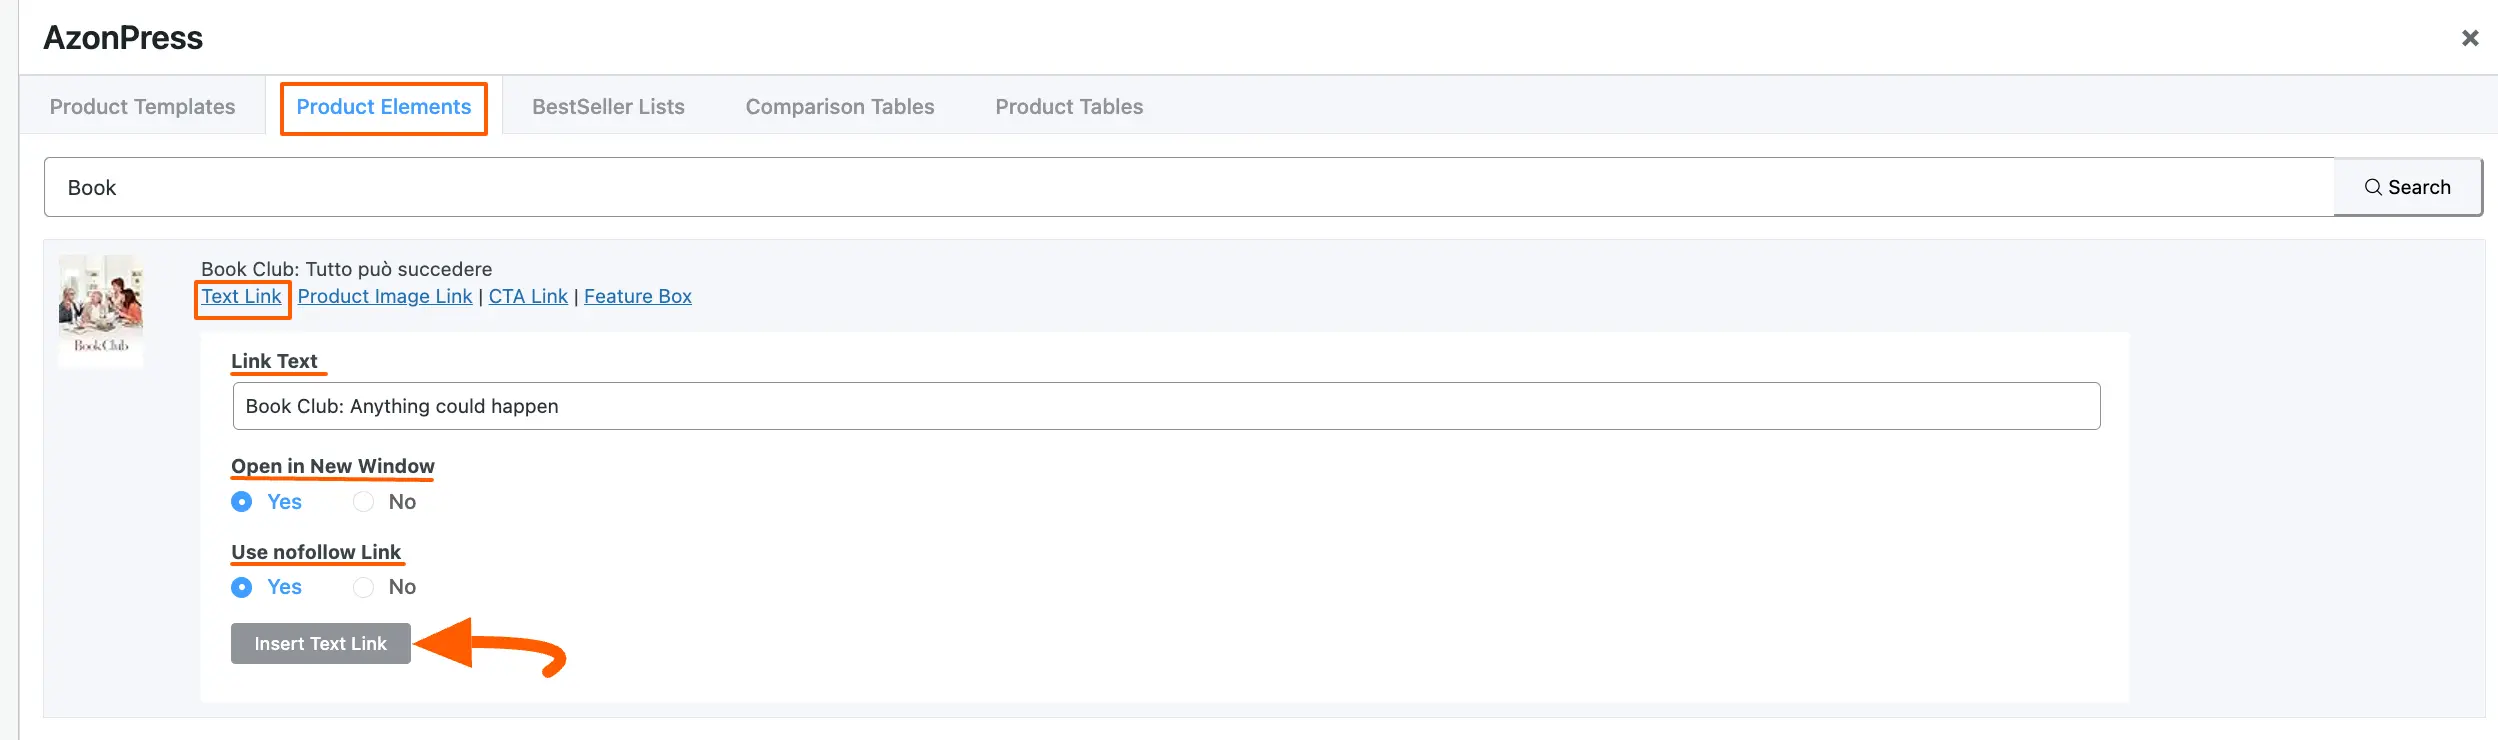
Text Link
Here, you will get three options to customize the elements of desired products. These are:
- Link Text: In this option, you can change the Title of the link.
- Open in New Window: If you want to open any product in a new window, keep the Yes checkbox enabled. Otherwise, click the No checkbox if you don’t want it.
- Use No Follow Link: If you want to make your link a no follow link, keep the Yes checkbox enabled. Otherwise, click the No checkbox if you don’t want it.
Once you finish, click the Insert Text Link button and the changes will added to your desired Post/Page.
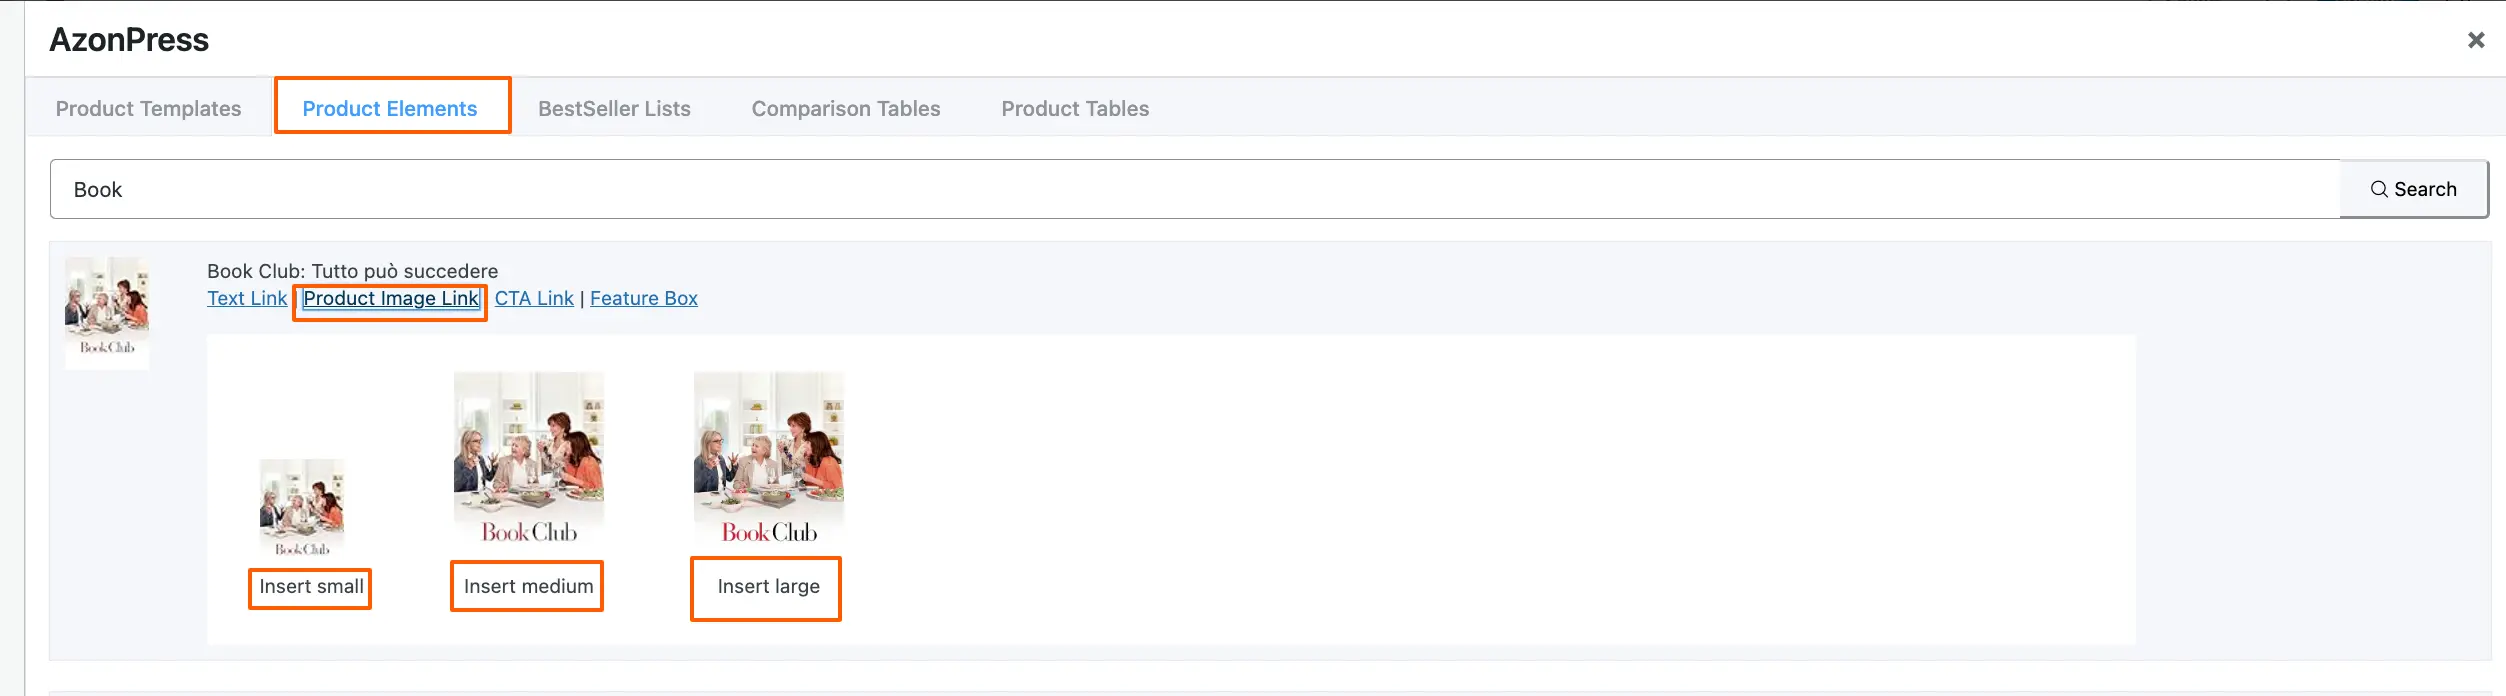
Product Image Link
With this option, you can change the size (Small, Medium, or Large) of your desired product image by clicking the Insert small, Insert medium, or Insert large button.
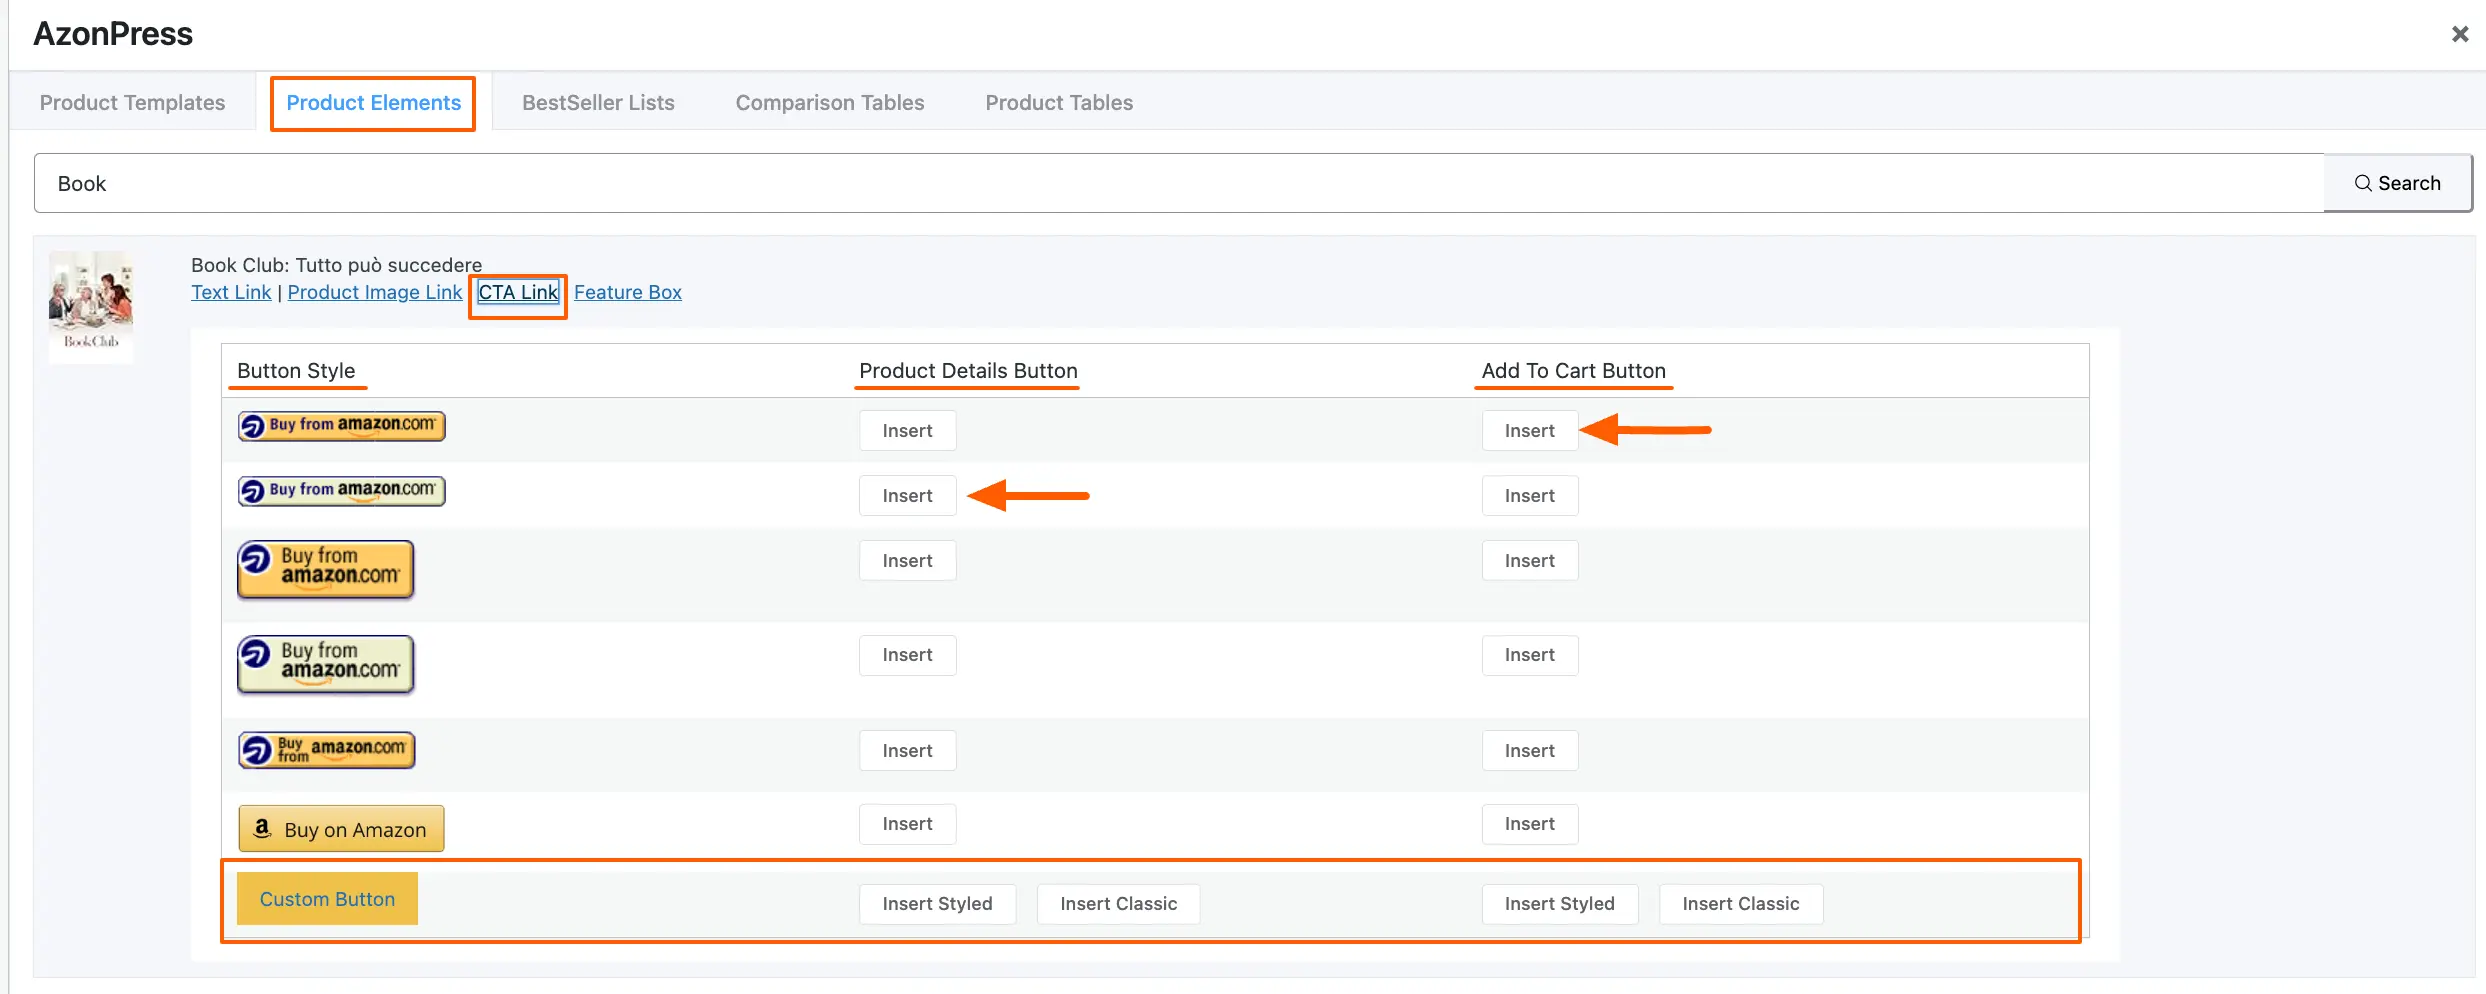
CTA Link
Using this option, you can change the Buy Now (purchase) Button of your desired products.
Here, you will find the different templates for the purchase button under Button Style.
Now, to add the button either as a Product Details Button or Add To Cart Button into your product, you can choose any template as per your wish simply by clicking the Insert button. Your selected button will be added to your desired Post/Page.
But for the Custom Button, you will find two options Instert Style and Insert Classic button to add it to your desired products.
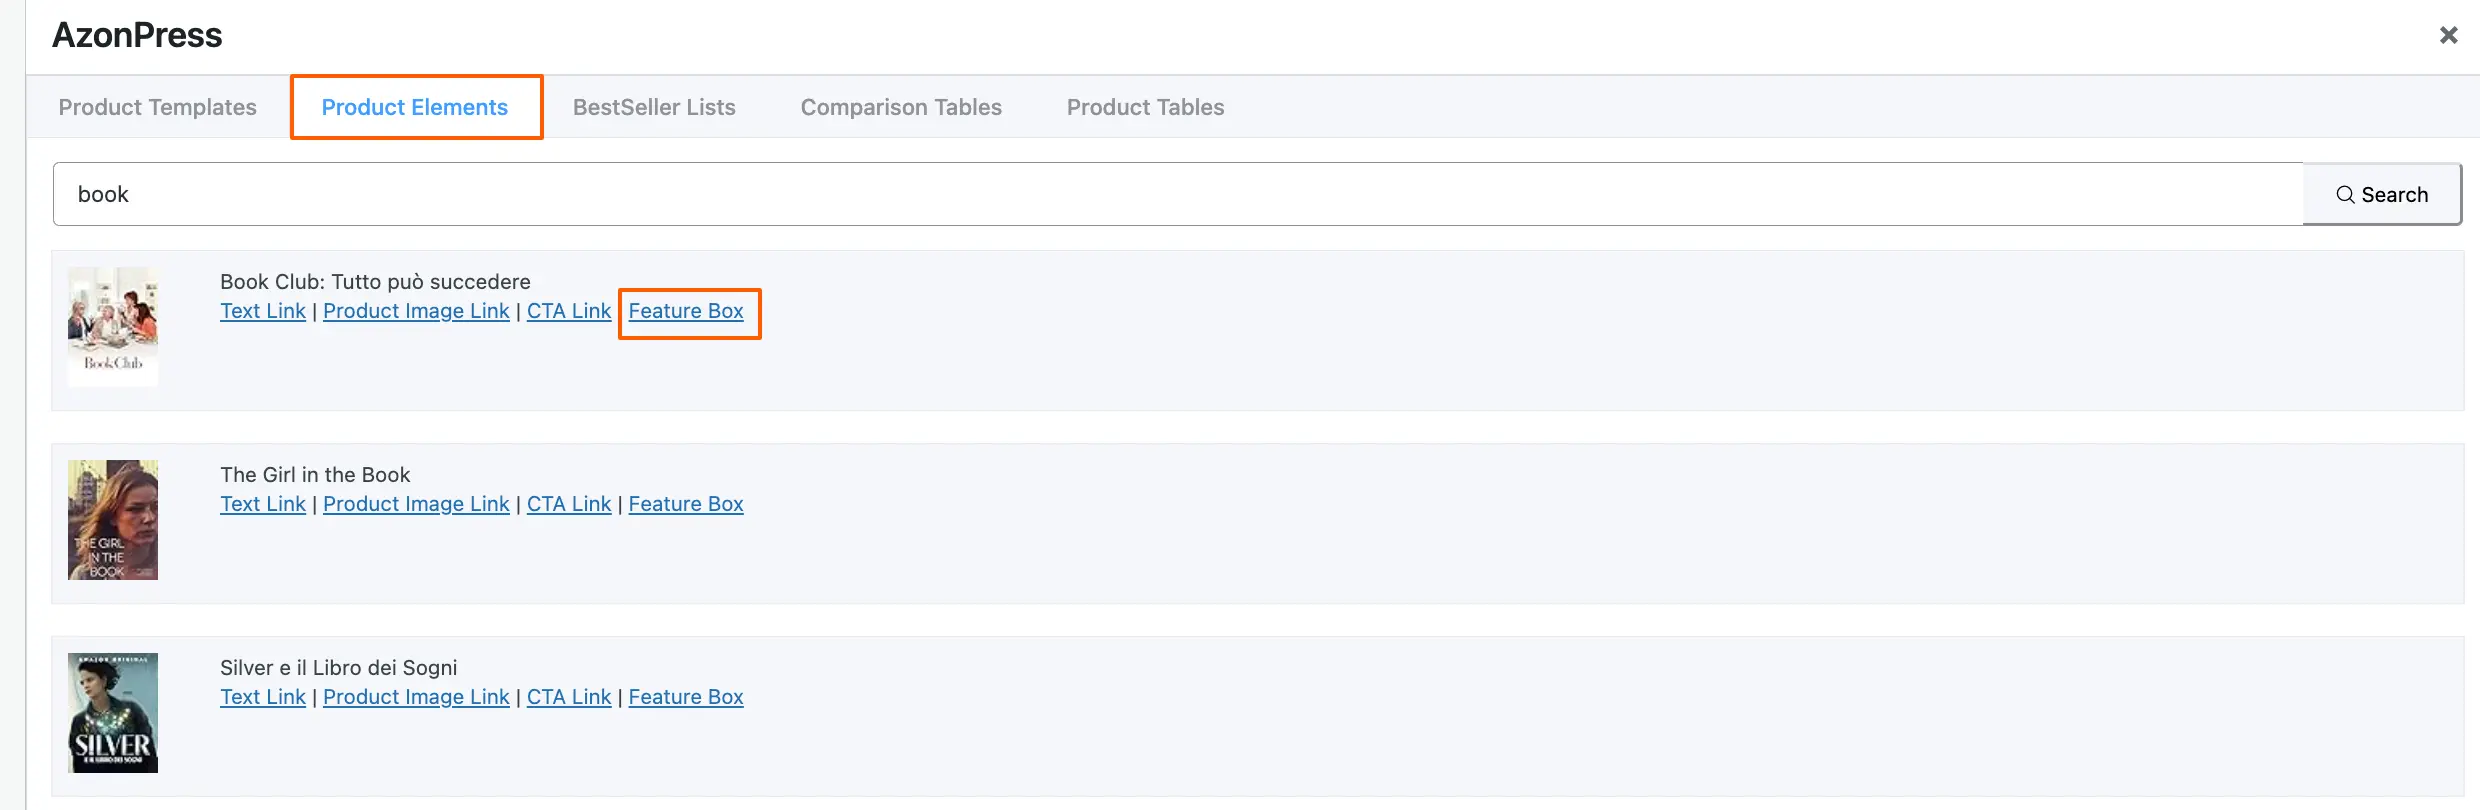
Feature Box
Feature Box doesn’t have any customizable settings.
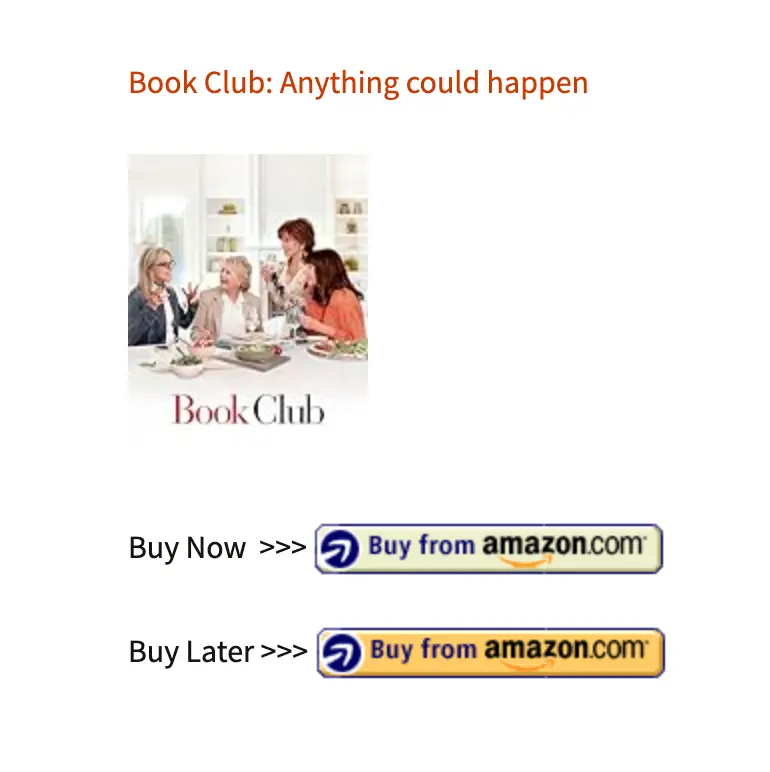
Here, is the preview of the post where the selected Amazon Product whose elements are customized using the Product Elements feature.
If you have any further questions, concerns, or suggestions, please do not hesitate to contact our @support team. Thank you.