
AzonPress offers a wonderful feature named Comparison Table that will allow your customers to quickly and easily compare key features, prices, and reviews of Amazon Products which will help them to make purchasing decisions. This article will guide you through creating Comparison Table/s with AzonPress for Amazon products on your WordPress website.
Create A Comparison Table
To learn how to create a comparison table with AzonPress, follow the steps with the screenshots below –
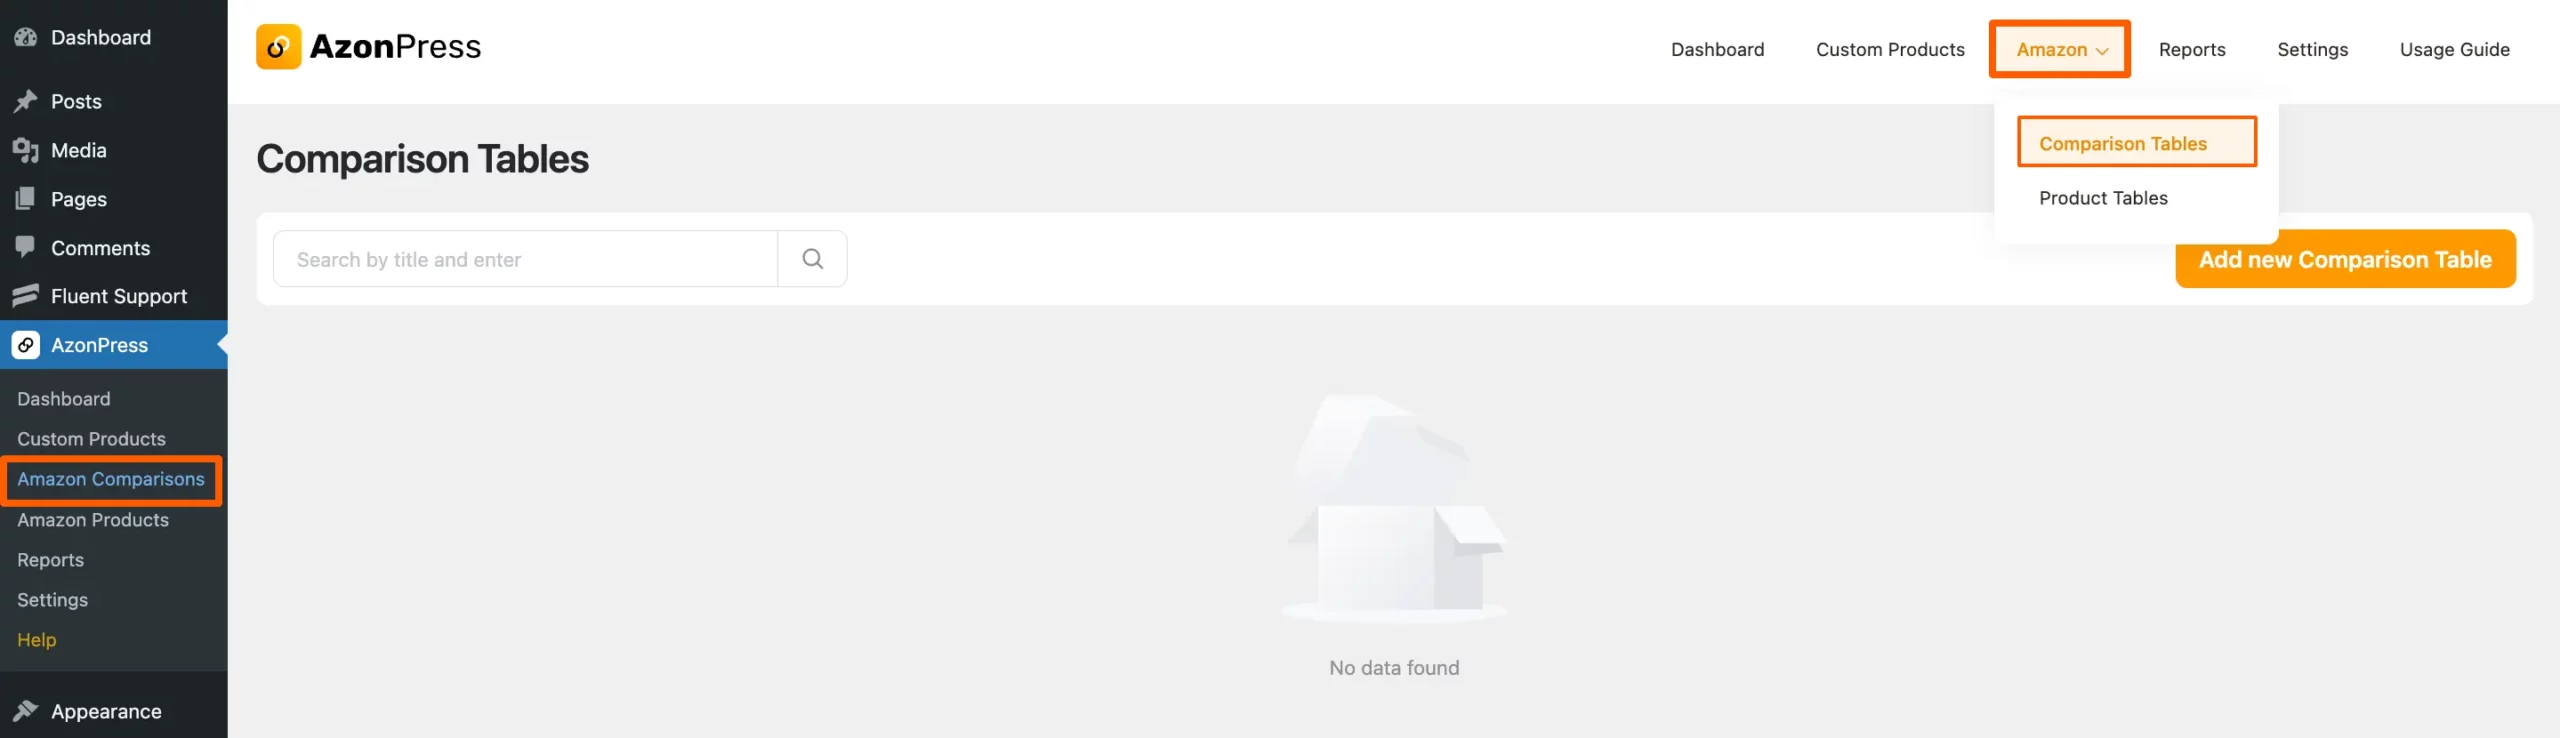
First, go to the Amazon Comparisons from the WordPress Sidebar or Comparison Tables from the Amazon dropdown in the top right corner of the AzonPress Navbar.
Remember, you need to connect your AzonPress with your Amazon Associate Account API to get the Amazon dropdown option in the AzonnPress Navbar.
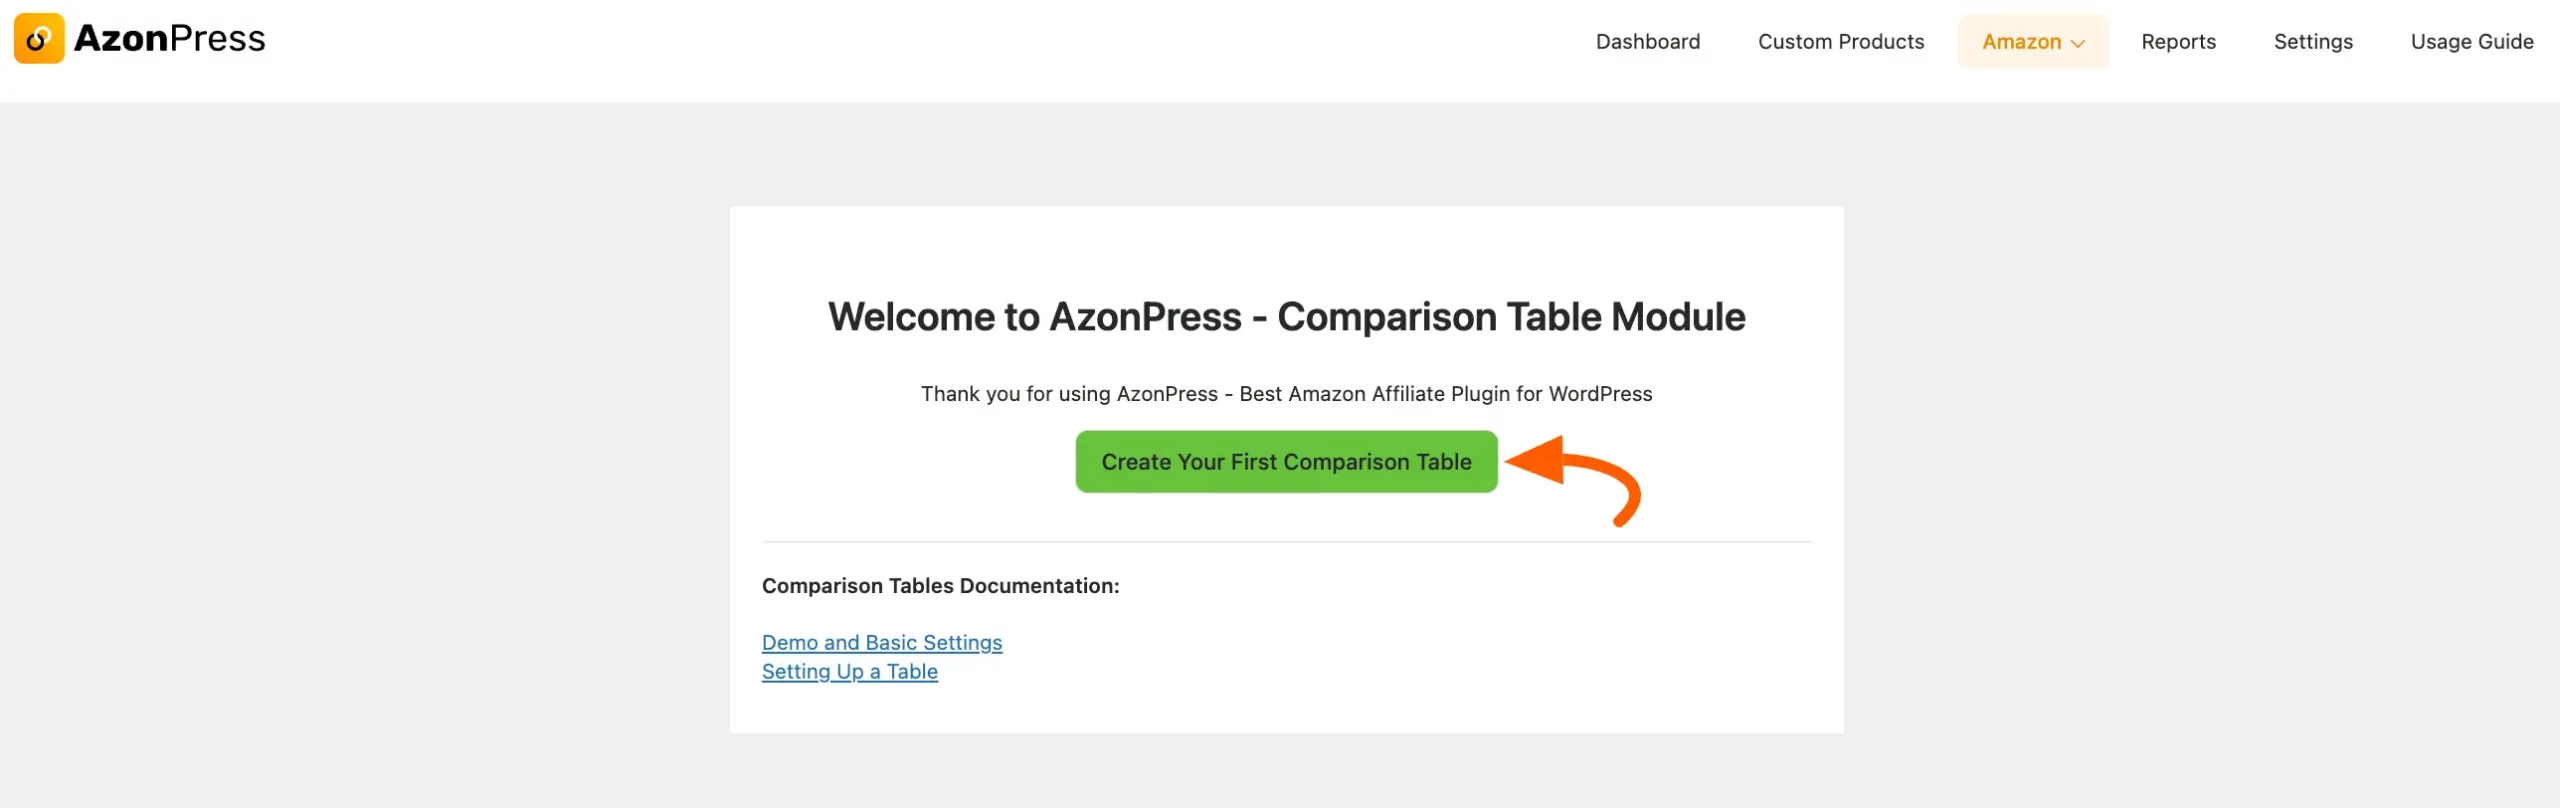
Click on the Create Your First Comparison Table button.
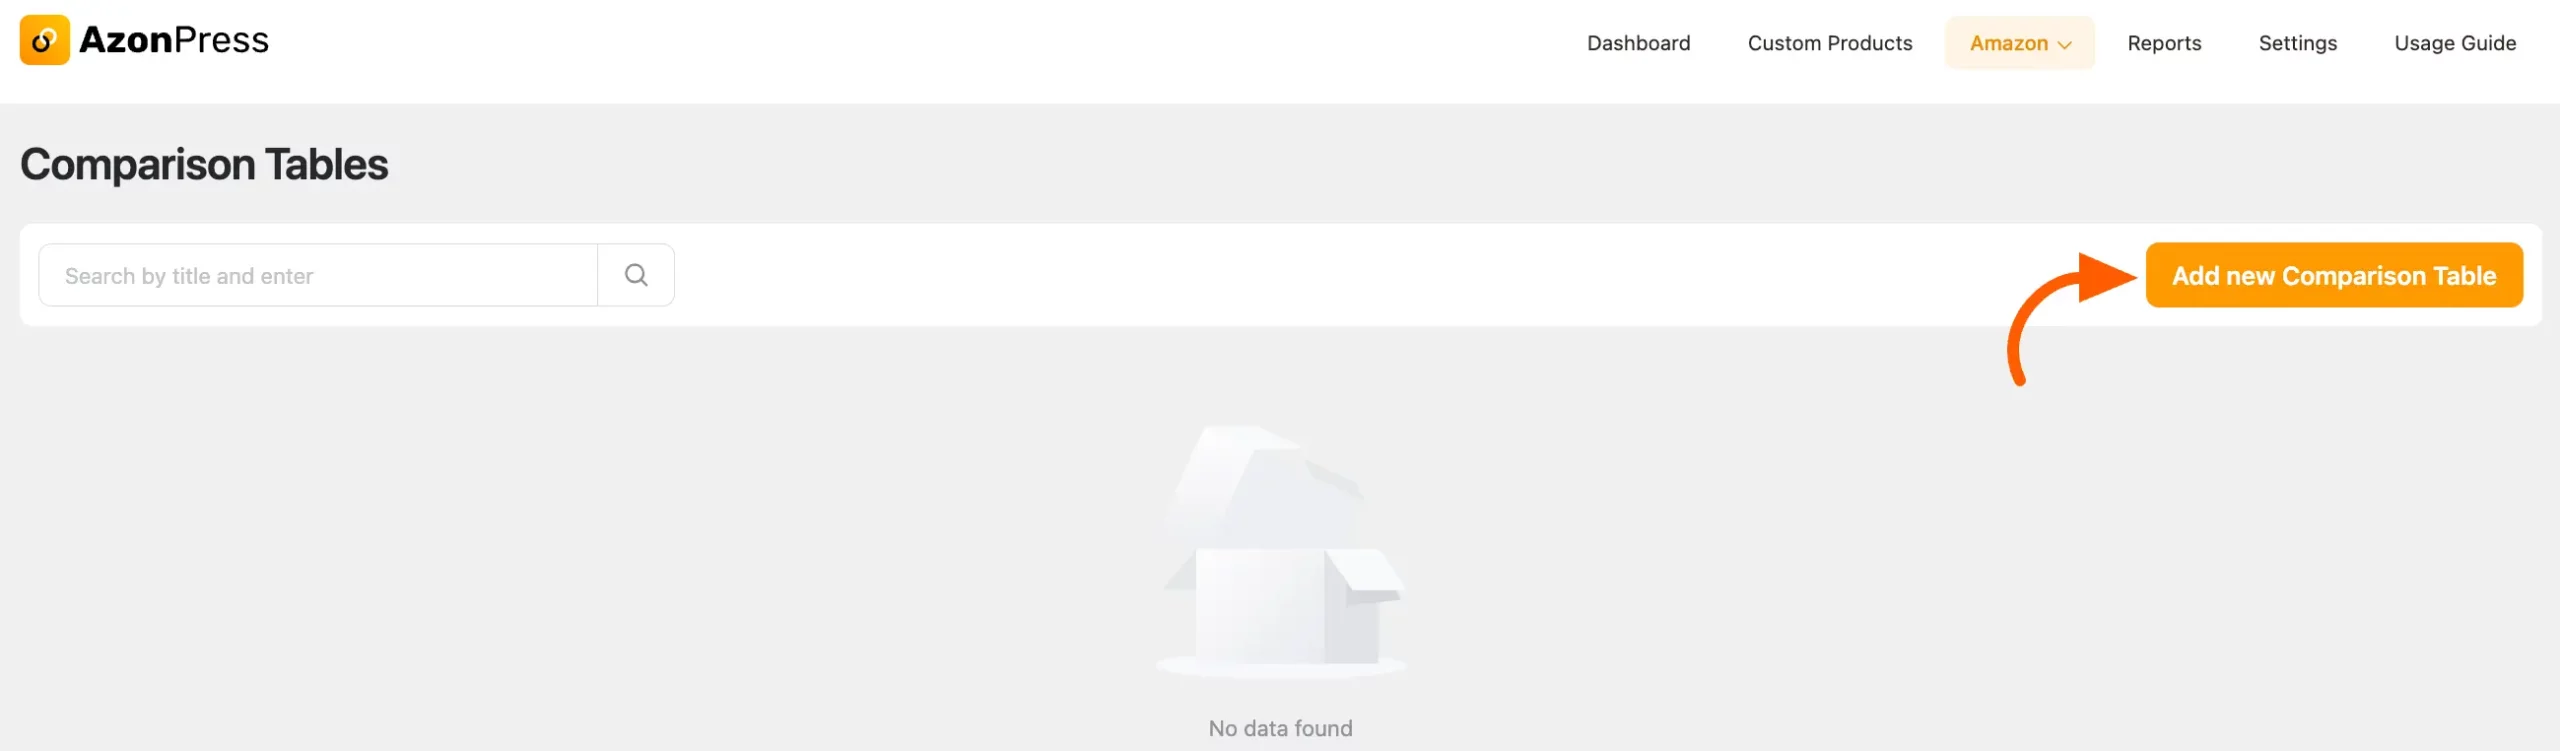
If you have already created comparison tables with AzonPress, you’ll find the Add New Comparison Table button to create a new table. Click on it.
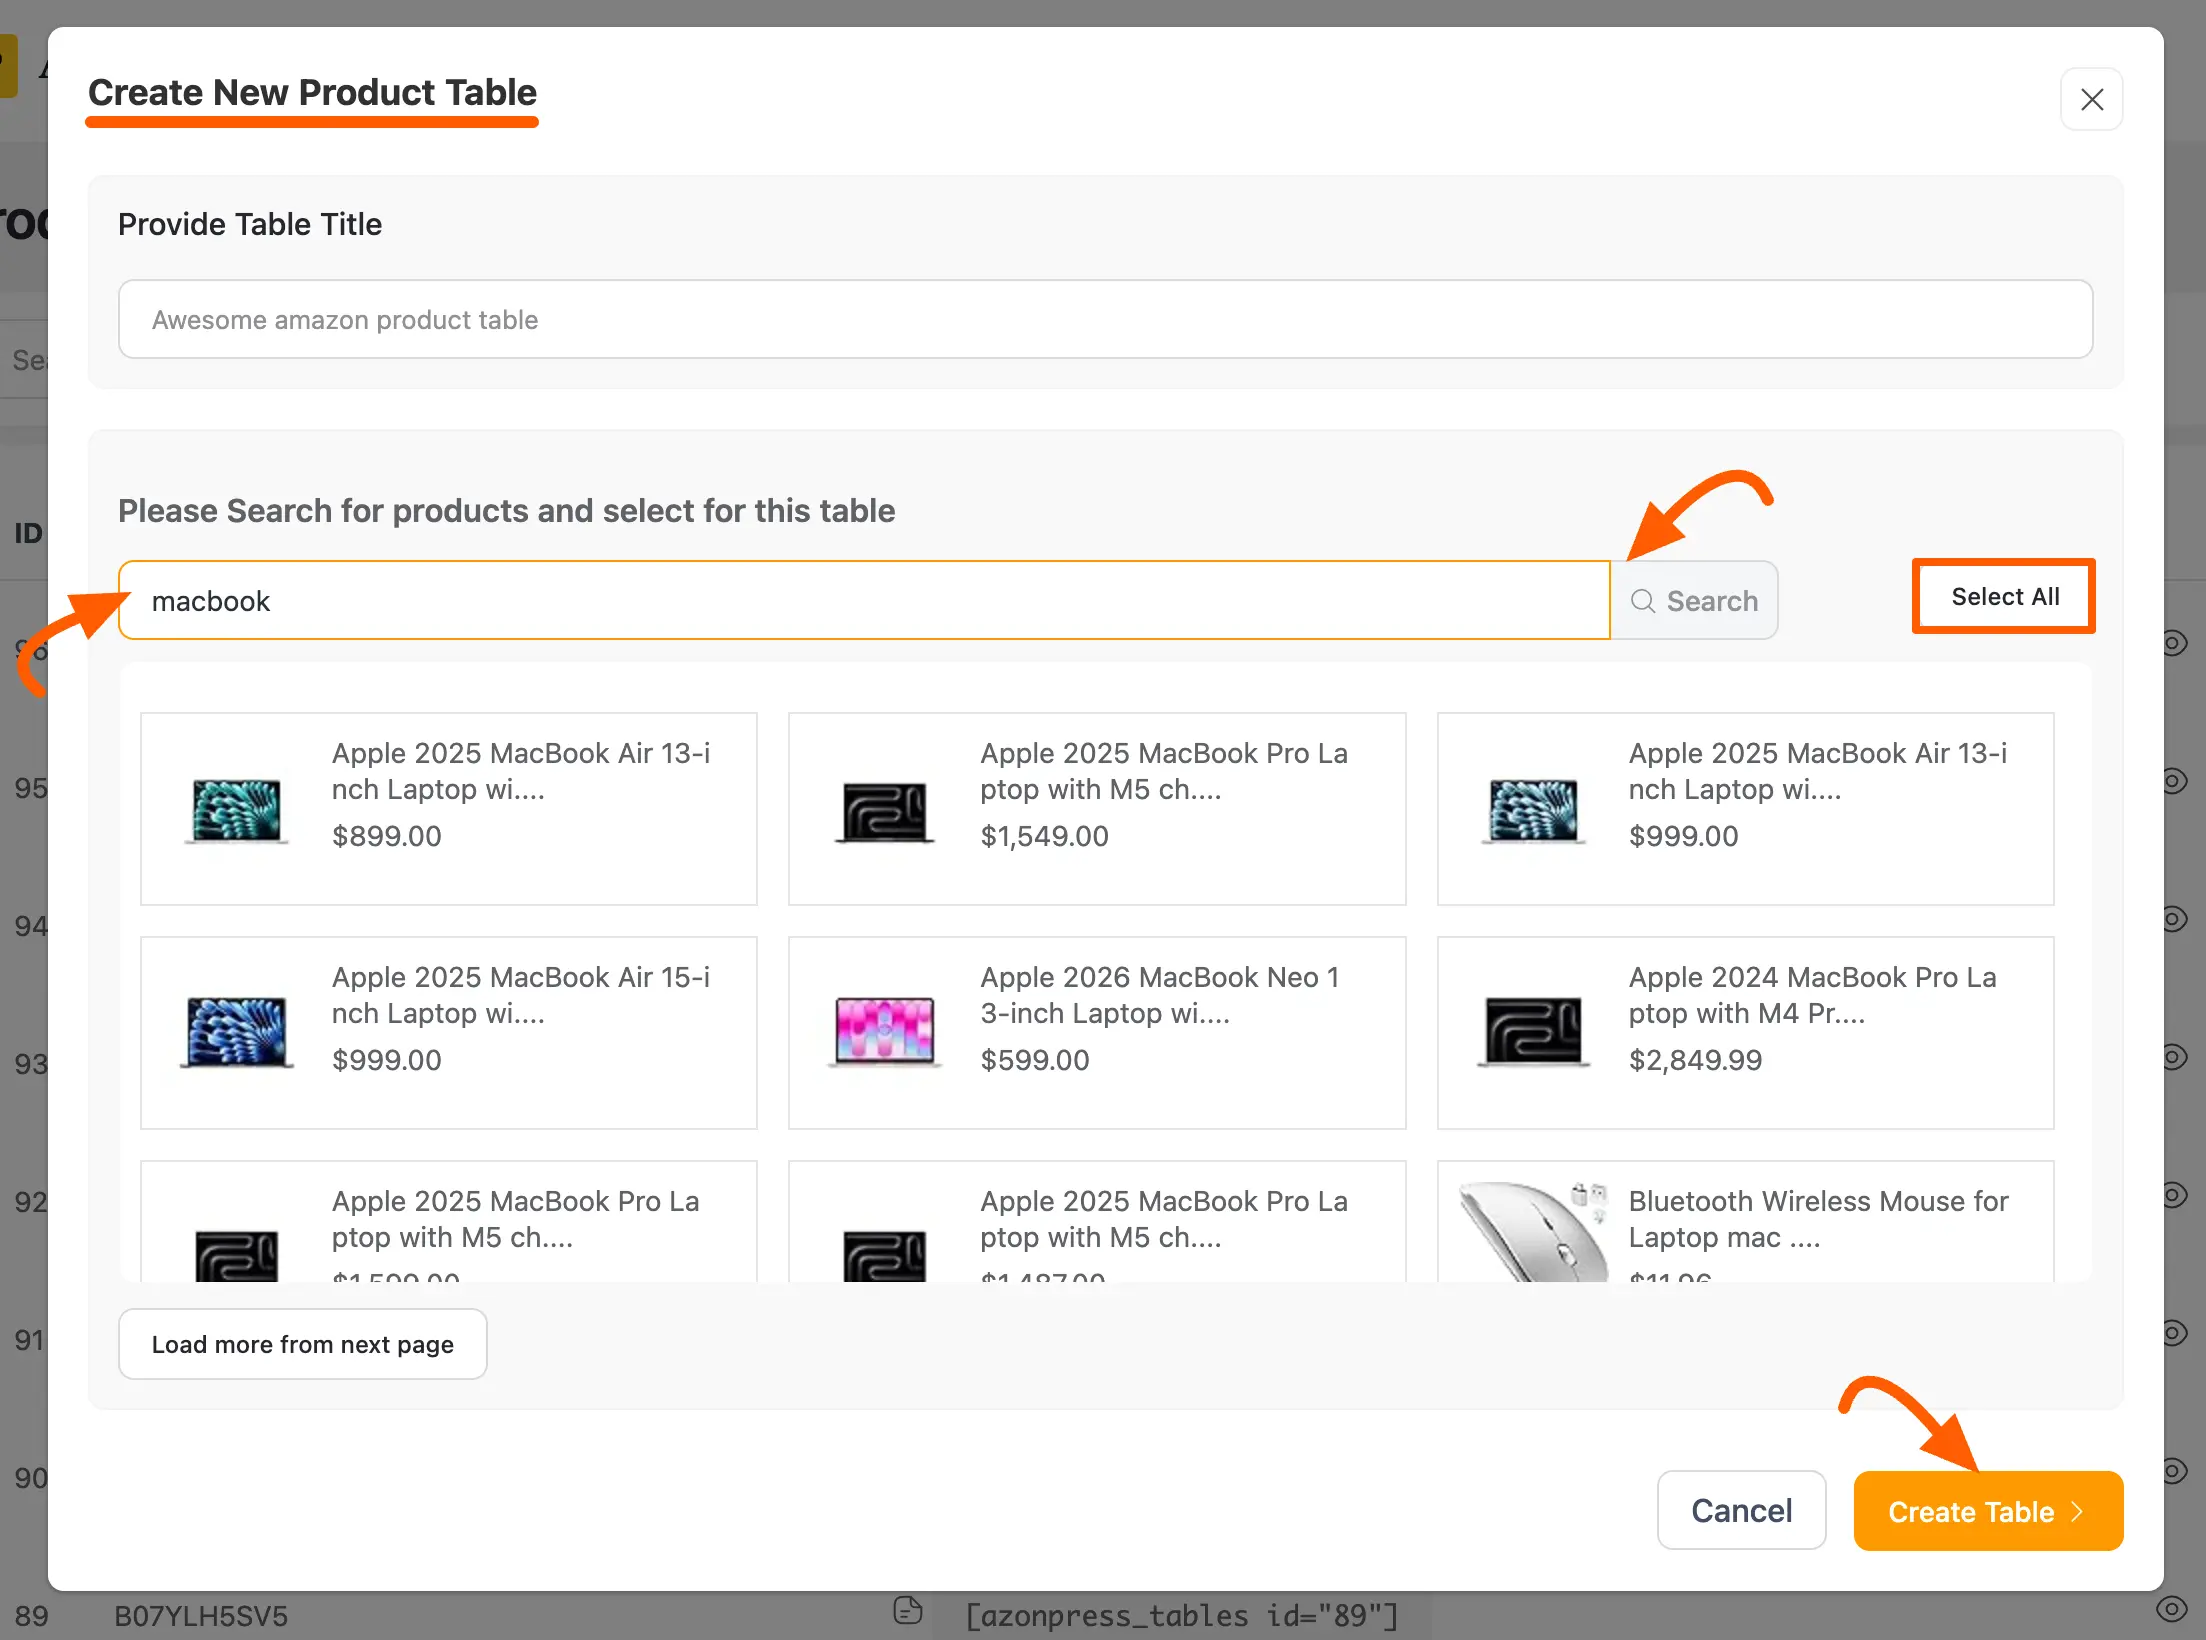
A pop-up page will appear. Now, you can search products by Keyword or ASIN Number.

Give your table a Title. Now search for your desired products with keywords or ASIN Number and a list of products will appear on the window.
Remember, you need to connect your AzonPress with your Amazon Associate Account API to fetch Amazon product data. Also, if you want to search by ASIN number, you need to connect the Creator’s API on your site.
Now, select the ones you want to compare, or can select all by clicking the Select All button. Finally, click on the Create Table button.
To add more products to your comparison table again if needed, go to the bottom of the page and press Search Product using Amazon API button. It will take you to the product search pop-up page again.
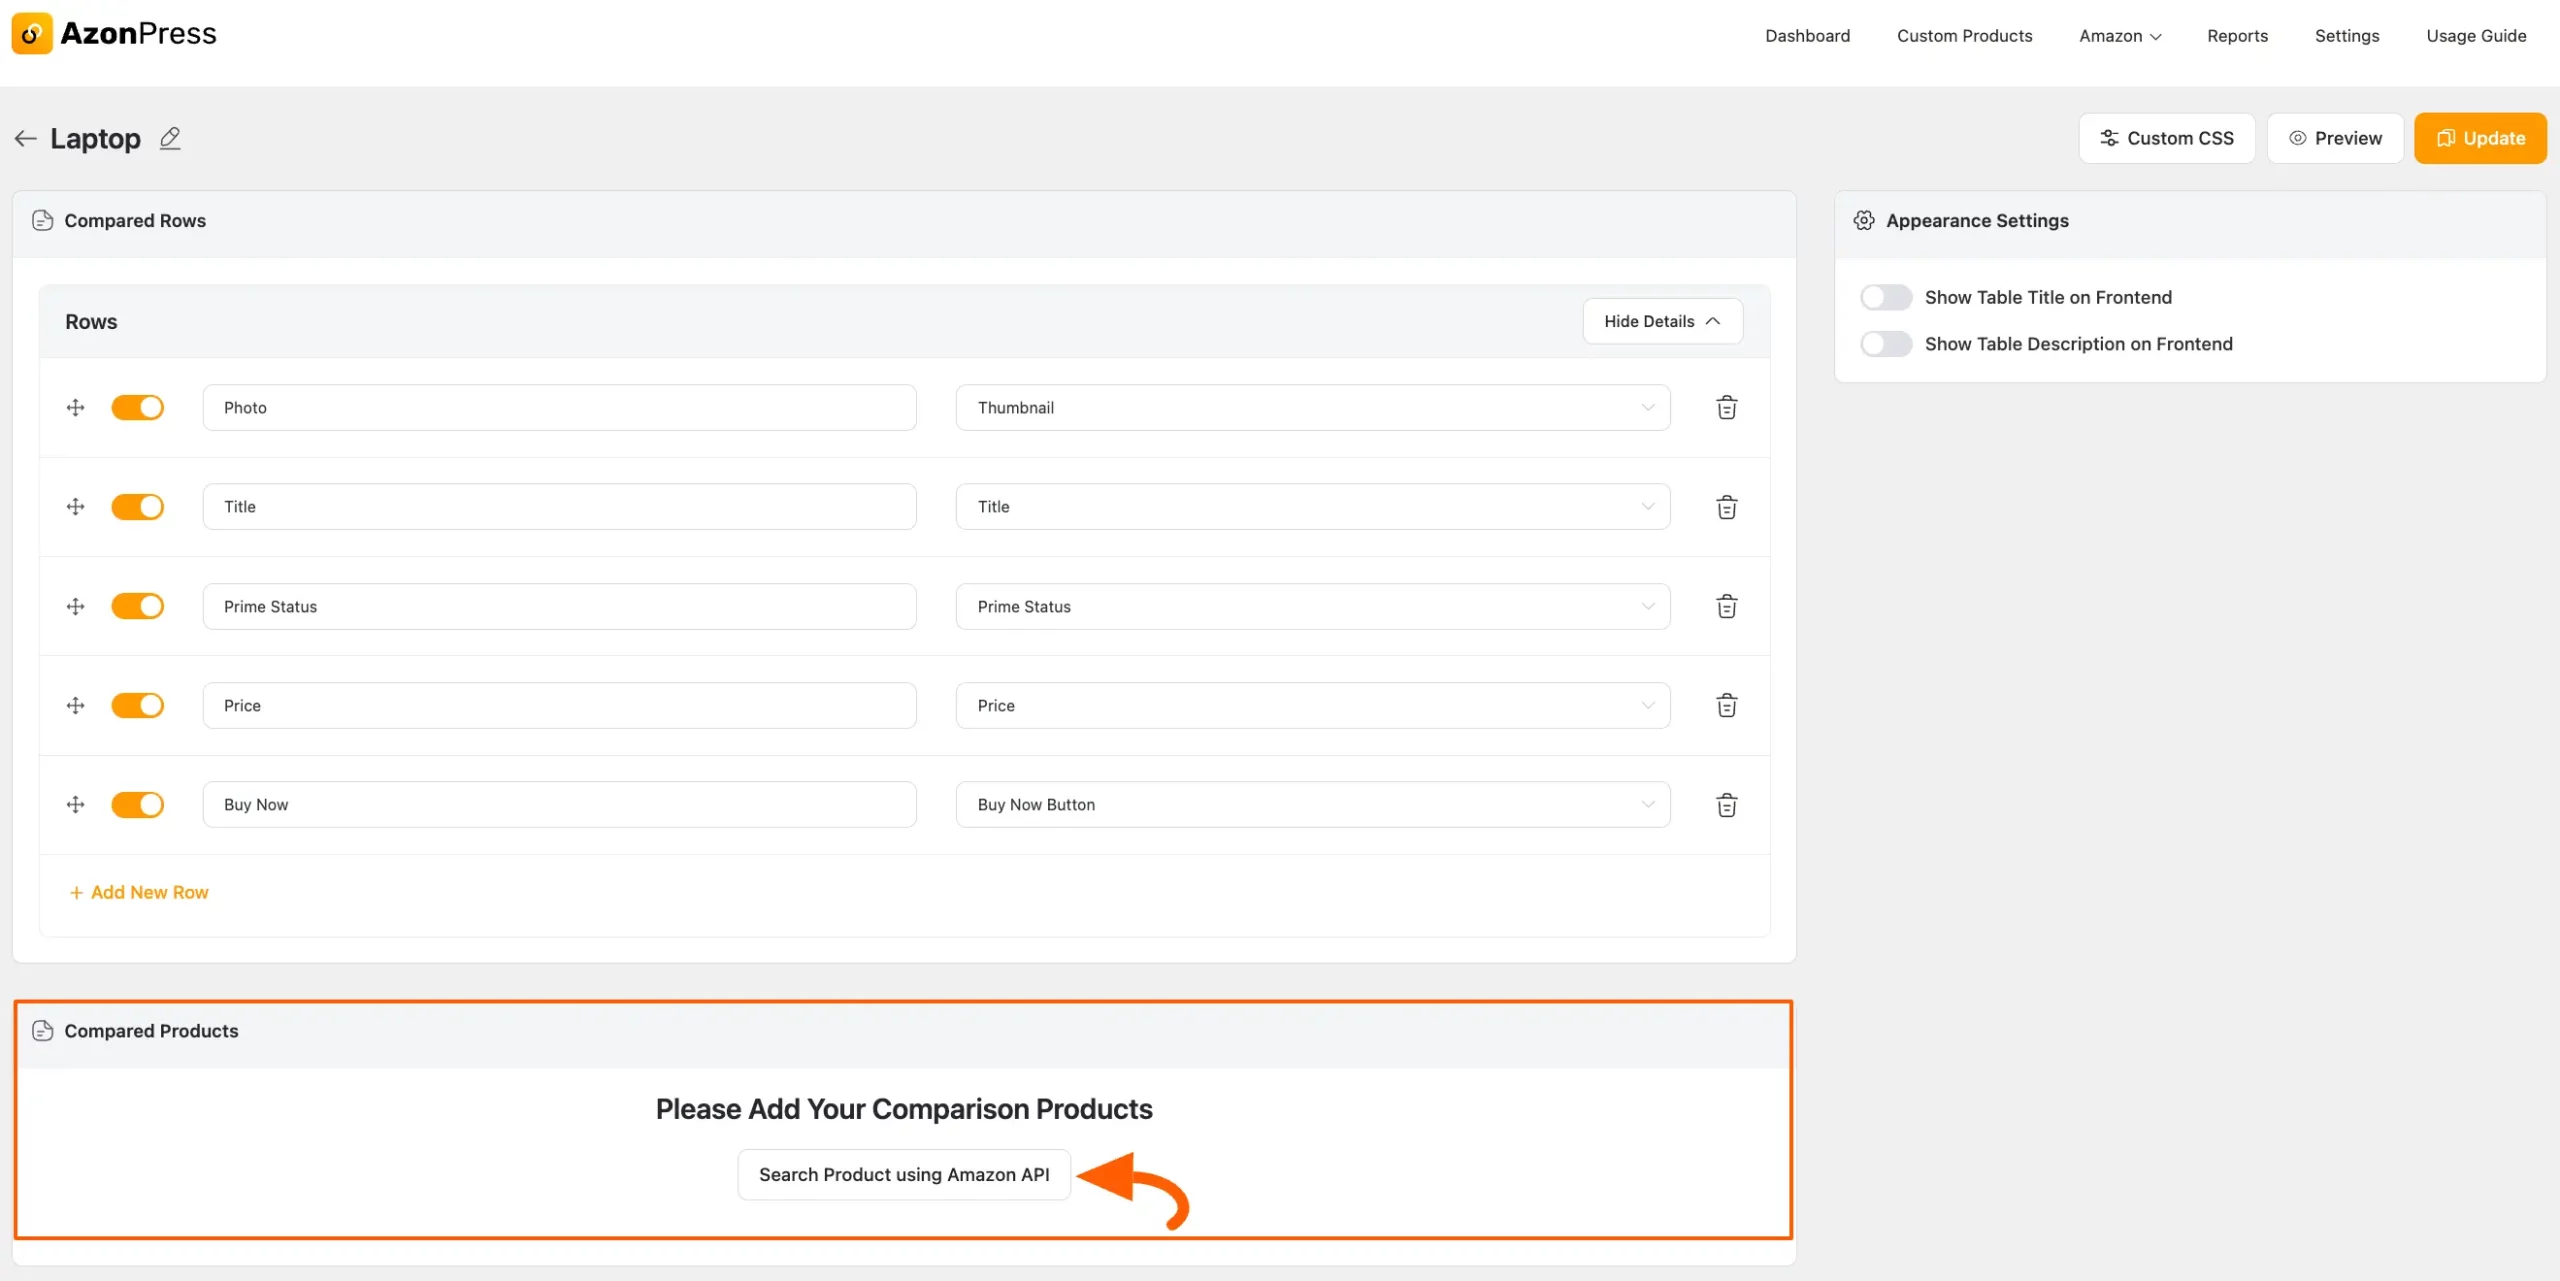
Now, you can see that a default comparison table has been created in your back end.
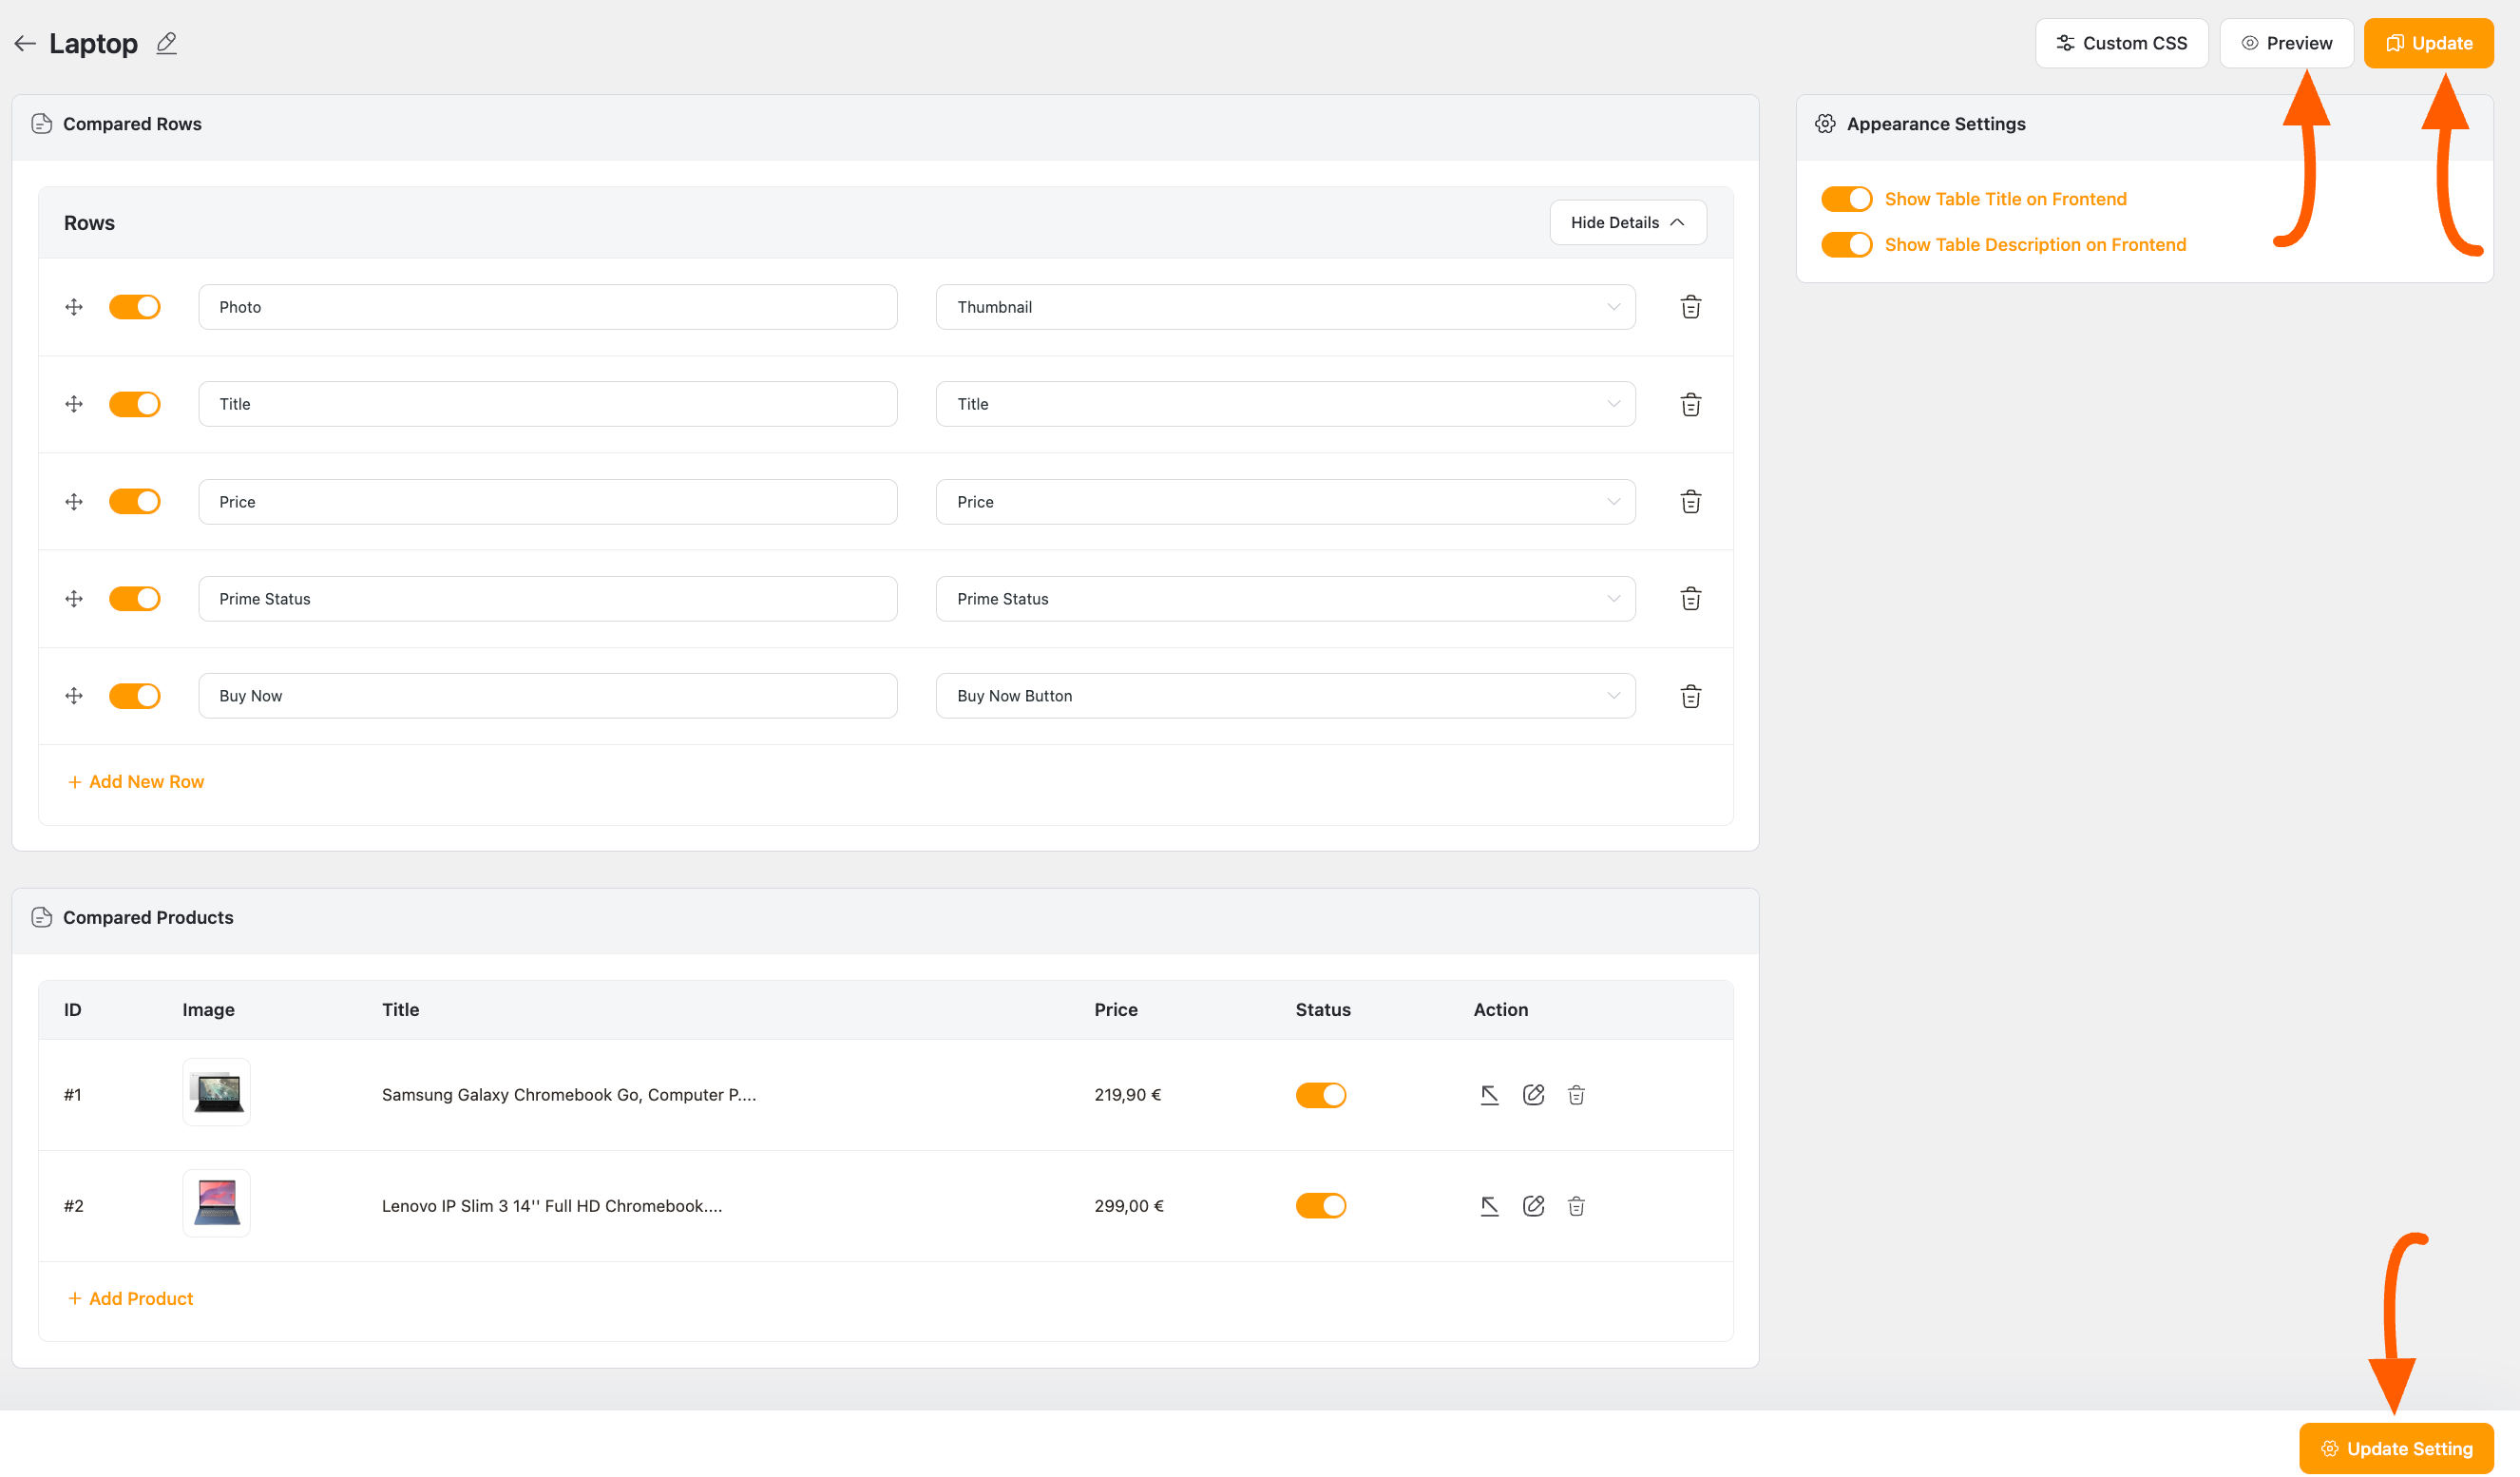
If you want to learn more about Customizing your Comparison Tables, read this Documentation. Also, to learn about Customizing tables through Appearance Settings, read this Documentation.
Once you are done customizing the table, click the Update or Update Setting button, and your table will be ready to display.
Also, see how your table will appear on your front end by clicking the Preview button.
Here is a preview of what your table will look like in the front end.
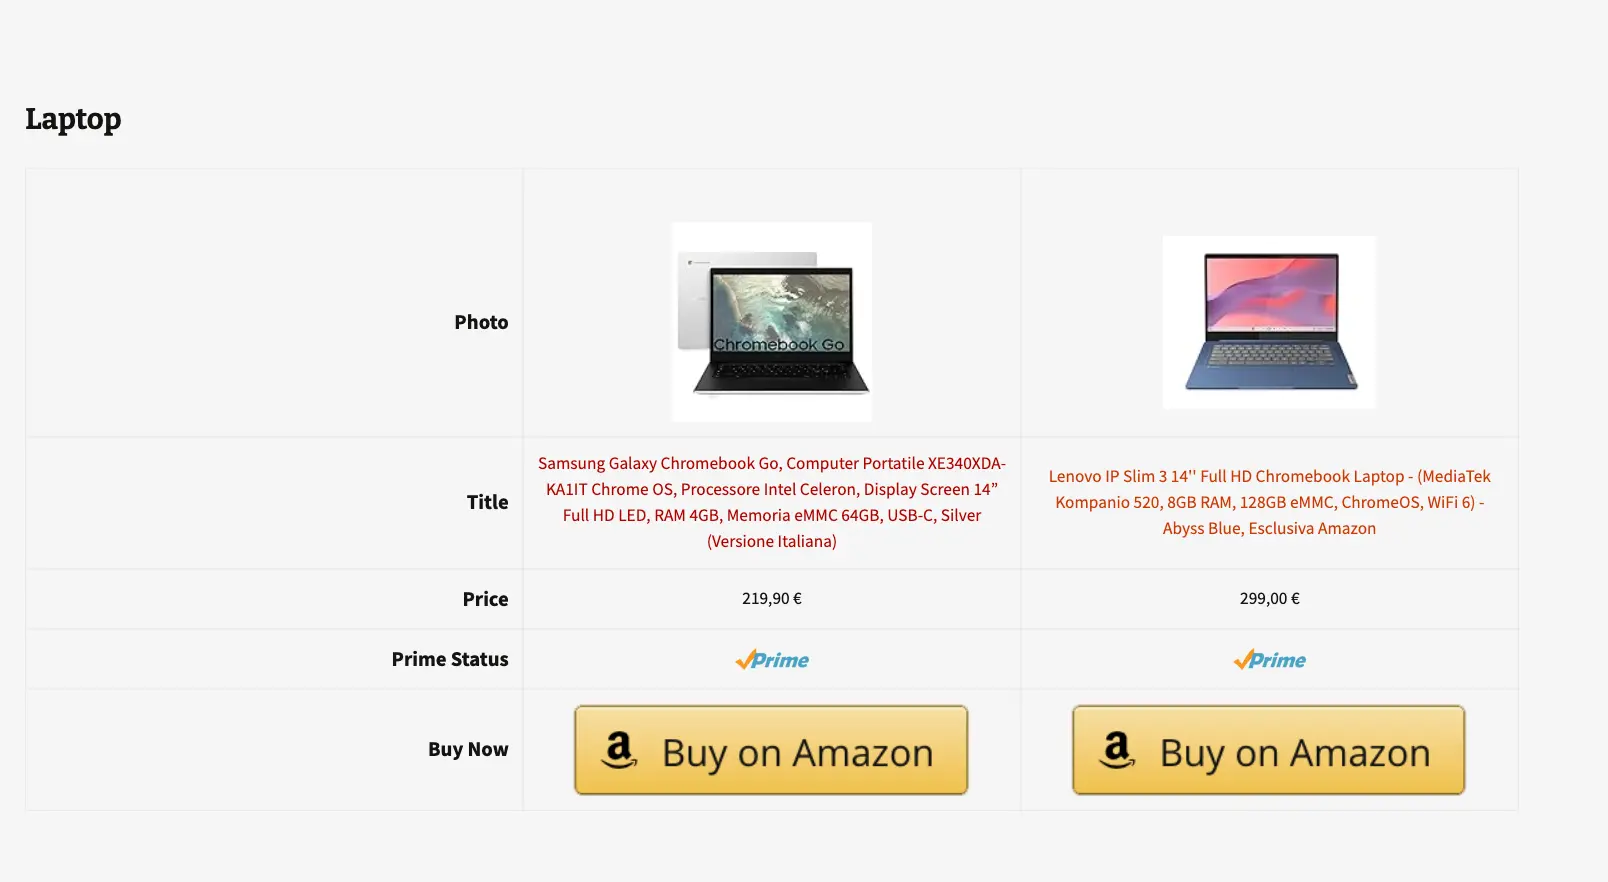
This is how you can create a comparison table efficiently using AzonPress!
If you have any further questions, concerns, or suggestions, please do not hesitate to contact our @support team. Thank you.