

WordPress PayPal Integration – How to Add PayPal to WordPress

Online payment gateways are the heart of eCommerce. With WordPress PayPal integration, you can turn your payment system into an incredible experience for your customers. Stripe and PayPal are two popular methods to get paid for selling products or services via your website.
In another post, I’ve explained how to connect Stripe to your WordPress website. This article is about integrating PayPal to your WordPress. I’ve discussed the right way to do that with several possible solutions. However, read the whole post to find your favorite method for PayPal inclusion.
Why should you use PayPal for your payment gateway?
For accepting payment to your WordPress websites, there are multiple methods you can adapt, including Stripe and Skrill. However, I suggest PayPal for several reasons.
- PayPal is a trusted payment gateway as already around millions of merchants chose this for their business.
- It’s available in 200 markets in the world, and you can receive more than 100 currencies.
- The popularity of this payment system is also another big reason to select it for your store.
- PayPal keeps everything smooth to operate so from opening an account to receiving money – nothing’s complicated.
What are the prime features:
As I have already made my point on why to trust PayPal now let’s have a quick look at the select features and benefits:
- No monthly or yearly cost
- It’s safe and comfortable to get started
- Integration is easy with WordPress and WooCommerce
- Enough documentation and tutorials to understand more deeply
How to Integrate PayPal with WP Fluent Forms
WP Fluent Forms is a WordPress form plugin with tons of cutting-edge features. This plugin is a fantastic choice for online entrepreneurs who want to accept payment via a form.
The integration of PayPal to Fluent Forms is easy and painless. On a small note, you have to buy Fluent Forms to enjoy this option as it’s a pro feature. However, I’m going to show you all the details shortly.
First, go to the Settings from Fluent Forms on your WordPress dashboard. Then, choose Payment Settings from the left sidebar.
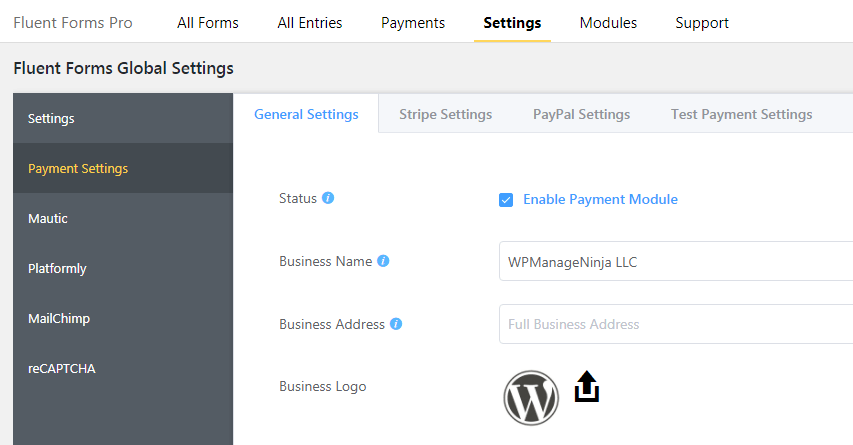
Now, enable the payment by ticking the box you see there. Your payment system is ready to work.
Go to the PayPal Settings next. You need to tick the Status box again here to activate PayPal payment method.
Two options will appear in front of you: Sandbox and Live. You may prefer to choose the Sandbox Mode first to check out whether the system is working fine. The procedure is the same for both.
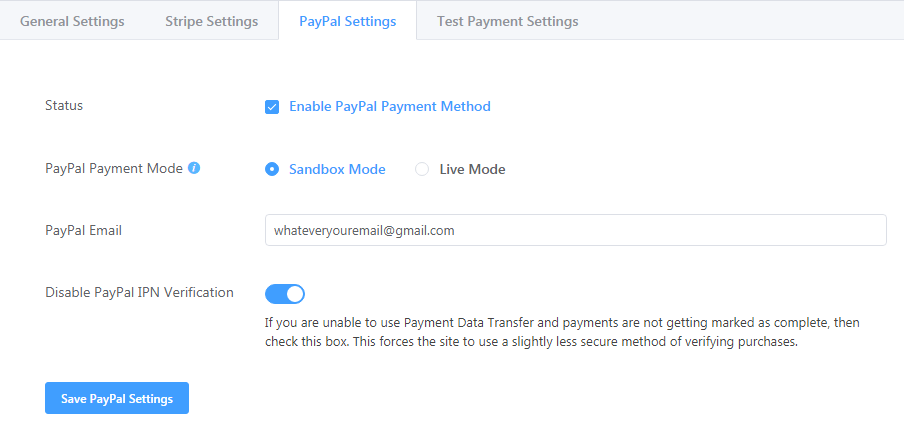
I assume, by now, you have a PayPal account. If not, then sign up for a new account. Now, enter your PayPal email in the right box.
Enable PayPal IPN Verification and learn more about it here.
Though you don’t need to fret over it. You can go on with the process even without activating this option.
Finally, click the Save PayPal Settings button and it’s done now. Your forms are now ready to collect payment through PayPal. Chill!
Integrate PayPal with Paymattic
Paymattic is another handy solution to connect PayPal to your WordPress website. This plugin has many incredible features for maintaining the payment flow using PayPal.
Let’s go through the process step by step.
As usual, you have to go to your WordPress dashboard and then Paymattic. Now, go to settings. From the left sidebar, choose PayPal Settings.
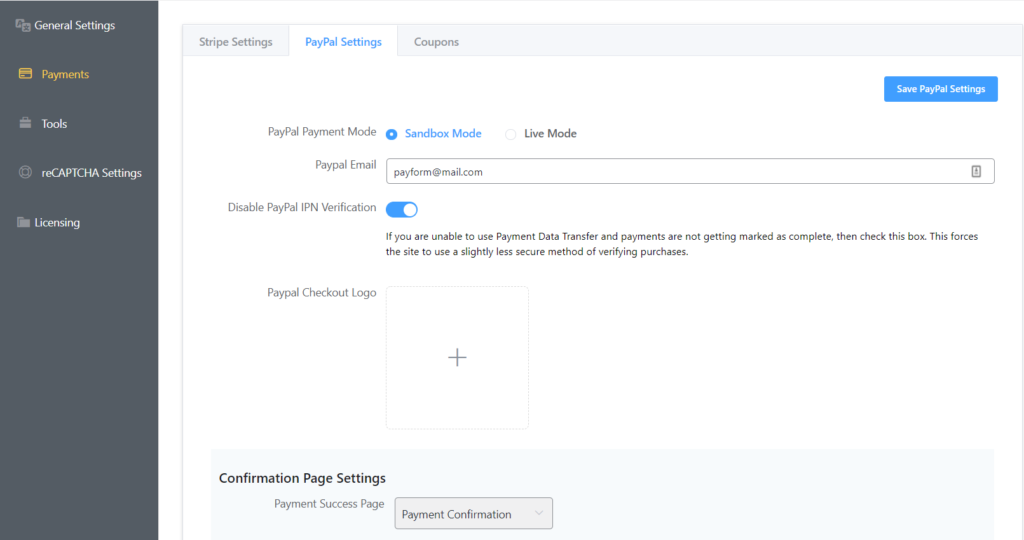
You’ll find two options at the top: Sandbox Mode and Live Mode. You can select anyone, but I’ll tell you how each one works. The Sandbox is for a little playing around before making it final. And, Live means you’ve done everything right and your forms are now properly connected with PayPal.
Check or uncheck the button that reads Disable PayPal IPN Verification.
Now add a PayPal checkout logo that represents your business.
The next is Confirmation Page Settings. There are two options for payment success, and payment failed where you can select the destination people will go after completion of payment.
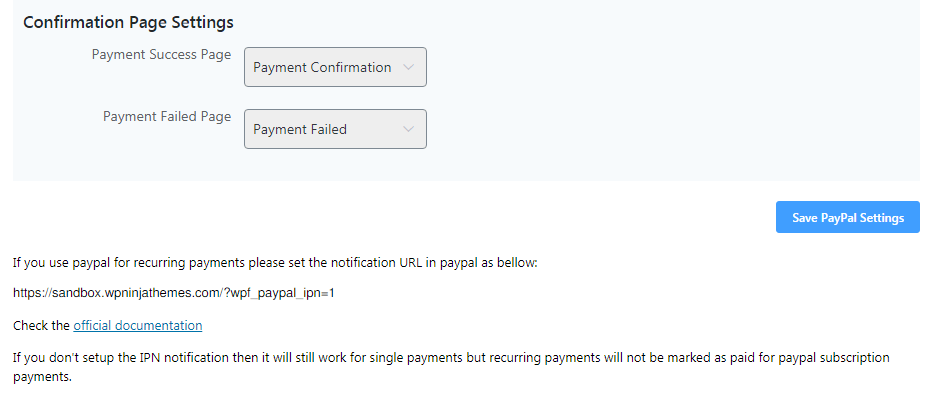
That’s all for now. Now click Save PayPal Settings button, and you’re done. Congratulations! You have successfully activated PayPal for your business.
How to add PayPal into WooCommerce
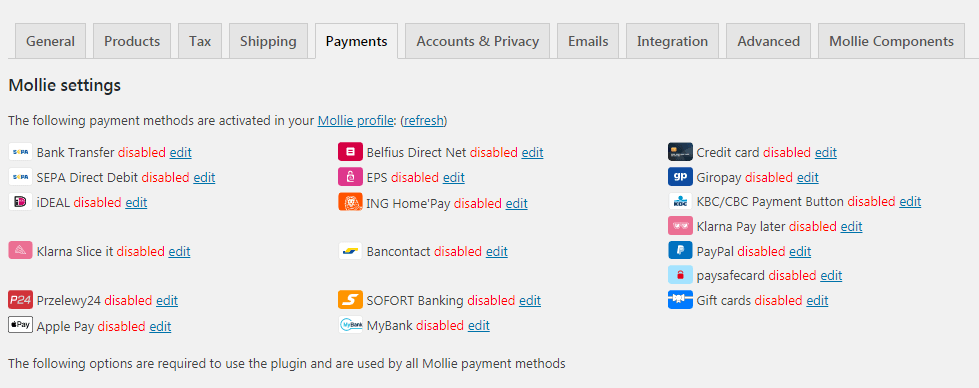
WooCommerce, by default, offers PayPal integration in its payment settings. But, with an extension, you can extend the benefit on a new level. There are multiple WordPress plugins for integrating PayPal with WooCommerce. I’m not talking about all here.
WooCommerce PayPal Checkout Payment Gateway
This is the official plugin by WooCommerce. You can use it to unlock some additional features with your PayPal integrations.
Go to the WordPress plugin directory from Plugins > Add New from the sidebar of your WordPress dashboard. Now type WooCommerce PayPal, and you can see the plugin in your results. Install and activate it.
Navigate to WooCommerce and then Settings. Click Payments from the tabs on top and scroll down to PayPal Checkout. Locate the Manage button from the right-hand side and click on it.
You can enable or disable PayPal from the first option by checking or unchecking the box. Provide a title next what users will see during checkout. Add description here by mentioning that people can pay with PayPal. You can also suggest them if they don’t have a PayPal account then what to do.
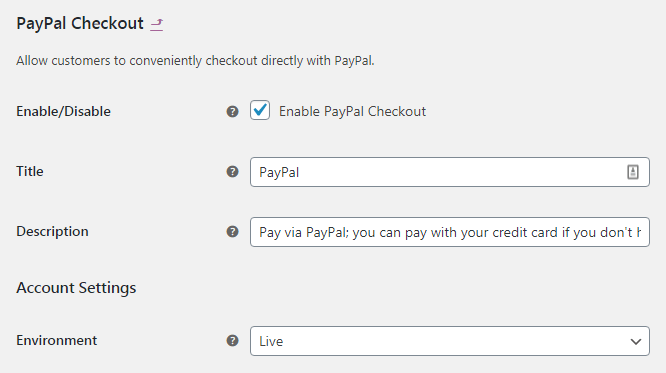
From the Environment option, you can either choose Live or Sandbox. You can select Sandbox to see how the process works in the simulation and Live is for the final action.
The next step is providing API Credentials. With an existing account, you can click the link appearing there. Otherwise, manually input username, password signature, etc.
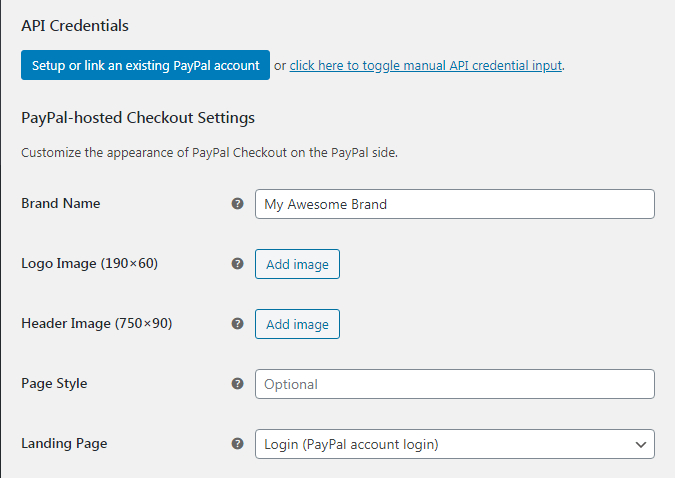
Additionally, you can customize the checkout page with your logo, brand name, and feature image. Furthermore, customizing buttons with color, shapes, and more are also possible. There are extra options what you can change if you want. I’m leaving it up to you.
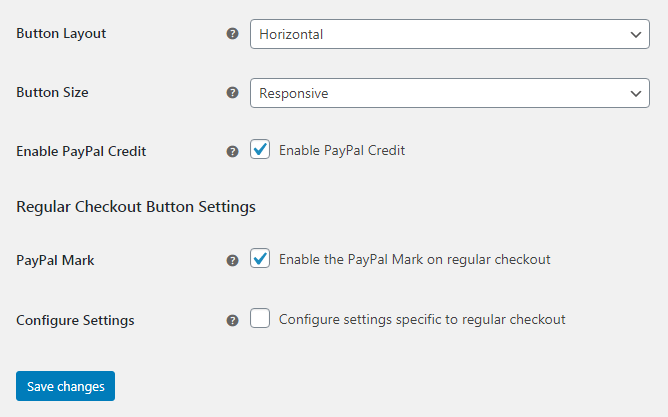
Click Save Changes, and you’re done.
Conclusion
Fluent Forms Pro
Try Fluent Forms today and see for yourself!
PayPal is incredible, and it’s more fun when you can accept payments with it on your website. By now, you know that incorporating PayPal requires a minimal job, and you can do that seamlessly by following some very simple steps. Open a PayPal account now and follow one of the steps mentioned above. Enjoy more success with less trouble.
-

How to Add Code Snippets in WordPress: 100% Free Guide
Learn how to add code snippets in WordPress safely and -

FluentHub MCP: Run Your WordPress Business Right From Your AI Chat
Use FluentHub MCP to connect WPManageNinja products with AI agents -

How to Optimize Your WordPress Website Without Overloading It
Learn how to optimize your WordPress website by reducing unnecessary
Leave a Reply
You must be logged in to post a comment.