


As you have already learned how to start with WooCommerce, it’s time to move things forward and give the store a new and professional look. But how you can do that if you’re not tech-savvy.
We have previously created a tutorial on WooCommerce for beginners. If you have followed that guide you got the idea that anyone can get himself involved with the amazing online business.
We assumed you have already installed WooCommerce to your WordPress dashboard now it’s time to level up your store. By adding products, you can make your shop ready to trade.
How to add products to WooCommerce store
After completing the WooCommerce installation, you will see two brand new tabs on the left sidebar of your WordPress dashboard. The first one is WooCommerce and the latter one is Products.

If you hover over the tabs you will see some subsequent options under both. However, from the first look, you might already get that the WooCommerce is for general settings whereas the Products tab is for product management.
We’ll work on the second tab to add our products and manage them later. Go to the Products > Add New. If you have previous working experience with WordPress then the upcoming screen will look familiar to you.
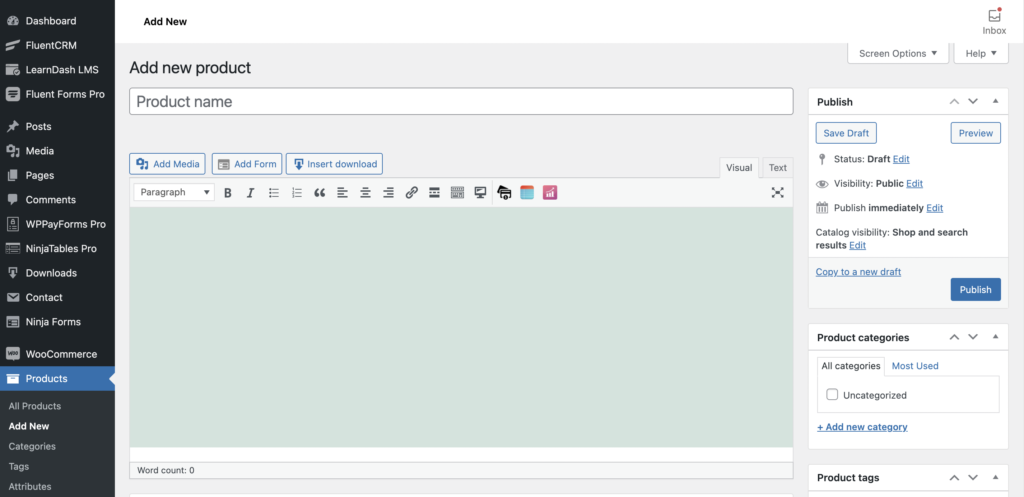
Add a title and a product description. That’s the first thing you need to do with your products updating process. After adding the title and description along with a product image, save draft to activate product info section.
You have added your product, now you have to add other related information of that item. We’re going to discuss the next steps one by one.
Adding other relevant information to the product
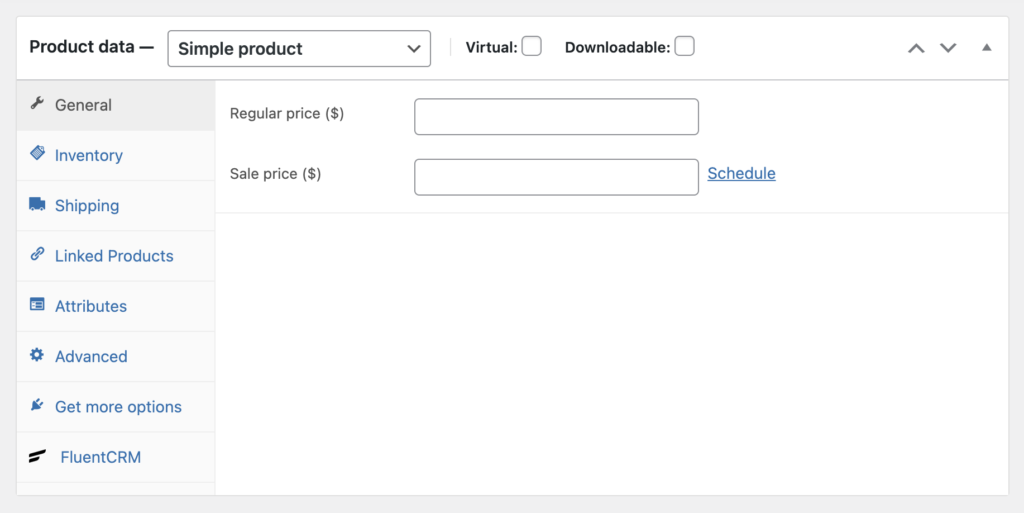
By exploring the following sections, you can discover that it’s different from your familiar WordPress environment. The Product data section comes first where you’re about to put some basic information.
Add the details of your product which users want to know before start digging further.
In the Product data box, you can choose from different product types. The Simple product is for general, a one-piece product that can be delivered right after the purchase. Next comes the Grouped product which is a set of products where users can buy a single piece from the list.
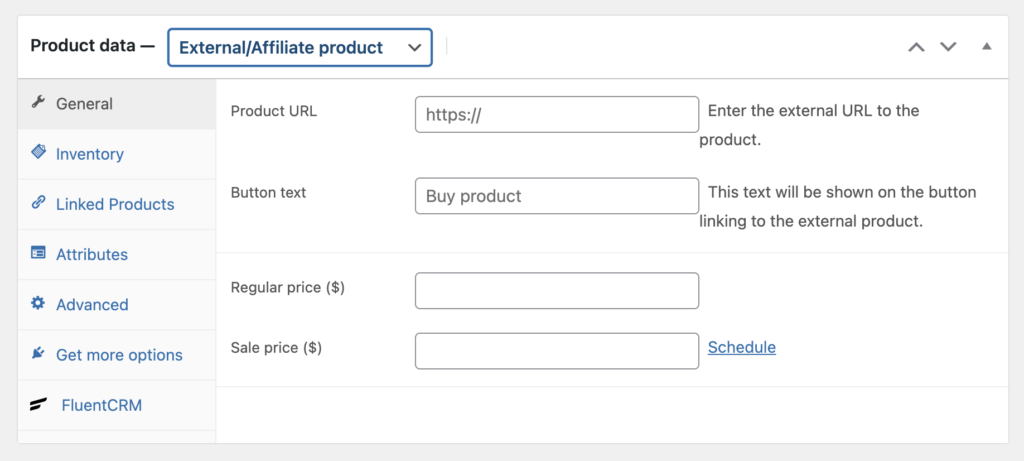
External/Affiliate product is a third-party item to sell on your website. The last item from the dropdown is a Variable product which is actually a single item with multiple variations.
A Virtual product, on the other hand, is a digital entity that has no tangible condition. Therefore, it doesn’t require any shipping method and people can get it from the website by clicking the link you provide to them.
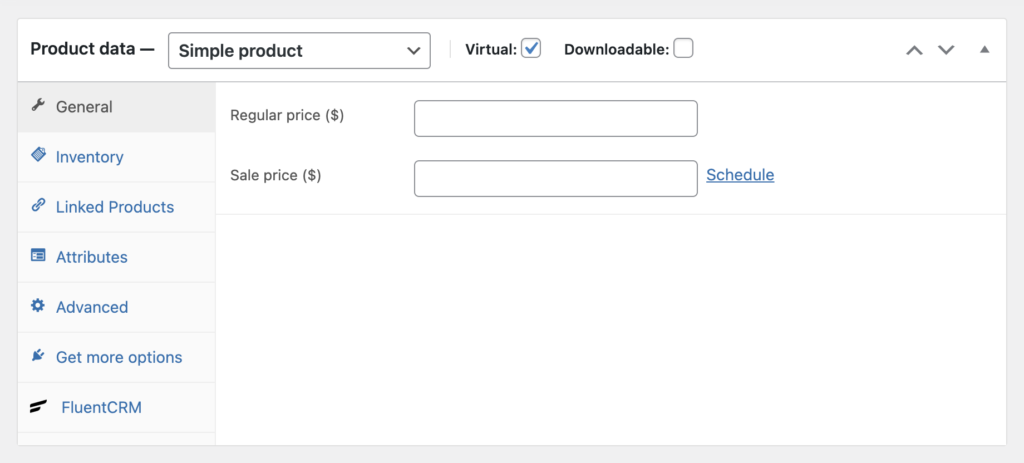
Ironically, the Downloadable product has a shipping method. WooCommerce keeps this option because people might need a physical version of a digital product (e.g., a cd). Otherwise, Virtual is fine for digital items.
When you’re creating products for downloading, you can see a lot of options regarding this option. How many times people can download the file and when will expire the download link – you can determine these small details there.
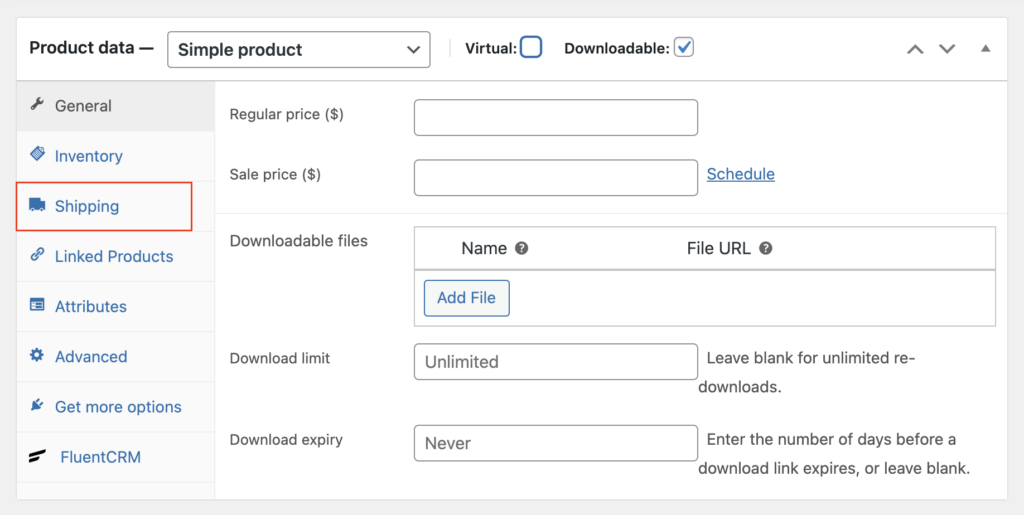
To set the price of your product, use the price fields. The Regular price is your product’s original price. If you want to set a discount price you can add it to the Sale price. Schedule the special price if you want it in action at a certain time.
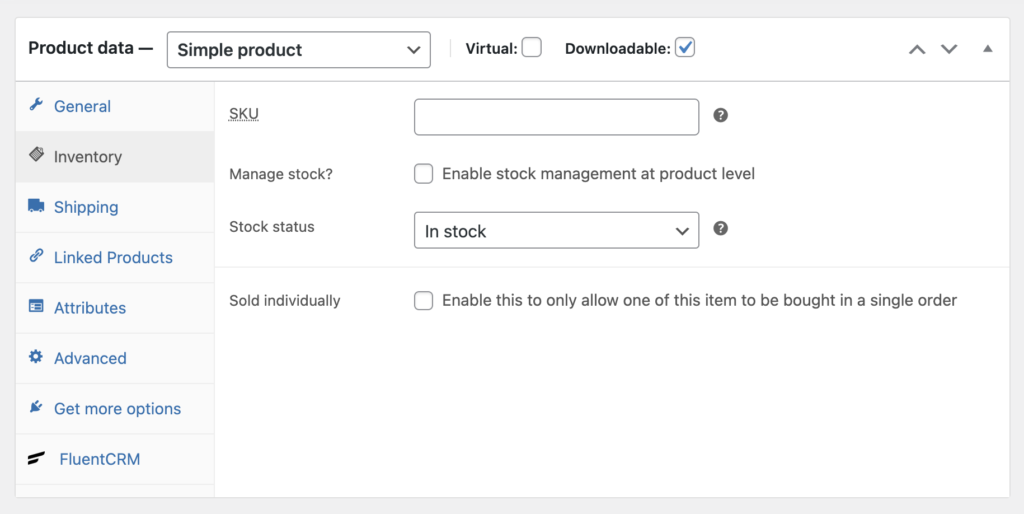
The second comes after the General is Inventory. If you want to know the current amount of a product, then Inventory is the place where you can look for it. It also helps you to update the storage with new products to avoid customer dissatisfaction.
Let’s check out what we need to update here.
The first one you see is SKU. It refers to the Stock-keeping unit which is a unique identifier used to track products. It should be named with a special attribute to avoid conflict with post IDs and other SKUs.
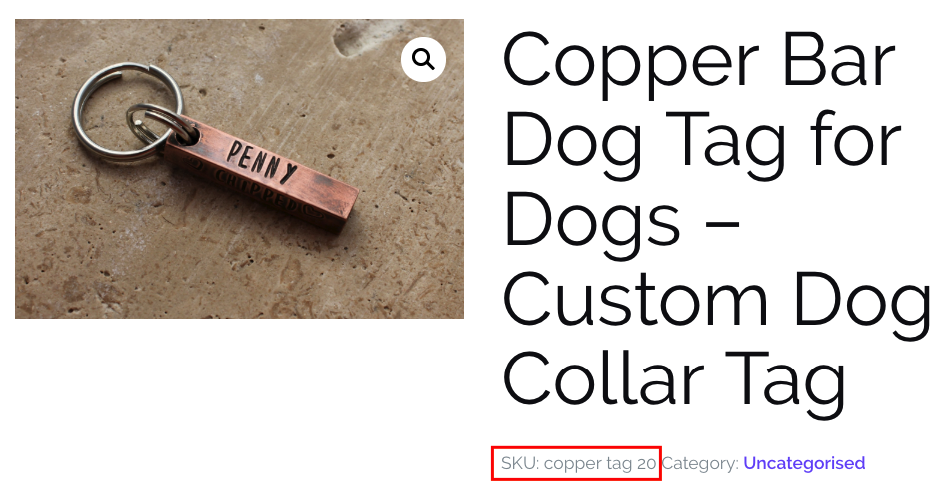
After publishing it will look like this:
Mention the stock status with one of these three options: In stock, Out of stock, and On backorder. If you click on the Enable stock management at product level then other options will be active for more actions.
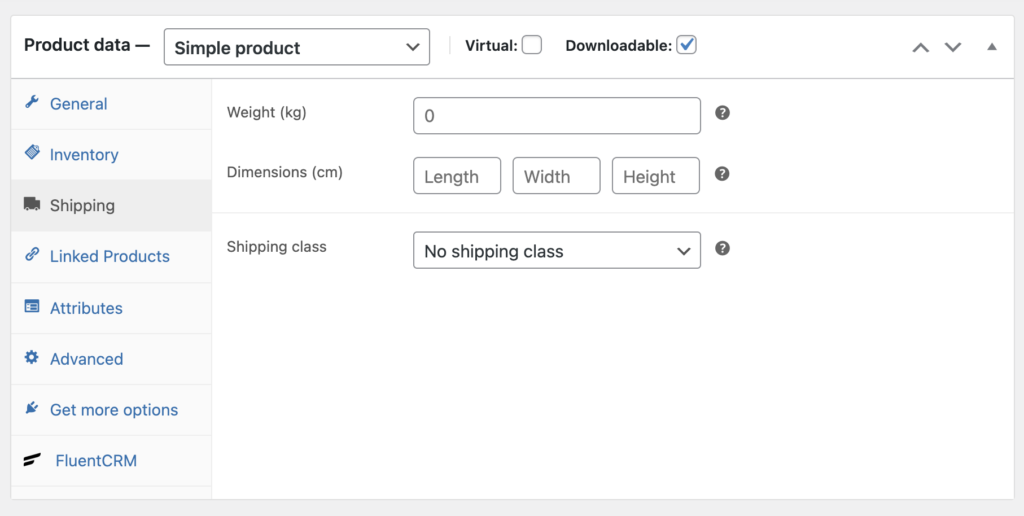
Describe the Shipping information related to that product. First, mention the weight and then the dimension with length, width, and height.
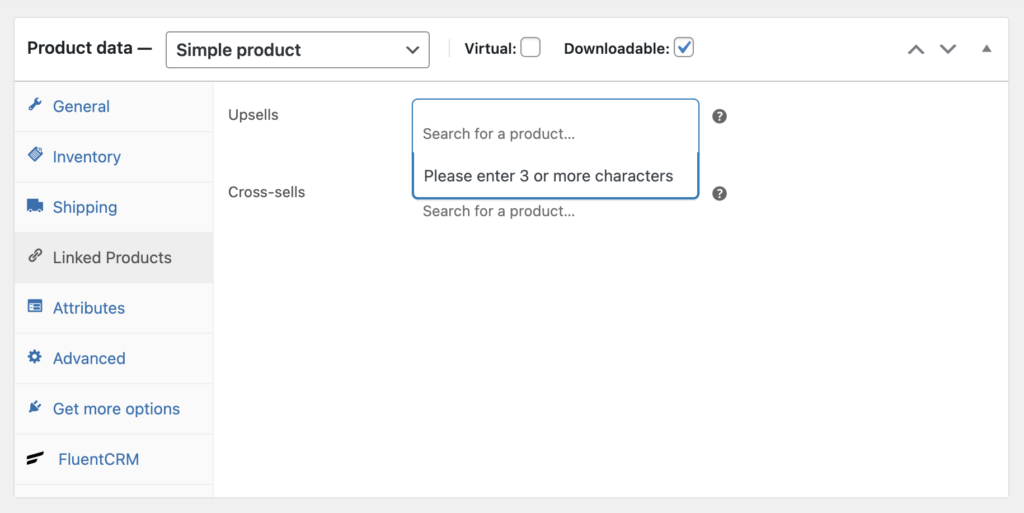
With the Linked Products feature, one can add more products to promote the current products. Usually, when people see an item, you can show better and pricey products with Upsells. Subsequently, people intend to buy other products when they get a suggestion with the existing one – Cross-sells.
WooCommerce will allow you to incorporate plenty of information about a single or group of products. Hence, the Attributes tab has a special function that helps your users know more about the product. You can add additional info such as color, size, and a special feature of that product via the Attribute option.
Customizing your product short description
After completing data input into the Product data widget, now move to the Product short description. This is also an editor to write down text related to your products.
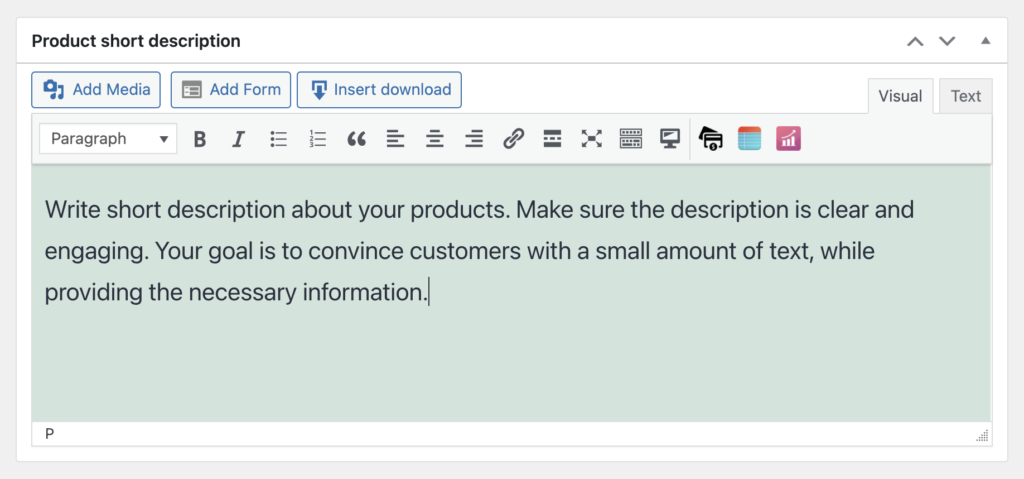
Write a short description that will appear right after the title. This tagline is a great place to tell customers some exceptional benefits concisely. Why don’t you blend one of your keywords here along with mentioning some key features?
Besides adding all the relevant information, don’t overlook other places to input additional data. For example, mentioning relevant tags will help your products get maximum attention. Moreover, the feature image must increase the visibility of the product.
Managing your WooCommerce products
With the process shown above, you can add hundreds of products to your WooCommerce store. Then, you need to have a convenient way to manage the products. Luckily, the Products tab underneath the WooCommerce tab will allow you to change everything.
Click All Products to see all the items you have added to your store. Moreover, you can add a new product from the Add New button stays above. Additionally, there are options to Import and Export products. Above all, if you want to edit or delete products, that can be done, as well.
To keep the whole inventory in a nice order, you should take advantage of other things. Under the Products section, not only you can see the product categories and tags but you can utilize them to organize your store from inside.
Last words
WooCommerce is the best tool to start an online business with WordPress. With tons of flexible features, any store owner can create and maintain a store that means only success and nothing else.
This tutorial must help you to add products to your WooCommerce store. Once you have successfully added one or two items, you can hundreds or thousands without getting help from anybody.
-
10 Best TablePress Alternatives in 2026 (For Every Use Case)
TablePress works for simple tables. When you need a more -

15 eCommerce Content Marketing Strategies for 2026
Learn 15 proven content marketing strategies for eCommerce, from content -
Designing Big Data Tables: UI/UX Principles and Best Practices
Designing big data tables requires more than clean layouts. Insights
Leave a Reply
You must be logged in to post a comment.