

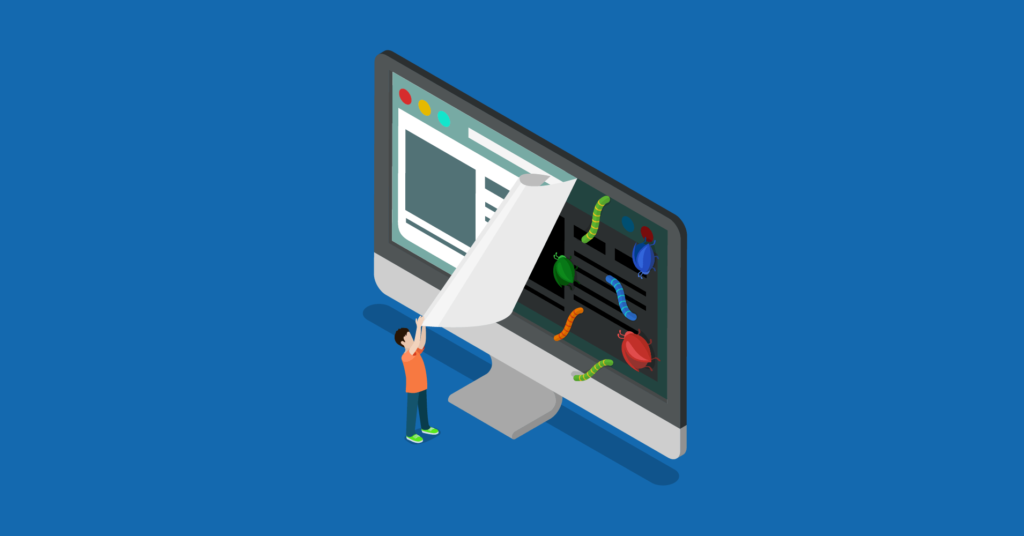
Fortunately, WordPress comes with a nice feature named debugging that allows you to see or hide the errors when debugging mode is on.
To start this feature in your site, you have to initially add the following code in your WordPress configuration file.
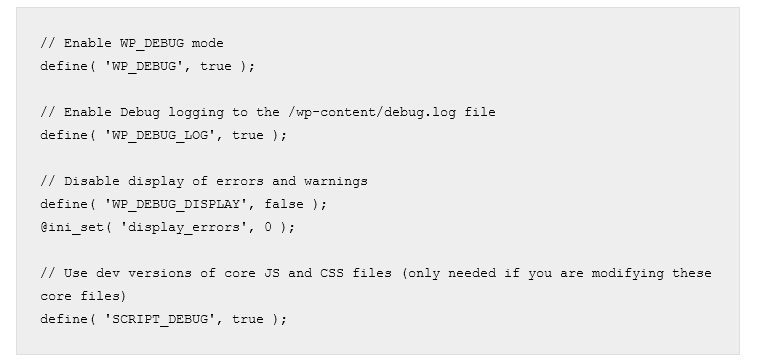
You also can turn on debugging while hiding the errors on your site and saving them in a log file. To do so, you have to add only the code to your configuration settings given below.

This code will create a file named debug.log inside the wp-content folder of your site and stock all debugging errors and notices inside the log file.

This is how you can manage to debug with your WordPress site. For more clarification follow the WordPress default guide. Hopefully, this pro-tip was helpful. Find more Pro-tips here.

-

Kanban vs Scrum vs Agile vs Waterfall: What’s the Difference?
Get a clear, no-jargon breakdown of Kanban vs Scrum vs -
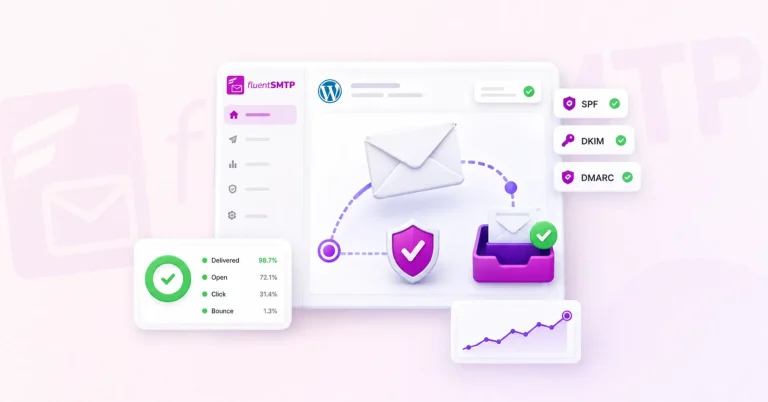
Email Deliverability Hacks: Complete WordPress Guide With Free Tools
Improve WordPress email deliverability with FluentSMTP, SPF, DKIM, DMARC, list -

How to Embed Social Media Feeds on WordPress Websites (No Code)
Learn how to embed Instagram, Facebook, TikTok, and YouTube feeds
Leave a Reply
You must be logged in to post a comment.