How to Create a Donation Form in WordPress
Any small business, free service provider, or non-profit organization needs helping hands to do what they are doing. Nothing comes for free, or nothing runs solely without help, where creating a donation form might be the best way to run it smoothly.
Imagine putting your time and efforts into something, fighting the good fight for a cause that’s so close to your heart. But guess what, you can not fight this alone. Donations are the new rewards! And if you’re a WordPress user, then you’re one step ahead of others. Because it’s so much easier to create a donation form in WordPress than on other platforms. So if you want to fundraise for your non-profits or small business, you need to know how to create a donation form in WordPress.
Unfortunately, WordPress CMS doesn’t provide a payment option for websites yet, and losing a decent percentage in fees every time you collect any donation could hurt your business really bad. Any impromptu decisions can set you on the wrong foot. However if you can sort out the major roadblocks, define your goals, and learn how to create a donation form and publish it in the right way, you can surely achieve your target. And that’s what we are going to learn in this article. Let’s start with the most obvious question.
Table of content:
Why should you create a donation form in WordPress
How to create a donation form in WordPress
Where to publish a donation form
Pro tip: Set a default value to collect more
Why should you create a donation form in WordPress
If you want to make it simple for your followers to support you, it makes sense to add a donation form on your website. But hold on! Before we pitch right into the simple steps of creating a donation form in WordPress, we need to take a step back to realize the urgency of creating donation forms.
There are a bunch of good reasons but we’re going to give you the 5 best reasons why you should create a donation form in WordPress to help you decide.
1. Online donation forms make it easier to donate
People don’t like to be puzzled when they donate. Your followers are most likely to help you if the process is simple and easy. This is where donation forms are the best, as supporters can donate without any hassle. People don’t need to hunt down your contact information. It makes the recurring donation user-friendly, which helps donor engagement easier.
2. Multiple payment options available
As it happens, online forms make donations simpler by integrating different payment solutions to your site. You can add one of the biggest and the most familiar online payment options like PayPal to your website. It’s convincing that PayPal users are rising every day. But some countries still don’t have access to PayPal. Stripe could be an alternative that provides a feature-rich payment process, making it easy to accept payments from a range of sources (like credit cards, ACH transfers, digital wallets, and different currencies). So, you can easily choose and integrate these to accept donations online. Moreover, if you want to create a recurring payment option or integrate Razorpay, you can do it within a few minutes.
3. Hassle-free setup
You can easily customize your donation form as per your need with a WordPress form builder plugin, and the best part is you don’t need to know how to code. With a simple drag-and-drop plugin, you can build all kinds of forms in no time.
4. Donation forms are easy to publish
With the right WordPress plugin, it’s not only simple to create a donation form but also very easy to publish it. After building one, you can duplicate it or use the shortcode for each new fundraiser without doing everything from scratch. Also, you can design a dedicated landing page with your form builder to get more funding.
5. Helps to fundraise by saving time and effort
The tweak of a simple donation form can save your business or help you to fundraise anytime. This is a very effective and proven way to get rewards for your hard work. Without having any coding experience, you can easily create and share your donation forms with your users. That’s how you can save time and invest it into other important things, such as planning and promotions.
Now as you know, the reasons to build a donation form, without any further ado, let’s get to the business.
How to create a donation form in WordPress
Just follow these simple steps and you’ll be able to create a donation form for your website in no time.

First, you need to choose the best WordPress plugin to create a donation form for your website. You could be overwhelmed seeing so many options out there. Don’t sweat yourself. We happen to have the perfect solution for you. Fluent Forms is our favorite for its simplicity and ease of use. It’s the most lightweight form builder on the market. No coding, no hassle, and simple drag-and-drop made it more user-friendly than others. The plugin comes with 70+ pre-built templates, 35+ third-party integrations, and 45+ input fields for users. If you want to give your forms some dynamic extent to it, feel free to use Custom CSS/JS, design some eye-catching buttons, add photos/icons to make your form more graphic.
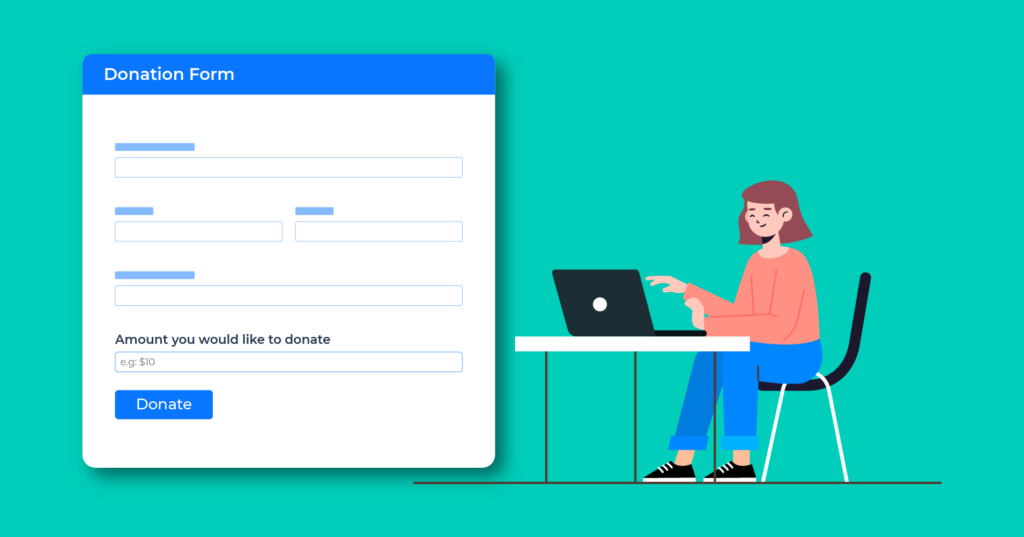
Create a new form
Once you’ve installed and activated Fluent Forms, creating a donation form is just a few clicks away. You can use a donation form template that is ready to go with all the necessary fields included, and you can also customize it as per your need. But I’ll show you how to create a form from scratch.
At first, go to the Fluent Forms menu that appears in the left sidebar of your WordPress dashboard. When you’re there, you can either select the Add a New Form button or New Form from the left sidebar.
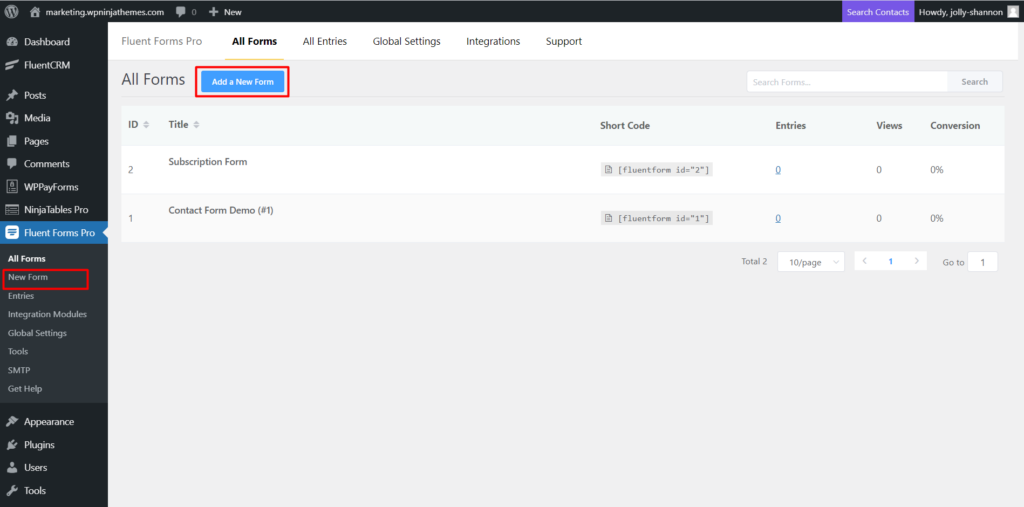
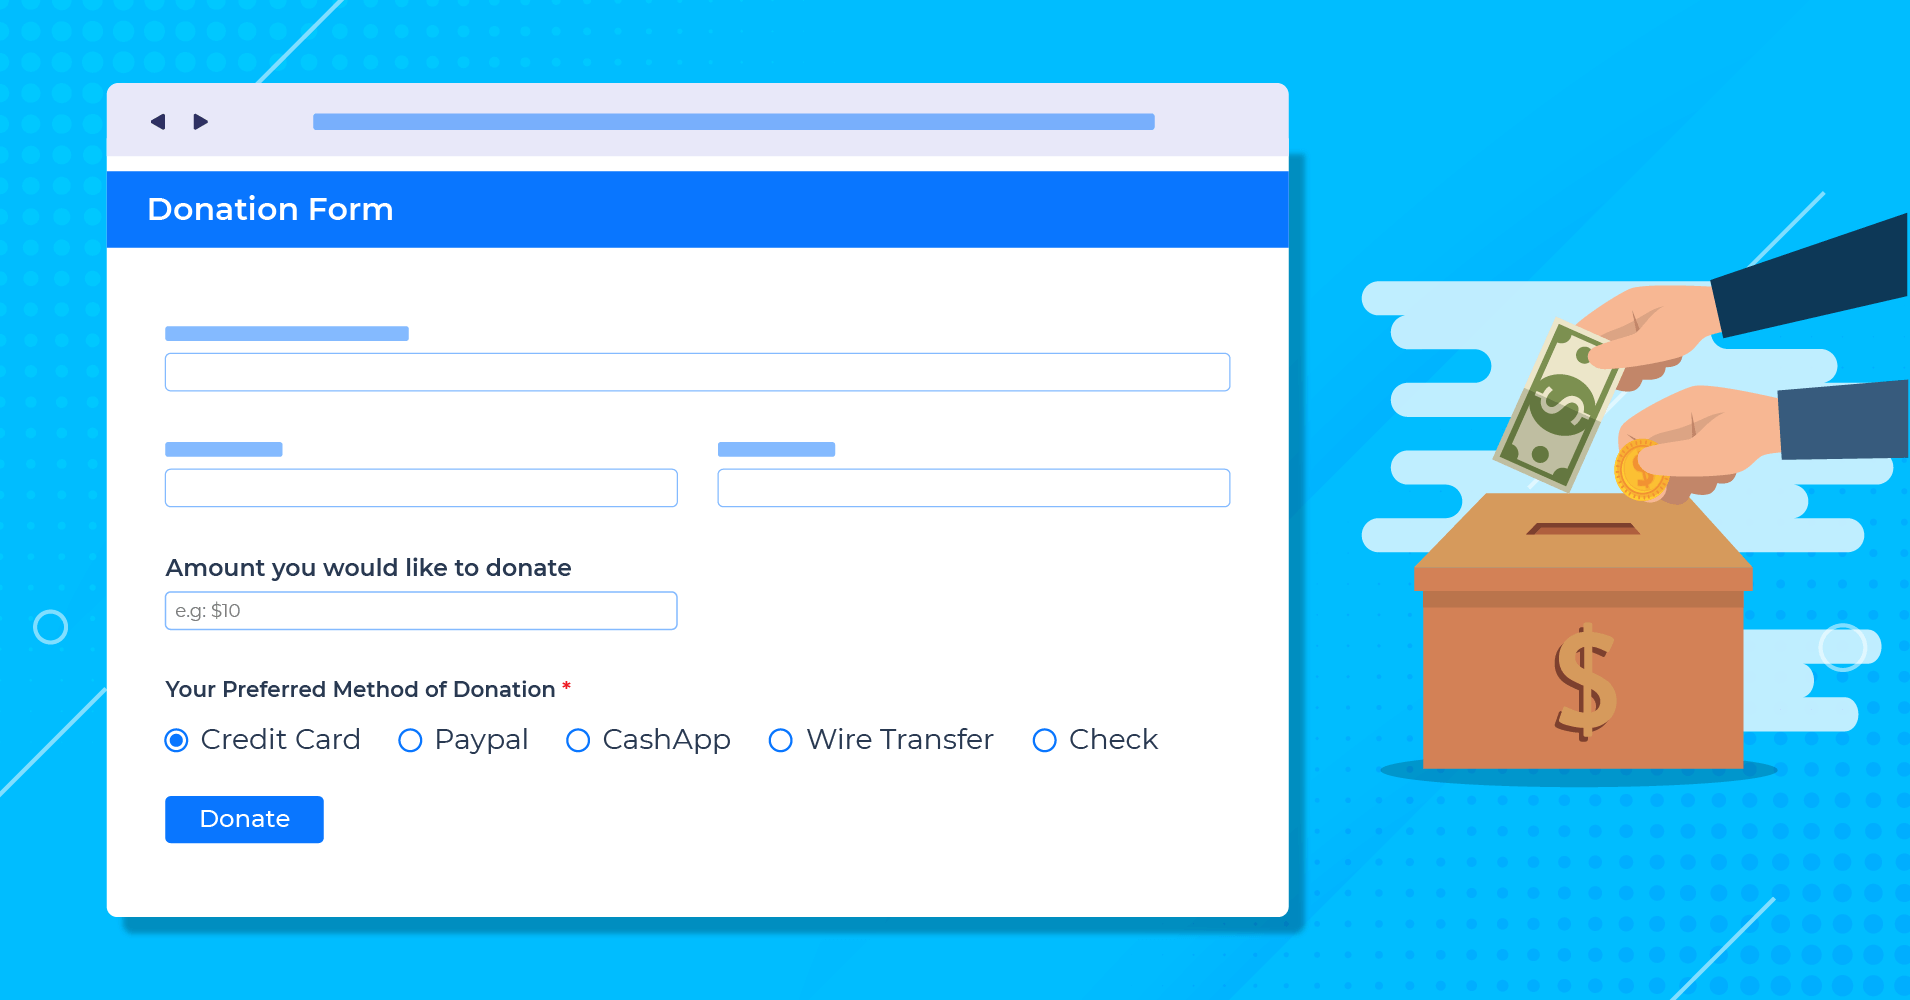
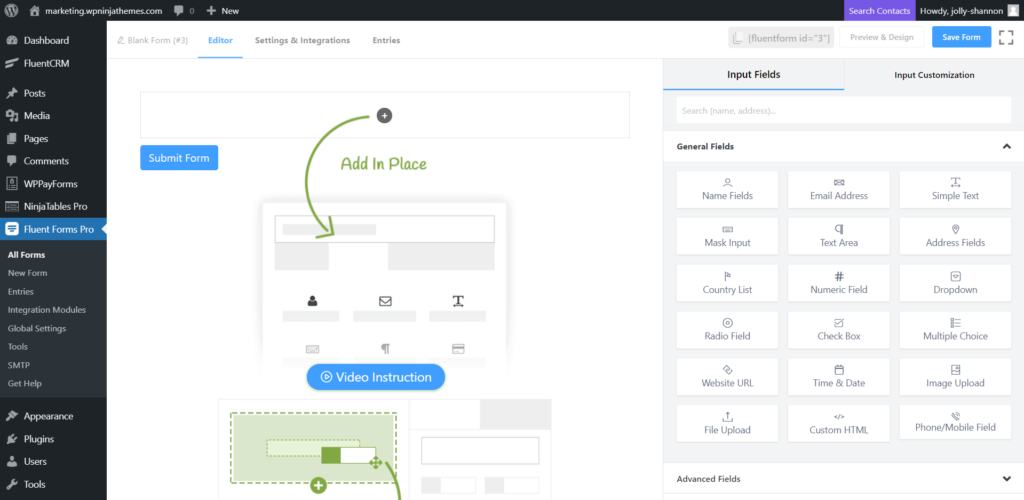
Right after clicking on the new form button/new form, a pop-up will appear, and you can select the predefined donation form template from the non-profit category. But we’re going to select the first one, New Blank Form, to build it from scratch. Now you can drag and drop new fields from the right sidebar as per your need.
Customize donation form fields
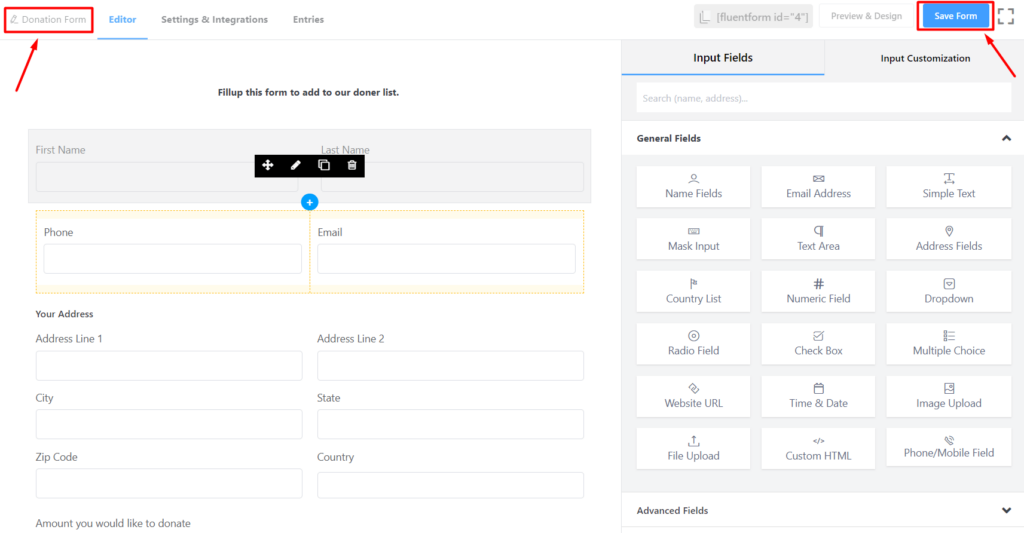
Now you can add input fields and also customize them without any coding. It’s a no-brainer. Just add a name, email, phone, and address fields one after another. You can customize fields whenever you want. Hover over the field you want to customize and click to get access to Input Customization.
You’ll also be able to change Admin Field Label, Label Placement, and Element Label, and give some placeholders to understand the field easily. There is an option to make any field a mandatory one and give some Error Message when it’s left blank with the help of the Required Field.
After finishing with the Name, Email, and Address fields, add a Numeric field to give your supporters the option to donate to you. You have access to set minimum and maximum values for the field. Make some suggestions in the placeholder to give some direction to the followers.
We used a checkbox field for the donation method. Add as many options as you like for diversity.
And the radio button can be used for the payment frequency option. You have the flexibility of adding photos/icons to the options and make your donation form more graphic.
There’s a handful of field categories like general, advance, and container. You can contain more than one field in a column if you want to make your donation form more attractive. Suppose you want to add email and mobile options side by side. Add a two-column container field and drag and drop them side by side.
Also conditional Logic can give a new dimension to the field. Learn more about Conditional Logic here.
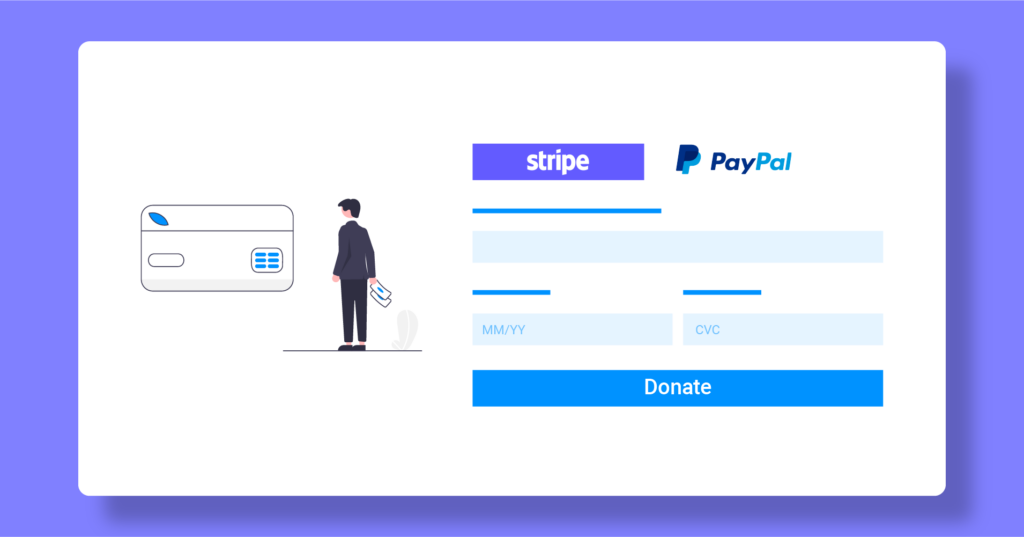
Configure payment settings for the donation form
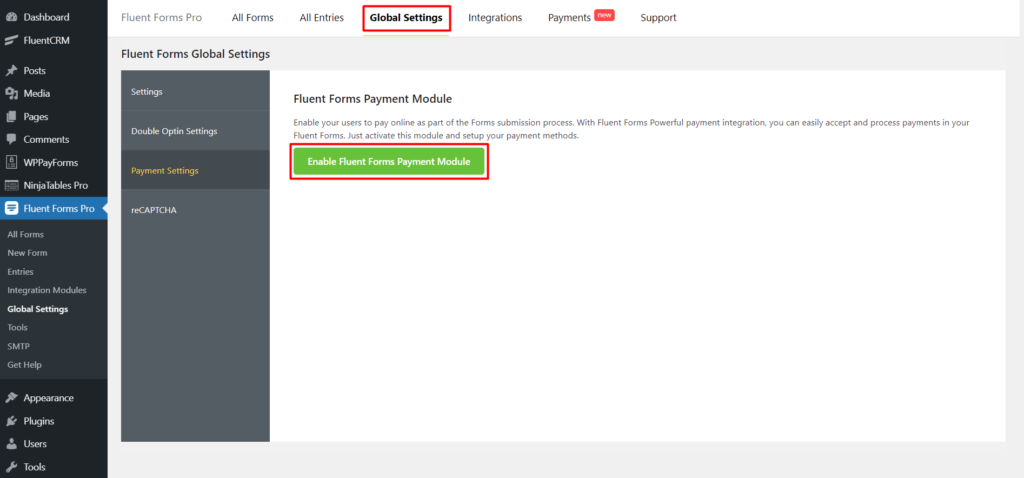
Configuring payment settings is pretty straightforward with fluent forms. First, go to the Global Settings from the dashboard, and then from the left sidebar, select Payment Settings.
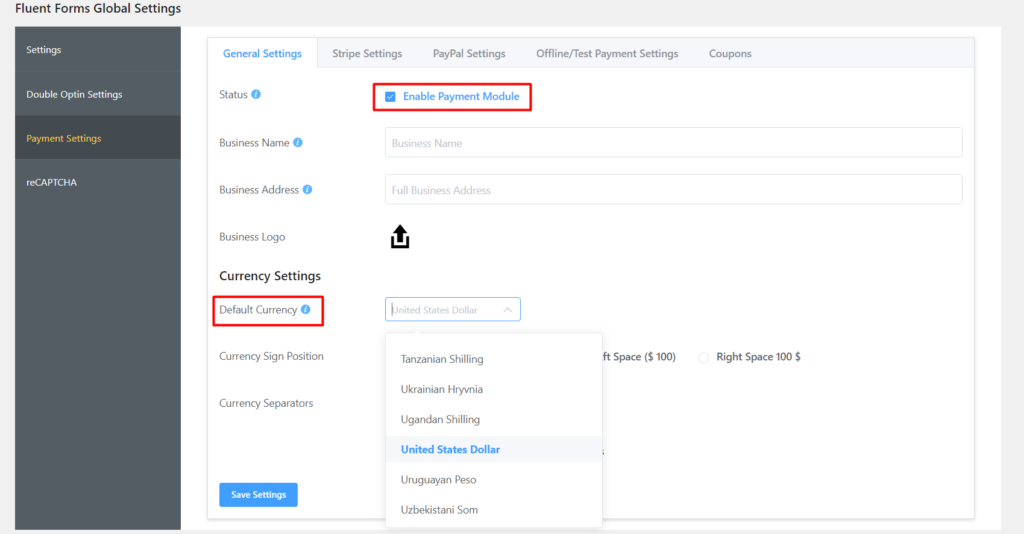
You need to check the Status box to Enable Payment Module. Following that, set your Business Name and Address. Simply upload your business logo by clicking on the arrow.
After that comes the Currency Settings. Use the dropdown menu to set your Default Currency.
You can use the radio buttons to Choose Currency Sign Position and the dropdown menu for selecting Currency Separators. Don’t want to show decimal points for rounded numbers? You can hide that too.
To configure Stripe Payments, look at our documentation on how to integrate Stripe to understand the process instantly.
Set submit button
Submit button is an important one for donation forms. Fluent Forms has some excellent features to customize your submit button. Custom color, change the radius of the border, align the button, and even add an image if you want.
Don’t forget to save the form after finishing up. The preview & Design option will help you to make any changes and see them at the same time. You’ll get a shortcode of the form to use anywhere on your website.
Setting up confirmation and notification
Confirmation messages after a successful donation are an excellent way of ensuring a good user experience. Customize your message by following the Setting & Integration bar. You can set where to redirect after the submission.
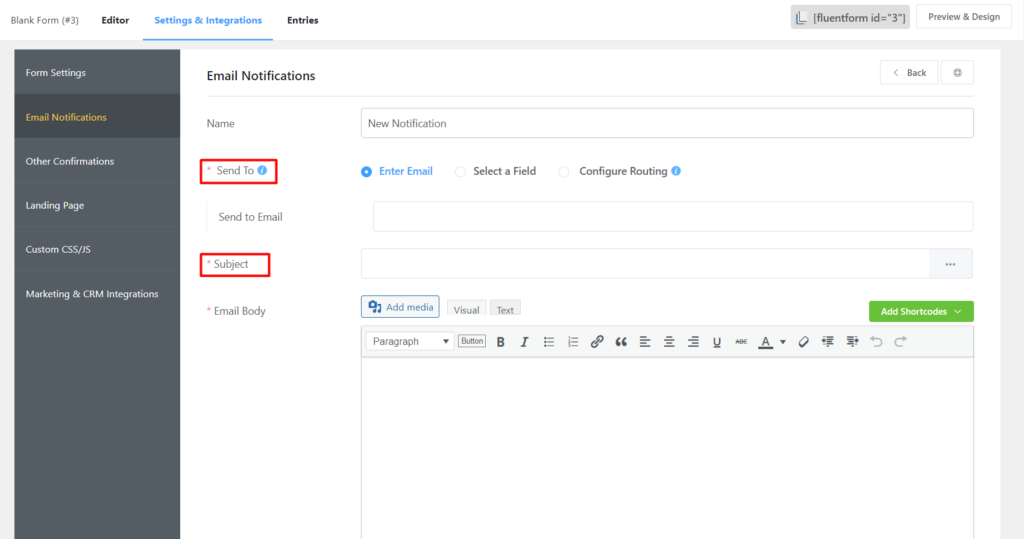
Also, you can notify your users via email without any hassle. Go to Settings & Integration first and then go to Email Notification from the sidebar. Click on the Add Notification on the right.
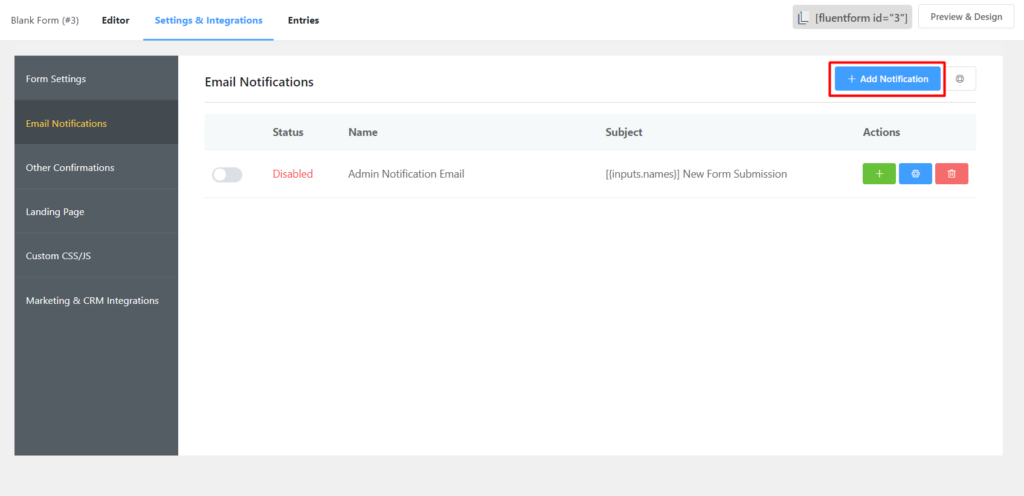
Name email notification, select Enter Email for the Send To option, define subject one, and so on. Use the drop-down menu to add data from your submitted entries. Customize your email body any way you like. Use shortcodes for convenience, and for a more advanced experience, you can use HTML codes from the text app.
You can set conditional logic to confirmation messages and email notification if you want to. And for developers, there is an option for adding more CSS/JS to give it their own touch.
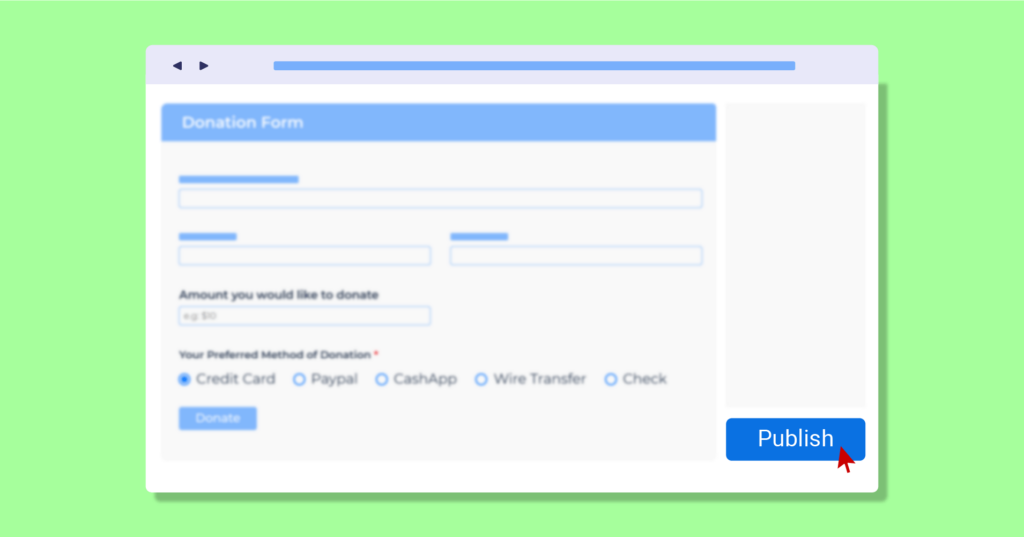
Where to publish a donation form
Don’t forget to rename and save your form. You’ve created a beautiful donation form, but you’re not finished yet. The primary purpose of the form is to get as many donations as possible. For that, you need to know where to put it on your websites. There are some donation form best practices to inspire online fundraising. And knowing where to put them is one of the important ones.
As people have limited time, they will lose interest if it’s hard to find your donation form. Ideally, a donation form should be somewhere quite visible for everyone, like your homepage or a dedicated landing page. If a donor has to scroll a bit to get to the form, make sure to add a bookmark to get there with no time. If it’s on another page, consider adding it to the navigation menu or make sure that it’s just one or two clicks away.
With Fluent Forms, you can easily embed your donation form in any post using a short code. Also, you can easily create a dedicated landing page for your donation form and share it via social media with a few clicks.
Pro Tip: Set a default value to collect more
Some users like to donate more, some less. But mistyping causes unnecessary inconvenience on both sides. Someone could type 10 instead of 100, or if they type with a phone, they could easily press a 9 instead of a 0. It could easily result in smaller funds or a confusing returning spree.
You can define the amount in the URL of your donation page and the users will see the amount already filled for them. Select the field you want to set the default value to. Now click on the Advanced Options drop-down and you’ll see the Default Value option. Click on the More option (three horizontal dots) and choose Populate by GET param.
The name attribute appears as the parameter after the get. But you can change it if you wish.
For instance, here we have get.numeric-field inside the parentheses. We will change it to get.amount. Now save the settings. Go to pages from the dashboard and create a new one. Paste the shortcode of your form and hit publish. Go to the page you just published, and you’ll see the form appear as it is. Now carefully see the URL or permalink of the page.
As you wish to guide your users with a default value to achieve more and eradicate confusion, you will have to edit it. Type a question mark after the URL and follow it with your chosen parameter. In our case, amount. Now follow it with an equal sign and type in the value you want to show. For instance, 100. Press enter or refresh the page and see the magic happen. You will see 100 appearing on the numeric field. This is called pre-populating an input field from a URL.
Any user that has this URL will have the text area field already filled.
Conclusion
Nowadays, donations are the smartest way to pay as contributors. Putting your time and effort into something, it’s not a crime to ask for minimum recognition of your work. On the other hand, for non-profit organizations, donation forms are the easiest route to keep going.
So, what are you waiting for?
Create simple, eye-popping, interactive, and user-friendly forms with Fluent Forms to make the donation process smoother than ever.
Fluent Forms Pro
Try Fluent Forms today and see for yourself!
Check out other WordPress tips and WPManageNinja plugins. Subscribe to our YouTube channel and follow @WPManageNinja to get all the fresh news!
-

Recurring Donations in WordPress: Guide with Examples and Tips
Learn how to set up recurring donations in WordPress, and -

How to Start a Blog: A Beginner’s Guide for WordPress (2026)
Learn how to start a blog with WordPress. Step-by-step guide -

Contact Form Mistakes to Avoid in 2026: UX, Spam, and Conversion Fixes
Fixes for Contact form mistakes covering UX, SMTP delivery, spam,
Leave a Reply
You must be logged in to post a comment.