
Build Advanced Forms in WordPress Instead of Google Forms

Google Forms is one of the most popular free online tools to create surveys/event booking forms and analyze data. Google forms is very simple and powerful tool to get and analyze simple data. But when it comes to complex form and third party integration, You may use other form builder plugin like WP Fluent Forms to build awesome forms in WordPress.
Google Forms Features
The aim of google form are as below:
- Creating custom survey forms.
- Getting instant user responses.
- Scheduling form publication.
- Get the data in Google sheets
- Analyze the data using Google sheets interface
- Embedding images & videos in forms.
Google forms is useful but it fails for most of the advanced use cases. For example,
- Send an email to the submitter after submit the data.
- Add the user to MailChimp email list for marketing campaign
- Add the form into your own website to match the site styles
The problem is, with google forms you can’t achieve these.
However, with your WordPress you can create those things easily through your website too. You don’t have to write a single line of code and you can create beautiful forms and configure the integrations easily. Plus, you can share your own website links to fill out the form. In this article, I am going to show how you can easily create a form and configure the settings in less than 10 minutes. (No Coding Required)
Make Custom Forms in Your WordPress Website
Fluent Forms is a Modern WordPress form builder plugin that can be used for various purposes. It’s completely free and opensource WordPress plugin.
WP Fluent Form has a powerfull drag & drop form building facility, more than 40+ advanced custom field, email notifications & 3rd-party integrations. WP Fluent Form is one of the most feature rich plugin in the WordPress plugin industry.
Fluent Forms Features:
- Extremely fast and easy to use
- 100% mobile responsive
- Conditional Logics on form fields
- Multi-column form layout
- Pre-made form templates
- Shortcode based forms to publish in the frontend
- Multiple Email Notification both for admin/frontend users.
- Customizable email templates with shortcodes
- Slack integration (completely FREE)
- MailChimp Integration (completely FREE)
- More 3rd Party integration
Creating Custom Forms using Fluent Forms
First of all, you need to install WP Fluent Form From WordPress Plugin Repository. Download Fluent Forms WP Plugin Repository and install in your WordPress site. You can also install from your WordPress Dashboard:
- Navigate to WordPress Admin Panel → Plugins → Add New
- Now, search for WP Fluent Form, click Install, and then Activate
Now, Create a form
You will get in details documentation here: How to Create a Form
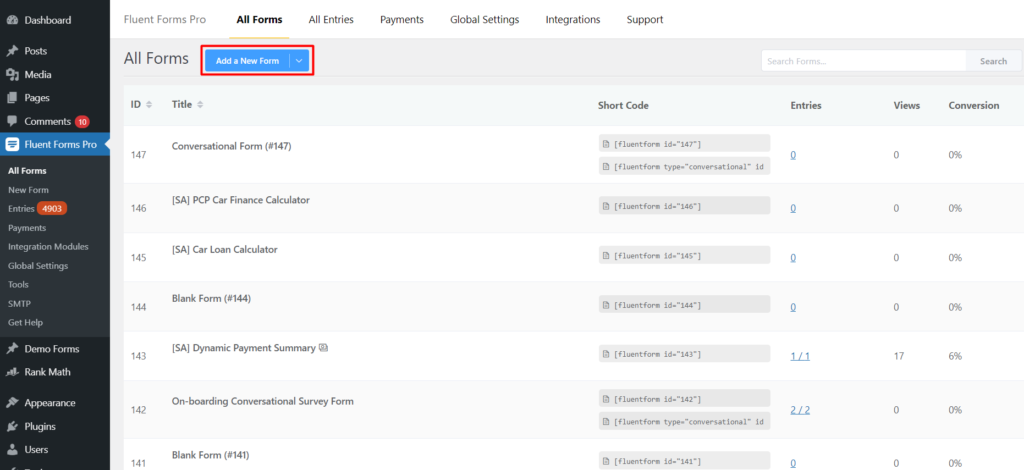
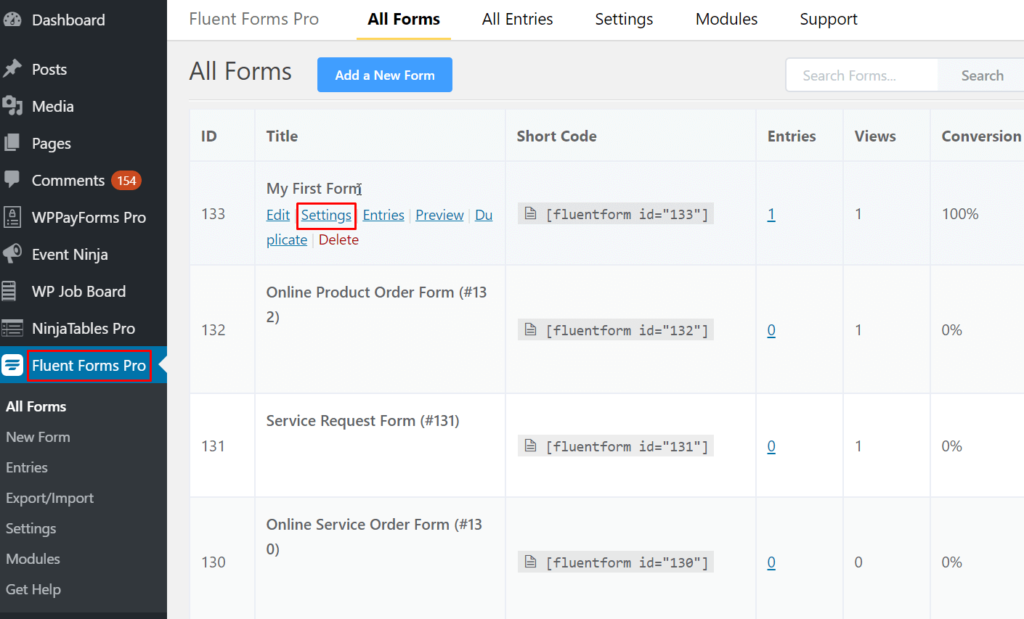
- Click on the New Form button on your WordPress admin panel’s Fluent Forms menu. Or you can also create a new form by clicking on the Add Form button from the All Forms dashboard.
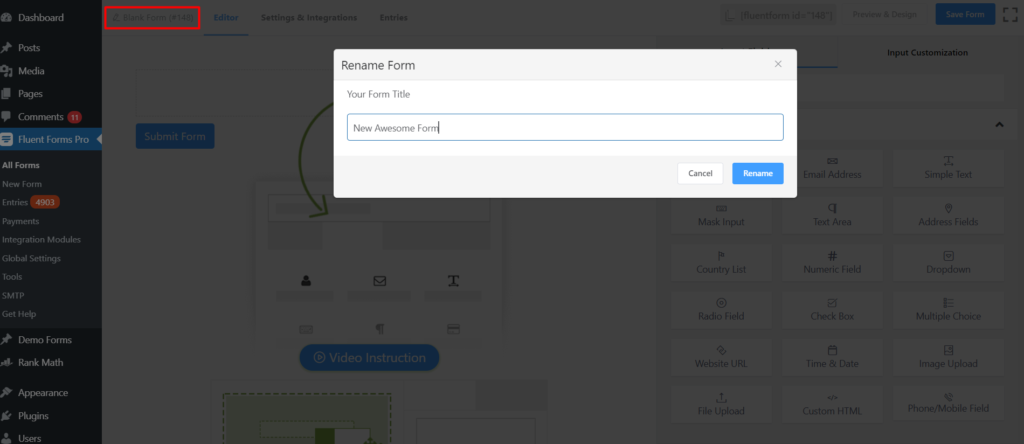
- Clicking on the New Form/Add Form button opens a pop-up that allows you to choose from 70+ pre-built form templates or you can choose New Blank Form that allows you to build a form from scratch. Here we will discuss how to create a form from scratch.
- Identify your form by naming it. To name a form, click on the Edit icon on the top-left corner (besides New Blank Form) and define its name in the following pop-up.
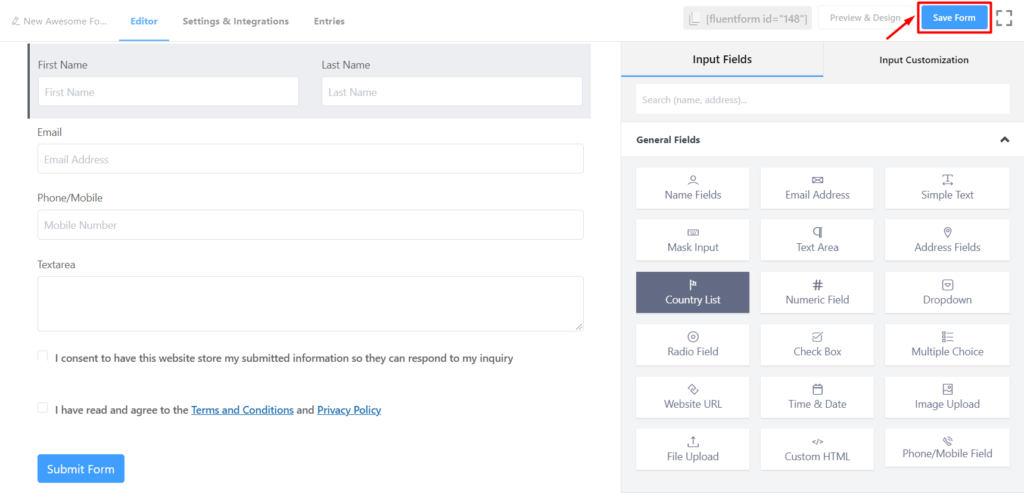
- Add fields according to your requirements.
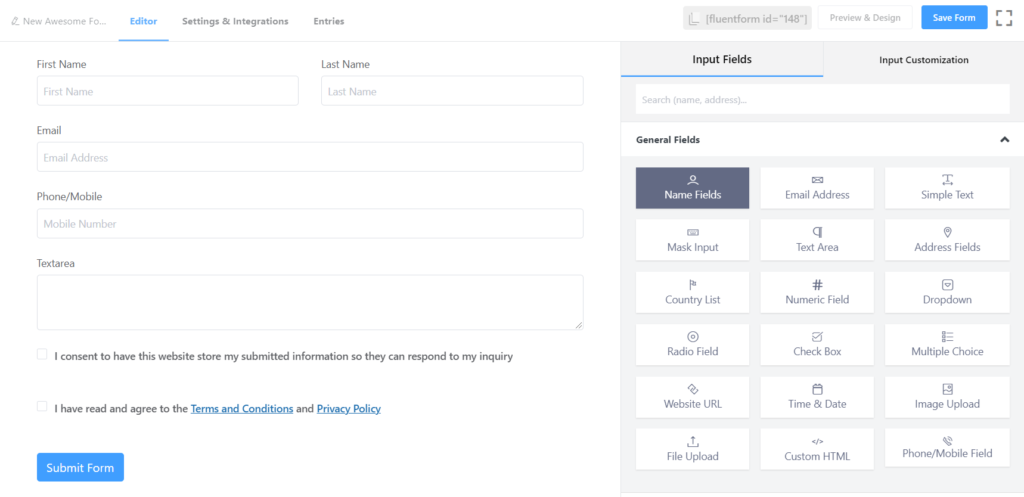
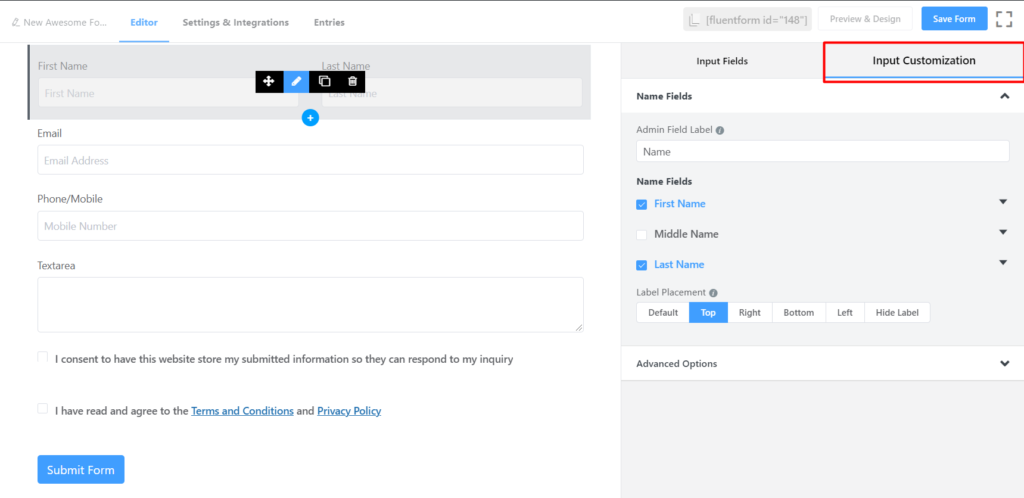
- Customize the Fields as required. WP Fluent Form comes with various options to enable users to customize the fields you intend to use. To customize an added field, hover on it and click on the Edit icon. You can also click on the Input Customization tab on the right sidebar. These customizations offer you various options starting from renaming a field, defining a placeholder, and positioning a field label to define the maximum size of an uploaded file. In the video tutorial above, a few of these customizations are shown so that you can get an idea.
- Done with the customization and everything? Click on the Save Form button on the top-right corner of your screen.
- Now copy the shortcode and paste it on the page you want your form to be visible.
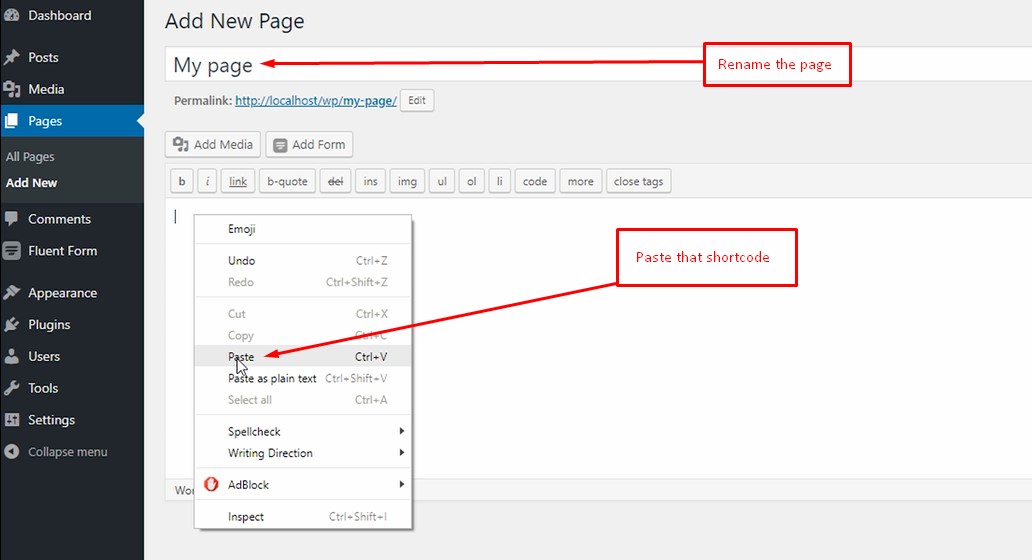
Once you are done adding your form fields and customize then you can just copy the shortcode and paste in your WordPress page/post. That’s it!
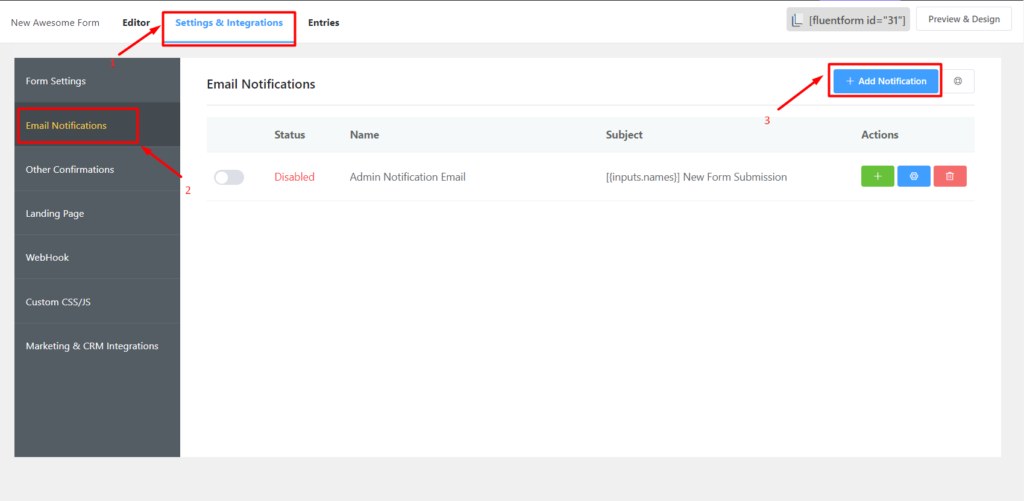
Setting Up Email Notifications:
Using email notification Module, get notified every time someone fills up a form. With Fluent Forms, you can also notify your team members when the form is filled up. It means your team members can get notifications if you include them on the list. To enable this, go through the following steps.
You see in the video that, It’s very easy to setup multiple email notifications as well as you can use smart field shortcode to send send customized emails to your form submitter as well as your team and yourself.
Integrate Your Form Data with MailChimp:
Integrate your MailChimp account easily with Fluent Forms and send marketing emails to your users with no hassle. Here is how you can integrate MailChimp with WP Fluent Form entry list.
To configure MailChimp please follow the following tutorial about MailChimp Configuration.
Once you configure your mailchimp api key follow the following steps:
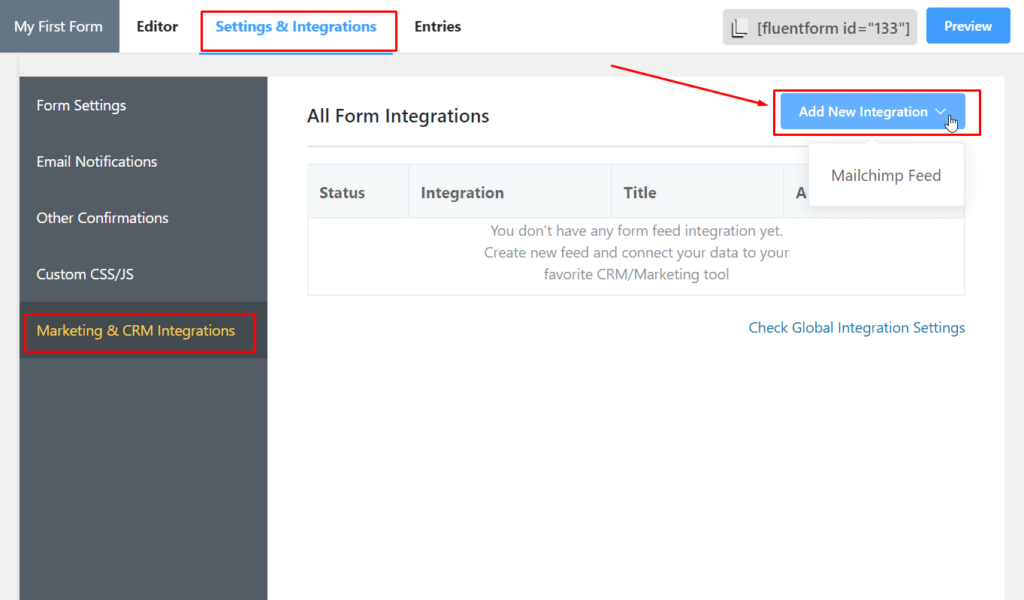
- Go to All Forms and select the form you want to integrate with your MailChimp account. Go to Settings (Top bar) > MailChimp (Sidebar)
- Click on Add New. If it is your first list, click on Create One.
- Configure the settings according to your requirements.
- Name the list, select the MailChimp list the data is to be fed in from the Dropdown list.
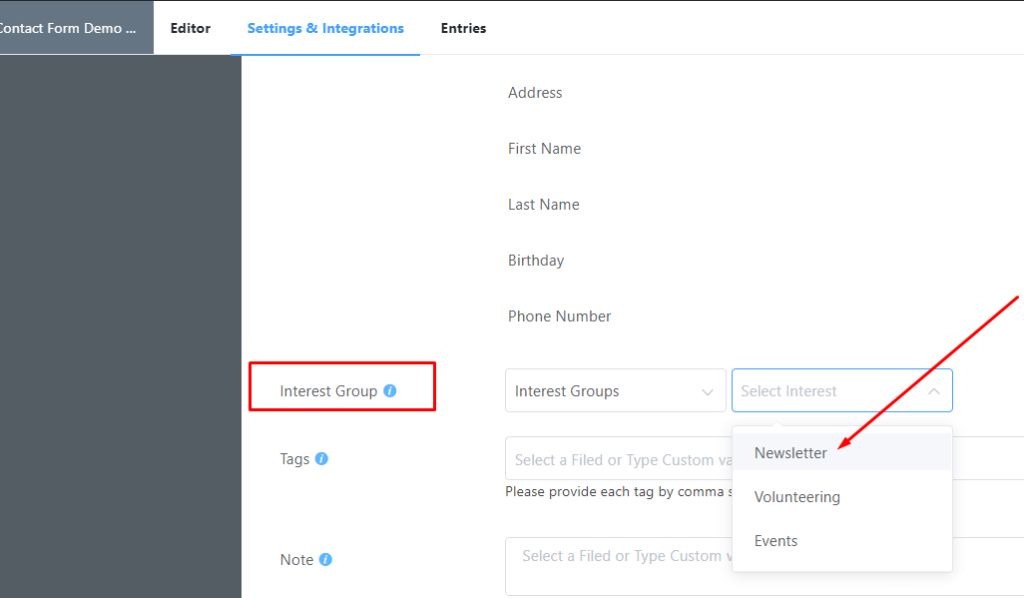
- Configure Field Mapping. Correlate the MailChimp Fields with the form’s input fields (e.g. Email Address with Email, First Name with names[First Name], Last Name with names[Last Name], Birthday with Date of Birth etc.)
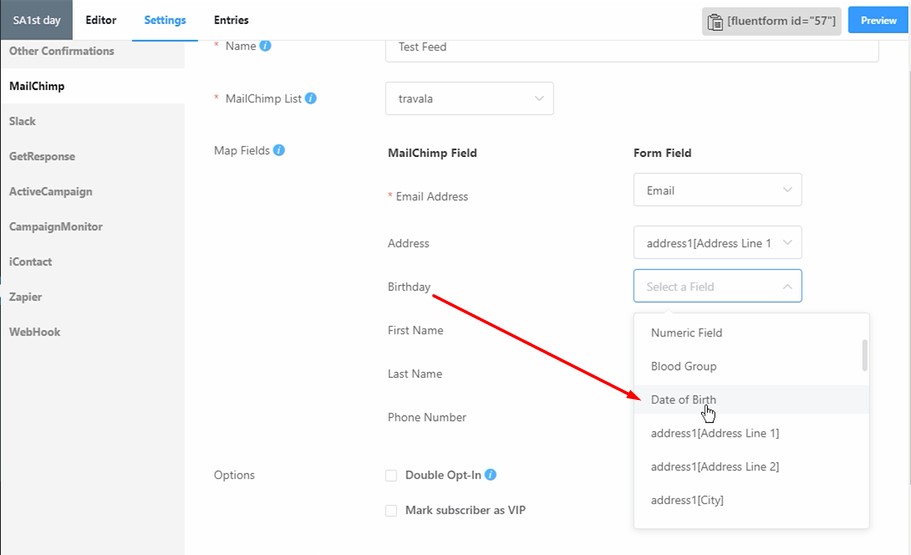
- Toggle on/off Double Opt-in, Mark Subscriber as VIP if needed. When the double opt-in option is enabled, MailChimp will send a confirmation email to the user and will only add them to your MailChimp list upon confirmation.
- Set Conditional Logic if necessary. This Conditional Logic can be set just like the regular Conditional Logic and if subscribers will be added to list only if they satisfy the conditions set.
- Click Update MailChimp Feed to finalize your settings.
Other Fluent Froms Features
Fluent Forms comes with many integrations and the team behind it working continuously to add new features and integrations every month. By the way, You can email the team anytime to add new features/integrations.
Currently, Fluent Forms have the following third Party integrations:
Extended Integrations and Third Party Features
- Campaign Monitor
- GetResponse
- Active Campaign
- iContact
- Zapier
- WebHooks
- MailChimp
- Slack Notification
- Conditional Email Broadcast
- Conditional Integration Broadcast
All the Form Fields You need!
Fluent Forms comes with 45+ well-crafted input fields which is more than enough to build any type of simple/complex forms easily.
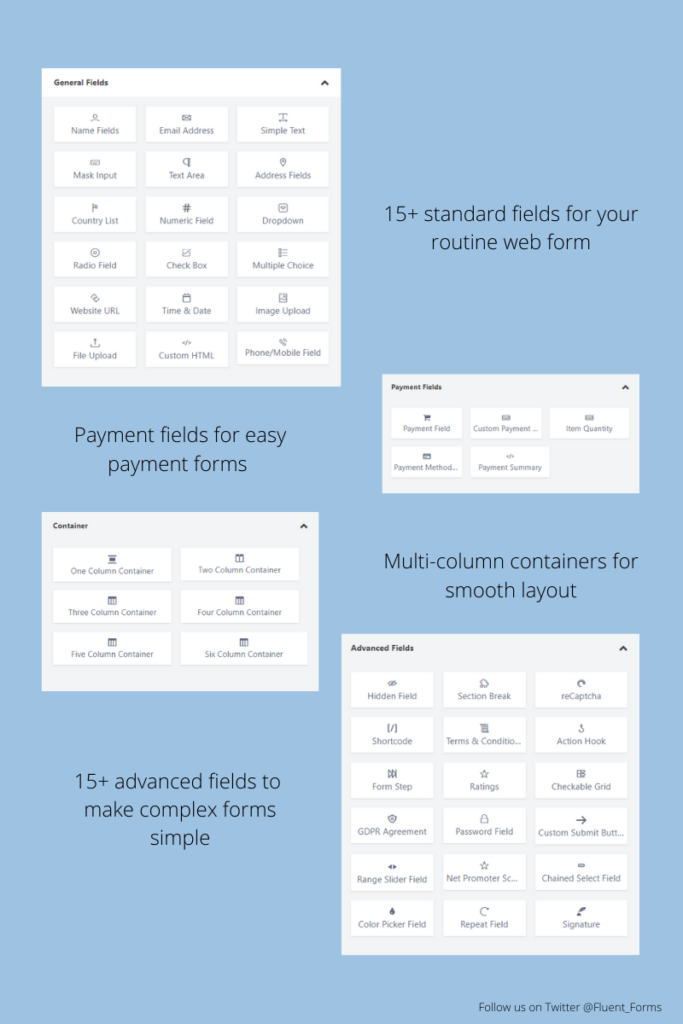
You can get all the Fluent Forms field documentation here.
Download Fluent Froms and let us know what do you think about this. If you want any new features just email us and we will get back to you as soon as possible.
-

Contact Form 7 vs Fluent Forms: Which one should you go for?
Learn the comparison between Fluent Forms vs Contact Form 7. -

How to Create an Event Registration Form on WordPress in Minutes
Discover how you can easily Make An Event Registration Form. -

Contact Form Mistakes to Avoid in 2026: UX, Spam, and Conversion Fixes
Fixes for Contact form mistakes covering UX, SMTP delivery, spam,
Leave a Reply
You must be logged in to post a comment.