
The ELEMENTS section which allows you to customize/configure every element of the content slider. In this section, there are four options to configure. Each option plays a different kind of rules for a particular content slider.

The first option of ELEMENTS section is Title. To get to that click on the option on top.

There are five parts of the option. In the first part, you have an option of hiding the title which is HIDE TITLE. You can enable or disable the title using this option.

Next, come to the HEADER COLOR option. By this option, you can customize the color of a header in a particular content slider.

After this option, come to the HEADER FONT SIZE option. By this option, you can customize the header title size.

Next option is SUB-TITLE COLOR which determines the color of the subtitle in the header section.

You can customize the color as you wish and make a proper adjustment according to your expectation.
Then come to the SUB-TITLE FONT SIZE option that allows you to customize the sub-title font size in pixel.

This is how you can use the Title element in the ELEMENTS section.
Next, come to the Features element which allows you to customize and configure the all the features of the content slider.

In the FEATURE element, you can have four different options to configure all the feature in the elements.
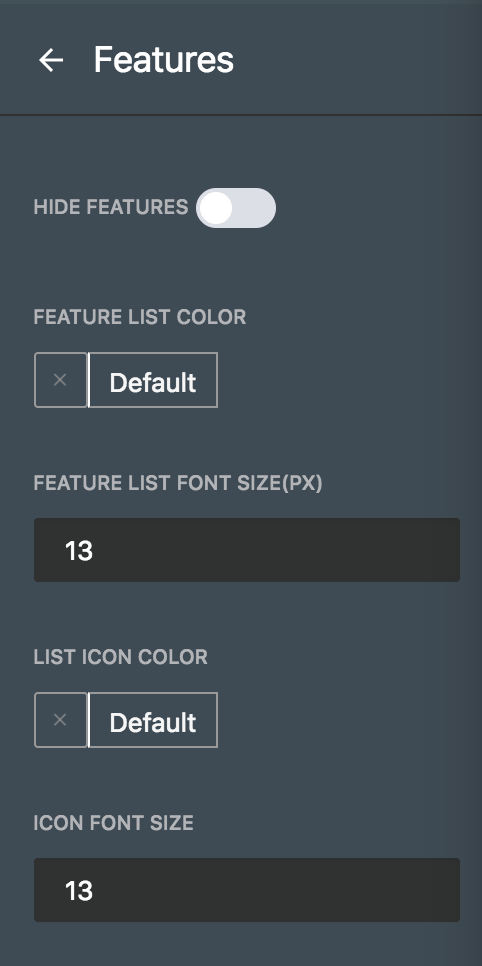
Next, come to the first option which is HIDE FEATURES that allows you to enable or disable the features of the content sliders.

You can enable all the features just by single click.

Then come to the FEATURE LIST COLOR option that determines the features texts color.

Next, come to the FEATURE LIST FONT SIZE option which allows you to customize the features text color.
Next option is LIST ICON COLOR which allows you customize the color all the icons given in the features including sign icons and hint icons.

Then come to the last option of this element which is ICON FONT SIZE which allows you to customize the size of the icons.

You can easily increase or decrease the icon size of that of the features element.
Next element is Price which allows you to configure all the elements in the price.

There are seven options in the Price element. All the options are given you to configure according to your requirement.

By the first option of Price element, you can enable or disable the price element of every content slider. This title is entitled with HIDE PRICE name. You can hide the Price element using this option.

You also can enable Price element by this option through a single click.

Come to the next option which is PREFIX COLOR that determines the color of the proceeded text to the dollar sign.

You can customize the color of the proceeded text to the dollar sign as you want by this option.
Then you can have PREFIX FONT SIZE option to customize the font size of the proceeded text to the dollar sign.

Next, come to the color option which is PRICE COLOR. You can change the color or customize the price font through this option.

Then come to the PRICE FONT SIZE option which allows you to customize the font size of the given price.

Next option is POSTFIX FONT COLOR which is to customize the text color situated next to the price font.

Next option is POSTFIX FONT SIZE which determines the font size situated next to the price font.
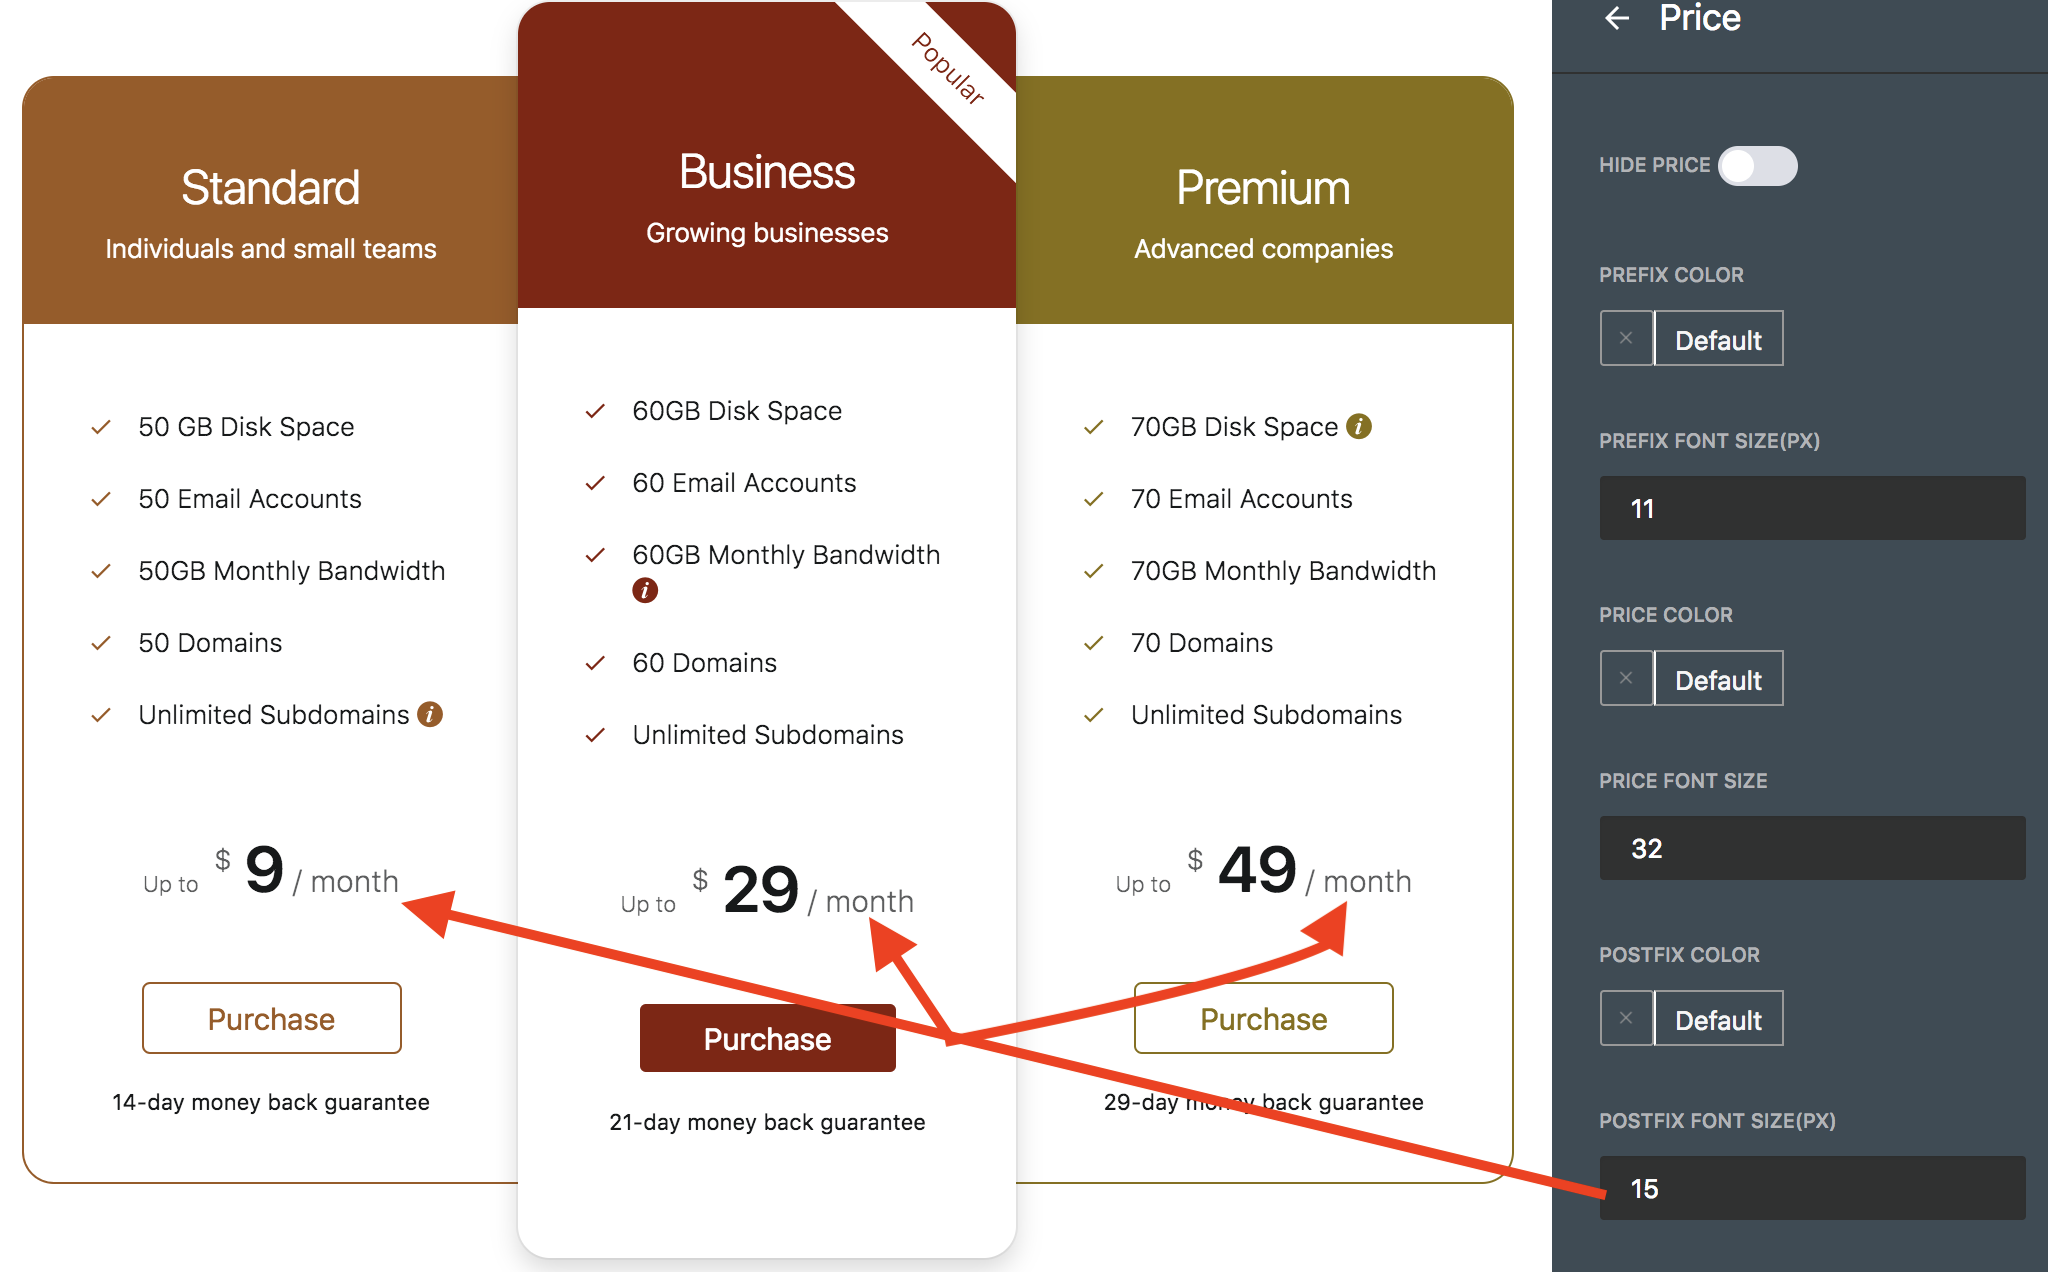
This is the last part of the Price element.
Next, turn to the last element of the plugin which is Footer. This element is for configuring and customizing the footer part of the pricing table. To figure out this element, click on the Footer element.

Then you will be taken to the footer element panel. There are seven items contain in the FOOTER element.

Come to the first option of the FOOTER element which is HIDE FOOTER. This option allows you to enable or disable the FOOTER element.
You can disable the footer as it’s done below.

At the same way, you can enable FOOTER element.

Then come to the next option which is BUTTON COLOR. This option allows you to customize the button color.

Next option is BUTTON FONT SIZE which is used to customize each button text size of the FOOTER element.

After that option, come to the BUTTON BACKGROUND COLOR option. This option is used to customize the background color of the button.

Next option is BUTTON BORDER COLOR which is used to customize the border color of the button.

The following option is CAPTION COLOR which allows you to customize the color of the caption located under the button.

The last option of the FOOTER element is CAPTION FONT SIZE which is used to customize the texts of each caption given under the button.

This is the last part of the FOOTER element. This is how you can configure your pricing table altogether.
After configuring all the requirements, you just click on the Update button located on top of the panel. Then click on the Preview button to look up the ultimate outcome of the configuration.

Now, let’s have a look of the ultimate view of the pricing table I just have created now.

This is how you can do all the staffs to fit your pricing table into your website using the beautiful Pricing Table Builder Wordpress plugin.