
CONTENTS section is used to customize all the contents available in the pricing table. There are 3 built-in content slides in the plugin. You can add as you need. Each content slide settings and configuration works in the same way. I am showing the all the system and configuration in general. In this section, you can add, edit, delete the contents altogether. To make sure I am showing you all of its functionalities. First of all, click on the CONTENTS section and you will be have the following options given below in the snapshot.

You can edit existing content by clicking the content part. You also can copy by clicking on the copy icon of the respective content part. By applying the same way you can delete by clicking the delete icon. At the bottom, there is an ADD button to add any content needs to be added. Most importantly you can rearrange the existing contents through drag and drop.

Let’s move to the edit part of the section by clicking the first content part itself. 
Then you will find a custom slider option appear to you bearing the existing contents.
In this part, at first, you have an icon for featuring the existing content. If you want to do so, just enable the icon then the existing content would be the featured content.
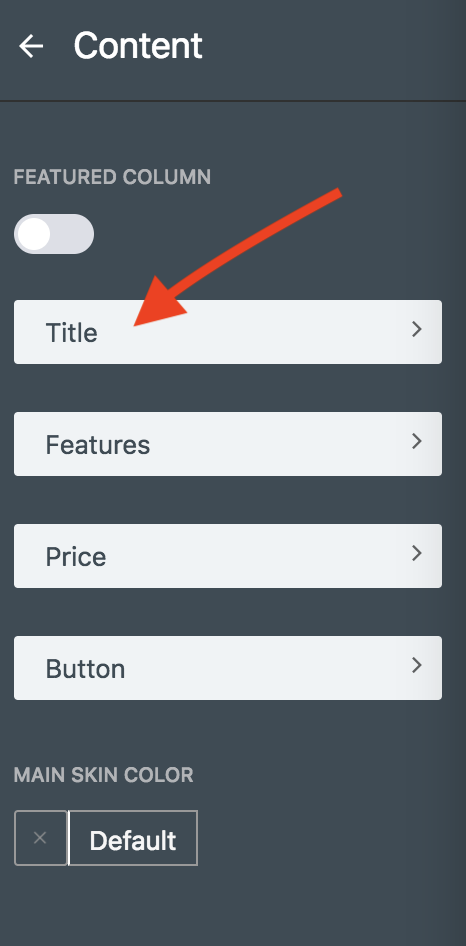
Then come to the next, in this part, in this part you can customize the texts of the content. Click on the Title field to change the text of the title. I am typing Standard in place of Personal Plan. In the same way, you can change the caption part situated just under the title. I keep it the same as before.

Then come to the body part by clicking the Features option.

In this part, you will have a custom slider bearing the existing content.

This part is almost the same as the previous one. Here just one option is given for adding for more features. To add more features just click on the Add icon.
You also can edit specific data by clicking on that particular data.
Then you will have another slider for that particular text. You can edit, add, delete and also make a text hint for this particular text.

You can make a hint of any of the features for securing the thing user-friendly.

The output is given below for your better understanding.

You can change the feature icon from the dropdown list. There are six inbuilt icons given for the text. You can choose one of them.

The output of the feature icon would be like so.

This is the last option of the Feature part. Next, come to the Price part of the section. Click on the Price option to make any customization.

Then you will have another custom slider for customizing pricing materials. There are 4 options for that part.

There is a PRICE PREFIX option on top of the list. This option contains a drop-down bearing 3 default semi options to limit the business policy. You can choose one of them.

Then you have CURRENCY option that contains 2 default currency. The good part of this is, you can add any sign of a currency as your choice.

Then you have the input field for giving the PRICE. This part is used to input the price you want to add. You can use the expected number digit you want.
The last part of the PRICE option is PRICE POSTFIX with a drop-down option for adjusting duration of your pricing policy. This field determines how long you want to last the price offering.

This is how the pricing option works.
Let’s get into the Button option. To get into the Button option, click on the Button option of the content part. In this option, you will have five functionalities.

First of all, there is a BUTTON LABEL which determines the text of the button. You can give any text you want as I have given here Purchase.
Next turn to the BUTTON URL which determines button link you want to provide. Usually, this link is directed to the purchase page where all the purchases functionalities happen.
Next, come to the OPEN LINK IN NEW WINDOW option that actually enables you to open a new window with the given link. It actually works as target=”_blank” in the programming. You can enable or disable the option using this part.
The CAPTION is the next part of the BUTTON option. This part determines the additional texts that usually say about the offerings. Typically it says about the offer duration.
The last part of the button option is CUSTOM CLASS which actually allows you to add any additional custom CSS into the button option. This is how the button option works.
The last part of the Content section is MAIN SKIN COLOR which determines the color code of the respective content slider.

You can choose your custom color according to your choice. Here is a default custom color pad is given to customize the expected color.

This is how y0u can use the color code of a specific part of a content slider. These are the functionalities of the CONTENTS section.