
To create a new menu, navigate to Appearance > Menus from your WordPress admin panel and click on Create a new menu. Enter a name for your new menu and then click Create Menu.


Every page that you have created will be listed in the section on the left named Pages. Simply check the pages that you would like to add to your menu and click the Add to Menu button. Once you have added pages to your menu, you can click and drag the menu items to rearrange them or nest them one underneath the other.

In the Menu Settings section (which is located underneath the Menu Structure section), check the checkbox next to Top menu and click Save Menu. This will activate the menu you have just created, and you should now see a functional menu in your header.

You can edit your menus in the Edit Menus tab. When editing menus, you can click on the small triangle icon on each menu item to open a list of editable settings:

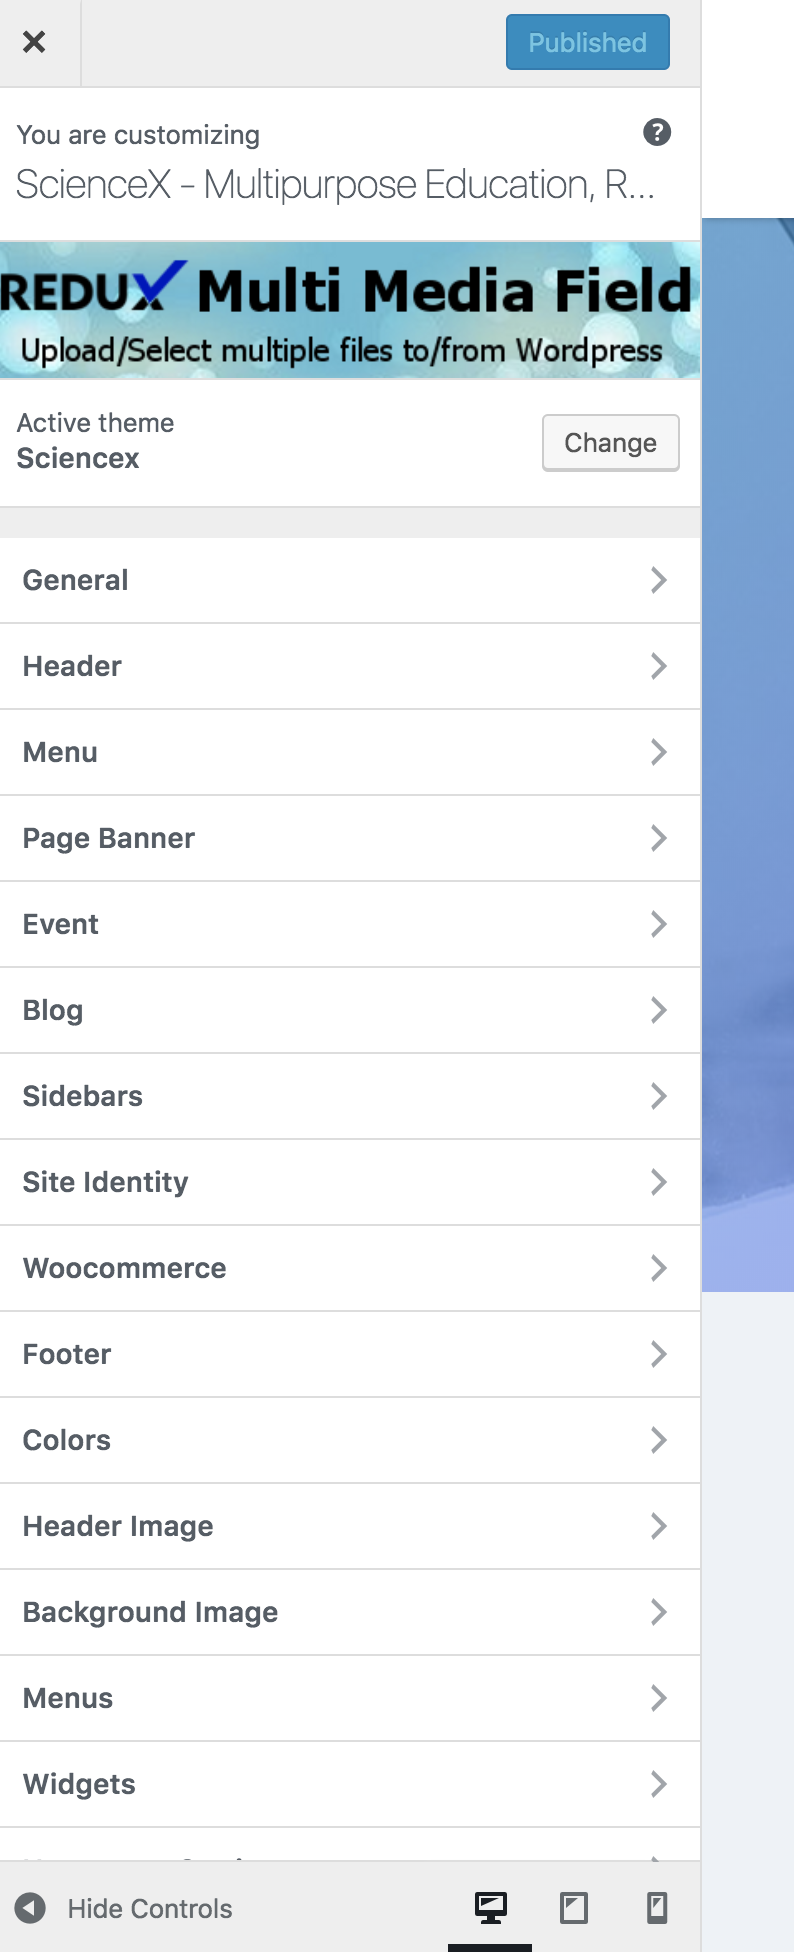
Also, you can change settings in Customize menu.
1.

2.
3.
