
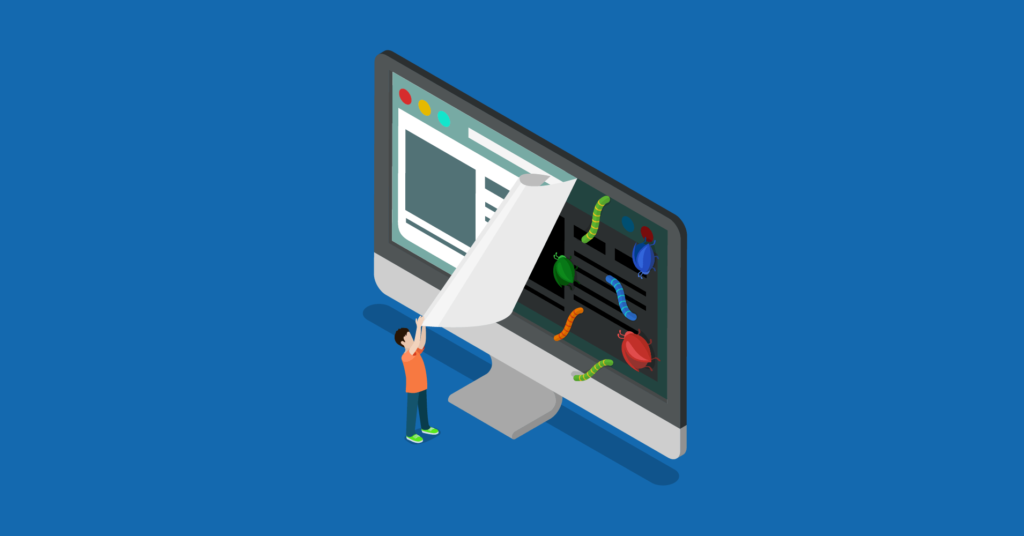
Fortunately, WordPress comes with a nice feature named debugging that allows you to see or hide the errors when debugging mode is on.
To start this feature in your site, you have to initially add the following code in your WordPress configuration file.
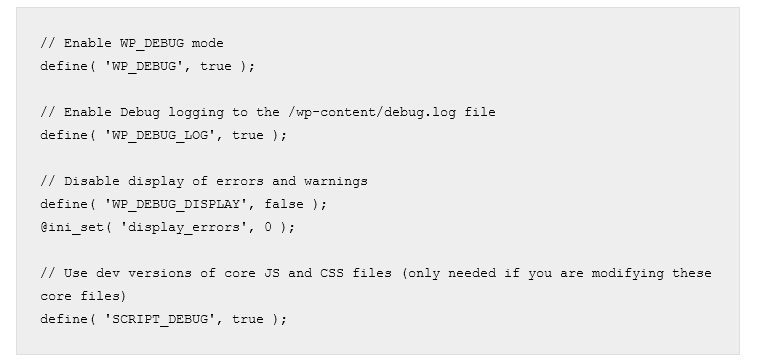
You also can turn on debugging while hiding the errors on your site and saving them in a log file. To do so, you have to add only the code to your configuration settings given below.

This code will create a file named debug.log inside the wp-content folder of your site and stock all debugging errors and notices inside the log file.

This is how you can manage to debug with your WordPress site. For more clarification follow the WordPress default guide. Hopefully, this pro-tip was helpful. Find more Pro-tips here.


Hi, this is Sazzadul Bari, Digital Marketing Strategist at WPManageNinja. SEO content writing, outreaching, link building, and lead generation are my specializations. And when I am not drooling over WordPress plugins and updates, you’ll find me enjoying sports or going through my favorite books.
-

How to Sell Videos Online With WordPress (Step by Step) in 2026
Learn how to sell videos online with WordPress using FluentCart -

Strategies for Community-Driven eCommerce: WordPress Guide
Discover some best Strategies for Community-Driven eCommerce. See how you -

9 Key Instructional Design Principles for Optimum Learning
Teaching is just as challenging as learning. You have to…
Leave a Reply
You must be logged in to post a comment.