

How to Create Non Disclosure Agreement (WordPress Guide)
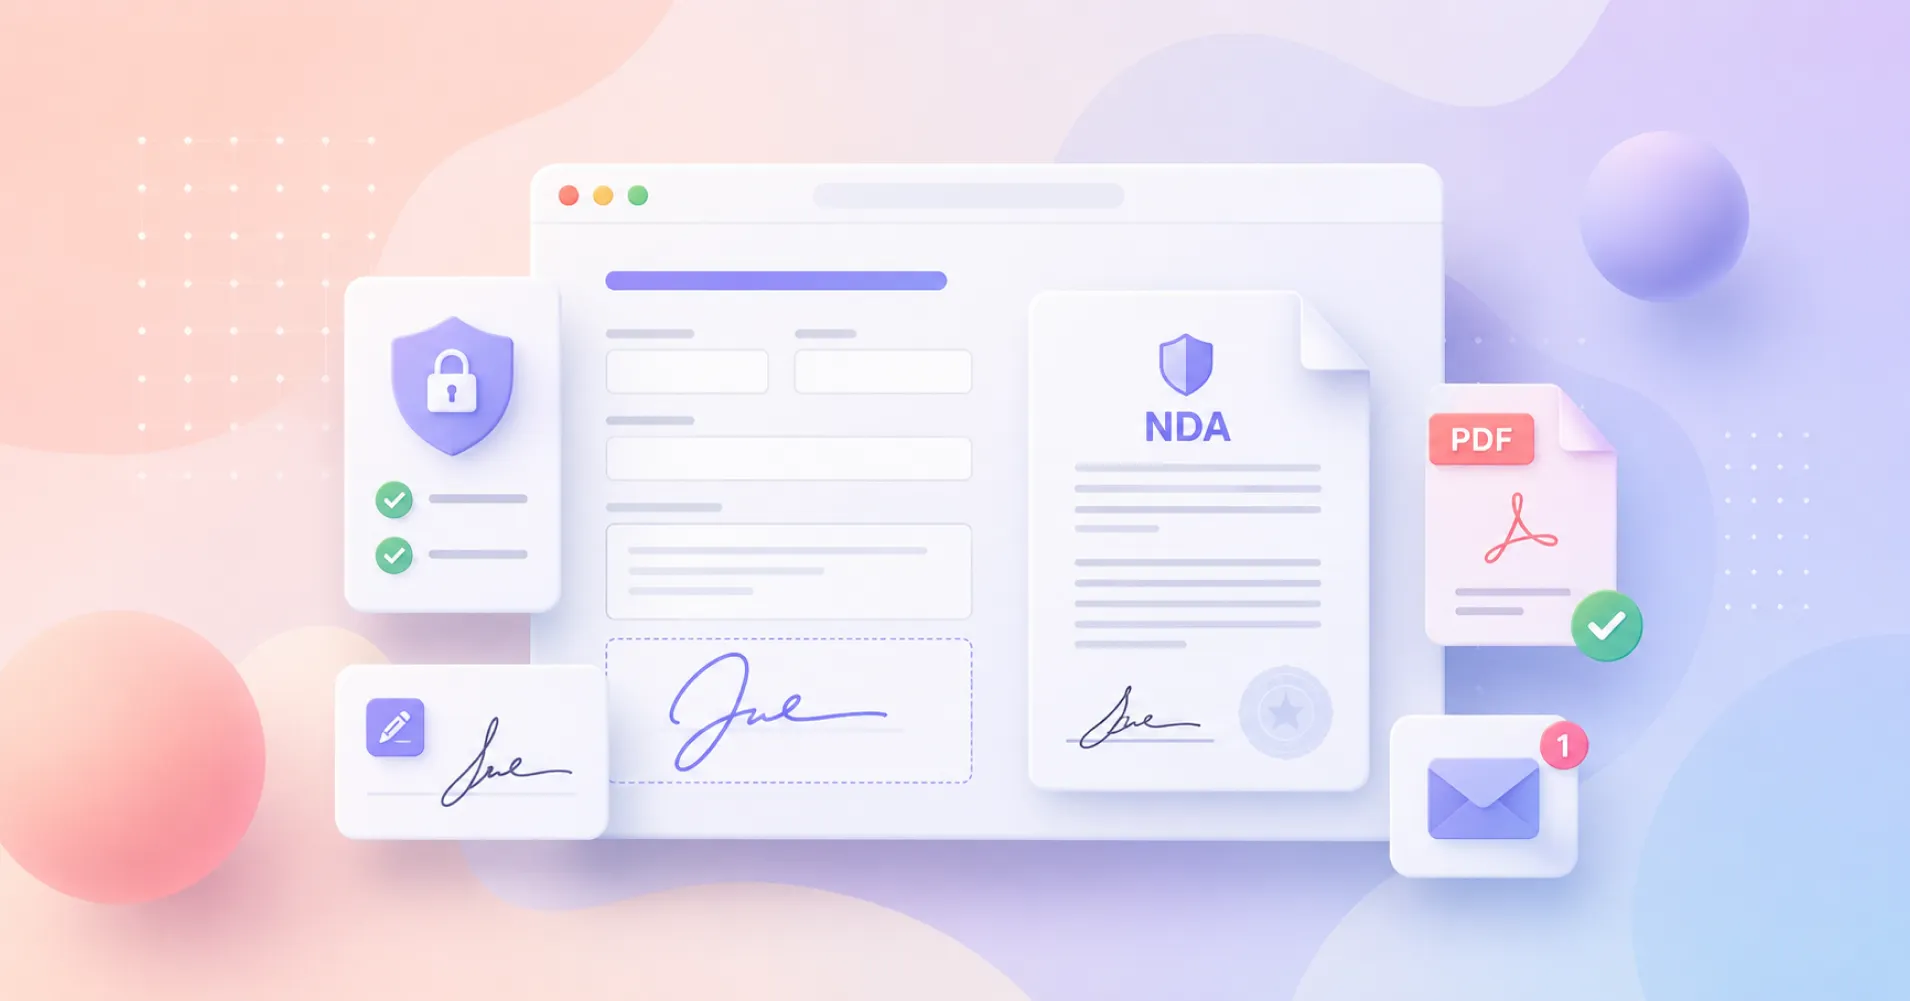
Sharing confidential information is often necessary during a business sale, acquisition, investment discussion, partnership, or professional engagement. The usual process is emailing a Word document, waiting for someone to sign it, and manually returning a copy that introduces delays at exactly the moment you want the next step to feel easy.
A WordPress Non Disclosure Agreement form can turn that exchange into one guided digital experience. The visitor reads the agreement, actively consents to its terms, supplies the information needed to identify the parties, reviews the completed document, signs it, and receives a branded PDF by email.
The finished workflow looks like this:
Read the NDA → Agree to Proceed → Enter Information → Review and Sign → Receive the Signed PDF
This guide explains how to build the same process from scratch with Fluent Forms.
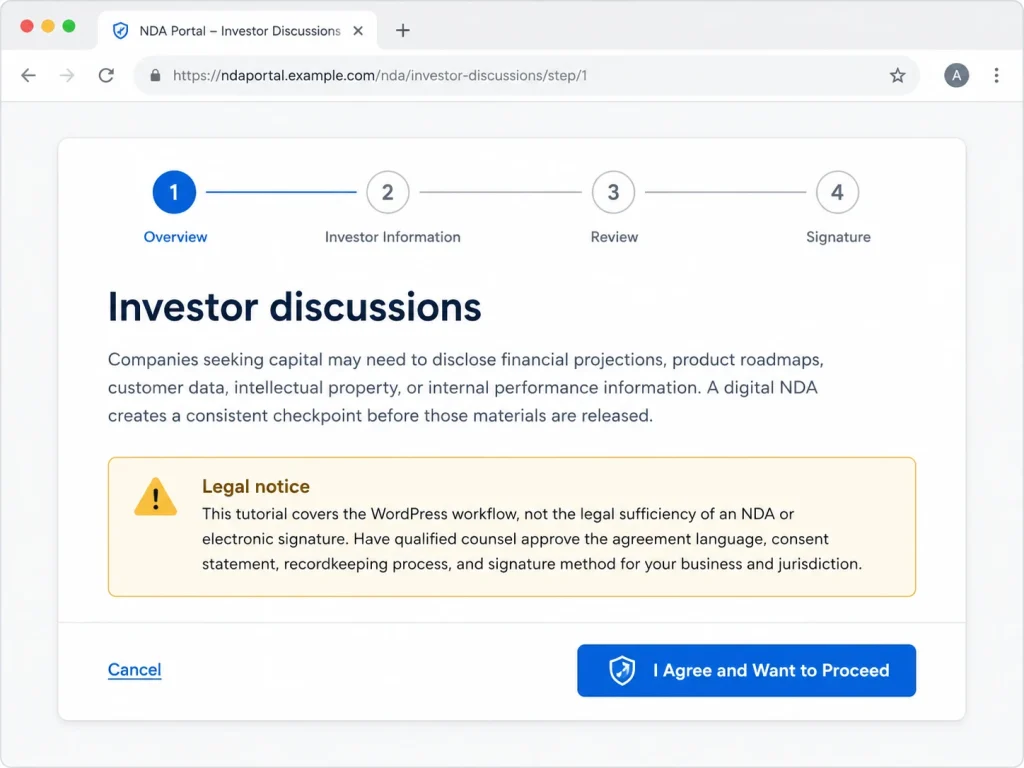
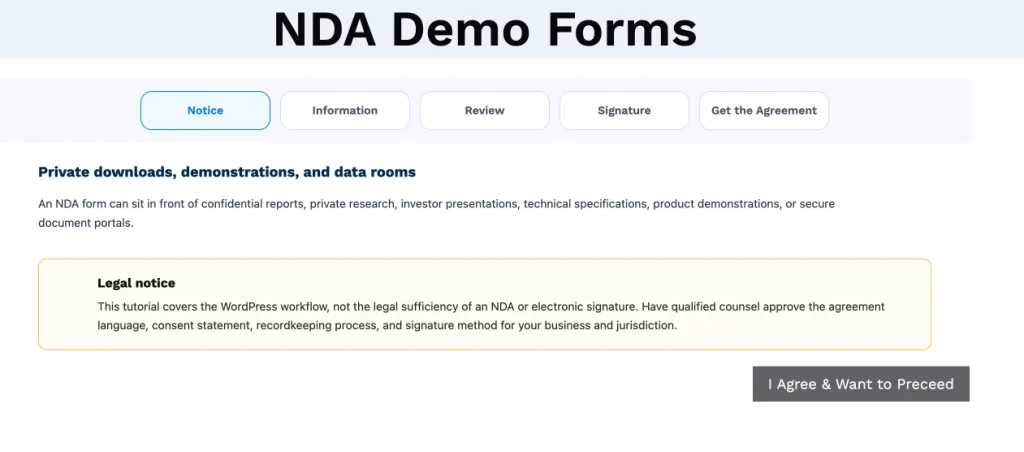
This tutorial covers the WordPress workflow, not the legal sufficiency of an Non Disclosure Agreement or electronic signature. Have qualified counsel approve the agreement language, consent statement, recordkeeping process, and signature method for your business and jurisdiction.
When Should You Use an Online Non Disclosure Agreement Form?
An online nondisclosure agreement is useful whenever another party needs access to sensitive information before a transaction or working relationship can move forward.
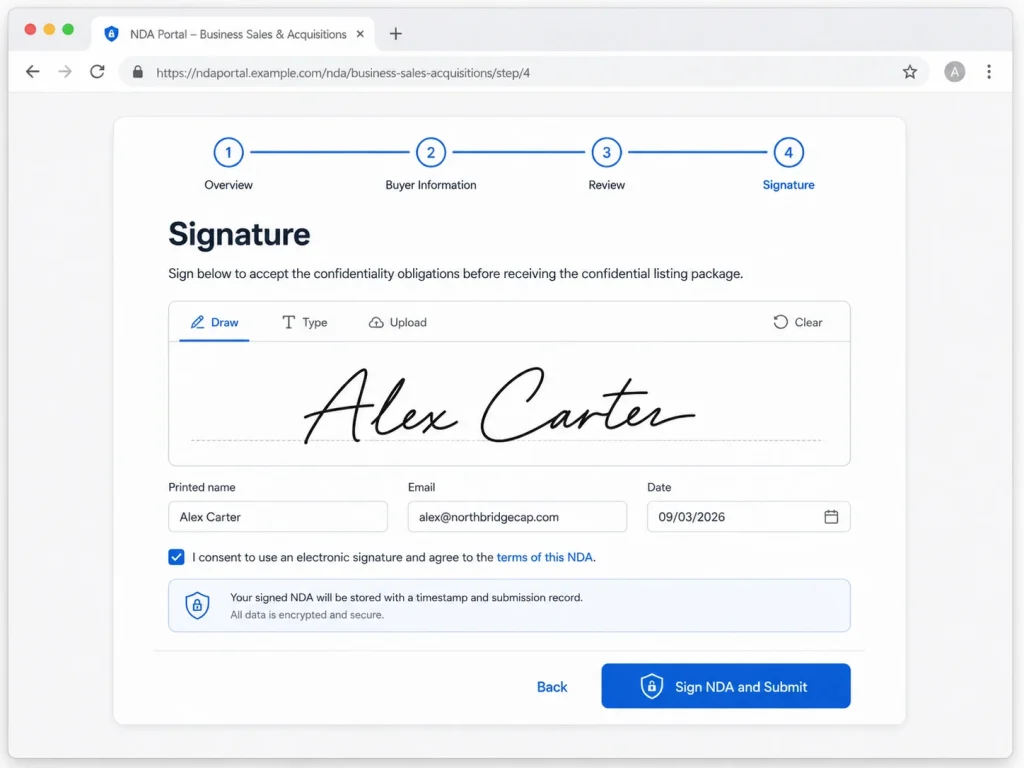
Business sales and acquisitions
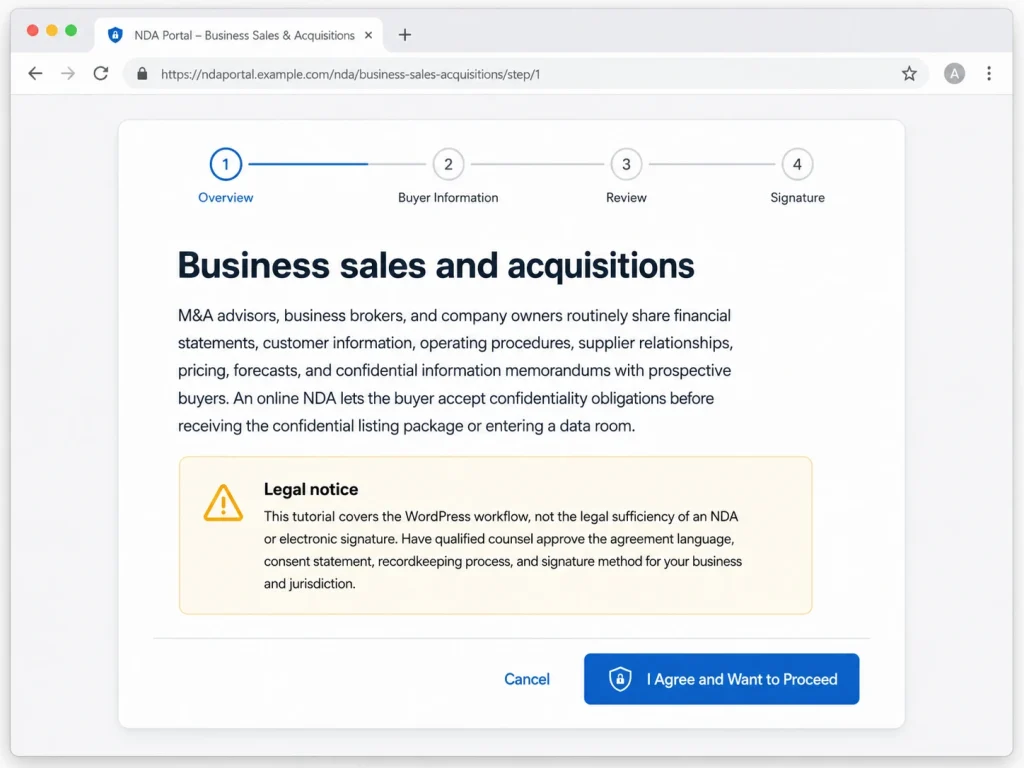
M&A advisors, business brokers, and company owners routinely share financial statements, customer information, operating procedures, supplier relationships, pricing, forecasts, and confidential information memorandums with prospective buyers.
An online Non Disclosure Agreement lets the buyer accept confidentiality obligations before receiving the confidential listing package or entering a data room.
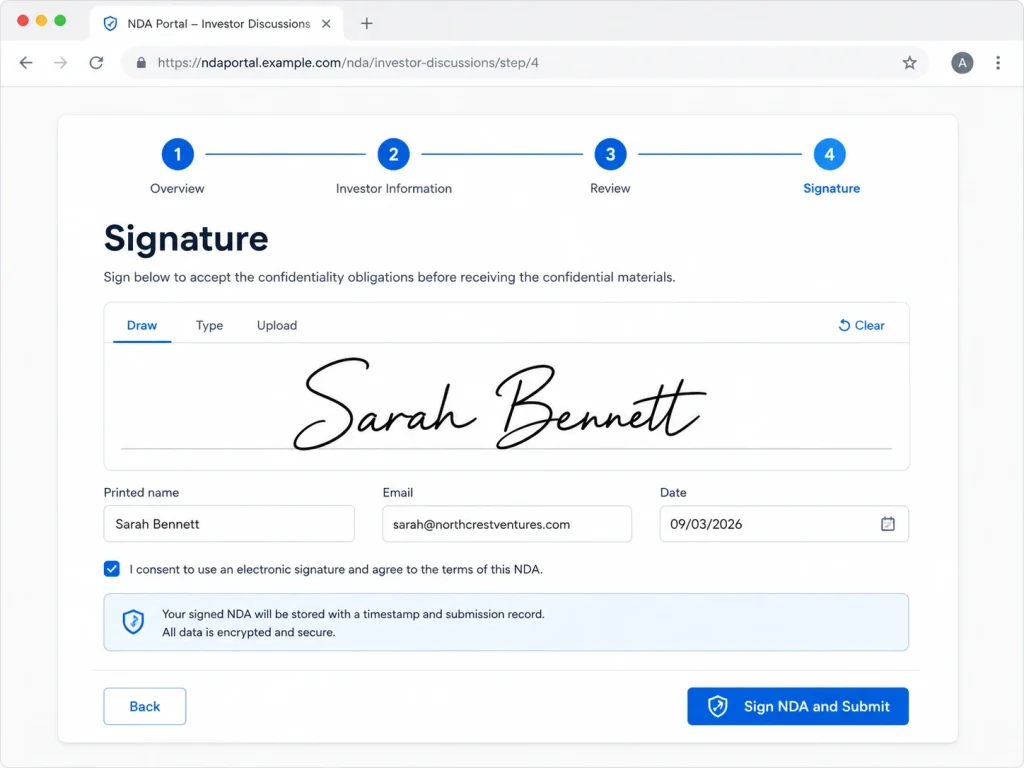
Investor discussions
Companies seeking capital may need to disclose financial projections, product roadmaps, customer data, intellectual property, or internal performance information. A digital Non Disclosure Agreement creates a consistent checkpoint before those materials are released.
Contractor, consultant, and employee onboarding
Employees and outside professionals may receive access to client information, internal systems, pricing, strategies, software, and proprietary processes. The NDA can become part of the onboarding sequence and generate a copy for both parties’ records.
Vendors and strategic partners
Potential vendors, suppliers, and partners sometimes need confidential information to evaluate an opportunity, prepare a proposal, or plan an integration. A website-based agreement eliminates repeated email exchanges.
Confidential business listings
A business-for-sale website can require an NDA before revealing the company’s identity, location, financial performance, or operations. The agreement can also begin a larger buyer-registration or qualification process.
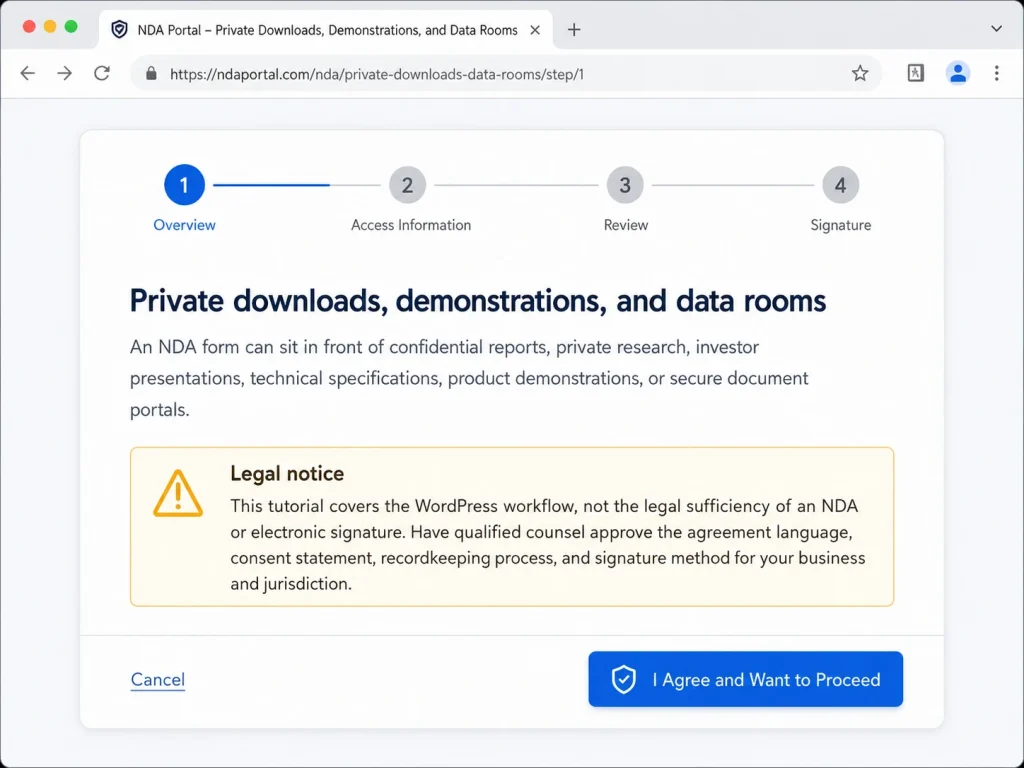
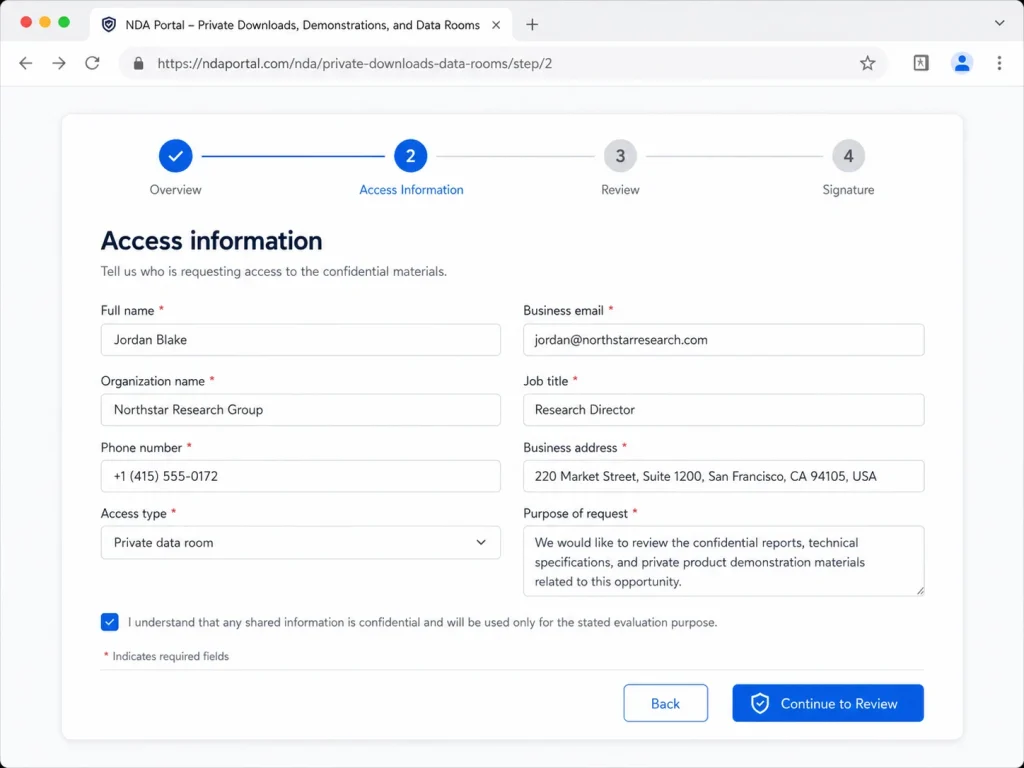
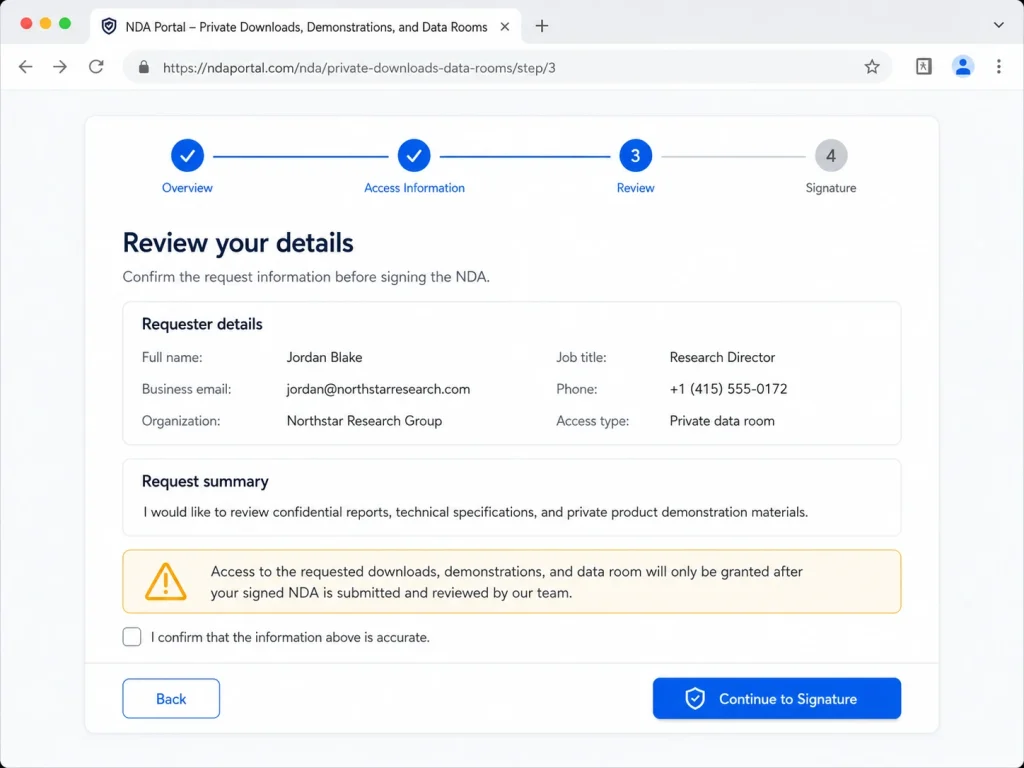
Private downloads, demonstrations, and data rooms
An NDA form can sit in front of confidential reports, private research, investor presentations, technical specifications, product demonstrations, or secure document portals.
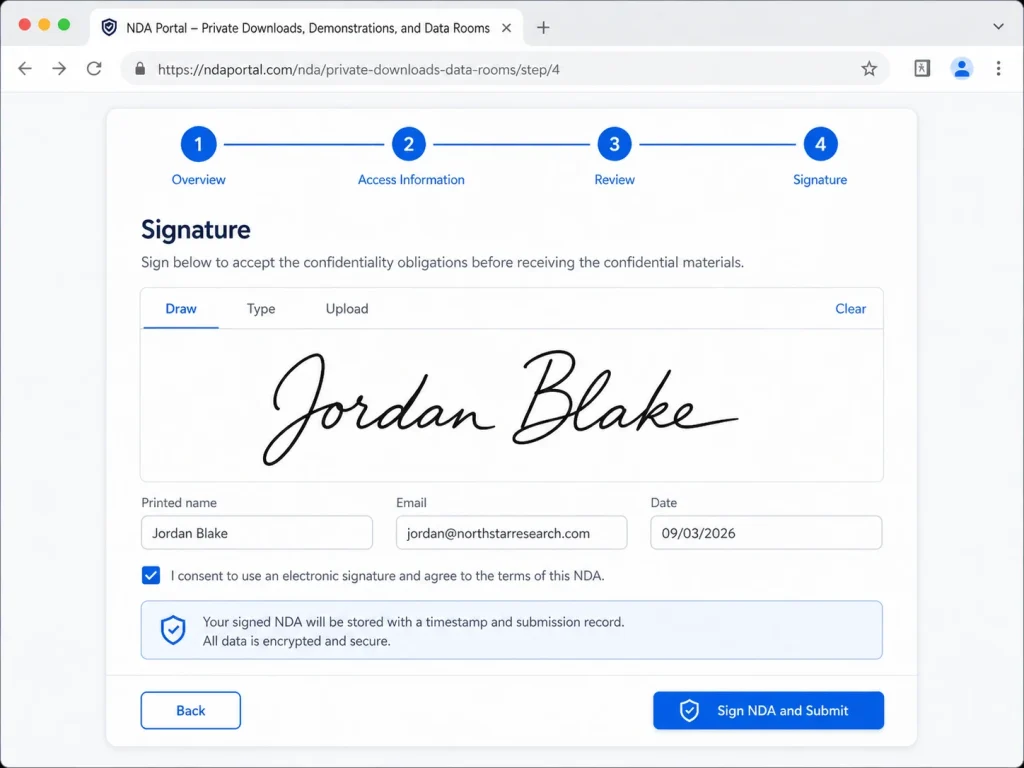
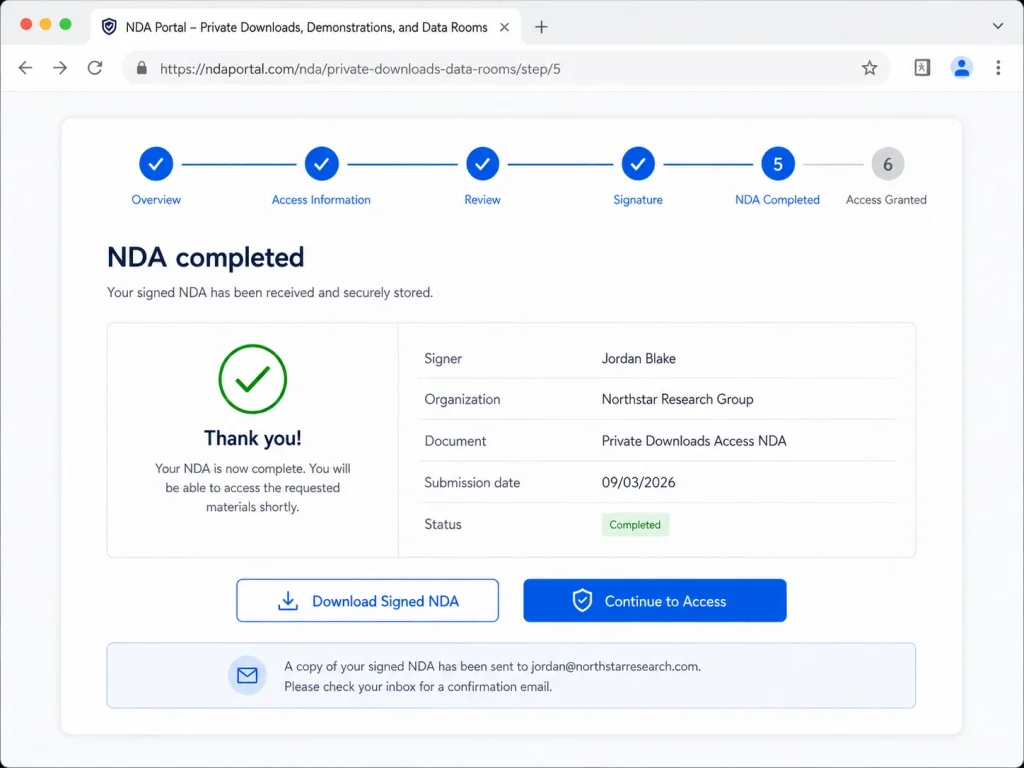
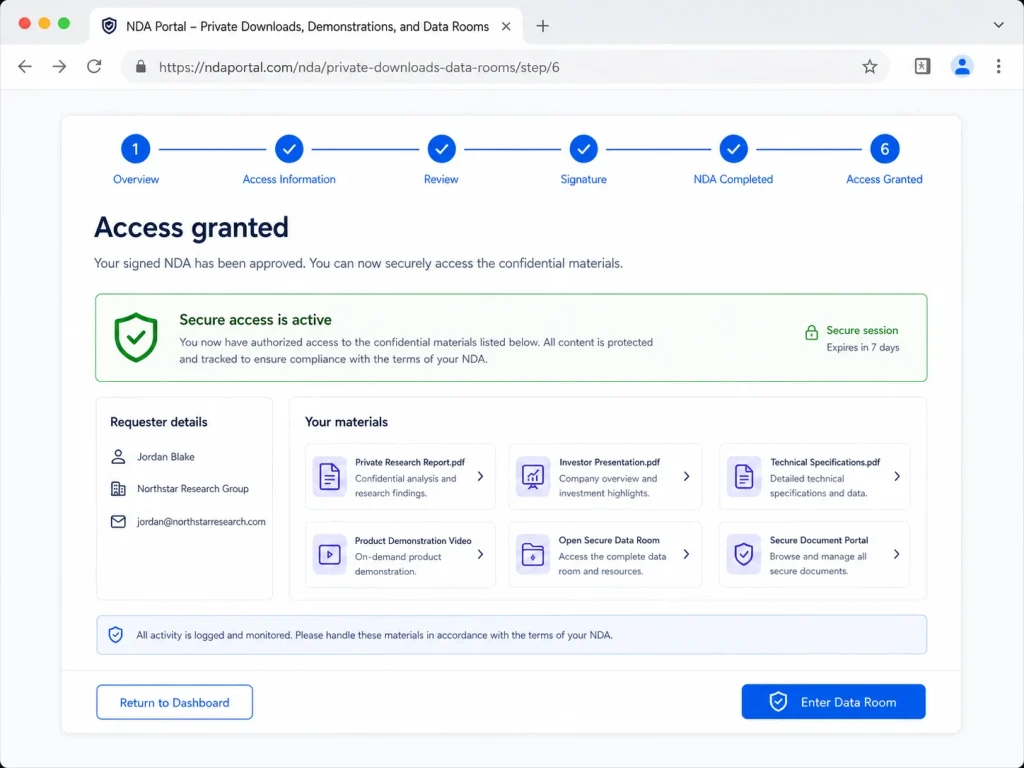
What the Completed Non Disclosure Agreement Process Should Do
A good NDA form should do more than place a signature pad under a block of legal text. It should:
- Present the complete agreement in a readable format.
- Require affirmative consent before the visitor continues.
- Collect enough information to identify the signer and prepare the agreement.
- Let the signer review both their information and the complete document.
- Capture a required electronic signature.
- Show the authorized company signature and a dynamic signing date.
- Save the submission as a WordPress entry.
- Generate a branded, watermarked PDF.
- Email the PDF to the signer and the appropriate company representative.
- Maintain a useful audit trail.
What You Need
For the workflow in this tutorial, install:
- Fluent Forms Pro
- Signature Add-On for Fluent Forms
- Fluent Forms PDF Generator- Free
- FluentSMTP- Free
- FluentCRM, optionally, if you want to create or update CRM contacts and run follow-up automations- Free Version is enough for this use case.
How to Create the Non Disclosure Agreement Form in Fluent Forms
Step 1: Prepare the final NDA language
Start with attorney-approved agreement text. Depending on the transaction, an NDA commonly addresses:
- The parties covered by the agreement
- The purpose of the disclosure
- The definition of confidential or proprietary information
- Information excluded from confidentiality
- Permitted uses of the information
- Restrictions on further disclosure
- Disclosure to employees and professional advisors
- Return or destruction of confidential materials
- Unauthorized disclosure
- Remedies for breach
- Duration of the obligations
- Governing law and jurisdiction
- Attorneys’ fees
- Third-party beneficiary provisions
Assign the agreement a version number and effective date. This makes it possible to determine which language a person accepted if the NDA is revised later.
Step 2: Install Fluent Forms and Fluent Forms Pro
From the WordPress dashboard:
- Go to Plugins → Add New Plugin.
- Search for Fluent Forms.
- Click Install Now, then Activate.
- Download Fluent Forms Pro from your Fluent Forms account.
- Return to Plugins → Add New Plugin → Upload Plugin.
- Upload the Fluent Forms Pro ZIP file.
- Install and activate it.
- Enter your license key to activate the license.
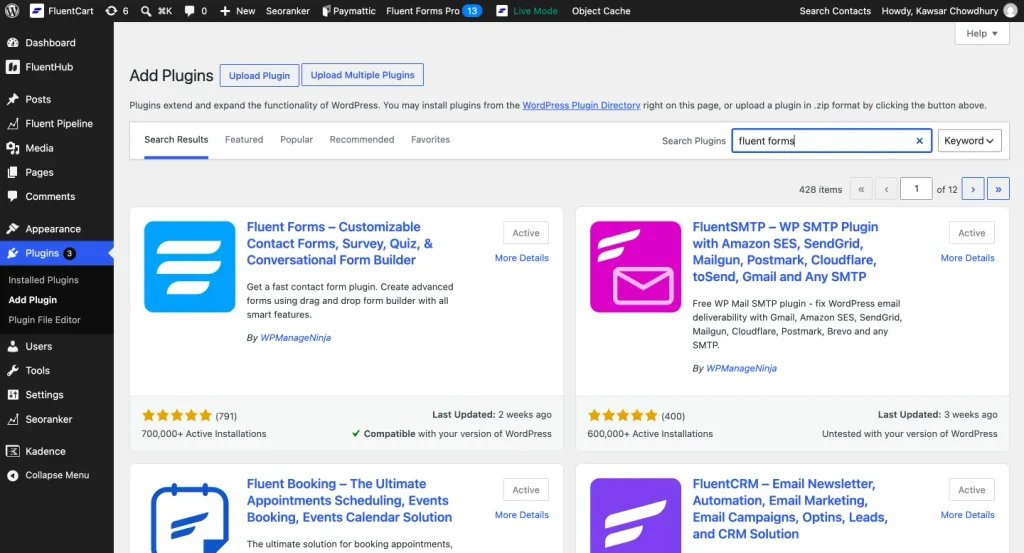
The base plugin can be installed directly from the WordPress plugin screen. See the official installation instructions from here.
Step 3: Install the Fluent Forms Signature Add-On
Download the Signature Add-On from your WPManageNinja or Fluent Forms account, then:
- Go to Plugins → Add New Plugin → Upload Plugin.
- Upload the Signature Add-On ZIP file.
- Click Install Now.
- Activate the add-on.
Once activated, Signature appears under Advanced Fields in the Fluent Forms editor. The field captures input made with a mouse, trackpad, touchscreen, or stylus and stores the resulting signature image with the entry.
See the Signature field documentation from here.
Step 4: Create a blank form
- Go to Fluent Forms → New Form.
- Select New Blank Form.
- Name it Nondisclosure Agreement.
- Save the form before adding fields.
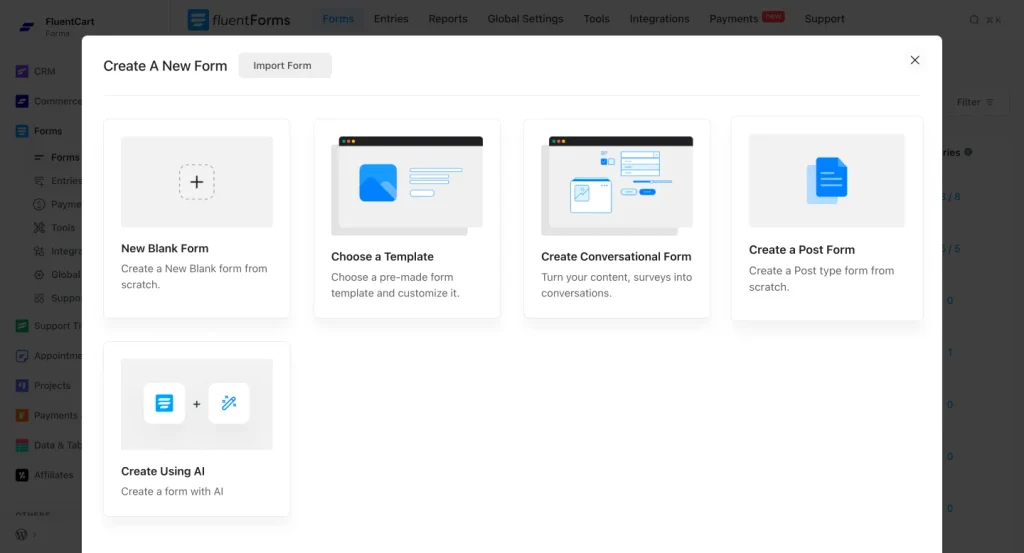
Build the form as three steps:
- Step 1 — Nondisclosure Agreement
- Step 2 — Your Information
- Step 3 — Review & Submit
Choose the Steps or Tabs progress indicator so visitors can see where they are in the process. Keep forward navigation controlled by validation; users should not be able to bypass required consent or required information.
Step 5: Build Step 1- the agreement and consent
Drag a Custom HTML field into the first step. Use it to create a professional, single-column document containing:
- Company name or logo
- “Nondisclosure Agreement” heading
- Introductory paragraph
- Complete numbered agreement
- Agreement version
- Acknowledgment statement
- Current date
Use real headings, paragraphs, numbered clauses, and comfortable spacing. Do not squeeze the agreement into a tiny scrolling box. A signer should be able to read it on desktop or mobile without fighting the layout.
For the current date, Fluent Forms supports date smart codes such as:
{date.m/d/Y}
This produces the date when the form is displayed. Fluent Forms also stores a submission timestamp and supports `{submission.created_at}` in confirmations, emails, and PDFs.
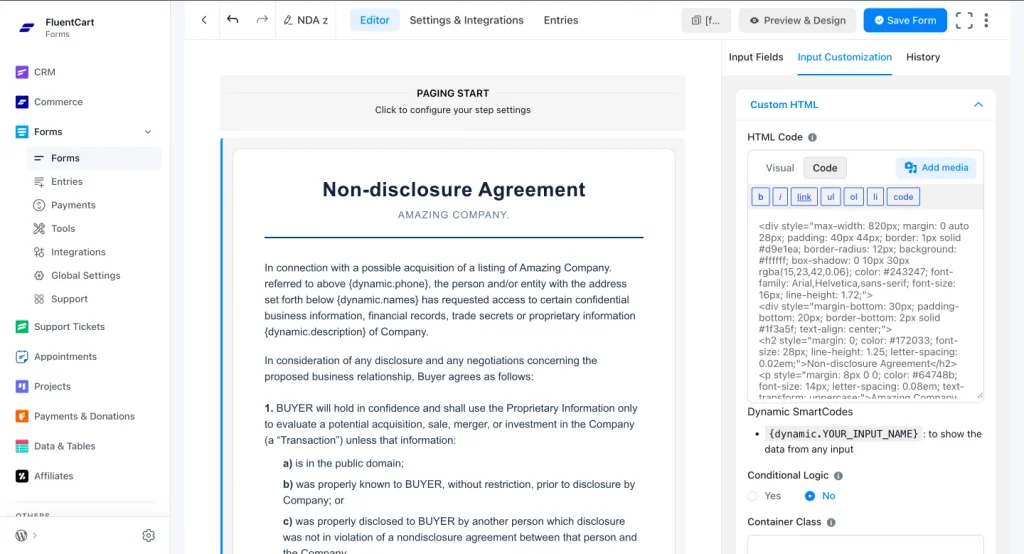
See the available date and submission smart codes from here.
Add affirmative consent
Directly below the NDA text, add a Terms & Conditions or GDPR Agreement field. Use an affirmative statement such as:
> I have read the Nondisclosure Agreement, agree to its terms, and want to proceed.
Configure the field as follows:
- Required: Yes
- Default state: Unchecked
- Validation message: You must accept the Nondisclosure Agreement before continuing.
- Admin label: NDA Consent
The consent field prevents the visitor from advancing when it is required and unchecked. Fluent Forms documents the GDPR Agreement field as a dedicated consent control with a customizable description and validation message.
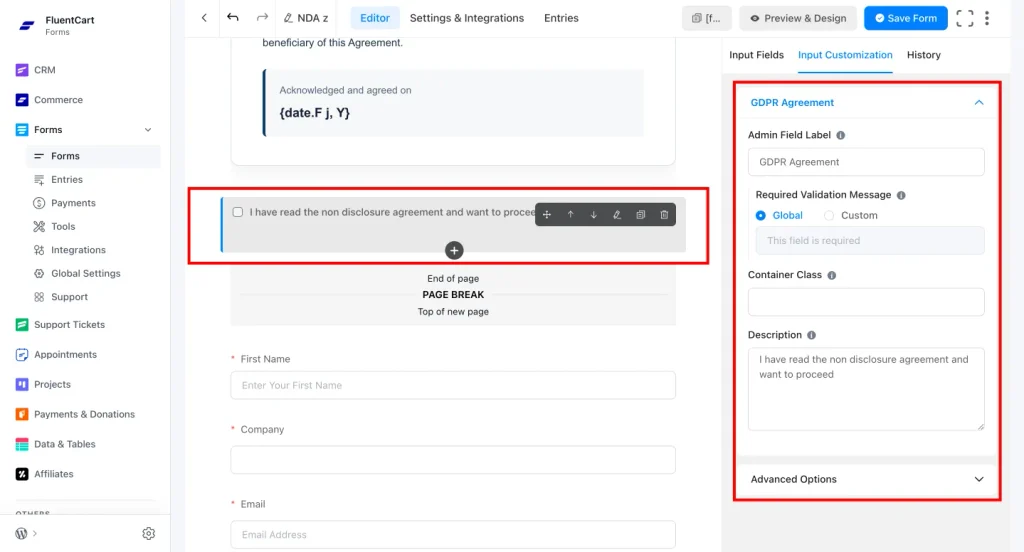
See the consent-field setup from here.
The checkbox is not a substitute for the final signature. It documents affirmative acceptance before the user proceeds; the signature completes the document on the final step.
Add the first page break
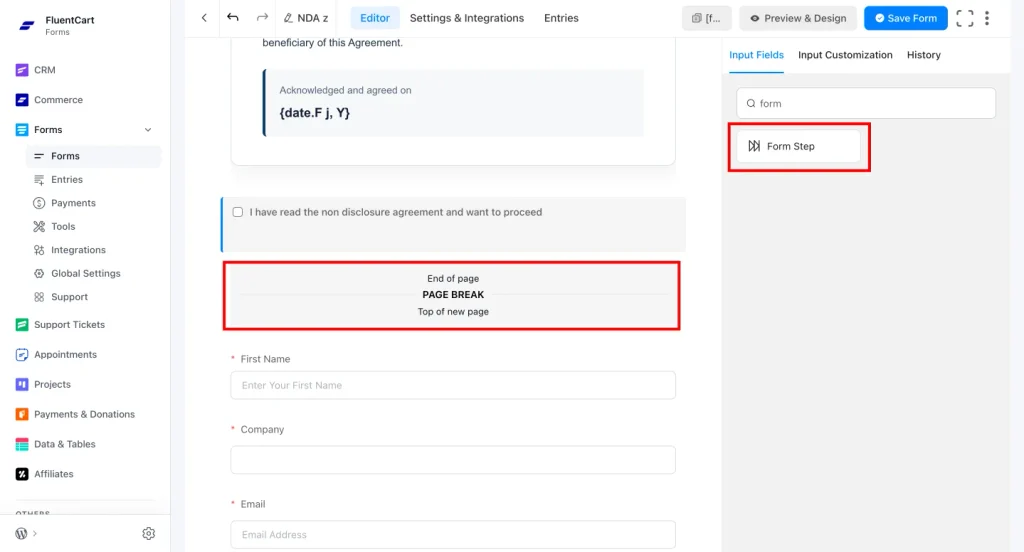
Add a Form Step after the consent field. This creates the first Page Break. Set the next-button text to:
Step 6: Build Step 2- the buyer’s information
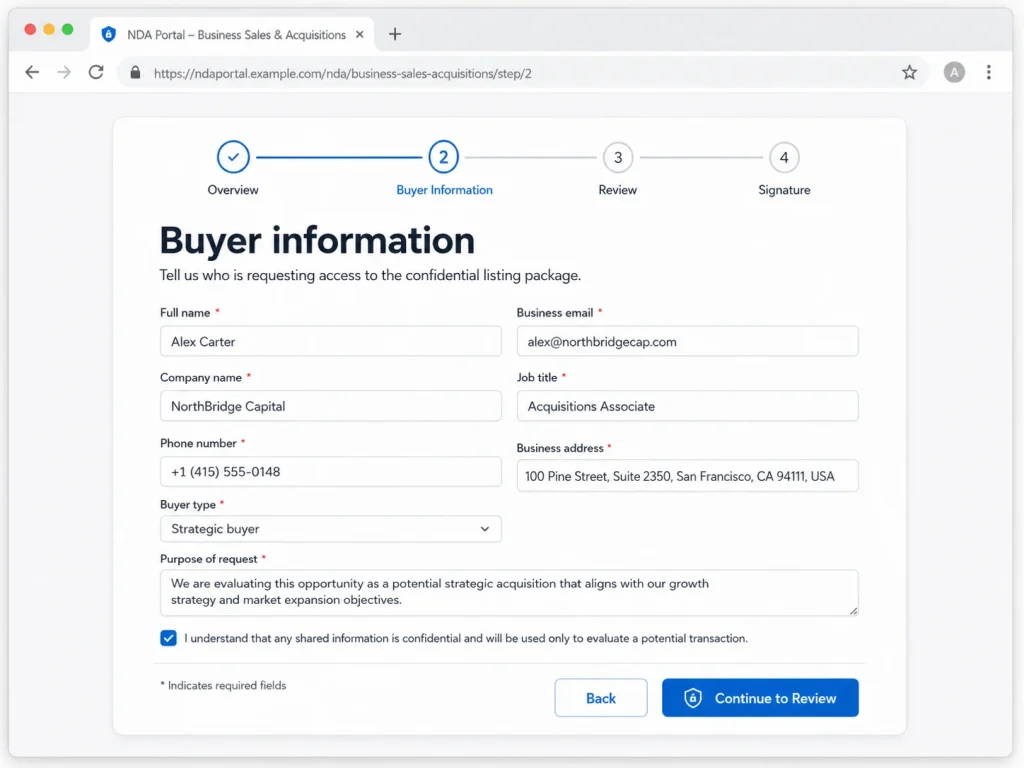
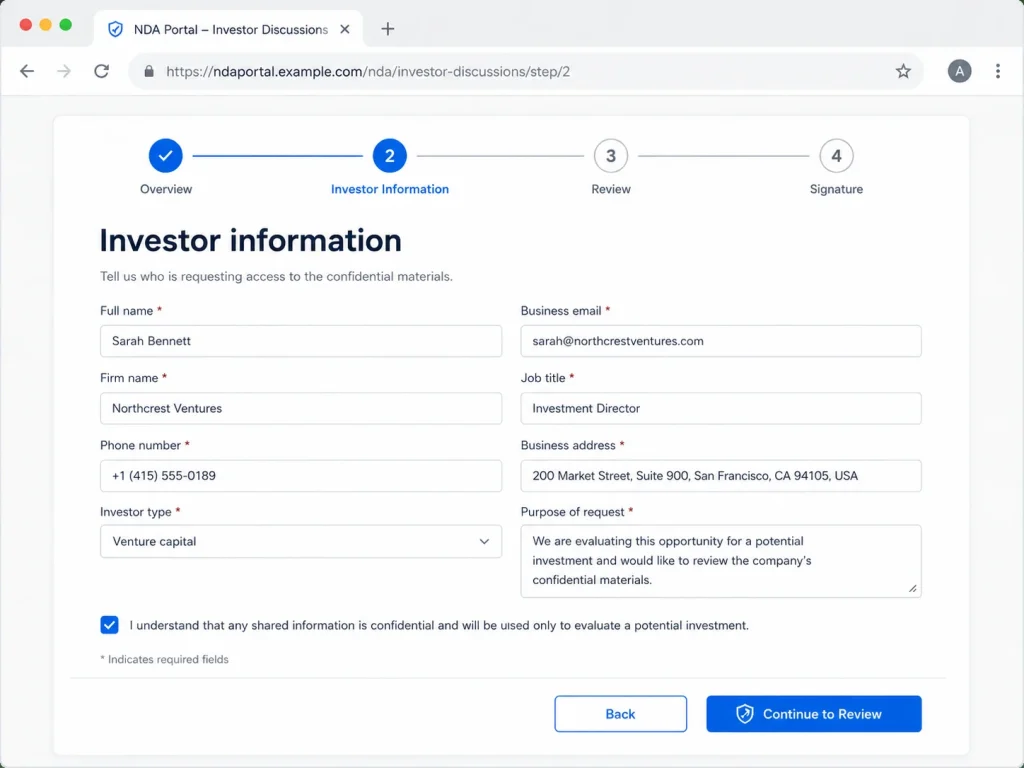
Collect only the information required to identify the signer and generate the agreement. The live example uses:
- First name or full name
- Company
- Phone/mobile
- Address line
- City
- State
- ZIP code
You may also need last name, job title, address line 2, or country. Use the native Email, Phone, Name, Address, and text fields so Fluent Forms can apply the appropriate validation.
Make the fields required when the agreement cannot be completed without them. The email address should be required and validated because the signed PDF will be delivered to that address.
Record every field’s input name
The final review page needs the exact Fluent Forms Name Attribute of each field.
For every Step 2 field:
- Open the field settings.
- Expand Advanced Options.
- Find Name Attribute.
- Record the exact value without changing it.
You will use it in this format:
For example, if the Name Attribute is `company_name`, the review value is:
Do not assume that a visible label and an internal input name are identical. Copy the actual Name Attribute from the editor.
Add another Form Step after the final information field. Set the buttons to Previous and Review Agreement.
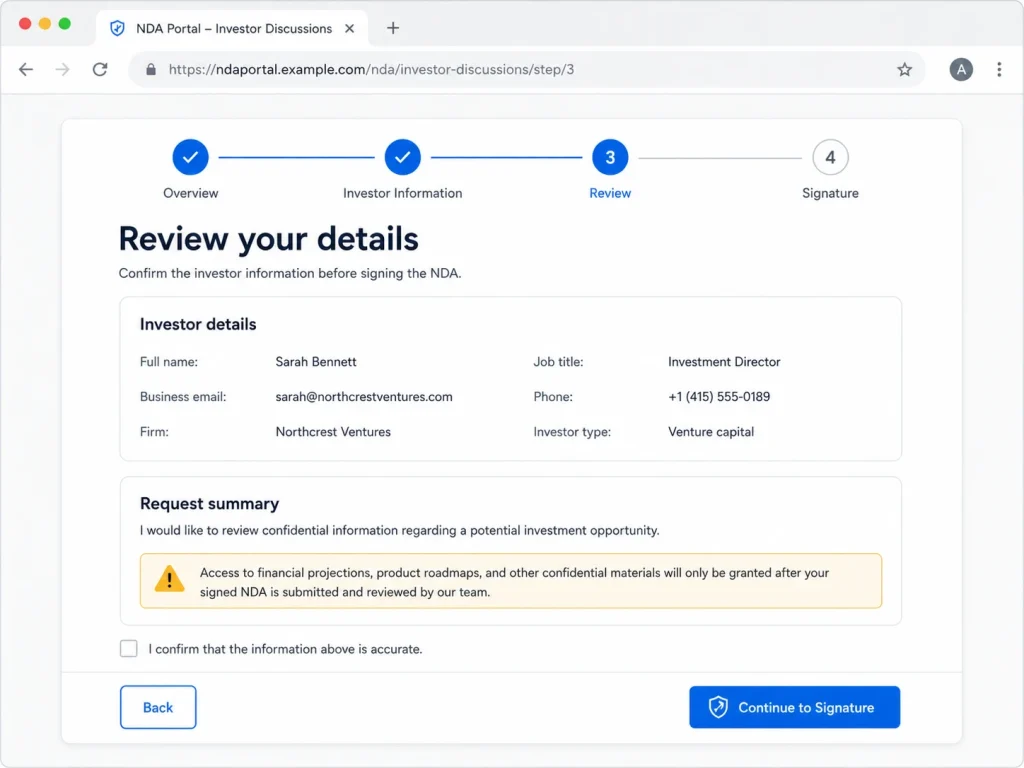
Step 7: Build Step 3- the complete review and signature page
The last step should resemble a completed document rather than another grid of form fields.
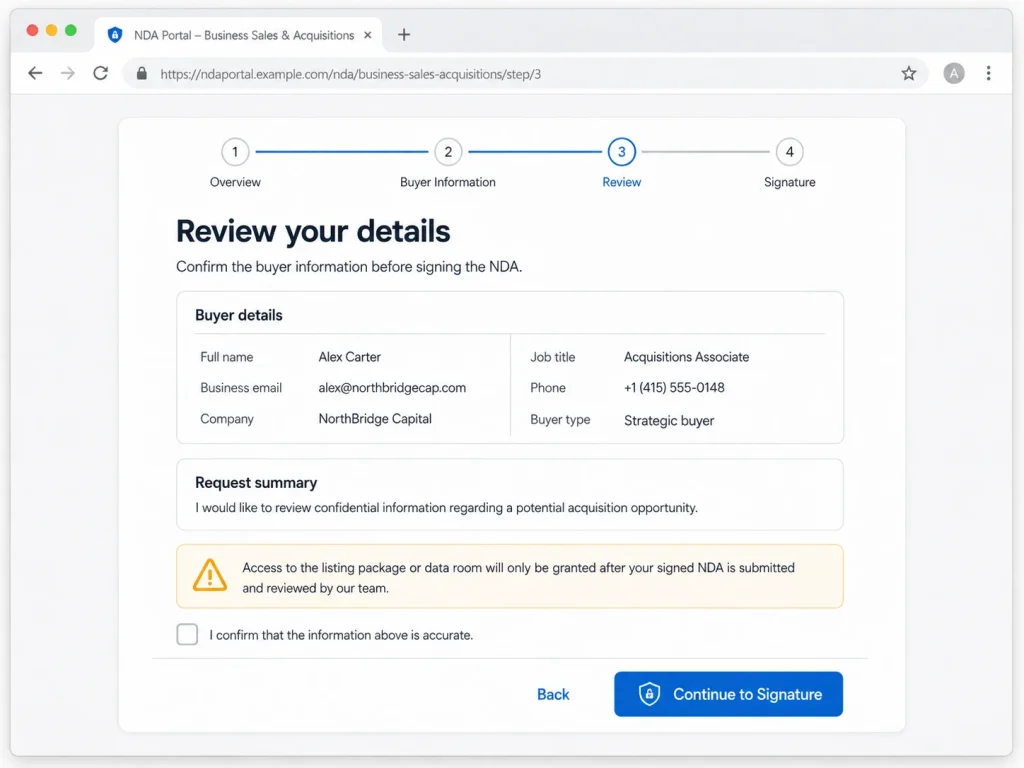
Start with a Custom HTML field containing:
Review and Sign Your Nondisclosure Agreement
Please confirm that the information and agreement below are correct, then add your signature. If anything is incorrect, click Previous to update it.
Display the buyer information
Use a clean, single-column review section. Insert the exact dynamic smartcode for every Step 2 field:
Buyer Information
Name
{dynamic.BUYER_NAME_FIELD}
Company
{dynamic.COMPANY_FIELD}
Email
{dynamic.EMAIL_FIELD}
Phone
{dynamic.PHONE_FIELD}
Address
{dynamic.ADDRESS_FIELD}
City
{dynamic.CITY_FIELD}
State
{dynamic.STATE_FIELD}
ZIP Code
{dynamic.ZIP_FIELD}
Replace every placeholder with the exact Name Attribute from your form. Use public field labels as headings; never expose internal field names to the visitor.
Reproduce the complete agreement
Under the buyer information, add the complete NDA again. This matters because the user should see exactly what they are signing without returning to Step 1.
Insert dynamic values wherever the parties need to be identified. For example:
In connection with a possible acquisition involving {dynamic.COMPANY_FIELD}, the person identified as {dynamic.BUYER_NAME_FIELD} has requested access to confidential information.
Continue with the complete attorney-approved agreement, followed by:Acknowledged and agreed on {date.m/d/Y}
The live example follows this model: it carries the buyer’s information into the final document, dynamically inserts the buyer and company into the NDA, and shows the current date immediately before the signatures.
Step 8: Add the buyer and authorized signatures
On larger screens, a restrained two-column signature layout works well. On mobile, allow the columns to stack.
Buyer’s signature
- Drag the native Signature field below the final agreement and configure it:
- Element label: Add Your Signature
- Sign instruction: Sign Here
- Required: Yes
- Background: White
- Pen color: Black or dark navy
- Border: A subtle gray
- Pad height: Approximately 180–220 pixels
- Help message: Sign inside the box. Use Clear or Undo if you need to correct your signature.
Below it, display:
Signed by: {dynamic.BUYER_NAME_FIELD}
Signed on: {date.m/d/Y}
Authorized company signature
Upload the authorized representative’s signature to the WordPress Media Library and use its permanent HTTPS URL. Never use a temporary `blob:` URL; it only exists in the browser session and can break PDF generation.
The authorized block can contain:
Authorized Signature

Signed by: Mohiuddin Omran
Signed on: {date.m/d/Y}
Both dates should be dynamic. Do not type a fixed calendar date into either signature area.
Rename the final button:
Before submission, Fluent Forms should validate the original consent, required buyer fields, email address, and signature.
Generate the Branded, Watermarked PDF
Step 9: Install the Fluent Forms PDF Generator
- Go to Plugins → Add New Plugin.
- Search for Fluent Forms PDF Generator.
- Install and activate it.
- Install the PDF fonts if the module asks you to do so.
- Open the NDA form.
- Go to Settings & Integrations → PDF Feeds.
- Click Add PDF Feed.
- Select a PDF template.
- Name the feed Signed Non-disclosure Agreement.
The official PDF module supports custom PDF HTML, submitted-field smartcodes, headers, footers, password protection, and image or text watermarks.
See the PDF module documentation from here.
Step 10: Design the PDF as a permanent document
The PDF should contain:
- Company logo and contact information
- “Nondisclosure Agreement” title
- Buyer information
- Complete agreement text
- Agreement version
- Consent response
- Submission date and time
- Buyer signature
- Authorized signature
- Both printed names
- Entry or agreement ID
- Page numbers
- Confidentiality watermark
Use Add Shortcode inside the PDF editor to select the actual submitted fields. Avoid manually typing shortcodes when the editor can insert them for you.
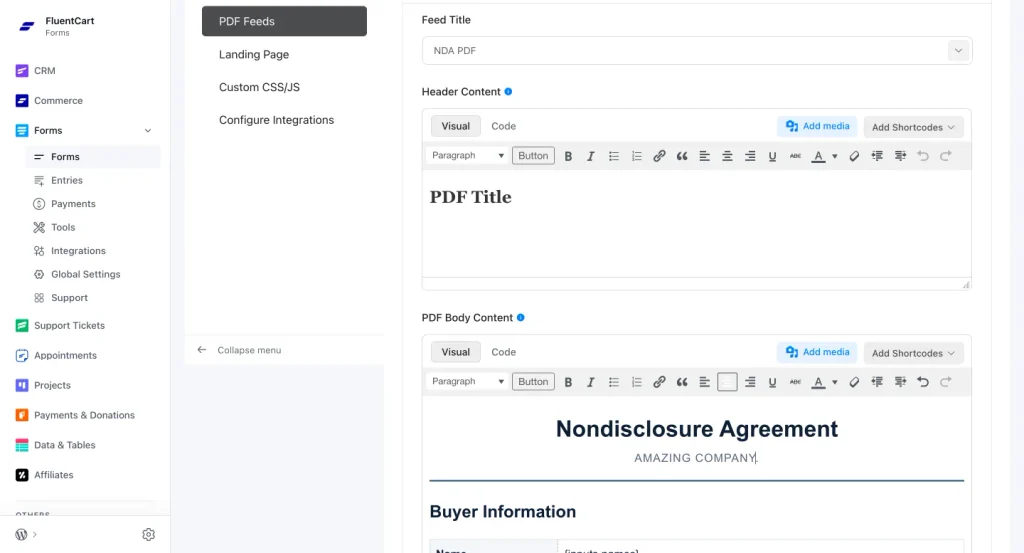
For a permanent signing timestamp, use the stored submission value, such as `{submission.created_at}`, in the generated PDF. This is preferable to relying solely on a date calculated when a page is viewed.
Under Appearance, configure:
- Paper size: Letter or A4
- Orientation: Portrait
- Brand font and colors
- Heading and accent colors
- Header and footer
- Watermark text: CONFIDENTIAL — Your Company.**
- Watermark opacity: Light enough to preserve readability
- Optional PDF password
Use a descriptive filename, such as:
Step 11: Configure the completion screen
After submission, show a short confirmation rather than a raw technical URL:
> Your Nondisclosure Agreement Has Been Signed Successfully
> Your completed agreement has been emailed to you. You can also download a copy below.
Add a clear Download Signed PDF button using the PDF feed’s provided download shortcode. Avoid displaying a long `admin-ajax.php` address as plain text.
If you provide an embedded PDF viewer, keep the download button as a fallback. Test the download from the live published page, not only from the form-builder preview.
Email the Signed PDF to the User
Step 12: Create the user notification
Open the NDA form and go to:
Settings & Integrations → Email Notifications → Add Notification
Configure it as follows:
- Name: Send Signed NDA to Buyer
- Send To: Select a Field
- Send To Field: Select the form’s required Email field
- Subject: Your Signed Nondisclosure Agreement
- PDF Attachments: Select Signed Nondisclosure Agreement
- Status: Enabled
Suggested email body:
Hello {inputs.BUYER_NAME_FIELD},
Thank you for completing the Nondisclosure Agreement.
Your completed and signed PDF is attached for your records. Please retain this document for future reference.
Regards,
WPManageNinja LLC
Select the buyer’s name through the email editor’s shortcode menu so the installed version inserts the correct submission shortcode.
Create a second notification for the company. Send it to the appropriate internal address or add the company recipient through CC/BCC. Fluent Forms supports choosing a submitted Email field as the user recipient and attaching a saved PDF feed to a notification.
See the user-notification instructions from here.
Where FluentCRM Fits
FluentCRM is useful for contact management and follow-up automation, but it is not required to attach the transactional PDF. Let Fluent Forms send the immediate signed document; use FluentCRM to organize the relationship afterward.
For example, after a successful NDA submission, FluentCRM can:
Create or update the buyer’s contact record
- Add the buyer to a Prospective Buyers list
- Apply an NDA Signed tag
- Start a follow-up sequence
- Notify an advisor
- Send instructions for accessing a listing or data room
- Stop reminders asking the buyer to complete the NDA
To connect it:
- Install and activate FluentCRM on the same WordPress site.
- In Fluent Forms, open Integrations and enable the FluentCRM module.
- Open the NDA form.
- Go to Settings & Integrations → Configure Integrations.
- Click Add New Integration.
- Select FluentCRM Integration.
- Choose the appropriate list.
- Map Email, Name, Phone, Company, and other required fields.
- Apply an NDA Signed tag.
- Enable the feed and save it.
Do not subscribe someone to unrelated marketing merely because they signed an NDA. If you want marketing permission, collect it through a separate, optional consent checkbox. The native FluentCRM integration can map form fields, assign lists and tags, and initiate automations after a form submission.
See the FluentCRM integration guide from here.
Configure FluentSMTP for Reliable Delivery
Step 13: Install and connect FluentSMTP
WordPress’s default mail function is not a dependable delivery method for important signed documents. Configure authenticated email delivery:
- Go to Plugins → Add New Plugin.
- Search for FluentSMTP.
- Install and activate it.
- Go to Settings → FluentSMTP.
- Choose an email provider such as Google Workspace, Microsoft 365, Amazon SES, Mailgun, SendGrid, Brevo, or your host’s authenticated SMTP service.
- Complete the provider connection.
- Use a From address on your domain, such as `[email protected]`.
- Set a recognizable From name.
- Send a test from FluentSMTP → Email Test.
- Confirm delivery and review the FluentSMTP email log.
All Fluent Forms notifications will use the configured mail connection automatically.
See the FluentSMTP installation guide from here.
See the Fluent Forms delivery troubleshooting here.
Configure SPF, DKIM, and DMARC for the sending domain and verify that all three pass. This improves authentication and helps receiving providers trust the message.
See the FluentSMTP authentication guide from here.
Publish and Embed the Non Disclosure Agreement Form
Step 14: Add it to a focused WordPress page
Create a page such as:
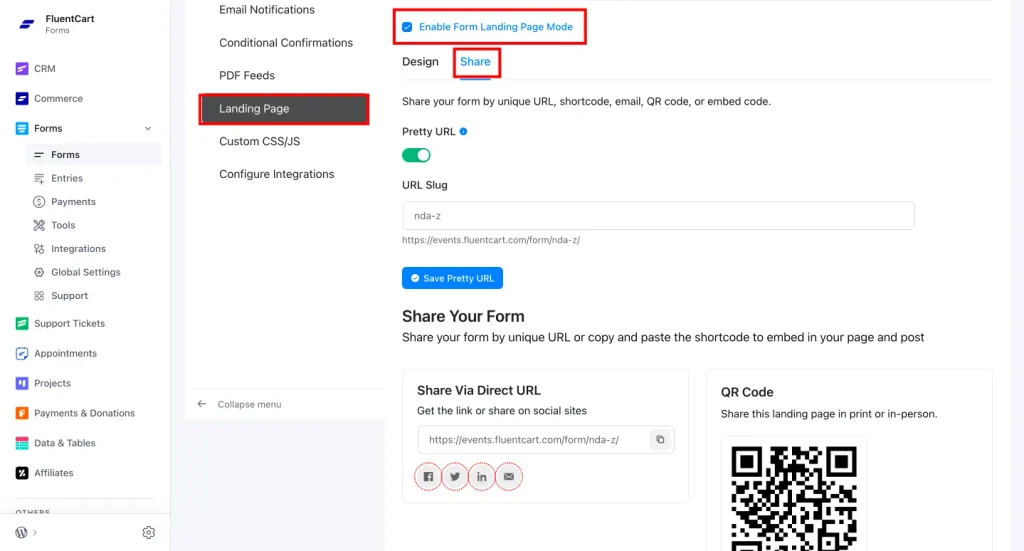
Insert the Fluent Forms Gutenberg block and select the NDA form, or paste the form shortcode into the page. Publish it and test the public URL.
A dedicated landing page is usually the clearest option. Remove unnecessary sidebars, promotions, and competing calls to action. Keep the company identity, privacy link, and a way to request help.
Where Else Can You Embed an Non Disclosure Agreement Form?
Before a confidential business listing
Require completion before disclosing the company’s identity, financial information, or confidential information memorandum.
Inside a buyer-registration process
Use the NDA as the first stage of a wider flow that collects acquisition criteria, financial capacity, preferred industries, or geographic interests.
Before a protected download
Place it before financial statements, valuation reports, presentations, research, or technical documentation. Do not depend on a hidden download URL for highly sensitive materials; use authentication and proper access controls.
Inside a client or investor portal
Require the NDA during onboarding before granting access to private documents or communications.
During employee or contractor onboarding
Embed it alongside employment forms, tax documents, security policies, and account-access instructions.
Before a private consultation or demonstration
Require it before scheduling a sensitive strategy session, product demonstration, technical review, or investor meeting.
Test the Entire Workflow
Test from the real published URL using clearly fictional information. Do not complete your only test inside the form-builder preview because preview behavior may not match a stored live submission.
Verify all of the following:
- The complete NDA is readable on desktop and mobile.
- The consent checkbox is unchecked initially.
- The visitor cannot continue without accepting the NDA.
- All required information fields validate correctly.
- Previous returns to the earlier step without losing information.
- Every submitted value appears correctly on the final review page.
- The complete NDA appears again before signing.
- The dynamic date is correct for the WordPress timezone.
- The buyer signature field works with mouse and touch input.
- Clear and Undo controls work.
- The appropriate representative’s signature loads from a permanent HTTPS URL.
- Both signature dates are dynamic.
- The final Submit button remains unavailable as a successful submission until required fields are complete.
- The PDF contains the complete agreement, information, signatures, branding, and watermark.
- The PDF link or download button works.
- The buyer receives the PDF as an attachment.
- The internal recipient receives the correct notification.
- FluentSMTP records a successful send.
- The form entry and timestamp are stored in WordPress.
- FluentCRM applies the intended list and tag, if enabled.
Best Practices for WordPress Non Disclosure Agreement Forms
Keep the process focused
Three steps are enough for most NDA workflows:
- Read and accept.
- Enter information.
- Review and sign.
PDF generation and delivery happen after submission without creating another form step.
Require active consent
Never preselect the consent checkbox. The signer should take an affirmative action before continuing.
Show the entire document before signing
The final page should contain the complete agreement and the submitted information. A signature page that hides the underlying terms creates avoidable uncertainty.
Preserve exact field names
Changing a field’s Name Attribute after using it in review smartcodes, PDF templates, email notifications, or CRM mappings can break the workflow. Set the field names carefully and avoid changing them after launch.
Use submission timestamps for permanent records
The front-end current-date smartcode is useful for the live review. The stored submission timestamp should be used as the authoritative date in the final PDF and internal record.
Use permanent assets
Store logos and authorized signatures in the Media Library or another stable HTTPS location the PDF generator can access. Avoid temporary local or browser-generated URLs.
Keep branding restrained
Use consistent logos, colors, typography, spacing, and footer information across the form, PDF, confirmation message, and email. Legal documents should prioritize readability.
Maintain an audit trail
Depending on your legal and privacy requirements, retain:
- Submission date and time
- Agreement version
- Signer information
- Consent response
- Signature
- Entry or agreement ID
- PDF copy
- Email-delivery status
- IP address, when appropriate and lawful
Protect the collected data
Use HTTPS, restrict administrative access, update WordPress and its plugins, maintain backups, and establish an appropriate retention policy. Collect only the information you need.
Know when to use a dedicated e-signature platform
A Fluent Forms signature workflow can be practical for many routine agreements. Higher-risk, regulated, or identity-sensitive transactions may require stronger identity verification, tamper-evident certificates, or a specialized electronic-signature platform.
Final Thoughts
A well-designed WordPress Non Disclosure Agreement form replaces a slow email-and-attachment process with a guided, professional workflow.
The visitor first reads the complete agreement and actively agrees to proceed. They then provide their information, review a branded copy containing the final terms, and add their signature beside the authorized company signature. After submission, Fluent Forms generates a branded, watermarked PDF, emails it through FluentSMTP, stores the agreement, and optionally passes the contact to FluentCRM for organized follow-up.
The result is straightforward for the signer and manageable for the business:
Read the NDA → Give Consent → Enter Information → Review Both Parties → Sign → Submit → Receive the Branded PDF
That is the difference between merely putting an NDA on a website and building a complete digital agreement process.

WordPress, automation, eCommerce and growth marketing specialist, a WordPress Core Contributor and Media Corps member blending storytelling with technology to craft strategies in SEO, email marketing, and beyond.
-
10 Best jQuery Table Plugins for Best Data Visualization in 2026
Discover the 10 best jQuery table plugins for 2026. Compare -
Taking a Closer Look at Common WordPress Errors and How to Fix Them
A troubleshooting guide to the common WordPress errors, why they -

Black Friday Marketing Strategies for 2026: Core and Advance Move
Black Friday is the most celebrated shopping season worldwide. Discover


Leave a Reply
You must be logged in to post a comment.