
How to Design a Sign-up Form in Elementor

You need a sign-up form to allow people to register on your website or to subscribe to your newsletter. However, designing a lucrative form may seem daunting for some business owners.
I often see that people kept the form at its basic style, while there was the opportunity to make the form more appealing.
In this guide, I’ll show you the step-by-step process of how to style a signup form that looks pleasing to the user’s eye.
We’ll use two products to accomplish the goal. Fluent Forms for building the form and Elementor for designing the form.
Step 1: Install Elementor and Fluent Forms
Elementor is a popular page builder and you can accomplish your design goal with its extensive functionality. If you’re already an Elementor user, you can easily utilize it with the best combination of Fluent Forms.
Fluent Forms has a great connection with Elementor so you can elevate your form-building journey with the help of the most popular page builder on earth.
However, if you don’t have Elementor for your WordPress site, I recommend you install it now. It’s not necessary to get the pro version to stylize Fluent Forms. But if you want to have it for advanced usage, go for it.
Similarly, you can use the free version of Fluent Forms to use it with Elementor. But, I suggest you get the pro version because you’ll get many amazing features that will make your online journey easier and more efficient.
Step 2: Create your sign-up form with Fluent Forms
Now, we’ll create our sign-up form. To do that, go to Fluent Forms >> New Form from the left side of your WP dashboard.
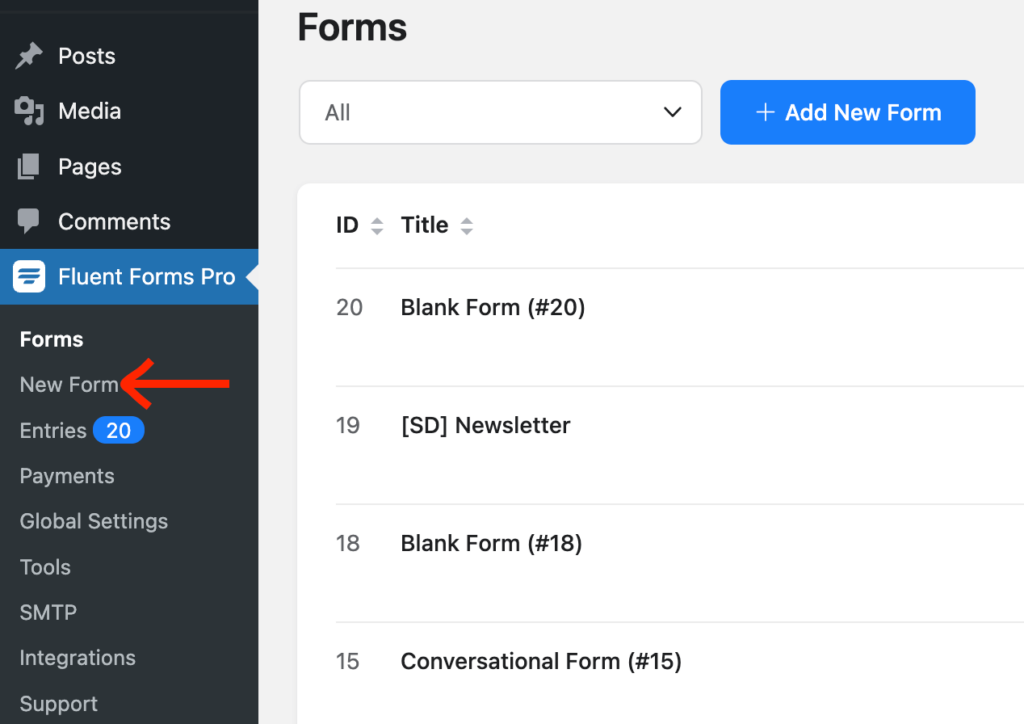
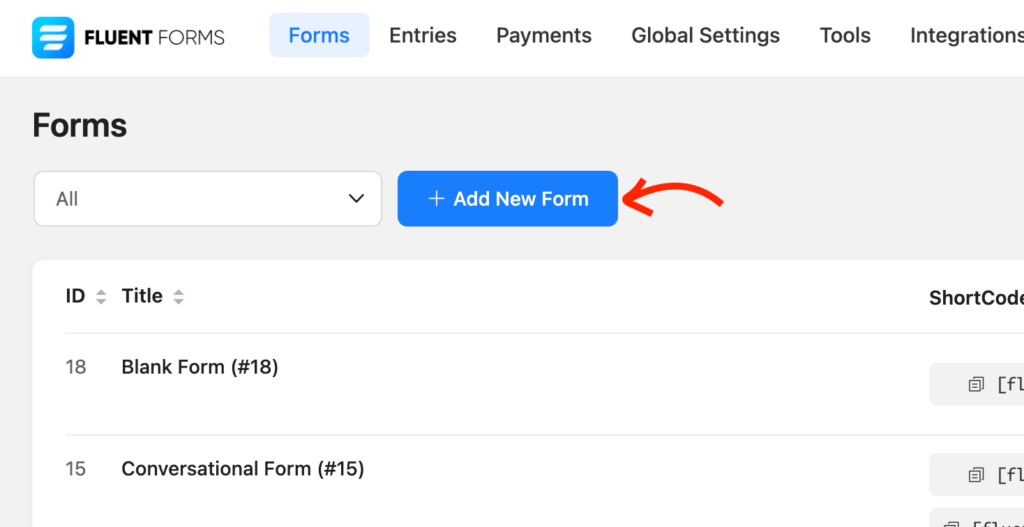
Or you can go from the top button that stays near form filter section.
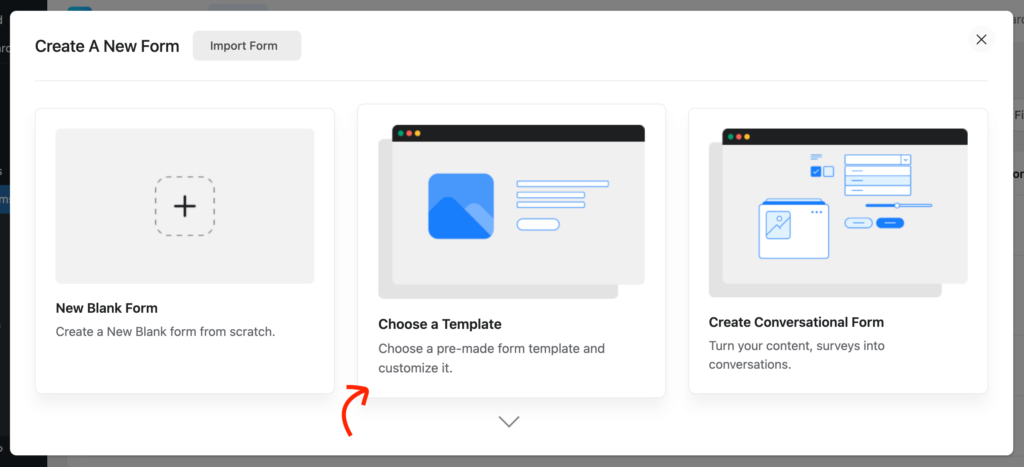
Select one of the listed options:
- New Blank Form
- Choose a Template
- Create Conversational Form
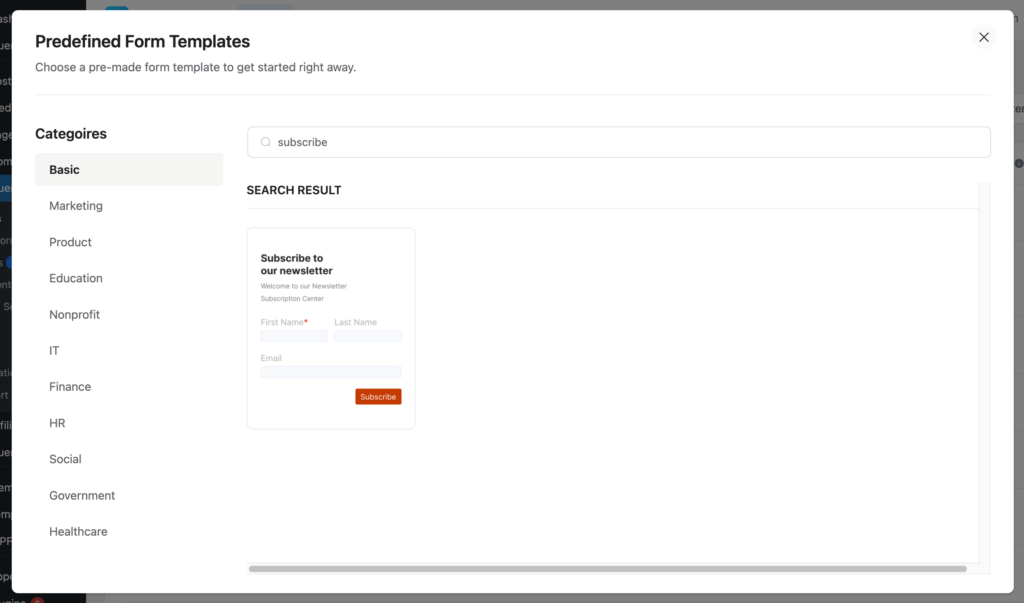
If you select the prebuilt templates, you can use a subscribe form from the list.
Then, you’ll land on the Fluent Forms editor. Give your form a name and start adding/removing fields. You can drag them or just click on the respective fields.
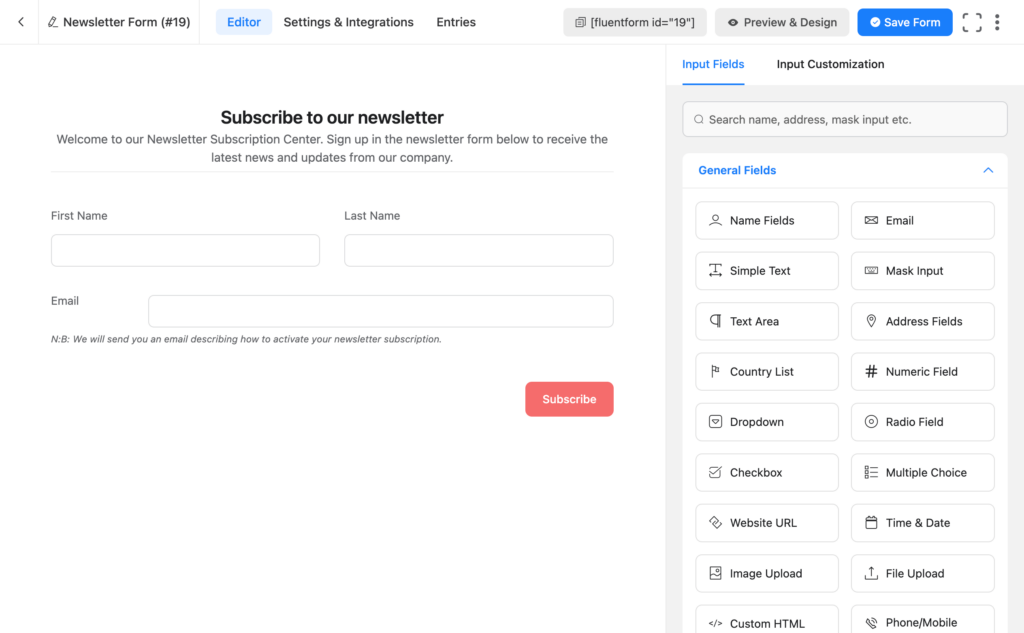
You can customize the Section Break field to add your custom text. If you start with a blank form, choose the Custom HTML field where you can provide a heading with a portion of the description.
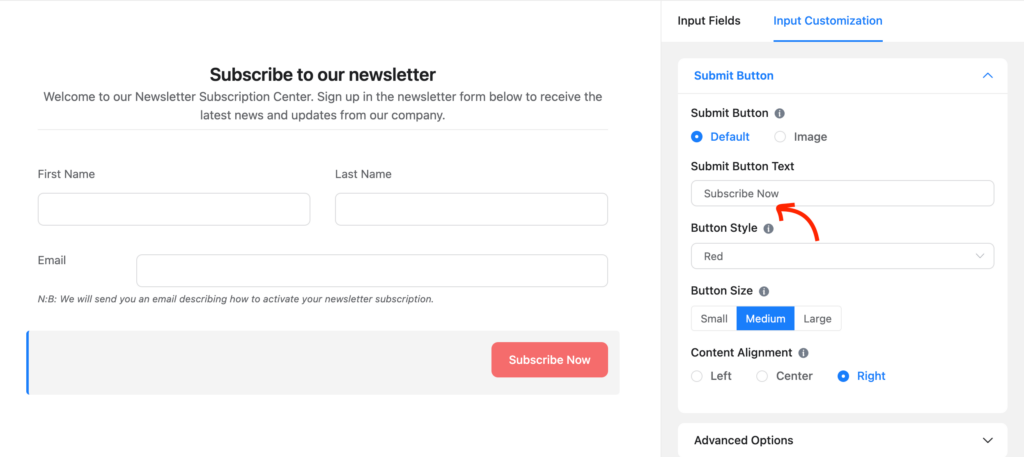
Let’s customize the submit button text to make it more personalized. Just click on the button on the editor, and you can see the editing option on the right-hand panel.
Step 3: Connect with an email marketing tool
What’s good in a subscribe form if you don’t connect it with a marketing platform?
From building a contact list to further communication, a CRM connection will give you a lot of benefits. It’s a blessing that Fluent Forms brings you a heap of CRM and email marketing integrations.
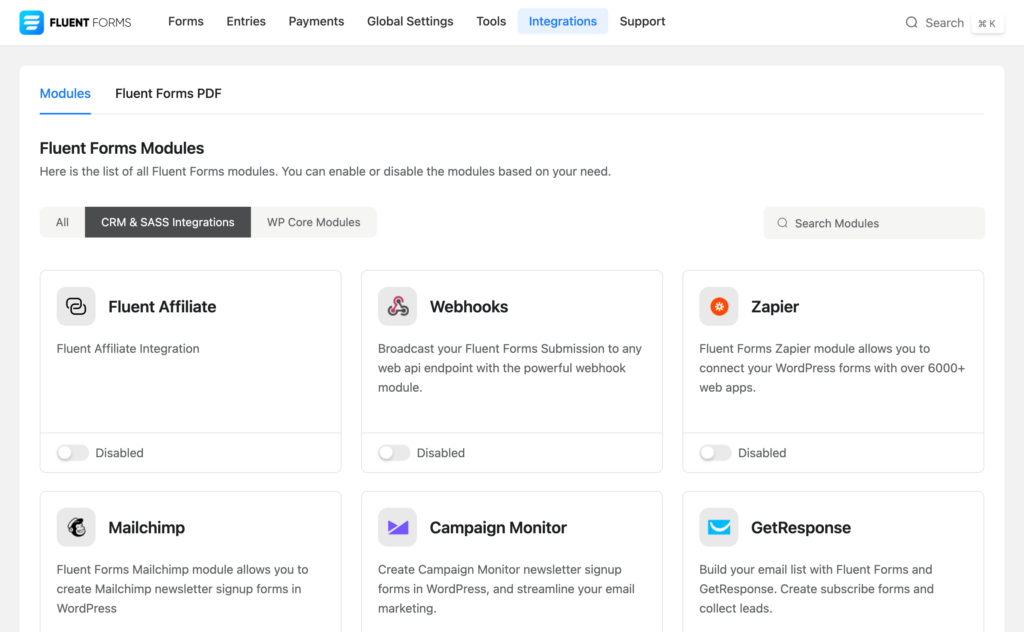
Go to Integrations under the Fluent Forms dropdown or from the top bar. Now click the CRM & SASS Integrations tab and find the platform you’re looking for. You can also use the search box, as well.
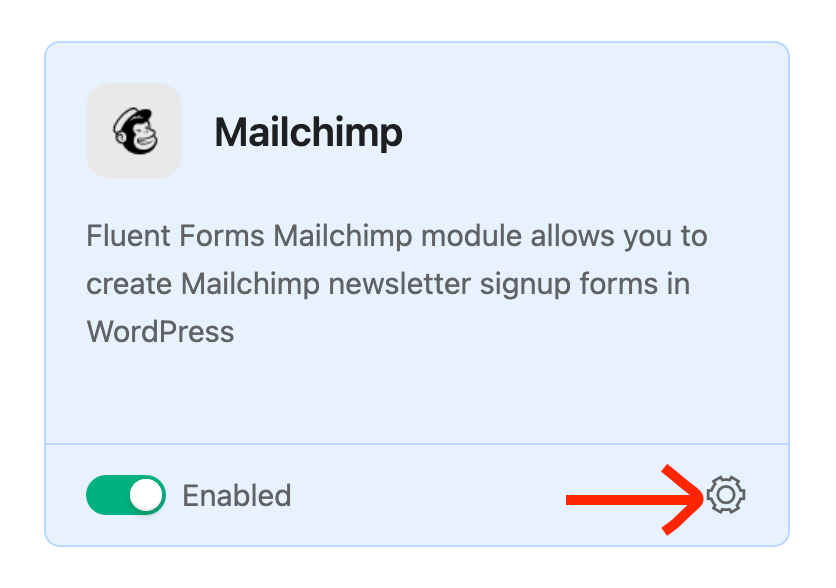
Now enable the tool by switching on the toggle button. Right after activating the the tool, you can see the setting icon’s appearing on the bottom-right side. Click the icon, and it will take you to the Settings page.
There you can see the settings of that particular integration. Under the (CRM) API Setting, you need to provide the key. If you don’t have an account for the tool, you can open an account and provide the API-related details.
I’m showing the process with Mailchimp here. You can go for the tool you love. Anyway, give the API key here. You can get the key from your Mailchimp dashboard.
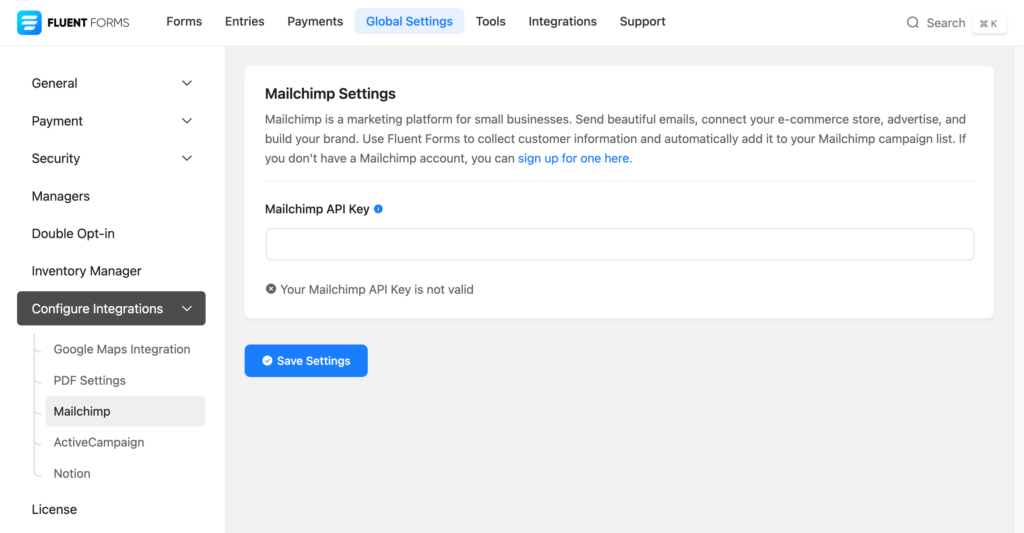
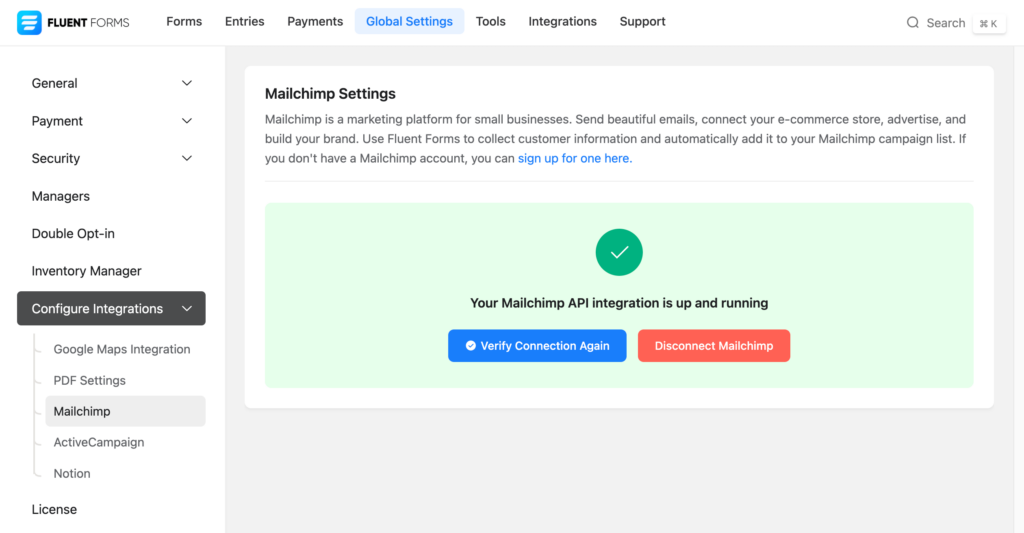
After the key insertion, click the Save Settings button. You can see that whether the API is working or not.
Well, in many cases you’ll have to provide both the API URL and API Key, like the one shows below for ActiveCampaign.
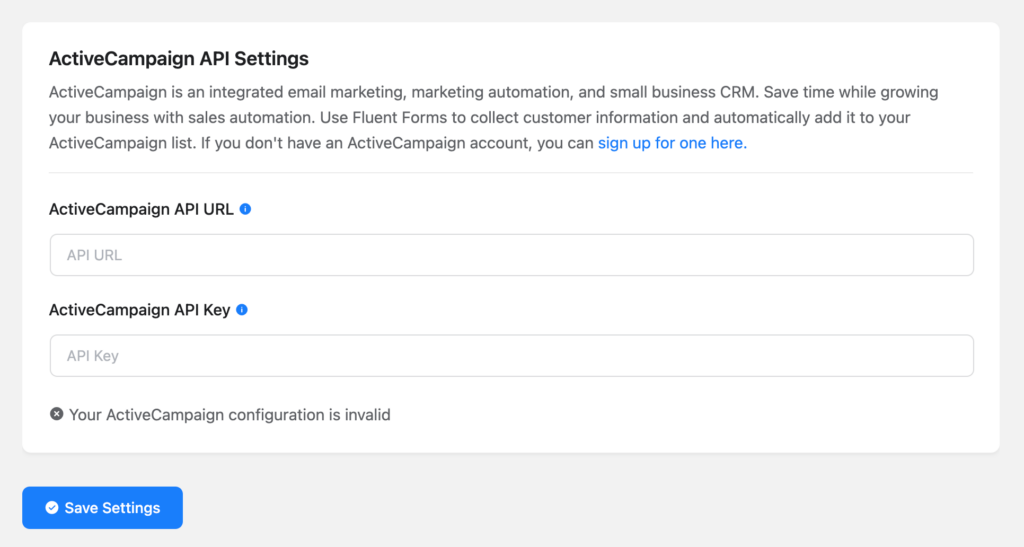
After providing all the necessary information, click the Save Settings button.
Step 4: Create a page and edit with Elementor
Well, it’s not necessary to create a new page. You can embed your signup form to an existing page. But, we’ll go for the new page to keep things simple.
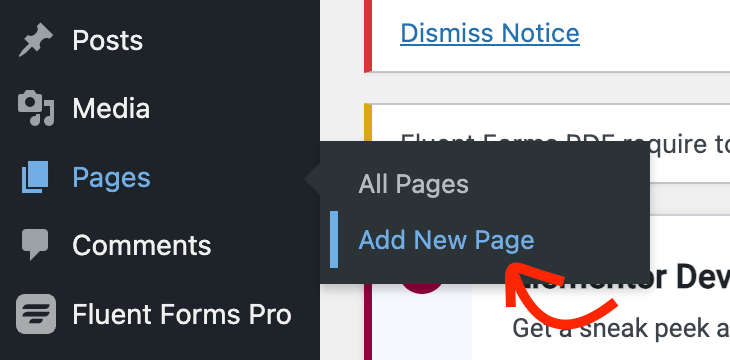
Go to Pages >> Add New Page from your WordPress dashboard.
When you’re inside the block editor, click on the Edit with Elementor button.
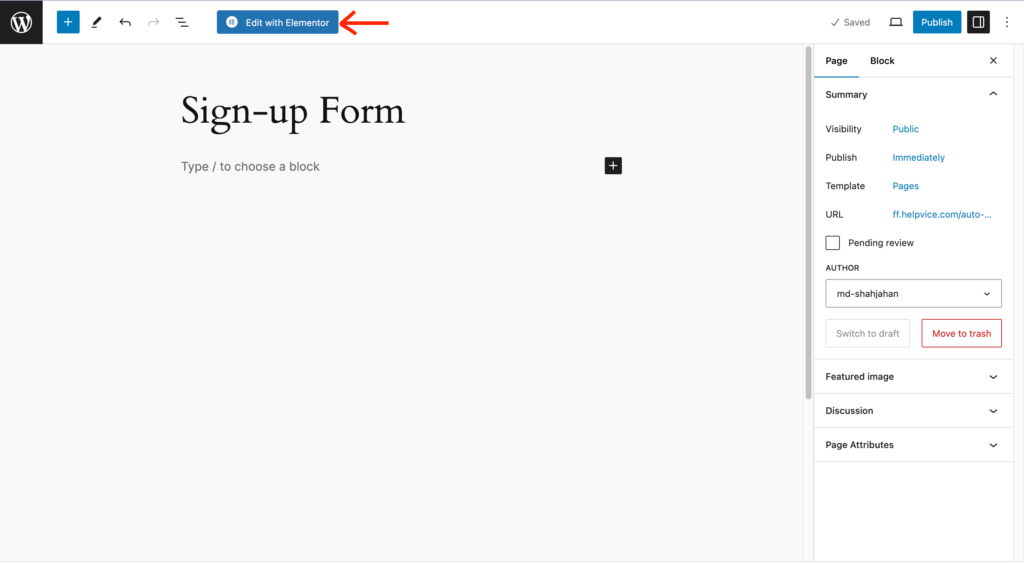
The Elementor editor will now show up. After loading the tool, you can design your landing page easily since it’s a drag-and-drop builder.
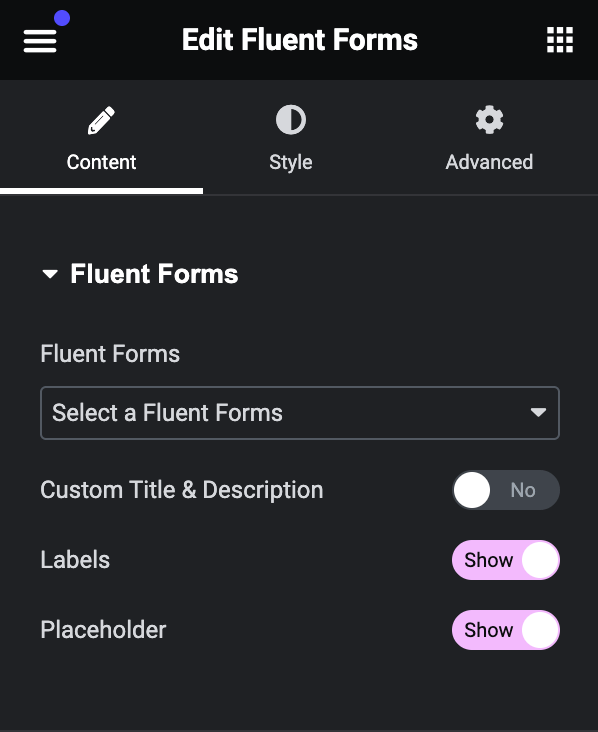
However, we’re now going to use Fluent Forms Elementor Widget to customize our form. To find the widget, search with Fluent Forms on the top search bar.

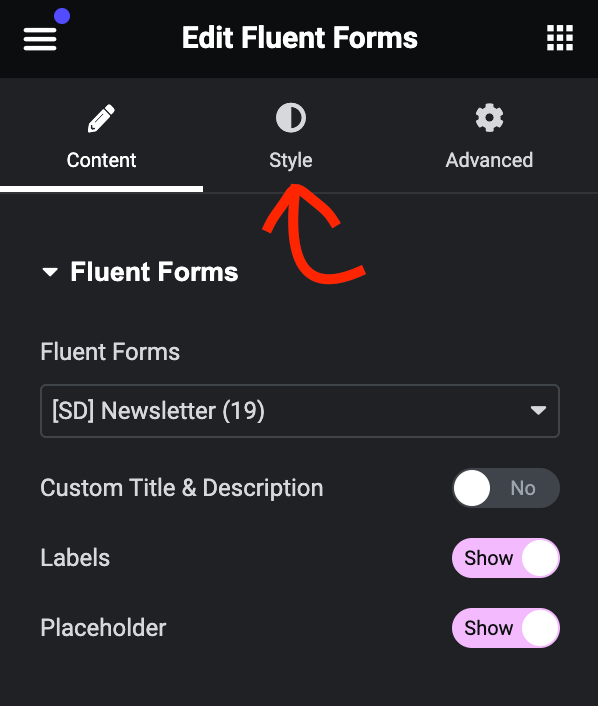
Fluent Forms widget will appear on the screen. Click the dropdown section and all your forms will appear there. Now choose the form you want to use.
The form will now appear in the editor. Click the Style tab from the left-side panel on the Elementor editor.
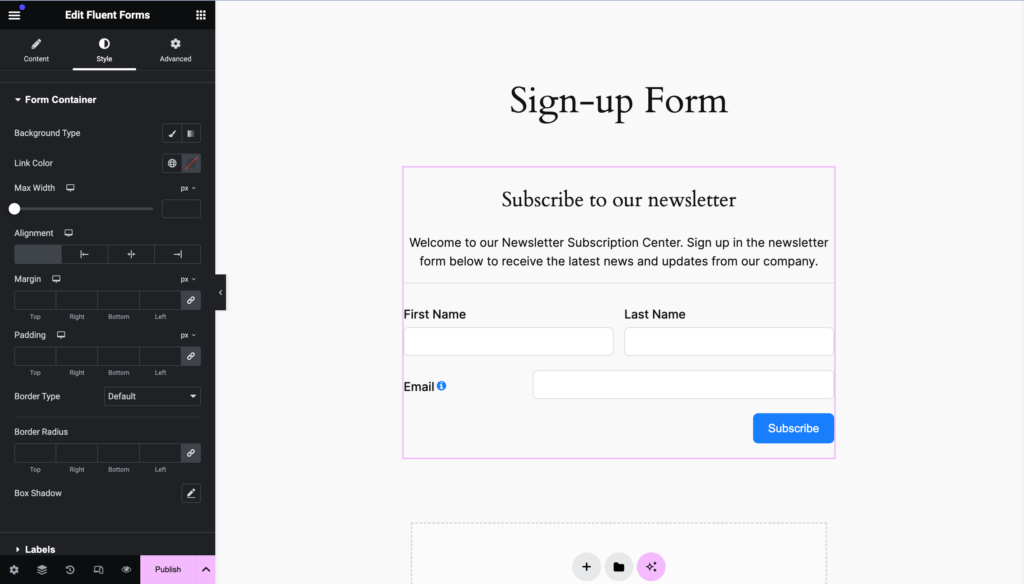
This tab will show you various options to customize your forms with different styles. For example, you can change background type, link color, text color, typography, and a lot of things.
The last tab is called Advanced which contains various styles that help you change your container.
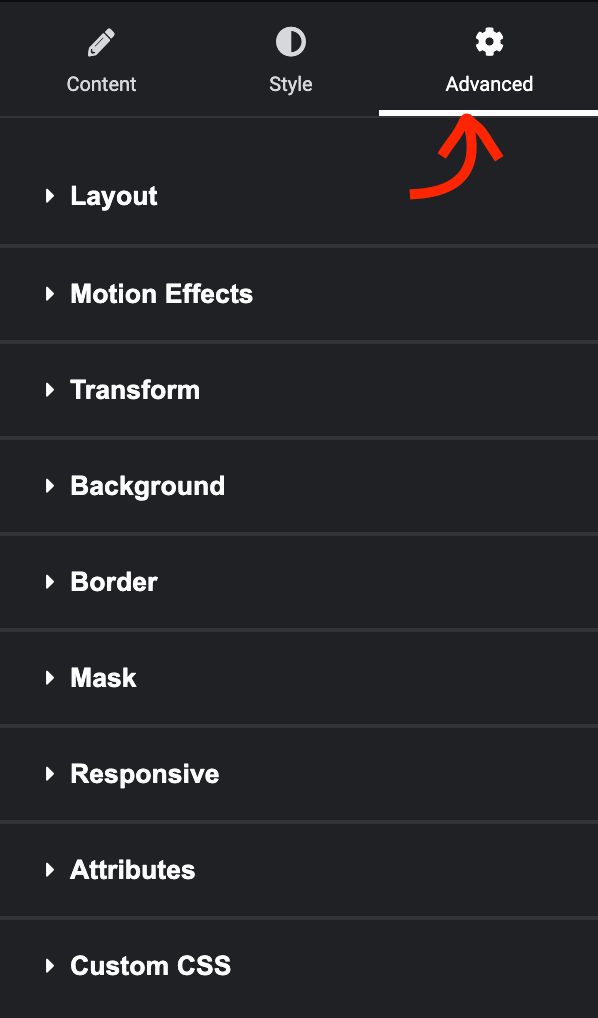
Here, you’ll get tons of settings that include margin, padding, alignment, background, animations, and more.
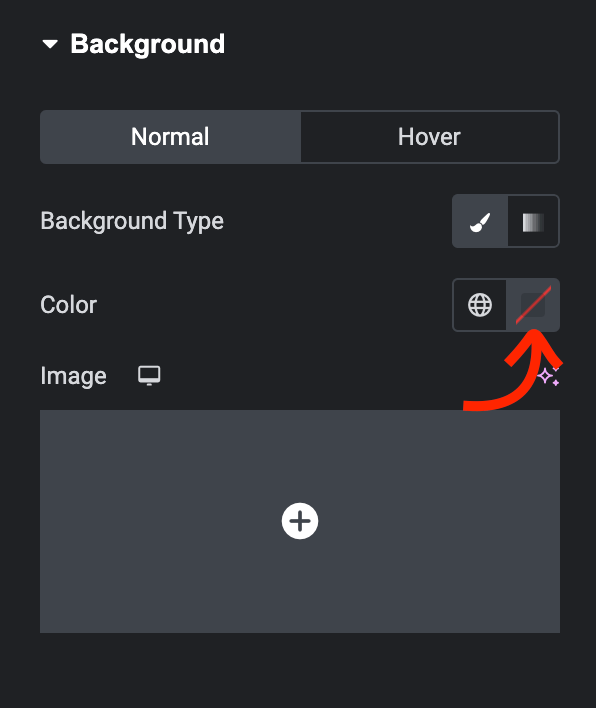
I’ll show you how to change the background color of our form. To do that, click the Background section and it will appear with some additional options.
Let’s keep it simple, I want to add a clean color that matches with my website theme. Click the color selection icon on the right.
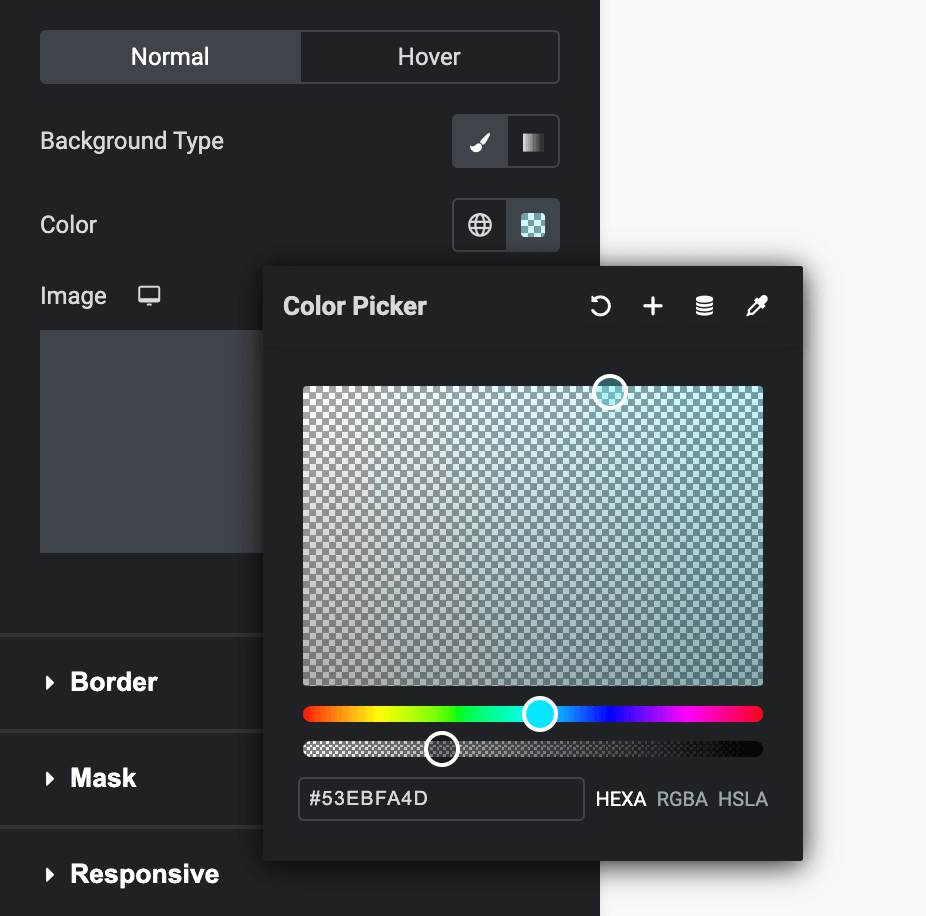
You can now pick a color with the color selection tool. For your convenience, you can move the picker around different parts of your page and select the right color.
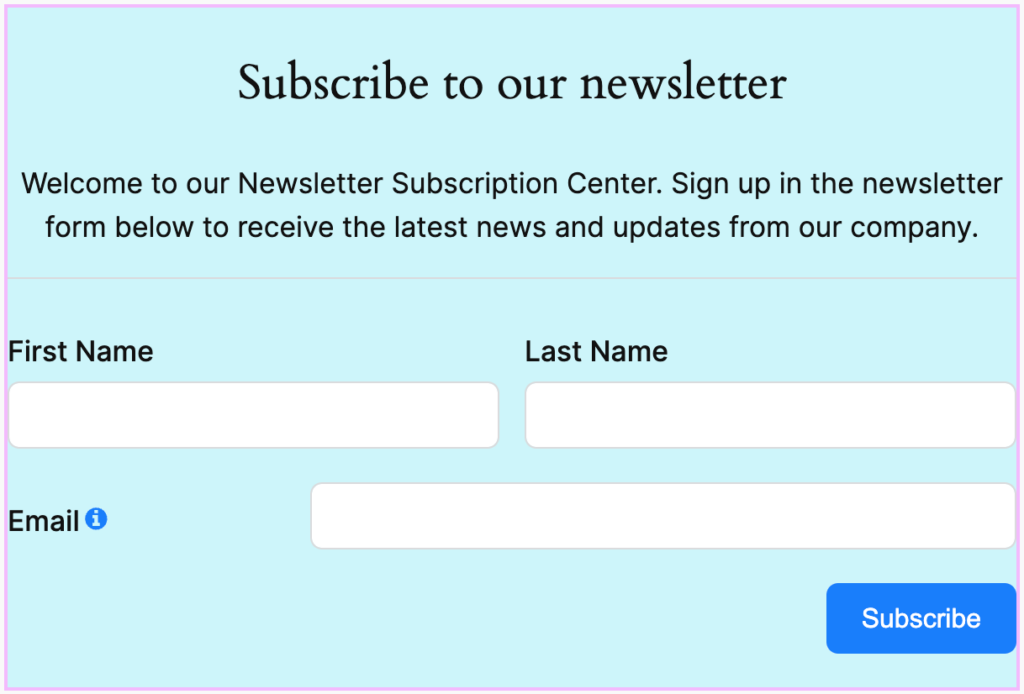
After selecting the color, you can see the background of your form has changed. If you’re happy with it, keep that color. Else, move the cursor until you get the perfect match.
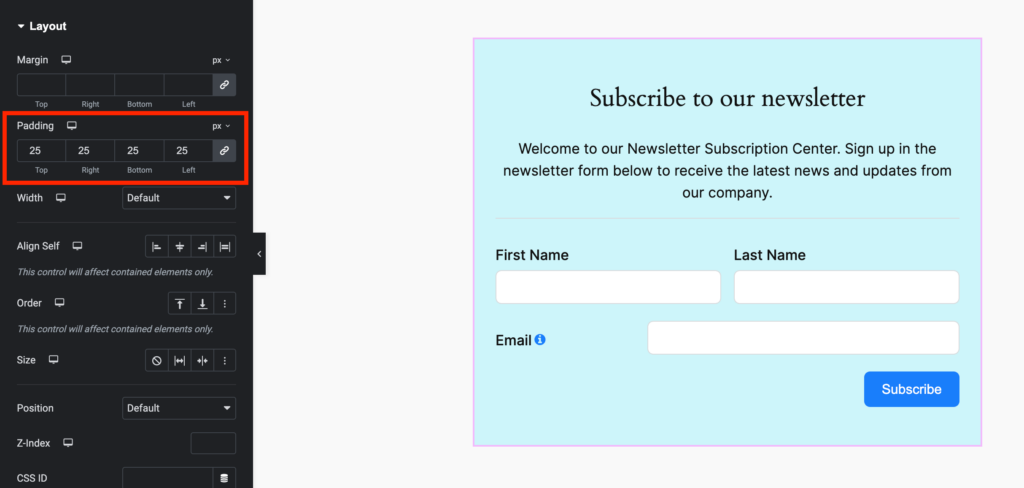
Another thing you might notice that the form fields are very close to the container. We can change that easily by giving some space around them.
Go to the Layout tab from Advanced panel. Here, you can see settings for margin and padding. Let’s add some padding and see the difference instantly.
I’ve just explained one simple step to let you understand how Elementor works to customize the style of a form. You have full freedom to roam around all the settings to give your form a visually appealing look.
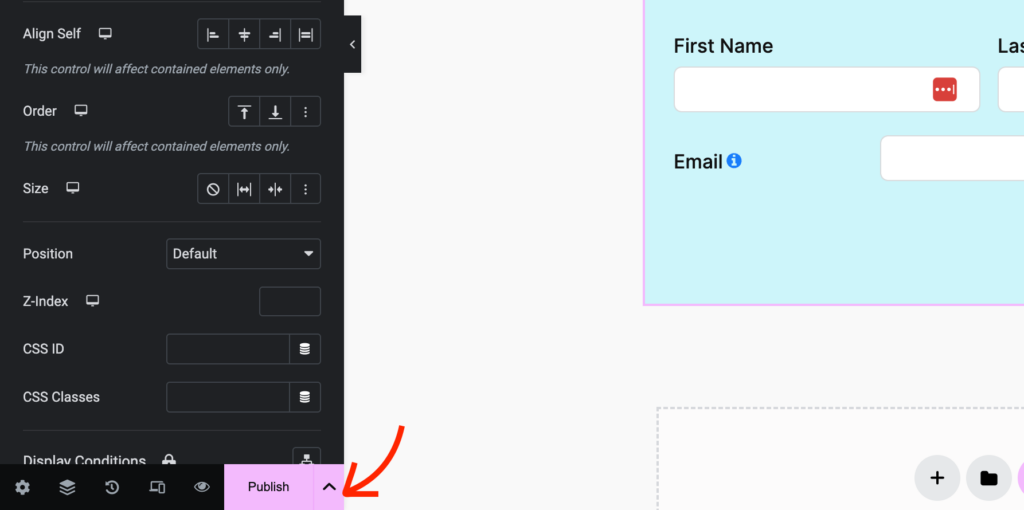
Whenever you’re done, click the Publish button from the bottom-left. A message will appear asking you whether you want to preview the published page.
That’s it. Now you know how to create a form easily with Fluent Forms and customize it with Elementor. Fluent Forms and Elementor is a brilliant combo to design outstanding forms for any need. There are no limitations to design a form that stands out!

Sadiq Ahmad is the Marketing Lead of WPManageNinja. As a WordPress addict, he loves to write all about WordPress: themes, plugins, blogs, and tutorials. Digital marketing and SEO are his other strong suits. And he is not online only when he is exploring new dishes in local restaurants or burning carbs in the gym.
-

Introducing FluentCRM 3.0 Beta: Powerful, Flexible, and Ready for the Future
Introducing FluentCart 3.0 Beta. Biggest update awaiting for FluentCRM with -

10 Different Types of Emails: Definitions and WordPress Guide 2026
Explore different types of emails and know their function for -

Top 10 BookingPress Alternatives: WordPress Booking Plugins (2026)
Discover the best BookingPress alternatives for WordPress. Compare features, pricing,
Leave a Reply
You must be logged in to post a comment.